
Caught in a snack time dilemma, I found myself staring down a bag of greasy chips when inspiration struck. What if I could whip up my own delicious Tortilla Strips with just three ingredients? This easy and versatile recipe not only satisfies cravings for that perfect crunch, but it also adds a delightful twist to a range of dishes—from hearty chili to vibrant salads. With both baking and frying options available, these gluten-free strips can be on your table in no time, making them a go-to choice for busy nights or casual gatherings. Are you ready to transform your next meal and ditch the fast food once and for all? Let’s dive into the world of homemade tortilla goodness!
Why Make Homemade Tortilla Strips?
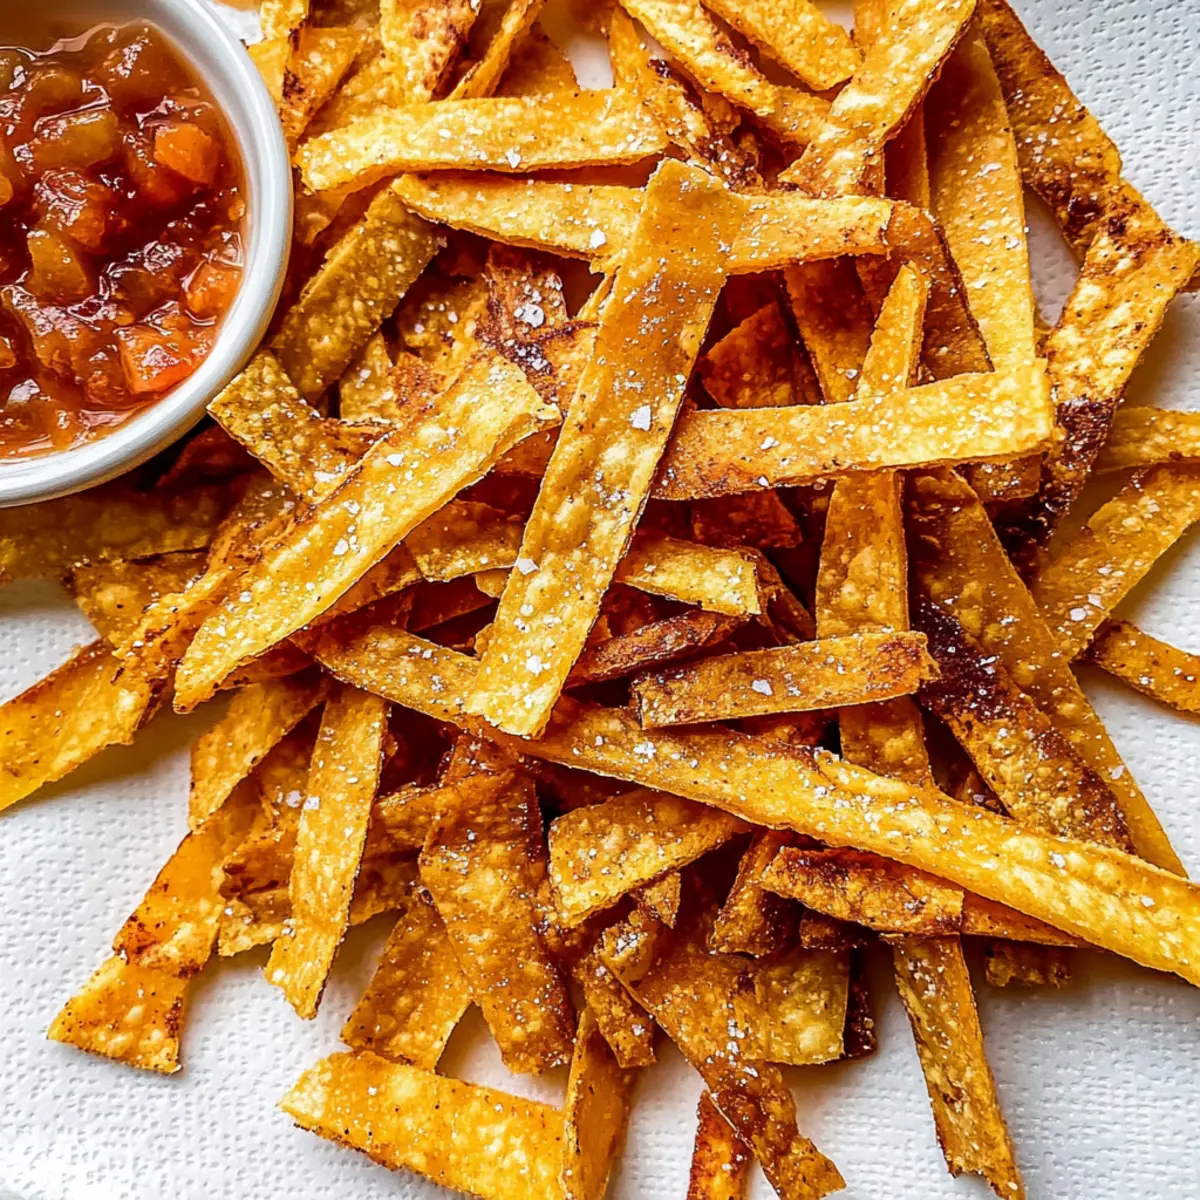
Crispy, golden goodness: Experience the delight of your own homemade Tortilla Strips, perfectly crunchy and ready in minutes.
Three simple ingredients: No need for fancy recipes—just corn tortillas, salt, and oil make for a delicious snack!
Versatile companion: Enjoy them with chili, salads, or your favorite dips—the possibilities are endless!
Quick and easy: Bake or fry these strips in no time, making them a perfect solution for busy weeknights or impromptu gatherings.
Gluten-free option: These strips are naturally gluten-free, catering to a variety of dietary preferences.
Tortilla Strips Ingredients
For the Strips
• Corn Tortillas – Use traditional corn tortillas for optimal flavor and texture, creating the perfect base for your Tortilla Strips.
• Kosher Salt – A sprinkle enhances the flavor; adjust to your taste for that ideal balance.
• Olive Oil Spray or Vegetable Oil – Helps achieve a crispy texture when baked or fried; olive oil is a healthier option while vegetable oil is great for frying.
For Optional Seasoning
• Chili Powder – Adds a kick for those who love a bit of spice; sprinkle before baking or frying for an extra flavor boost.
• Garlic Powder – Infuses a savory depth to the strips; mix it with the salt for a delicious twist.
• Cumin – for a warm, earthy flavor; consider adding it for a unique taste experience with your Tortilla Strips.
Step‑by‑Step Instructions for Easy & Crispy Tortilla Strips
Step 1: Preheat the Oven
Begin by preheating your oven to 375°F (190°C). This initial step is essential for achieving perfectly crispy Tortilla Strips. While the oven warms up, gather your corn tortillas, kosher salt, and oil spray for easy access.
Step 2: Prepare the Tortillas
Stack several corn tortillas and cut them into ½-inch strips using a sharp knife or kitchen scissors. This ensures uniformity, allowing for even baking. Once cut, spread them out on a baking sheet lined with parchment paper for easy cleanup.
Step 3: Season the Strips
Lightly mist the tortilla strips with olive oil spray, ensuring they are coated evenly. Sprinkle desired amounts of kosher salt over the top. If you’re feeling adventurous, this is the moment to add optional seasonings like chili powder or garlic powder for an extra kick of flavor.
Step 4: Bake the Strips
Place the baking sheet in the preheated oven and bake for 6 minutes. At this point, keep an eye on the strips, as they should begin to look golden. After 6 minutes, carefully rotate the pan for even browning, and return it to the oven.
Step 5: Continue Baking
Bake for an additional 6 minutes, monitoring closely. The Tortilla Strips should be a delightful golden brown and feel crunchy to the touch. Once done, remove from the oven and let them cool on the baking sheet, which will help them crisp up even more.
Step 6: Frying Option (if preferred)
For those who choose to fry, heat ½ inch of vegetable or canola oil in a skillet over medium-high heat. To check if the oil is ready, drop in a small piece of tortilla—if it sizzles immediately, it’s time to fry your strips.
Step 7: Fry the Tortilla Strips
Cut your corn tortillas into strips as before, ensuring they are dry. Add them in batches to the hot oil, frying for 3-5 minutes or until they are golden and crispy. Be careful not to overcrowd the pan, ensuring each strip cooks evenly.
Step 8: Drain and Season
Once the tortilla strips are perfectly fried, remove them from the oil using a slotted spoon and place them on paper towels to drain excess oil. While still hot, sprinkle a bit of kosher salt over them to enhance their flavor.
Step 9: Serve or Store
Whether baked or fried, your Tortilla Strips are now ready to be enjoyed! Serve immediately with your favorite dips, or let them cool completely before storing in an airtight container at room temperature for up to a week.
Expert Tips for Perfect Tortilla Strips
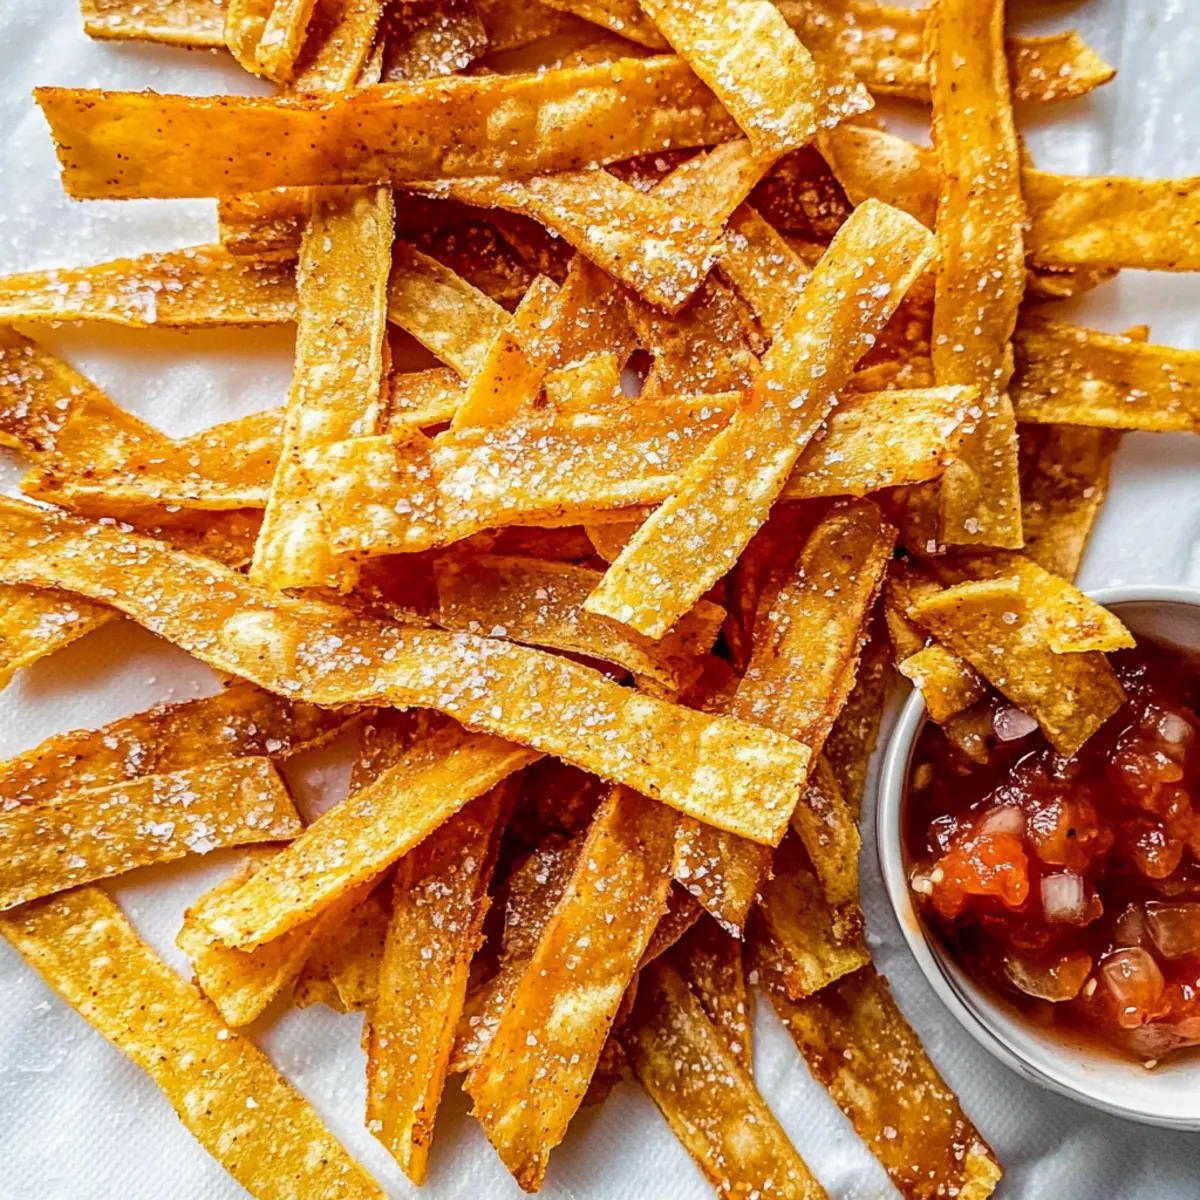
• Hot Oil Ready: Ensure your oil is hot enough before frying to avoid soggy strips—test with a small piece of tortilla for optimal results.
• Batch Frying: Fry the strips in small batches. This prevents overcrowding, allowing them to crisp up beautifully and evenly.
• Even Baking: When baking, rotate the baking sheet halfway through to achieve uniform golden brown color on your Tortilla Strips.
• Seasoning Variety: Don’t hesitate to experiment with different seasonings like chili powder or garlic powder to give your strips a unique flavor twist!
• Storage Tips: For best results, store cooled strips in a paper bag or an airtight container. This keeps them crisp for up to a week!
Make Ahead Options
Making these Tortilla Strips ahead of time can be a game-changer for busy weeknights! You can prepare the strips up to 24 hours in advance by cutting the corn tortillas and seasoning them with salt (and optional spices). Store the seasoned strips in an airtight container at room temperature to maintain their texture. When you’re ready to serve, simply bake or fry them according to the recipe instructions—baking for about 12 minutes or frying for 3-5 minutes—until they’re golden and crispy. This way, you’ll enjoy fresh, homemade Tortilla Strips with minimal effort, saving you precious time for more important moments!
Tortilla Strips Variations & Substitutions
Feel free to get creative and make these tortilla strips your own with some delightful variations!
-
Spicy Twist: Add a sprinkle of cayenne pepper or paprika before baking for a fiery kick. Perfect for those who crave a little heat!
-
Herbed Delight: Toss the strips with dried herbs like oregano or thyme for an aromatic twist. Your kitchen will smell divine as they bake!
-
Cheesy Flavor: Before baking, sprinkle some grated Parmesan or nutritional yeast on the strips for a cheesy flavor without the added fuss.
-
Whole Wheat Option: Swap corn tortillas for whole wheat or spinach tortillas for a different flavor and added health benefits. It’s a great way to sneak in some greens!
-
Savory Garlic: Mix garlic powder into your olive oil before drizzling it over the strips for an irresistible garlic flavor. Think of it as a homemade garlic bread experience!
-
Sweet Treat: Try cinnamon sugar instead of salt for a sweet version that pairs wonderfully with fruit dips. These sweet strips make for an unexpected dessert option.
-
Crunchy Seeds: Add sesame or pumpkin seeds onto the strips before baking for an extra crunch and a nutritious boost. They provide an excellent texture contrast!
-
Fried vs. Baked: If you want ultimate crispiness, always opt for the frying method! For a lighter option, stick to baking, but don’t forget to keep an eye on them!
These variations enhance the flavor and versatility of your tortilla strips, making them the ultimate snack or topping for countless dishes. If you’re looking for more exciting ways to incorporate this snack, try serving them with your favorite dips, like guacamole or salsa. You’ll love the delightful crunch they bring!
What to Serve with Easy & Crispy Tortilla Strips
Complement your culinary creations with delicious sides that enhance the crunch and flavor of homemade tortilla strips.
-
Hearty Chili: A warm, rich chili pairs beautifully, providing a comforting spice that contrasts with the crispy texture of the strips.
-
Fresh Guacamole: The creamy, velvety avocado dip adds a fresh touch, balancing the crunchy tortilla strips for an enjoyable bite.
-
Zesty Salsa: Bright, tangy salsa packs a flavor punch, harmonizing perfectly with your strips, making every dip delightful and refreshing.
-
Crunchy Garden Salad: Add a vibrant salad with crisp greens and colorful veggies to offer a fresh and crunchy contrast alongside your tortilla strips.
-
Savory Queso Dip: A warm and cheesy queso dip brings a melty richness that enhances the light crunch of your tortilla strips, perfect for dipping.
-
Margaritas: Serve chilled margaritas alongside for a refreshing beverage that complements the flavors and adds a festive touch to your meal.
These pairings will elevate your tortilla strips from a snack to the star of the table!
How to Store and Freeze Tortilla Strips
• Room Temperature: Keep your tortilla strips in a paper bag or an airtight container at room temperature for up to one week to maintain their crispiness.
• Fridge: If you prefer to store them longer, you can refrigerate your tortilla strips in an airtight container for up to 3 days, but this may soften their texture.
• Freezer: For longer storage, freeze the cooled tortilla strips in a freezer-safe bag or container for up to 3 months. Thaw in the fridge before reheating.
• Reheating: Reheat baked or thawed strips in a 350°F oven for about 5 minutes to regain their crunch before serving with your favorite dishes.
Tortilla Strips Recipe FAQs
What type of corn tortillas should I use for the best flavor?
Absolutely! For optimal flavor and texture, I highly recommend using traditional corn tortillas. They provide the perfect base for your tortilla strips, ensuring that you achieve that delightful crunch and authentic taste.
How should I store my tortilla strips to keep them crispy?
To keep your tortilla strips perfectly crispy, store them in a paper bag or an airtight container at room temperature for up to one week. This method allows for airflow, preventing them from becoming soggy. If you choose to refrigerate them in an airtight container, they can last about 3 days, although the texture may soften slightly.
Can I freeze tortilla strips for later use?
Yes, you can! For longer storage, freeze the cooled tortilla strips in a freezer-safe bag or container for up to 3 months. To enjoy them later, simply thaw the strips in the fridge, and when you’re ready to eat, reheat them in a 350°F oven for about 5 minutes to regain that beloved crunch.
What should I do if my tortilla strips are soggy after frying?
Very! If your tortilla strips are soggy, it usually indicates that the oil wasn’t hot enough when you added them. To avoid this, always test the temperature of your oil by dropping a small piece of tortilla in—if it sizzles right away, you’re good to go! Additionally, frying in small batches helps ensure that each strip cooks evenly and crisply.
Can I use different oils for frying tortilla strips?
Absolutely! While I suggest vegetable or canola oil for frying due to their high smoke point and neutral flavor, you can also use avocado oil or peanut oil if you prefer different flavor profiles. Just make sure the oil is hot enough before adding the strips for the best frying results!
Are tortilla strips safe for pets or people with gluten allergies?
Good question! Homemade tortilla strips made from corn tortillas are naturally gluten-free, making them a safe option for individuals with gluten allergies. However, always double-check the labels of your tortillas to ensure they are certified gluten-free. As for pets, while corn tortillas are not toxic to dogs, it’s best to feed them in moderation and ensure no added seasoning, such as salt or spices, is harmful to them.
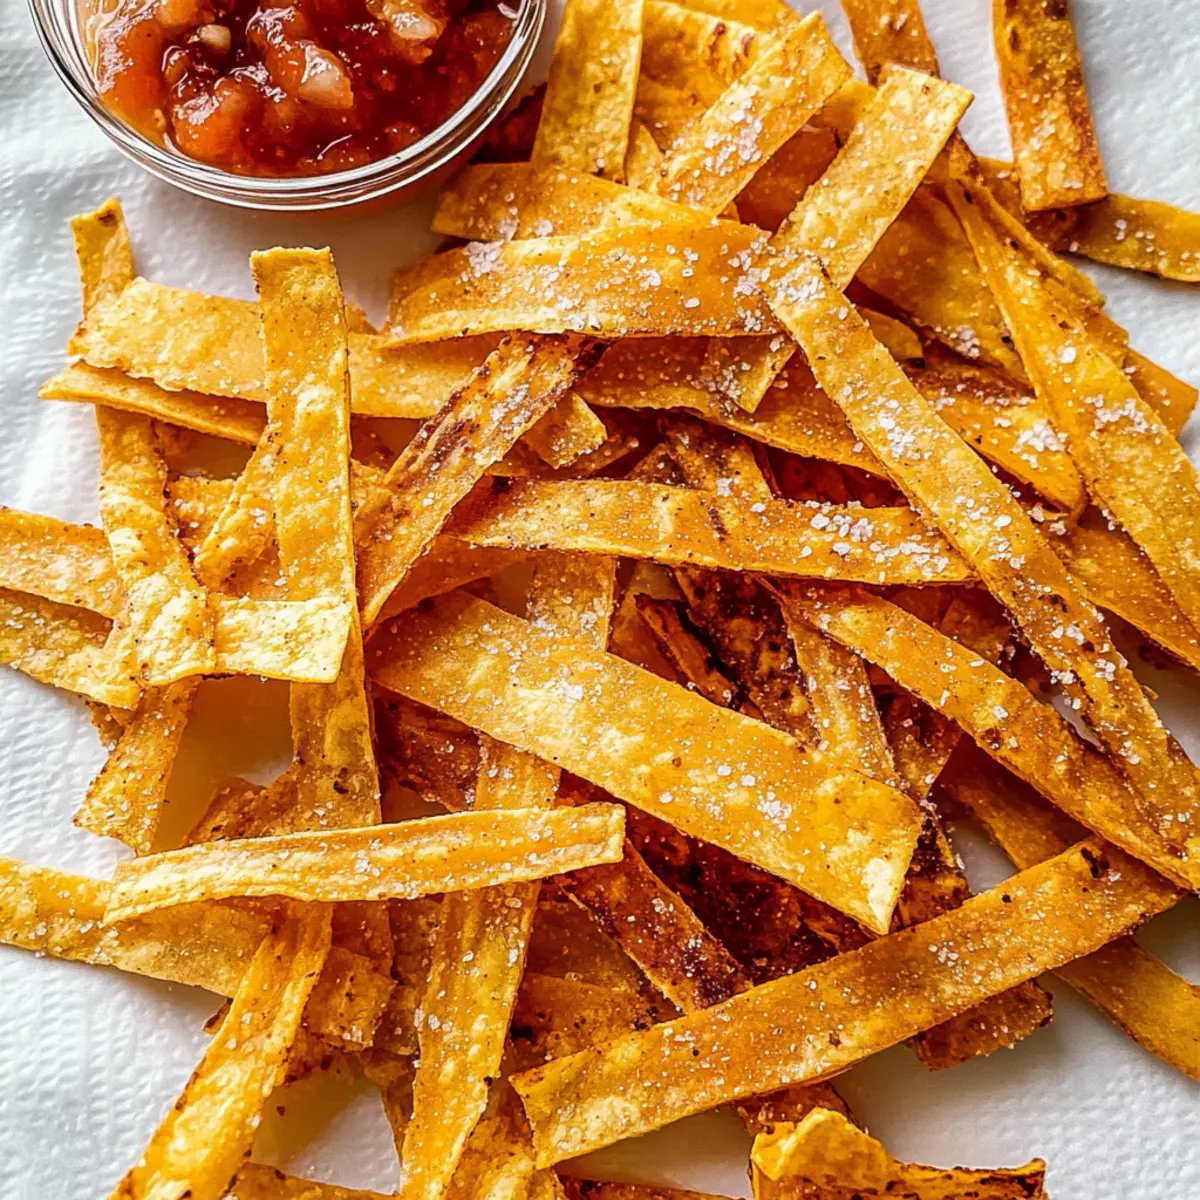
Crispy Tortilla Strips in 3 Ingredients – Snack Time Perfection
Ingredients
Equipment
Method
- Preheat your oven to 375°F (190°C).
- Stack corn tortillas and cut them into ½-inch strips. Spread them out on a parchment-lined baking sheet.
- Misty strips with olive oil spray and sprinkle kosher salt. Optionally add seasonings.
- Bake for 6 minutes, then rotate the pan and bake for an additional 6 minutes until golden brown.
- Heat ½ inch of vegetable or canola oil in a skillet over medium-high heat.
- Cut tortillas into strips and fry in batches for 3-5 minutes until golden and crispy.
- Remove from oil and drain on paper towels while still hot, sprinkling with kosher salt.
- Serve immediately with your favorite dips or let cool and store in an airtight container.
Leave a Reply