
As I rummaged through my fridge, I stumbled upon a bag of fresh cherries, their deep red hue beckoning me. I couldn’t resist turning them into something magical, and that’s how these Quick Cherry Crumble Bars came to life. They’re the perfect easy dessert to whip up on a busy afternoon, combining just the right amount of sweet and tart while nestled in a buttery, flaky crust. Each bite offers a delightful crunch from the crumble topping, making them an instant crowd-pleaser—great for family gatherings or a cozy night in. Plus, these bars are incredibly versatile; you can easily customize them to suit gluten-free or dairy-free lifestyles. Curious about how these bars can transform your cherry stash into a sweet sensation? Let’s dive into this simple recipe!
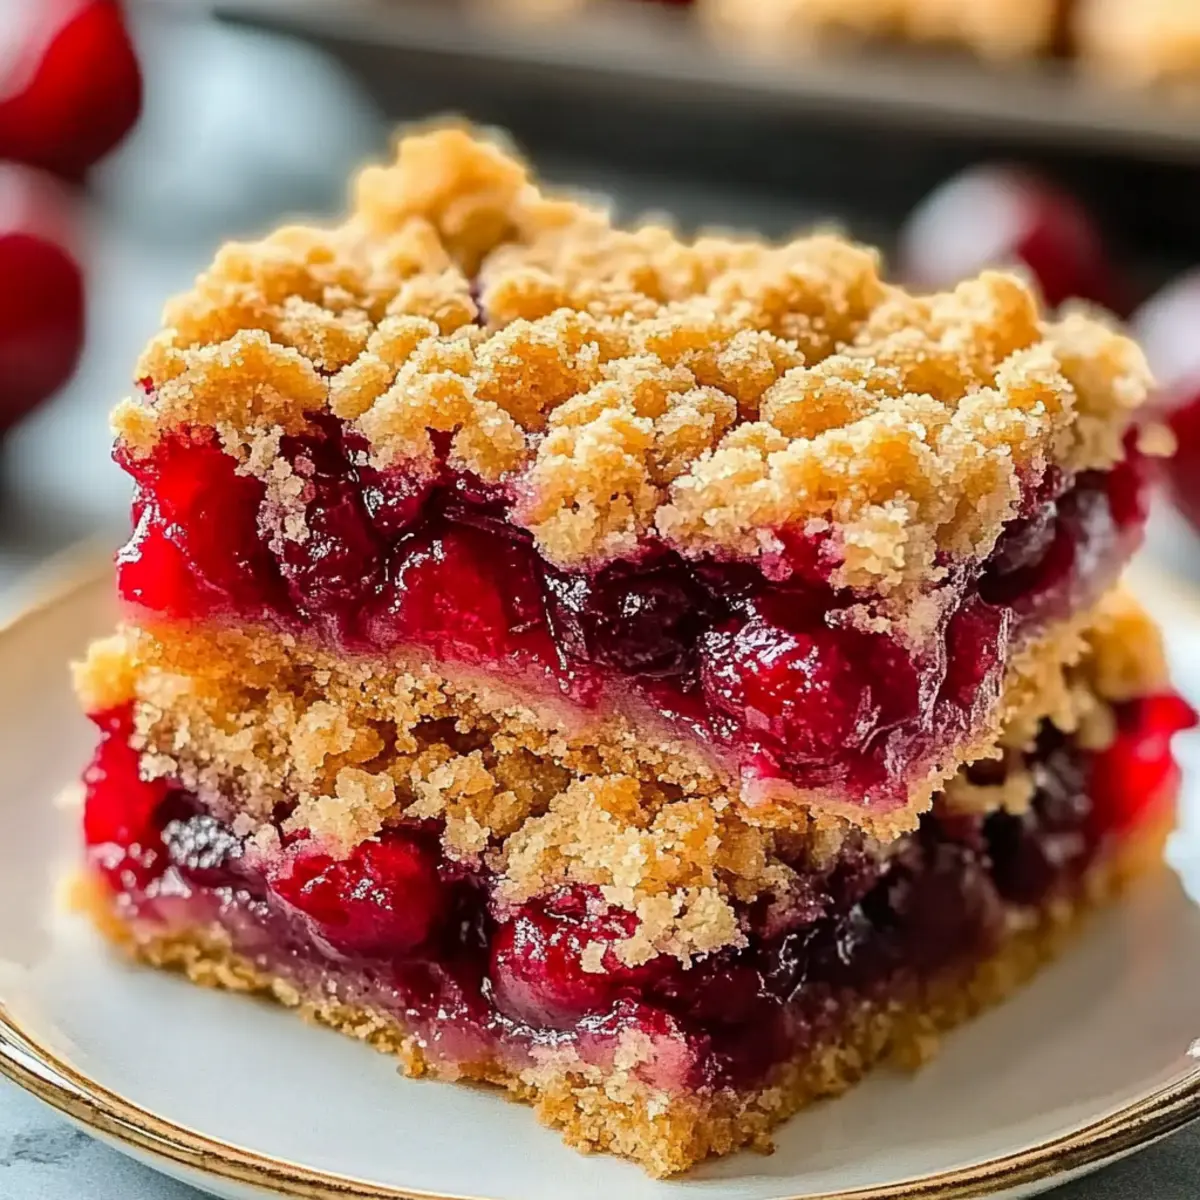
Why You’ll Love These Quick Cherry Crumble Bars
Simplicity at Its Best: With just a few simple ingredients, you’ll have a decadent dessert ready in no time. Rich, Fruity Filling: The sweet-tart cherries burst with flavor, perfectly complemented by the buttery crust. Versatile Options: Customize with gluten-free or dairy-free alternatives, making it accessible for everyone. Perfect for Any Occasion: Whether it’s a bake sale or a cozy night at home, these bars are sure to impress. For more delicious ideas, check out my Asian Chicken Cranberry salad or Pork Belly Slices!
Quick Cherry Crumble Bars Ingredients
For the Crust and Topping
- All-purpose flour – Provides structure and texture for the crust. Can be replaced with gluten-free all-purpose flour for a gluten-free option.
- Granulated sugar – Adds sweetness to both the crust and crumble; adjust based on cherry sweetness.
- Baking powder – Helps the crust rise slightly for a light texture.
- Salt – Enhances flavor, balancing the sweetness.
- Unsalted butter – Gives richness and flavor; use vegan butter for a dairy-free version.
- Large egg – Binds the ingredients together and aids in moisture.
- Milk – Adds moisture to the dough; substitute with non-dairy milk for a vegan option.
For the Cherry Filling
- Fresh pitted cherries – Provides the main filling for these Quick Cherry Crumble Bars; can substitute with frozen cherries (thawed) or canned cherry pie filling (adjust sugar to taste).
- Cornstarch – Thickens the cherry filling, preventing it from becoming too runny.
These ingredients will come together beautifully to create a delightful dessert that everyone will enjoy!
Step‑by‑Step Instructions for Quick Cherry Crumble Bars
Step 1: Preheat Your Oven
Begin by preheating your oven to 375°F (190°C). While the oven heats up, take a moment to grease a 9×13-inch baking dish with butter or non-stick spray to ensure the bars don’t stick. This will also help the crust develop that lovely golden color as it bakes.
Step 2: Mix Dry Ingredients
In a large mixing bowl, combine 2 cups of all-purpose flour, 3/4 cup of granulated sugar, 1 teaspoon of baking powder, and a pinch of salt. Stir the mixture until everything is well combined, ensuring an even distribution of the baking powder. This will form the base of your Quick Cherry Crumble Bars, providing structure for the crust.
Step 3: Cut in the Butter
Now, take 1 cup of chilled, unsalted butter and cut it into small cubes. Add the butter to your dry ingredients and use a pastry cutter or your fingers to mix until it resembles coarse sand with pea-sized clumps. This step will add that rich, buttery flavor and flaky texture to the crust and topping of the bars.
Step 4: Combine Wet Ingredients
Next, crack 1 large egg into the mixture and pour in 1/4 cup of milk. Stir gently until a soft, cohesive dough begins to form. You want to see a slightly sticky consistency, which will create a beautifully tender base for your Quick Cherry Crumble Bars.
Step 5: Form the Base
Once your dough is ready, pat half of the mixture firmly into the bottom of the greased baking dish. Use your hands to ensure it’s evenly spread out and compact, creating a solid crust that will support the juicy cherry filling. This layer should be about 1/4 inch thick.
Step 6: Prepare the Cherry Filling
In a separate bowl, mix 2 cups of fresh pitted cherries with 1 tablespoon of cornstarch and the remaining 2 tablespoons of sugar. Gently toss everything together until the cherries are well coated and the mixture is slightly thickened. This cherry filling will bring a sweet-tart burst of flavor to your crumble bars.
Step 7: Assemble the Bars
Spread the cherry mixture evenly over the crust you’ve created in the baking dish. Make sure to cover the surface well; this is where the juicy goodness hides. Once you’ve added the cherries, set this aside as you prepare the crumble topping.
Step 8: Crumble the Topping
Take the remaining dough and crumble it over the cherry filling. You can use your fingers to pinch small clumps and scatter them evenly across the top. Aim for a rustic look with some areas thicker than others, which will create that delightful crispy topping once baked.
Step 9: Bake to Perfection
Place the dish in the preheated oven and bake for 35 minutes. Keep an eye on it; the topping should turn a beautiful golden brown, while you’ll notice the cherry filling bubbling up around the edges. This is a sure sign that your Quick Cherry Crumble Bars are almost ready!
Step 10: Cool and Slice
After baking, remove the bars from the oven and allow them to cool completely in the dish. This will help the filling set, making it easier to slice into neat bars. Once cooled, cut into squares, and serve to family and friends for a delicious treat!
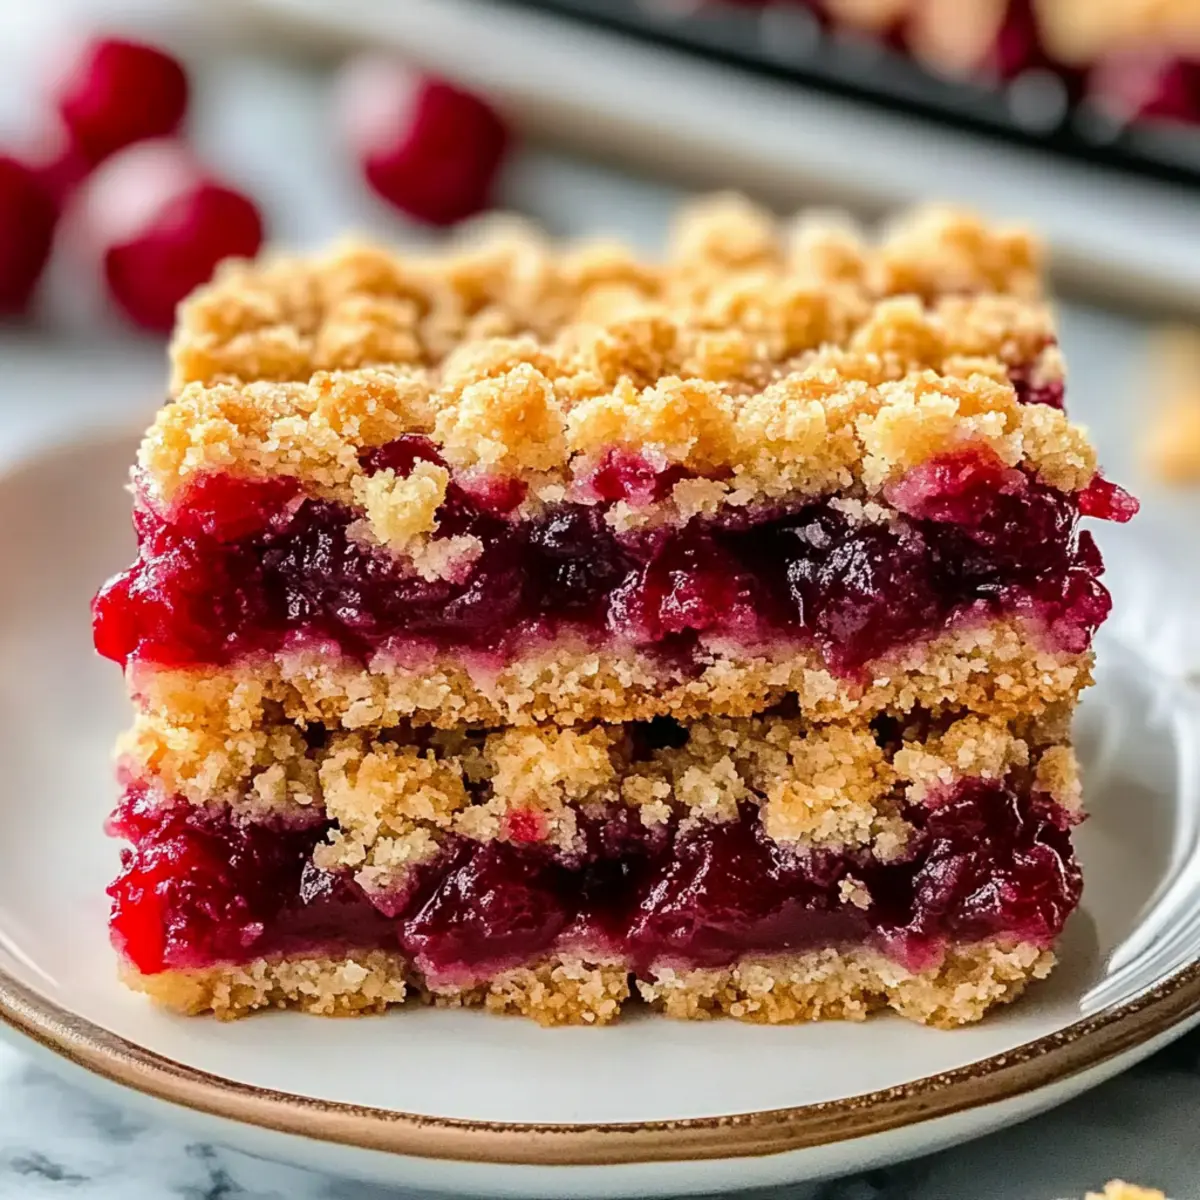
Variations & Substitutions for Quick Cherry Crumble Bars
Feel free to get creative with your Quick Cherry Crumble Bars! Here are some delightful twists to explore and customize your dessert.
-
Dairy-Free: Replace the unsalted butter with vegan butter and use your favorite non-dairy milk for a delicious dairy-free option.
-
Gluten-Free: Simply swap regular flour for a gluten-free all-purpose blend, and the recipe remains just as scrumptious!
-
Fruit Swap: Try using blueberries, peaches, or even mixed berries instead of cherries for a different fruity flavor profile. Each fruit adds its special sweetness!
-
Oatmeal Topping: Mix some oats into the crumble topping for added texture. This addition brings an earthy chewiness and a delightful taste that complements the fruit beautifully.
-
Spiced Filling: Add a pinch of cinnamon or nutmeg to the cherry filling for an unexpected twist that enhances the warm flavors. You’ll create an inviting aroma that fills your kitchen.
-
Add Nuts: Fold in some chopped nuts like almonds or walnuts into the crumble for a satisfying crunch. They also boost the nutritional profile of your bars.
-
Sweetener Twist: Experiment with maple syrup or honey instead of granulated sugar for a natural sweetness. This leads to a flavorful depth that’s simply irresistible.
-
Vegan Version: For a fully vegan version, replace the egg with a flax egg (1 tablespoon flaxseed meal mixed with 2.5 tablespoons water) and ensure all other ingredients are plant-based.
For even more inspiration, check out my Pasta Primavera for veggie-packing ideas or the delectable Asian Chicken Cranberry salad for a fresh twist!
What to Serve with Quick Cherry Crumble Bars
Indulging in these sweet and tart bars opens up a world of delightful pairings to create a well-rounded dessert experience.
-
Vanilla Ice Cream: The creamy richness of vanilla ice cream perfectly balances the tartness of the cherries, creating a heavenly contrast. Scoop generous portions on top for a blissful combination that everyone will love.
-
Whipped Cream: Light and airy whipped cream adds a touch of elegance to your dessert. Its subtly sweet flavor enhances the cherry crumble bars without overpowering their fruity essence.
-
Coffee or Espresso: Enjoy a warm cup of coffee alongside your crumble bars for a cozy treat. The bold flavors of coffee gently complement the sweetness of the cherries, making it an ideal pairing for those afternoon pick-me-ups.
-
Coconut Milk Yogurt: For a dairy-free option, try serving these bars with a dollop of coconut milk yogurt. Its creamy texture and slight tang uplift the dish while keeping it light and refreshing.
-
Tart Lemonade: The bright, zesty flavors of lemonade create a vibrant contrast to the rich crumble bars. A refreshing sip of lemonade quenches your thirst and keeps the dessert feeling light and fun!
-
Berry Compote: Drizzle some homemade berry compote on top for an extra fruity twist. The burst of mixed berry flavors enhances the cherry experience, adding depth and freshness to every bite.
-
Chocolate Drizzle: A drizzle of melted chocolate can elevate these bars to a decadent dessert. The rich chocolate compliments the tartness of the cherries beautifully.
-
Chilled White Wine: For an adult twist, a glass of chilled white wine pairs wonderfully with your dessert. The refreshing acidity cuts through the sweetness, balancing each bite perfectly.
These delightful pairings will elevate your Quick Cherry Crumble Bars, transforming them into a standout dessert that everyone will cherish!
Storage Tips for Quick Cherry Crumble Bars
Room Temperature: Store leftover bars in an airtight container at room temperature for up to 3 days to maintain their freshness and prevent them from drying out.
Fridge: If you want to extend their shelf life, place the bars in the fridge, where they can last for up to 5 days. Just ensure they are well-covered to avoid absorbing other odors.
Freezer: For longer storage, freeze the Quick Cherry Crumble Bars by wrapping them in plastic wrap and placing them in a freezer-safe bag or container. They can stay fresh for up to 3 months.
Reheating: To enjoy the bars warmed, simply thaw overnight in the fridge and then reheat in the oven at 350°F (175°C) for about 10-15 minutes until warm and delightful!
Make Ahead Options
These Quick Cherry Crumble Bars are perfect for meal prep enthusiasts! You can prepare the crust and crumble topping up to 24 hours in advance and store them in the refrigerator, tightly wrapped, to maintain freshness. Simply mix the dry ingredients and cut in the butter, then once the dough comes together, divide and refrigerate. When you’re ready to bake, layer your cherry filling (which can also be prepared a day ahead) over the crust, crumble the topping on top, and bake as directed. Your bars will come out just as delicious, saving you time on busy weeknights while still offering that amazing sweet-tart flavor you crave!
Expert Tips for Quick Cherry Crumble Bars
- Choose Ripe Cherries: Use fresh, ripe cherries for the best flavor. If they’re too tart, adjust the sugar in the filling accordingly.
- Don’t Overmix Dough: Mix just until the dough comes together. Overmixing can lead to tough bars instead of a tender texture for your Quick Cherry Crumble Bars.
- Let It Cool Fully: Allow the bars to cool completely before slicing. This prevents the filling from oozing out and ensures cleaner edges.
- Experiment with Flavors: Don’t hesitate to add spices like cinnamon or nutmeg to the cherry filling for an extra flavor dimension, enhancing the overall taste.
- Check for Browning: Keep an eye on the crumble topping as it bakes; it should be golden brown but not burnt, ensuring that perfect crunch.
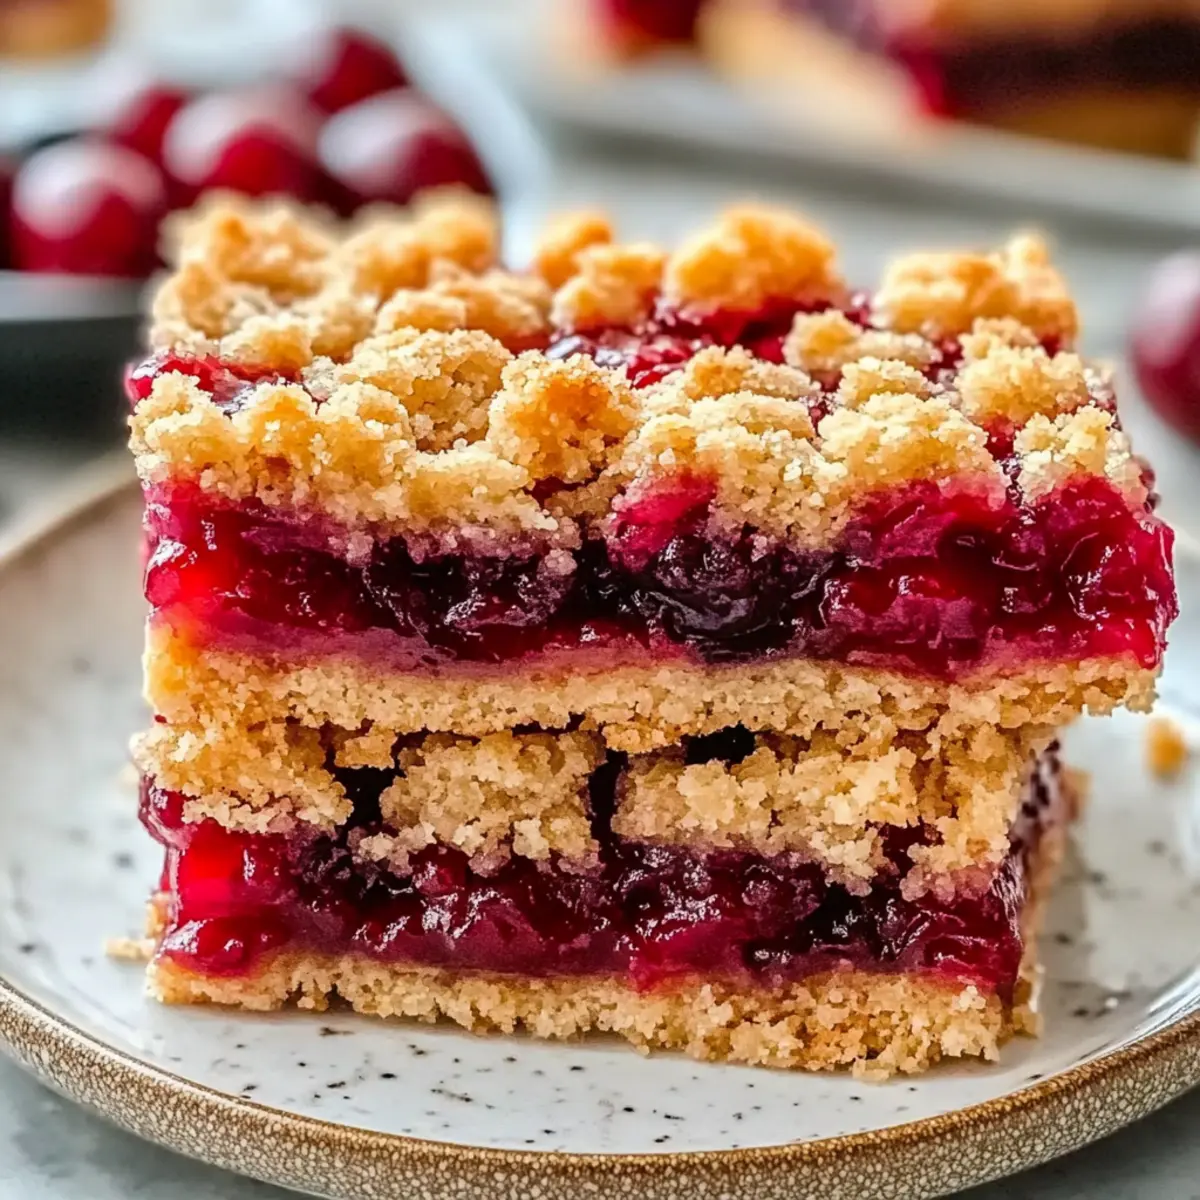
Quick Cherry Crumble Bars Recipe FAQs
How do I select the best cherries for this recipe?
Absolutely! Choose fresh cherries that are plump, firm, and free from blemishes. Look for a rich red color with a shiny exterior. If you notice dark spots all over or any signs of wrinkles, these cherries are likely overripe and may affect the flavor of your Quick Cherry Crumble Bars.
How should I store leftover cherry crumble bars?
Very! You can keep leftover bars in an airtight container at room temperature for up to 3 days. If you want them to last longer, store them in the refrigerator for up to 5 days. Just ensure they’re covered well to keep them from drying out or absorbing odors.
Can I freeze the crumb bars for later?
Absolutely! To freeze your Quick Cherry Crumble Bars, allow them to cool completely first. Then, wrap them in plastic wrap and place them in a freezer-safe container. They can stay fresh for up to 3 months. When you’re ready to enjoy them again, simply thaw overnight in the fridge, then reheat in the oven for a lovely warm treat!
What can I do if my cherry filling is too runny?
If your filling turns out runny, don’t worry! You can sprinkle a bit more cornstarch over the cherry mixture while it’s still in the bowl, and gently mix it in. Alternatively, simmer the filling on low heat for a few minutes to help thicken it up before spreading it over the crust. This ensures your Quick Cherry Crumble Bars come out perfectly every time!
Are there any dietary restrictions I should consider?
Very! If you’re making these bars for someone with dietary restrictions, there are plenty of alternatives. You can easily make them gluten-free by using a gluten-free all-purpose flour blend. For a dairy-free version, substitute the butter with vegan butter and use non-dairy milk. Always double-check for any specific allergies related to cherries or other ingredients.
What if I don’t have fresh cherries?
No problem! You can substitute fresh cherries with frozen cherries that have been thawed or even use canned cherry pie filling. Just be mindful to adjust the sugar in your filling if using canned cherries, as they are often pre-sweetened.
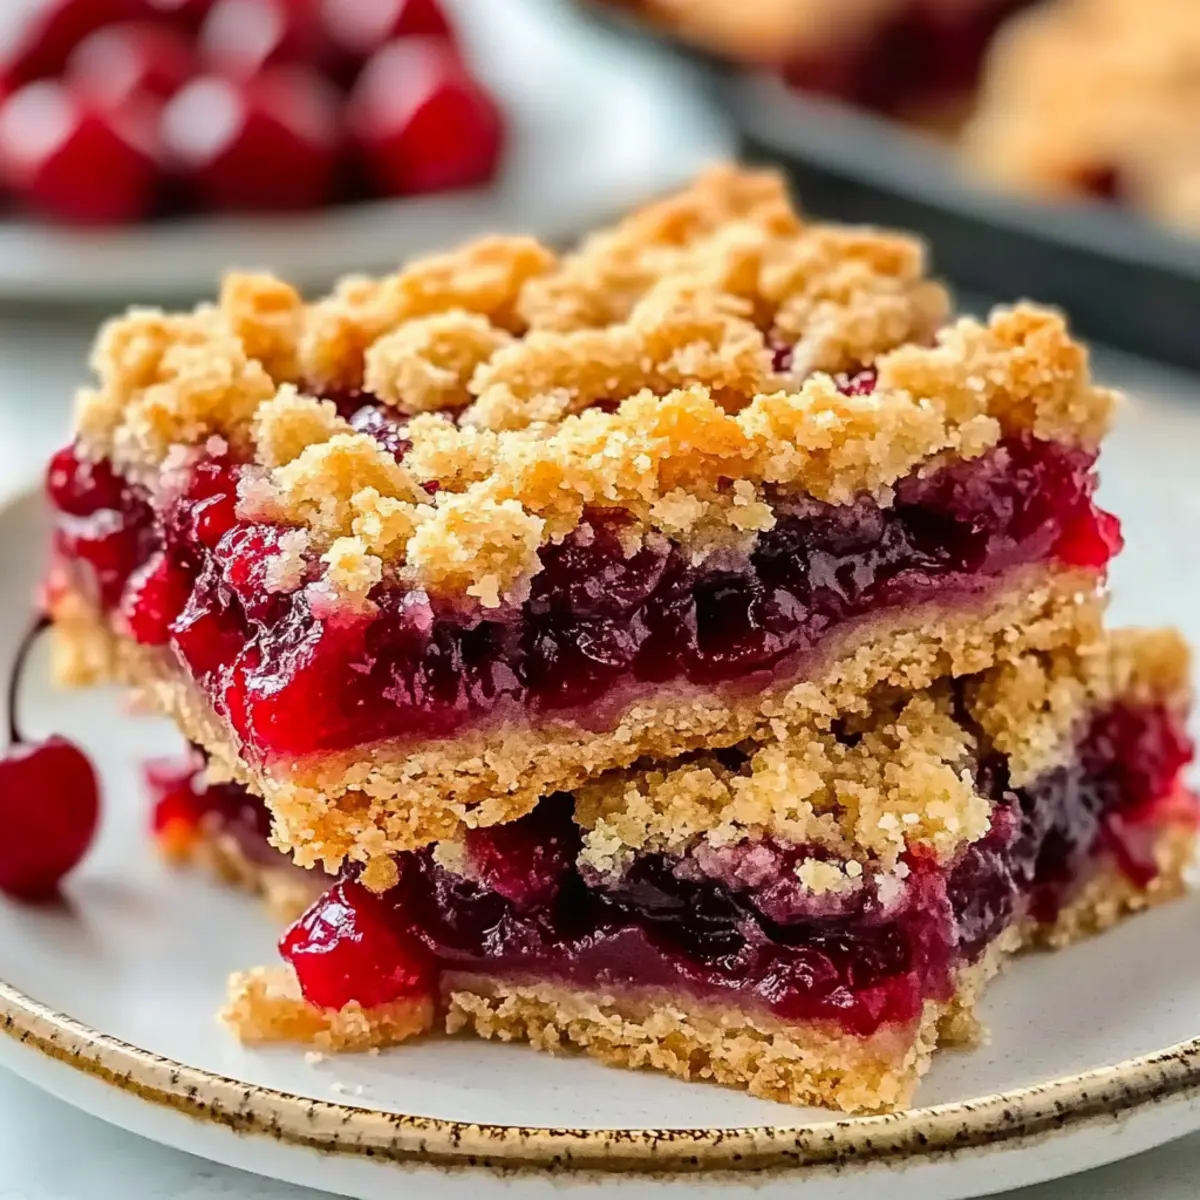
Delicious Quick Cherry Crumble Bars for a Sweet Treat
Ingredients
Equipment
Method
- Preheat your oven to 375°F (190°C) and grease a 9x13-inch baking dish.
- In a large bowl, combine flour, sugar, baking powder, and salt.
- Cut in the chilled butter until it resembles coarse sand.
- Mix in the egg and milk until a soft dough forms.
- Pat half of the dough into the bottom of the baking dish.
- Mix cherries with cornstarch and sugar, then toss to coat.
- Spread the cherry filling over the crust evenly.
- Crumble the remaining dough over the cherry filling.
- Bake for 35 minutes until the topping is golden brown.
- Cool completely before slicing into bars.
Leave a Reply