
Sipping on a fresh mango smoothie by the beach, I noticed the light, fruity sweetness of ripe mangoes could transport anyone to paradise. That’s the joy behind my Mango Dream Bars, a dessert that brings a slice of tropical bliss right to your kitchen. With their luscious mango filling and a buttery shortbread-like crust, these bars are not only a delightful treat but they’re also incredibly easy to whip up! Perfect for impressing friends at your next gathering or simply indulging on a lazy afternoon, they offer the ultimate customizable dessert experience. So, are you ready to turn your kitchen into a tropical escape with these luscious Mango Dream Bars? Let’s dive into the recipe!
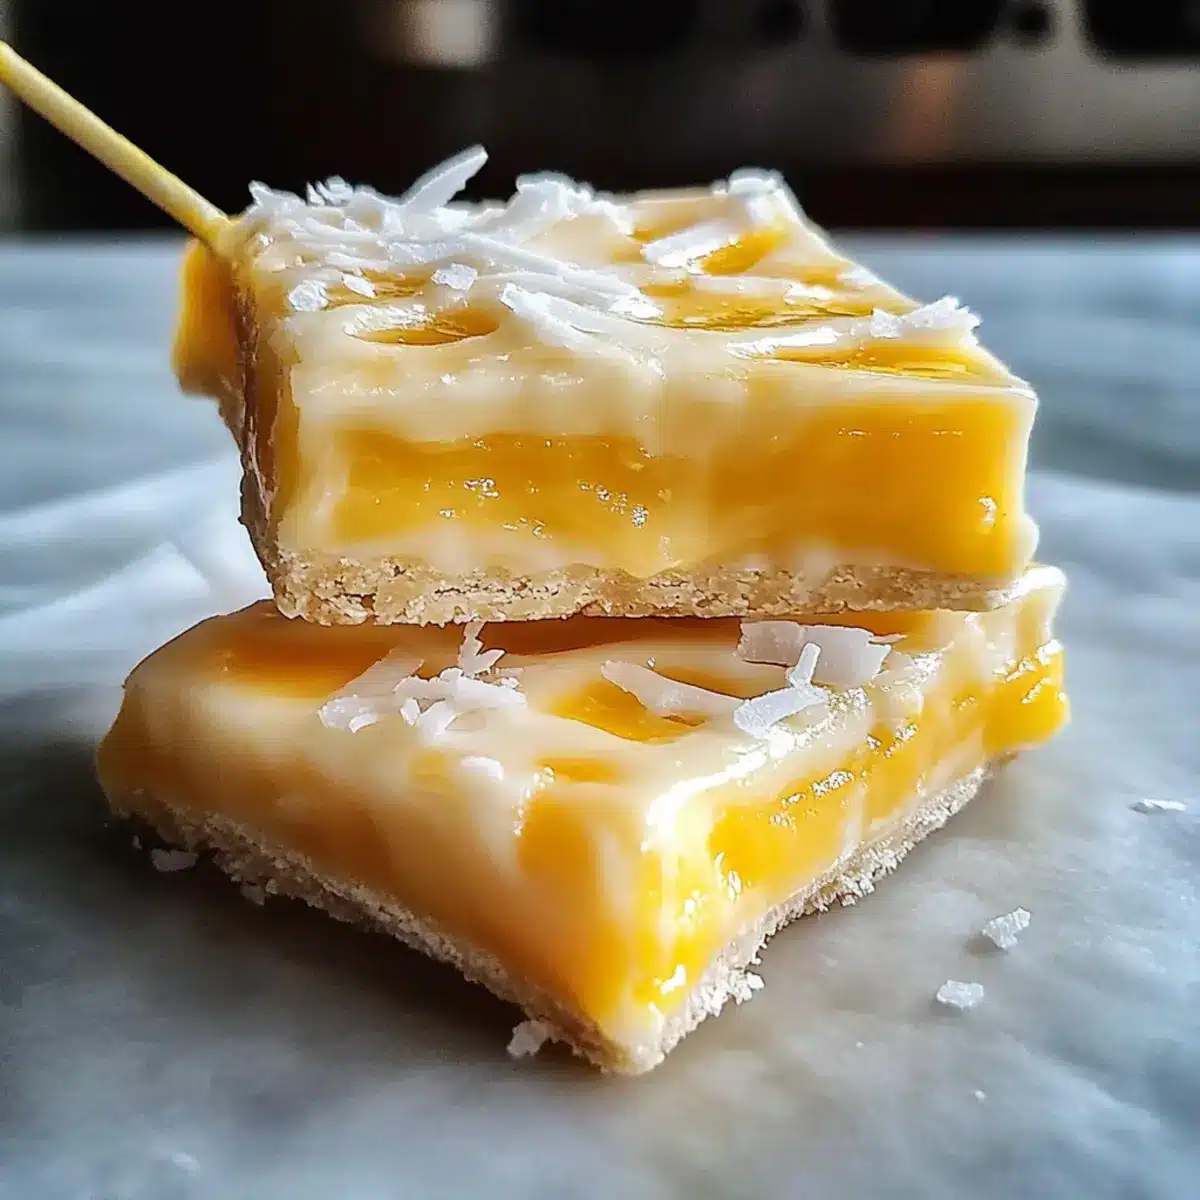
Why Are Mango Dream Bars Irresistible?
Bright, Tropical Flavor: Each bite bursts with the natural sweetness of ripe mangoes, transporting you straight to a sun-kissed beach.
Effortless Preparation: With just a handful of ingredients and simple steps, you can create this show-stopping dessert in no time.
Customizable Delight: Add your personal touch by experimenting with different purees or toppings—passionfruit or peach, anyone?
Perfect for Any Occasion: Whether it’s a summer BBQ or a cozy night in, these bars cater to all—from dessert lovers to health-conscious friends.
Satisfyingly Creamy Texture: With a buttery shortbread base and smooth filling, they melt in your mouth, leaving you craving more. Discover more tropical desserts like our delicious No-Bake Cookie Butter Icebox Cake for more inspiration!
Mango Dream Bars Ingredients
For the Crust
- All-purpose flour – Provides structure for the crust; can substitute with gluten-free flour for a gluten-free option.
- Unsalted butter – Adds richness and flavor to both crust and filling; use coconut oil for a dairy-free version.
- Granulated sugar – Sweetens the crust and filling, balancing the tartness of the mango; brown sugar can be used for a deeper flavor.
- Vanilla extract – Enhances overall flavor; using fresh vanilla bean can provide a more intense taste.
- Salt – Balances sweetness and enhances flavors; kosher salt is a suitable alternative.
For the Filling
- Mango puree (fresh or frozen) – Captures the tropical essence and vibrant color; canned mango puree is a viable alternative.
- Eggs – Bind the filling and contribute to its creamy texture; consider using flaxseed egg substitutes for a vegan option.
- Cornstarch – Thickens the filling for a smooth texture; arrowroot powder can serve as a replacement if needed.
- Lemon juice – Adds acidity that brightens the mango flavor; lime juice can work as a substitute.
Optional Toppings
- Shredded coconut – Adds texture and more tropical flavor; can omit for a plain version.
These delightful Mango Dream Bars are sure to whisk you away to a tropical getaway!
Step‑by‑Step Instructions for Mango Dream Bars
Step 1: Preheat the Oven and Prepare the Pan
Begin by preheating your oven to 350°F (175°C). While it warms up, take an 8×8-inch baking pan and line it with parchment paper, leaving a slight overhang to make removal easier later. If you prefer, you can simply grease the pan with butter or cooking spray. This ensures your Mango Dream Bars come out beautifully without sticking!
Step 2: Make the Crust
In a mixing bowl, combine all-purpose flour, granulated sugar, and a pinch of salt. Mix well before adding softened unsalted butter and a splash of vanilla extract. Use your fingers or a pastry cutter to blend until the mixture has a crumbly texture. Press this crumbly crust firmly into the bottom of the prepared baking pan for a solid base that will hold your delicious filling.
Step 3: Bake the Crust
Place the crust into your preheated oven and bake for 12-15 minutes. Keep an eye on it, and look for golden edges as the crust bakes. Once finished, remove it from the oven and allow it to cool slightly while you prepare the filling. This step is crucial for creating the perfect foundation for your Mango Dream Bars.
Step 4: Prepare the Filling
In a saucepan, whisk together the mango puree, sugar, cornstarch, lemon juice, and a pinch of salt. Cook over medium heat, stirring frequently for about 5-7 minutes, or until the mixture thickens and bubbles up slightly. You want a smooth consistency; the filling should be thick enough to hold its shape but still creamy. Once thickened, allow it to cool slightly before moving to the next step.
Step 5: Combine the Eggs and Filling
Once the mango mixture has cooled, whisk in the eggs and an additional splash of vanilla extract. Stir thoroughly until the filling is smooth and well combined, ensuring no lumps remain. This creamy mango filling is what will make your Mango Dream Bars truly irresistible!
Step 6: Pour the Filling Over the Crust
Carefully pour the cooled mango filling over the pre-baked crust, spreading it evenly with a spatula. Make sure to cover the crust completely; this helps create that delightful contrast between the buttery base and the vibrant mango topping.
Step 7: Bake the Bars
Return the baking pan to the oven and bake for another 20-25 minutes. You’ll know your Mango Dream Bars are done when the filling is set and lightly golden on top. It might jiggle slightly, but it will firm up as it cools.
Step 8: Cool and Chill
After baking, remove the pan from the oven and let it cool to room temperature. Once cooled, refrigerate the bars for 1-2 hours. Chilling not only helps them set properly but also allows the flavors to meld beautifully, giving you that refreshing tropical taste.
Step 9: Cut and Serve
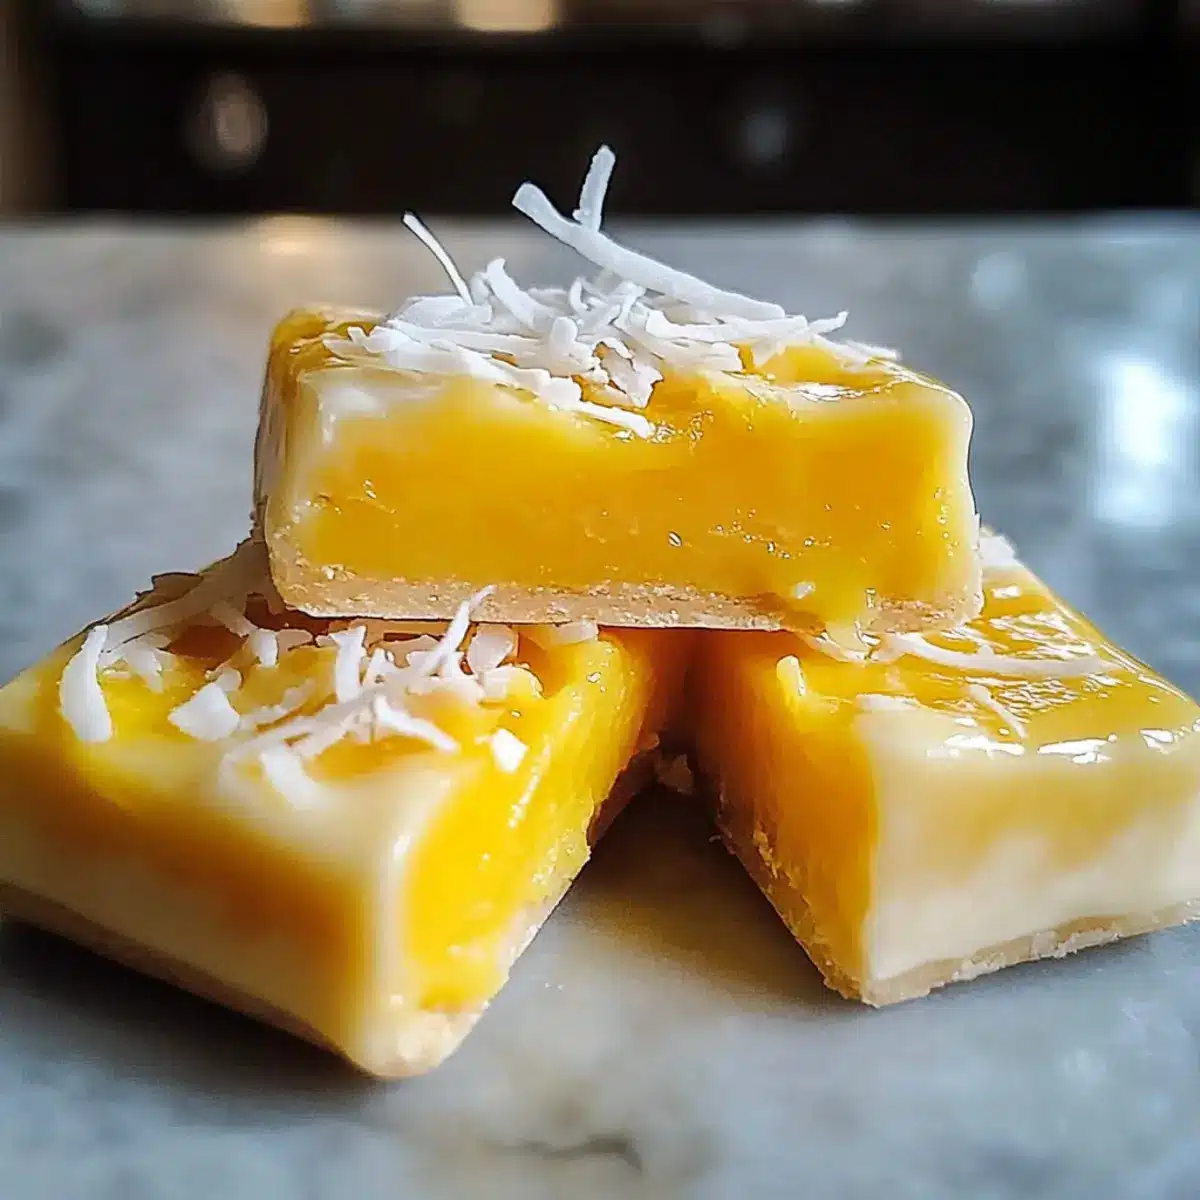
Once chilled and set, remove the Mango Dream Bars from the pan using the parchment overhang. Cut into squares or rectangles, and if desired, sprinkle with shredded coconut for that extra tropical flair. Serve these delightful bars cold, and watch them disappear!
Mango Dream Bars Variations & Substitutions
Customize your Mango Dream Bars to suit your taste buds and dietary preferences with these delightful variations!
-
Passionfruit or Peach Puree: Swap mango puree with passionfruit or peach for a different fruity flavor twist. Both lend a unique tropical essence that’s equally tempting!
-
Lime Zest Addition: Enhance the filling’s flavor by adding lime zest for an invigorating citrus kick. It brightens up the mango and adds a lovely aroma.
-
Dairy-Free Option: Use coconut oil in place of unsalted butter for a deliciously rich, dairy-free crust and filling. Coconut infuses a tropical feel that’s hard to resist.
-
Nutty Crust: Add crushed almonds or walnuts to the crust for a flavorful crunch. It not only enhances texture but also adds a surprising richness.
-
Chocolate Drizzle: After chilling, drizzle melted dark chocolate over the cut bars for an unexpected indulgence. The contrast between chocolate and mango is heavenly!
-
Frozen Treat: Freeze the bars for a refreshing cool treat in summer. Just slice, wrap, and pop them in the freezer—perfect for hot days!
-
Coconut Cream Topping: Serve with a dollop of whipped coconut cream for extra richness and a tropical touch. It complements the mango flavor beautifully.
-
Spicy Kick: For a surprising twist, sprinkle a pinch of cayenne pepper into the filling. The heat balances the sweetness, giving an exciting flavor profile.
By experimenting with these variations, you can discover your own favorite way to enjoy these heavenly Mango Dream Bars. Looking for more sweet inspiration? Check out our delightful Chocolate Mousse Cake or try the no-bake Cookie Butter Icebox Cake!
Make Ahead Options
These Mango Dream Bars are perfect for meal prep enthusiasts! You can prepare the crust and the mango filling up to 24 hours in advance. Simply make the crust and let it cool completely before wrapping it tightly in plastic wrap to prevent it from drying out. You can also cook the mango filling; just allow it to cool before refrigerating it in an airtight container. When you’re ready to serve, simply reheat the filling gently on the stovetop if needed, then pour it over the prepared crust and bake as directed. This method ensures that your Mango Dream Bars will be just as delicious, offering you a quick and easy dessert option for busy weeknights!
Expert Tips for Mango Dream Bars
-
Perfect Puree Consistency: Ensure your mango puree isn’t too watery; strain it if necessary for a thicker filling that sets beautifully.
-
Cool Before Eggs: Allow the mango mixture to cool before adding the eggs to prevent cooking them, ensuring a smooth and creamy texture.
-
Sharp Knife for Cutting: Use a sharp knife to cut the bars once they’re set; this will give you clean edges and a more polished presentation for your Mango Dream Bars.
-
Experiment with Toppings: Don’t hesitate to get creative with toppings—shredded coconut, lime zest, or a dollop of whipped cream can add delightful flavors and textures.
-
Storage Smart: Store any leftovers in an airtight container in the refrigerator for up to a week. You can freeze these bars for up to three months, making them a convenient treat for later!
What to Serve with Mango Dream Bars?
Elevate your dessert experience with delightful pairings that harmonize perfectly with the tropical flavors of these bars.
- Iced Tea: The refreshing, chilled beverage perfectly balances the sweetness of the bars, offering a delightful contrast.
- Tropical Smoothie: Blend mango, pineapple, and coconut milk for a creamy drink that echoes the tropical theme of your dessert.
- Coconut Whipped Cream: A light and airy topping enhances the creamy filling, adding a luscious texture that’s simply irresistible.
- Fresh Fruit Salad: A medley of citrus and berries complements the Mango Dream Bars, cutting through their richness beautifully.
- Key Lime Pie: For the adventurous, the tangy flavors complement the sweet mango, providing a punchy contrast for your palate.
- Coconut Macaroons: These chewy delights echo the coconut notes from the topping, offering an additional tropical twist that’s fun to munch on.
- Sparklings Wines or Prosecco: Effervescent drinks work wonderfully to cleanse the palate, making each bite of mango more memorable.
Indulging in these pairings will create an exquisite spread that brings a taste of paradise right to your table!
How to Store and Freeze Mango Dream Bars
Fridge: Store leftover Mango Dream Bars in an airtight container for up to 1 week. This helps to maintain their creamy texture and fresh flavor.
Freezer: Wrap the bars individually in plastic wrap and place them in a freezer-safe container. They can be frozen for up to 3 months. Thaw in the refrigerator before serving for the best taste.
Reheating: If you prefer to enjoy them warm, gently heat in the microwave for about 10-15 seconds; this brings back their creamy filling while keeping the crust crunchy!
Wrapping Tips: Ensure bars are well-wrapped with plastic to avoid freezer burn and maintain their delicious mango essence.
Mango Dream Bars Recipe FAQs
What kind of mangoes should I use for the puree?
Absolutely! For the best flavor, use ripe and sweet mangoes. Look for mangoes that are slightly soft to touch and have a sweet aroma. If using frozen mangoes, make sure they’re fully thawed and blended to a smooth consistency for ideal results.
How long can I store Mango Dream Bars in the refrigerator?
You can store any leftover Mango Dream Bars in an airtight container in the refrigerator for up to 1 week. Keeping them sealed will help maintain their creamy texture and prevent them from absorbing any other odors in the fridge.
Can I freeze Mango Dream Bars? How do I do that?
Very! To freeze your Mango Dream Bars, wrap each bar individually in plastic wrap, then place them in a freezer-safe container or zip-top bag. They can be frozen for up to 3 months. When you’re ready to enjoy them, simply thaw in the refrigerator for a few hours before serving. This will keep them tasting fresh!
What if my mango puree is too watery?
If you find that your mango puree is too watery, don’t worry! Simply strain it through a fine-mesh sieve or cheesecloth before using it in the recipe. This will help thicken your filling and ensure that it sets perfectly. Additionally, you can cook the puree over medium heat to evaporate some excess moisture, but watch it closely to avoid overcooking.
Are there any dietary considerations I should keep in mind?
Definitely! If you’re preparing these bars for someone with dietary restrictions, consider the following: use gluten-free flour for a gluten-free option or flaxseed eggs for a vegan alternative. Always check the labels of your ingredients for potential allergens, especially if serving to children or guests with food sensitivities.
Can I customize the topping on my Mango Dream Bars?
Absolutely! Feel free to get creative with your toppings! Shredded coconut is a great choice, but you could also try adding a sprinkle of lime zest, a dollop of whipped cream, or even fresh fruit on top. The more the merrier; it adds not just flavor but also visual appeal to your delightful Mango Dream Bars!
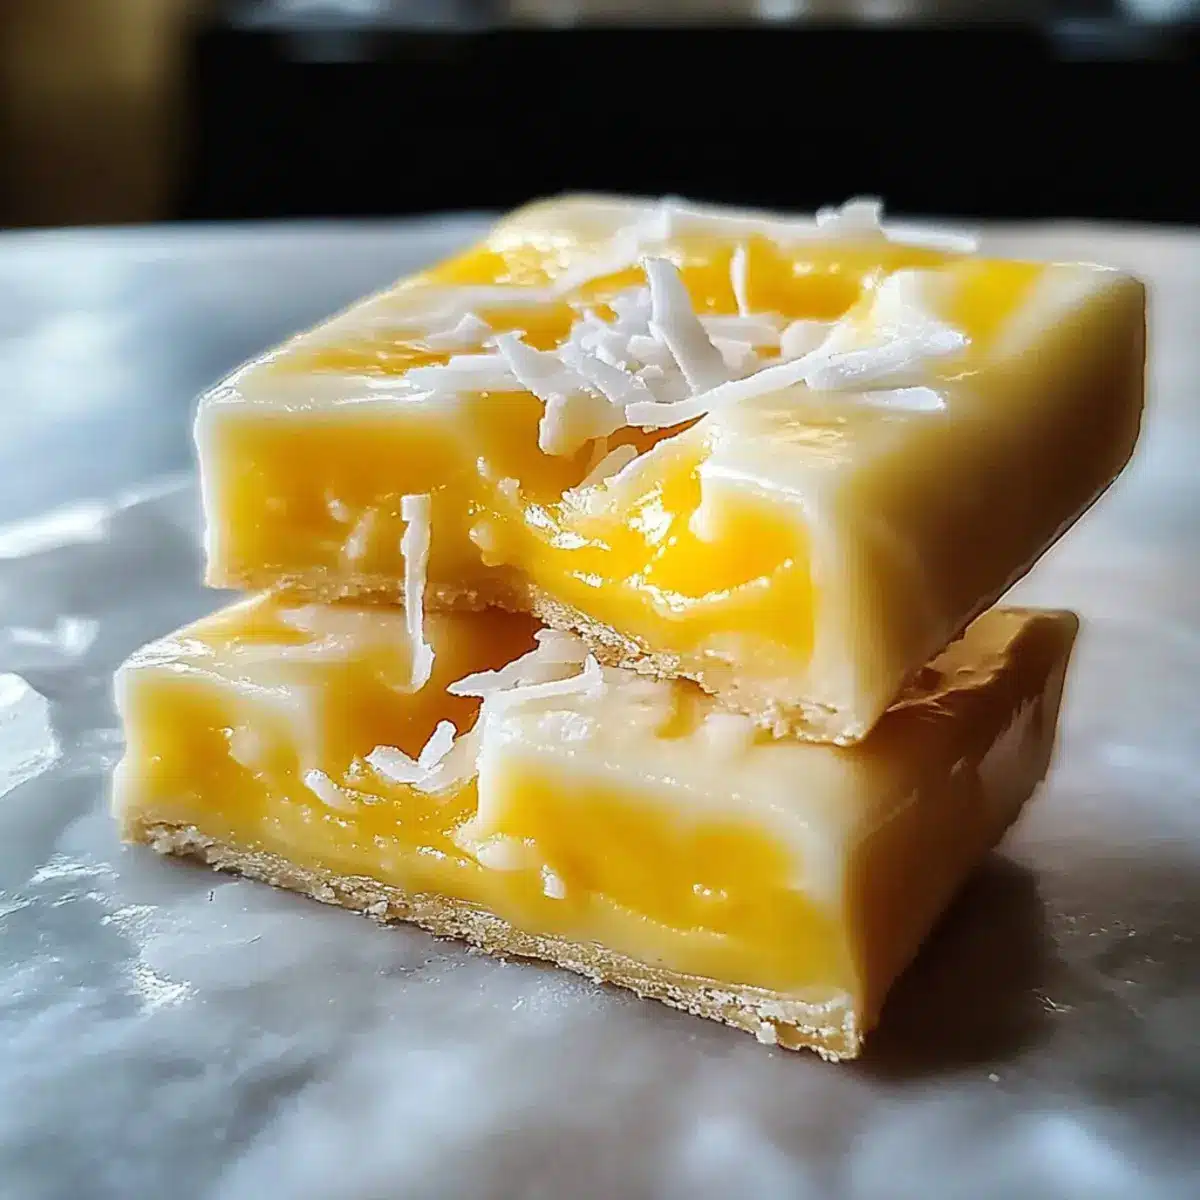
Mango Dream Bars: A Sweet Taste of Tropical Bliss
Ingredients
Equipment
Method
- Preheat your oven to 350°F (175°C) and prepare an 8x8-inch baking pan with parchment paper.
- In a mixing bowl, combine all-purpose flour, granulated sugar, and a pinch of salt. Mix well and add softened unsalted butter and vanilla extract. Blend until crumbly and press into the bottom of the prepared pan.
- Bake the crust for 12-15 minutes until golden around the edges. Remove from the oven and allow to cool slightly.
- In a saucepan, whisk together the mango puree, sugar, cornstarch, lemon juice, and salt. Cook over medium heat, stirring frequently for about 5-7 minutes until thickened.
- Allow the mango mixture to cool slightly, then whisk in the eggs and additional vanilla extract until smooth and combined.
- Pour the filling over the pre-baked crust, spreading it evenly with a spatula.
- Bake the bars for another 20-25 minutes until the filling is set and lightly golden on top. Allow to cool at room temperature.
- Refrigerate the bars for 1-2 hours before serving to help them set properly.
- Remove the bars from the pan using the parchment, cut into squares or rectangles, and optionally sprinkle with shredded coconut.
Leave a Reply