
Standing in the kitchen with a craving for a refreshing snack, I stumbled upon a delightful way to merge simplicity with deliciousness: Frozen Yogurt Granola Cups! This recipe is truly a lifesaver, delivering a nutritious treat that is not only quick to prepare but also perfect for satisfying those midday munchies without all the fuss. With layers of creamy Greek yogurt, crunchy oats, and vibrant berries, these cups can be easily customized to fit any dietary preference, including a delectable dairy-free version. You won’t just be nibbling on a snack; you’ll be enjoying a protein-packed burst of flavor that can double as a guilt-free dessert. Intrigued to see how these tasty little cups come together? Let’s dive in!
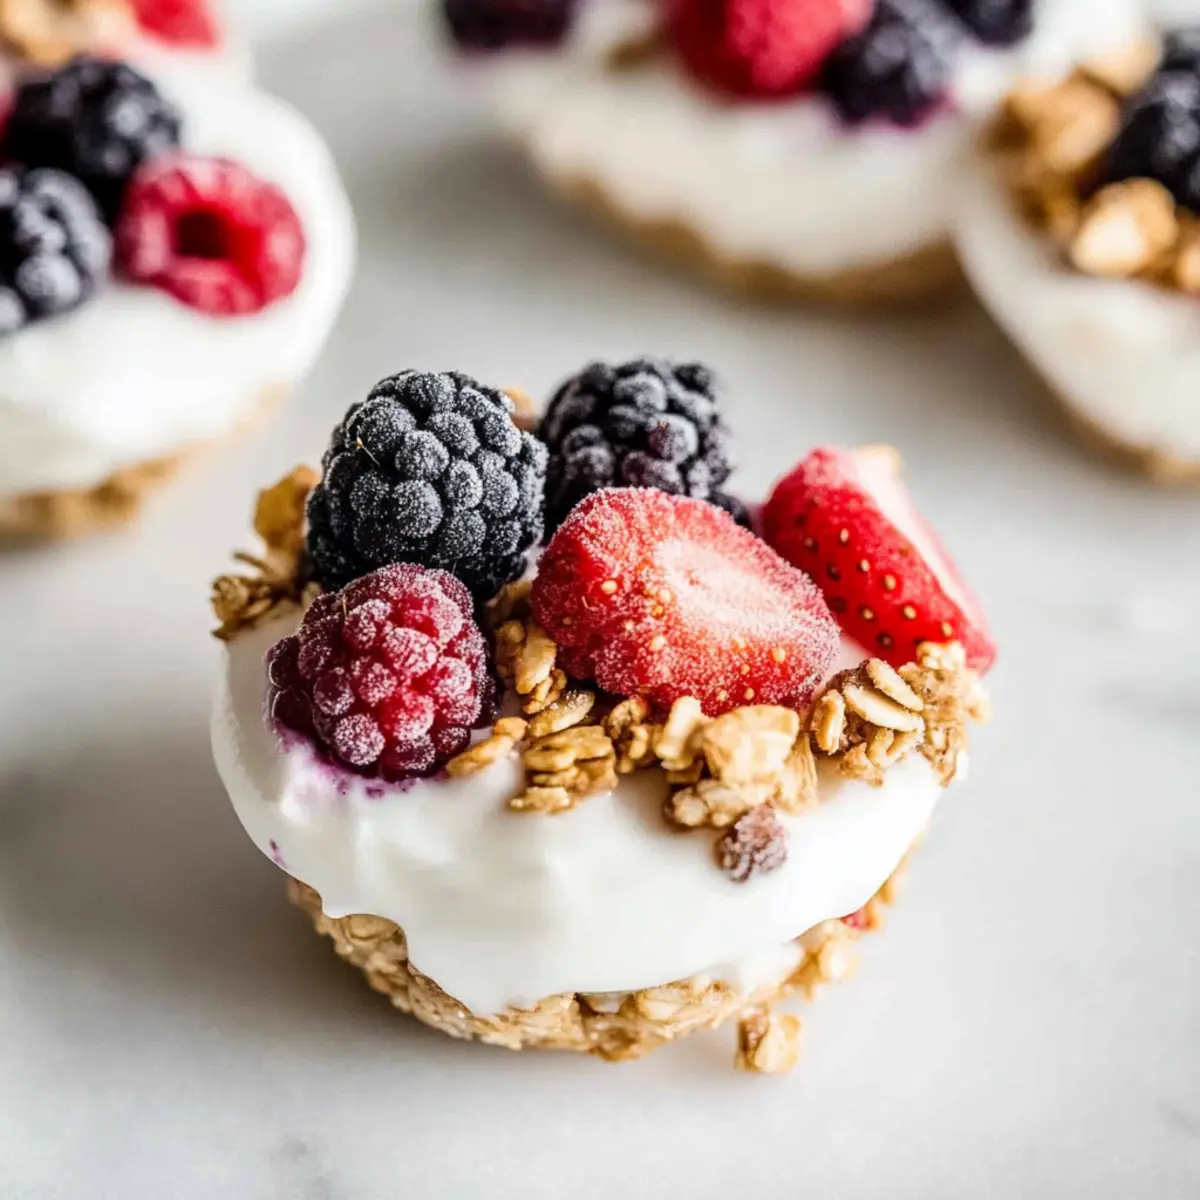
Why are Frozen Yogurt Granola Cups perfect?
Customizable: These cups can easily cater to your taste and dietary preferences, from using plant-based yogurt for a dairy-free option to experimenting with toppings like chocolate chips or coconut flakes.
Quick and Easy: With no baking required, this recipe is perfect for anyone short on time. Just mix, press, and freeze!
Nutrient-Dense: Packed with protein from Greek yogurt, fiber from oats, and antioxidants from fresh berries, they’re as wholesome as they are tasty. For more energy-packed options, check out these Apple Yogurt Pancakes.
Crowd-Pleaser: Great for kids and adults alike, they make for an exciting way to enjoy healthy snacks or desserts without the guilt.
Make-Ahead Delight: Store them in your freezer for up to two months, so you’re always just minutes away from a refreshing treat!
Frozen Yogurt Granola Cups Ingredients
• For the Granola Base
- Oats – Provide structure and fiber; can substitute with gluten-free oats for a gluten-free option.
- Almond Butter – Adds creaminess and healthy fats; peanut butter can be used as a swap.
- Honey – For sweetness and a bit of stickiness; maple syrup works as a vegan substitute.
- Vanilla Extract – Enhances flavor; use fresh vanilla bean for a gourmet touch.
• For the Yogurt Filling
- Greek Yogurt – Forms the creamy base; regular yogurt may be used but will alter texture; dairy-free yogurt is a suitable alternative.
• For the Topping
- Fresh Berries – Provides freshness and antioxidants; any seasonal berry like strawberries, blueberries, or raspberries can be used.
- Additional Granola – For an extra crunch on top; choose your favorite granola for added flavor!
Dive into making these Frozen Yogurt Granola Cups, a healthy and delightful snack!
Step‑by‑Step Instructions for Frozen Yogurt Granola Cups
Step 1: Prepare the Granola Crust
In a mixing bowl, combine oats, almond butter, honey, and vanilla extract. Mix well until all ingredients are fully incorporated and a sticky dough forms, about 2 minutes of stirring. You’ll know the mixture is ready when it holds together and is easily moldable. Grab a muffin tin and line it with muffin liners for easy removal later.
Step 2: Form the Cups
Divide the granola mixture evenly among the muffin cups, using your fingers or a spoon to press it firmly into the bottom. Ensure that each cup has a solid base about a quarter inch thick, which should take around 3 minutes. This step is key for forming a sturdy crust for your Frozen Yogurt Granola Cups!
Step 3: Add Yogurt
Spoon the Greek yogurt into each crusted muffin cup, smoothing the top with the back of a spoon. Aim for an even layer on top of the granola base, filling each cup to the top, which should take about 5 minutes. The creamy yogurt layer is what makes these Frozen Yogurt Granola Cups a delightful treat!
Step 4: Top with Berries
Gently place a variety of fresh berries on top of the yogurt layer, adding as many as you like for flavor and decoration. This should take about 2-3 minutes, as you can mix different types like strawberries, blueberries, and raspberries. For an extra crunch, feel free to sprinkle some granola crumbs on top of the berries!
Step 5: Freeze
Carefully transfer the muffin tin to the freezer and allow the cups to freeze for at least 3 hours or until solid. Make sure to keep them flat during this time to maintain their shape. You’ll see the edges should be firm to the touch and the tops solidify, creating delicious Frozen Yogurt Granola Cups.
Step 6: Serve
When ready to enjoy, remove the cups from the freezer and let them sit at room temperature for about 5-10 minutes to soften. This will help in easily peeling away the muffin liners and give you that perfect creamy texture. Now, grab a cup and delight in these satisfying frozen treats!
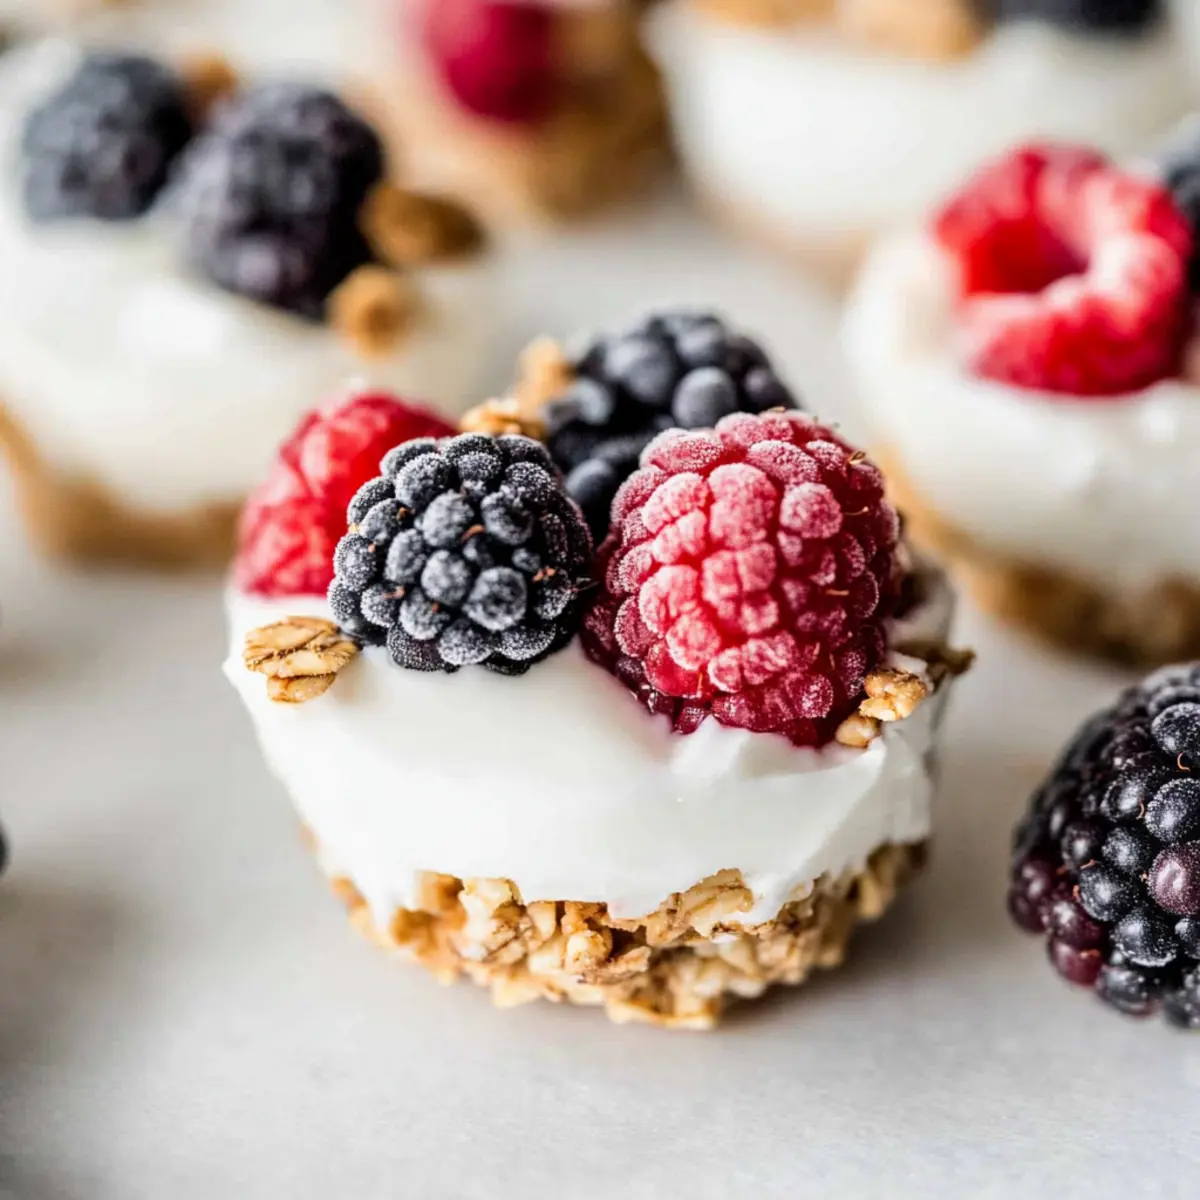
What to Serve With Frozen Yogurt Granola Cups
Indulging in a delightful snack is best enjoyed with companions that enhance the experience, transforming it into a satisfying meal.
- Fresh Fruit Salad: A bright and zesty medley of fruits adds a burst of color and sweetness, complementing the creamy yogurt.
- Nutty Trail Mix: This crunchy and wholesome mix not only provides protein but also creates a satisfying texture contrast with the creamy cups.
- Honey Drizzle: A touch of honey drizzled over each cup enhances the sweetness, making every bite tantalizingly rich.
- Coconut Whipped Cream: Light and fluffy, this tropical touch elevates the treat to a dessert level, perfect for those craving a bit of indulgence.
- Chia Seed Pudding: Pairing these cups with a smooth chia seed pudding provides an extra protein punch while keeping things refreshing together.
- Matcha Green Tea: This earthy drink not only boosts antioxidants but pairs beautifully with the sweetness of the yogurt cups, creating a harmonious balance.
- Chocolate-Dipped Strawberries: For an elevated dessert experience, these sweet treats create a stunning contrast to the healthy snack, making it feel extra special.
- Peanut Butter Smoothie: A creamy blend of bananas, peanut butter, and milk complements the granola cups’ flavors perfectly—ideal for a power-packed start to your day.
- Mint Infused Water: Crisp and refreshing, this drink complements the fruity flavors while keeping the palate clean between bites.
- Vegan Chocolate Muffins: Adding a rich and chocolaty muffin to your snack lineup offers a comforting option that pairs beautifully with the yogurt richness.
Expert Tips for Frozen Yogurt Granola Cups
- Thaw Before Eating: Allow the cups to sit at room temperature for 5-10 minutes before enjoying to achieve the perfect creamy texture—too cold can make them hard to bite into.
- Adjust Sweetness: The yogurt’s flavor can vary; if using plain yogurt, consider adding a little extra sweetener. This helps balance the flavors in your Frozen Yogurt Granola Cups.
- Use a Food Processor: For a finer granola base, blend the oats and nut butter in a food processor before mixing. This will create a smoother texture in your cups.
- Mix It Up: Feel free to experiment with different nut butters and toppings for variety. Cashew butter or sunflower seed butter can be delightful swaps.
- Storage Tips: Store your Frozen Yogurt Granola Cups in an airtight container in the freezer for up to two months, ensuring a quick snack is always within reach!
How to Store and Freeze Frozen Yogurt Granola Cups
Fridge: Store in an airtight container in the fridge for up to 3 days if you plan to enjoy them soon, keeping them fresh and accessible.
Freezer: For longer storage, freeze your Frozen Yogurt Granola Cups in an airtight container for up to 2 months. Ensure the cups are fully frozen before sealing to prevent freezer burn.
Thawing: When ready to eat, remove the cups from the freezer and let them sit at room temperature for 5-10 minutes to soften for the best texture.
Reheating: These cups are best enjoyed cold but if you prefer a slightly warm snack, consider microwaving for just 10-15 seconds; be cautious not to melt them!
Frozen Yogurt Granola Cups Variations
Feel free to add your twist to these delightful cups and make them uniquely yours!
-
Dairy-Free: Substitute Greek yogurt with your favorite plant-based yogurt for a deliciously creamy option that everyone can enjoy. Let the flavors shine in a totally guilt-free way!
-
Nut Butter Swaps: Use cashew butter, sunflower seed butter, or your favorite nut butter to change up the flavor and texture dimensions. Each nut butter adds its distinct character, making every batch a new adventure!
-
Sweetener Alternatives: Replace honey with maple syrup for a vegan-friendly version. The rich flavor adds a delightful twist suitable for all sweetness lovers.
-
Berry Medley: Try swapping fresh berries for diced peaches, bananas, or even mango for a seasonal twist. Each fruit brings its sweet personality, creating refreshing change in every bite!
-
Texture Boost: Add a sprinkle of chia seeds or flaxseeds into the yogurt for an extra crunch and hit of nutrition. They offer a delightful texture and boost your health in a simple way.
-
Chocolate Delight: Top with dark chocolate chips or shavings for a touch of indulgence. Chocolate lovers will rejoice in the sweet surprise with each spoonful!
-
Crunchy Toppings: Experiment with different granolas or even shredded coconut for a tropical vibe. Each layer brings a fun crunch that takes these cups to a new level!
-
Spiced Up: Add a pinch of cinnamon or nutmeg into the granola mix for added warmth and spice. It transforms the flavor profile into something cozy and inviting. For a wonderful pancake variation, don’t forget to check out these Apple Yogurt Pancakes!
With each variation, you can enhance the experience and tailor these Frozen Yogurt Granola Cups to your taste! Enjoy making them your own!
Make Ahead Options
These Frozen Yogurt Granola Cups are a perfect choice for busy home cooks who want to save time without sacrificing flavor! You can prepare the granola crust up to 24 hours in advance and store it in the refrigerator. Just press the mixture into the muffin cups, cover them tightly, and refrigerate. The yogurt layer can be added right before you freeze them, or you can assemble the entire cup and keep them in the freezer for up to 2 months. This way, you’ll always have a refreshing snack on hand. When ready to serve, simply allow them to thaw for 5-10 minutes at room temperature for the perfect creamy texture—just as delicious as when freshly made!
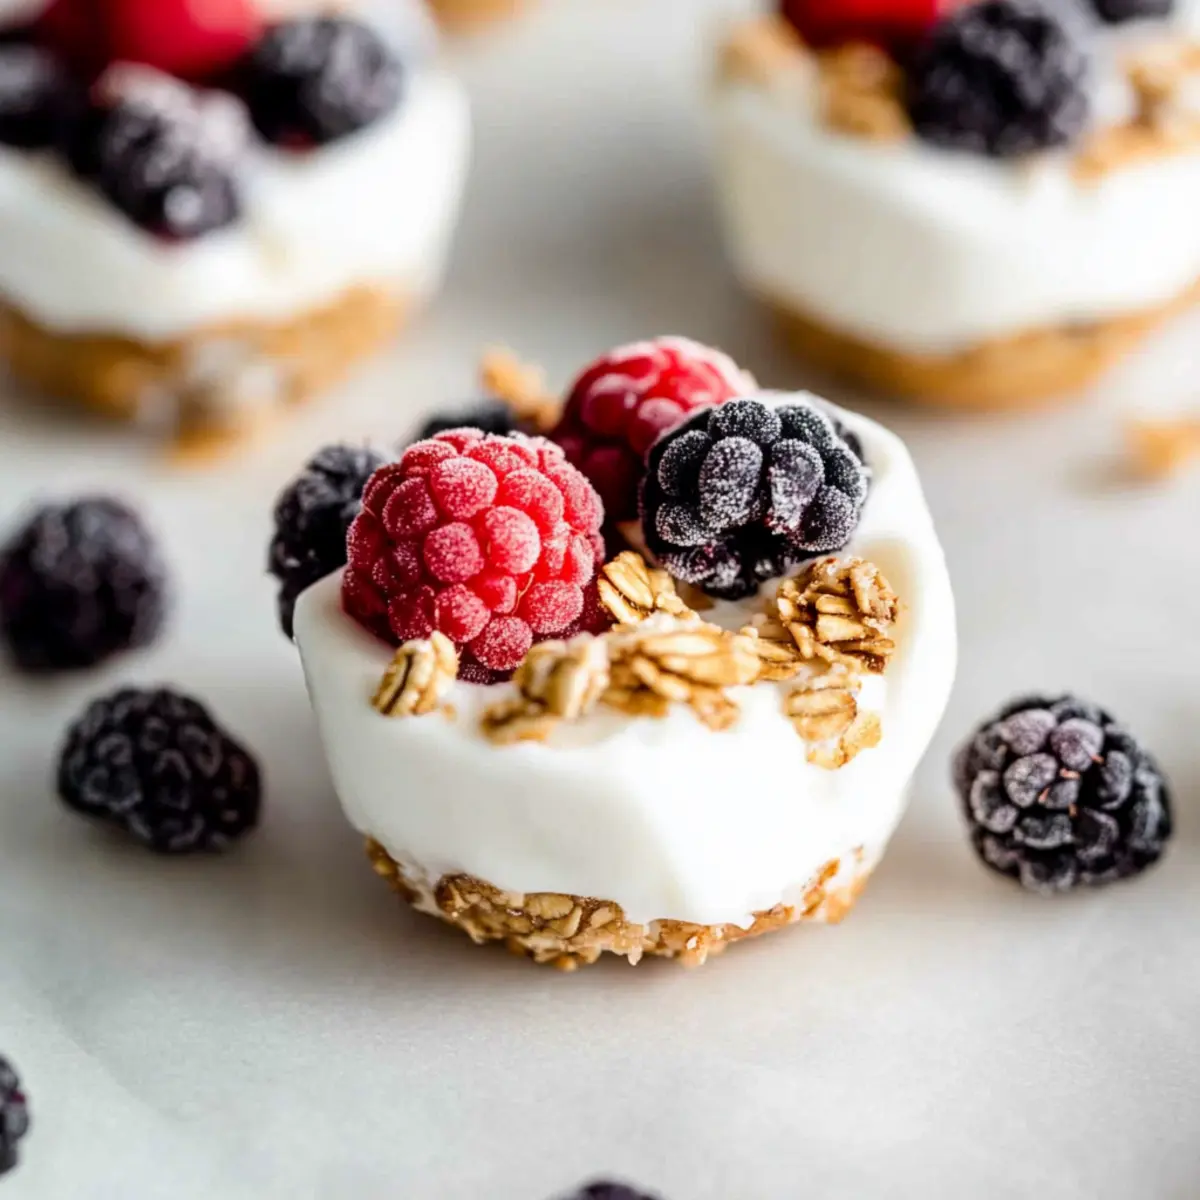
Frozen Yogurt Granola Cups Recipe FAQs
What type of yogurt is best for Frozen Yogurt Granola Cups?
I recommend using Greek yogurt for a creamy texture and increased protein content. However, if you’re looking for a dairy-free option, feel free to swap in your favorite plant-based yogurt. Just ensure it’s unsweetened for the best flavor balance!
How should I store my Frozen Yogurt Granola Cups?
To keep your Frozen Yogurt Granola Cups fresh, store them in an airtight container in the freezer for up to 2 months. If you plan to eat them within a few days, they can also be kept in the fridge for up to 3 days. Just make sure they are sealed well to prevent freezer burn.
Can I freeze these yogurt cups after making them?
Absolutely! Once you’ve assembled your Frozen Yogurt Granola Cups, place them in the freezer for at least 3 hours until they are fully solid. Ensure they are on a flat surface so they freeze uniformly. After freezing, you can transfer them to an airtight container for longer storage.
What should I do if my granola base crumbles while forming the cups?
If your granola mixture is too crumbly, it likely needs more moisture. Try adding a tiny bit more almond butter or honey to help it hold together better. Mix well and it should form a pliable dough. Remember, the mixture should be sticky enough to press firmly into the muffin cups!
Are there any dietary considerations for Frozen Yogurt Granola Cups?
Yes! These cups can easily be tailored to fit various dietary needs. Use gluten-free oats to make them gluten-free and swap honey for maple syrup to make them vegan-friendly. Always double-check ingredient labels to ensure safety, especially for allergens like nuts or dairy.
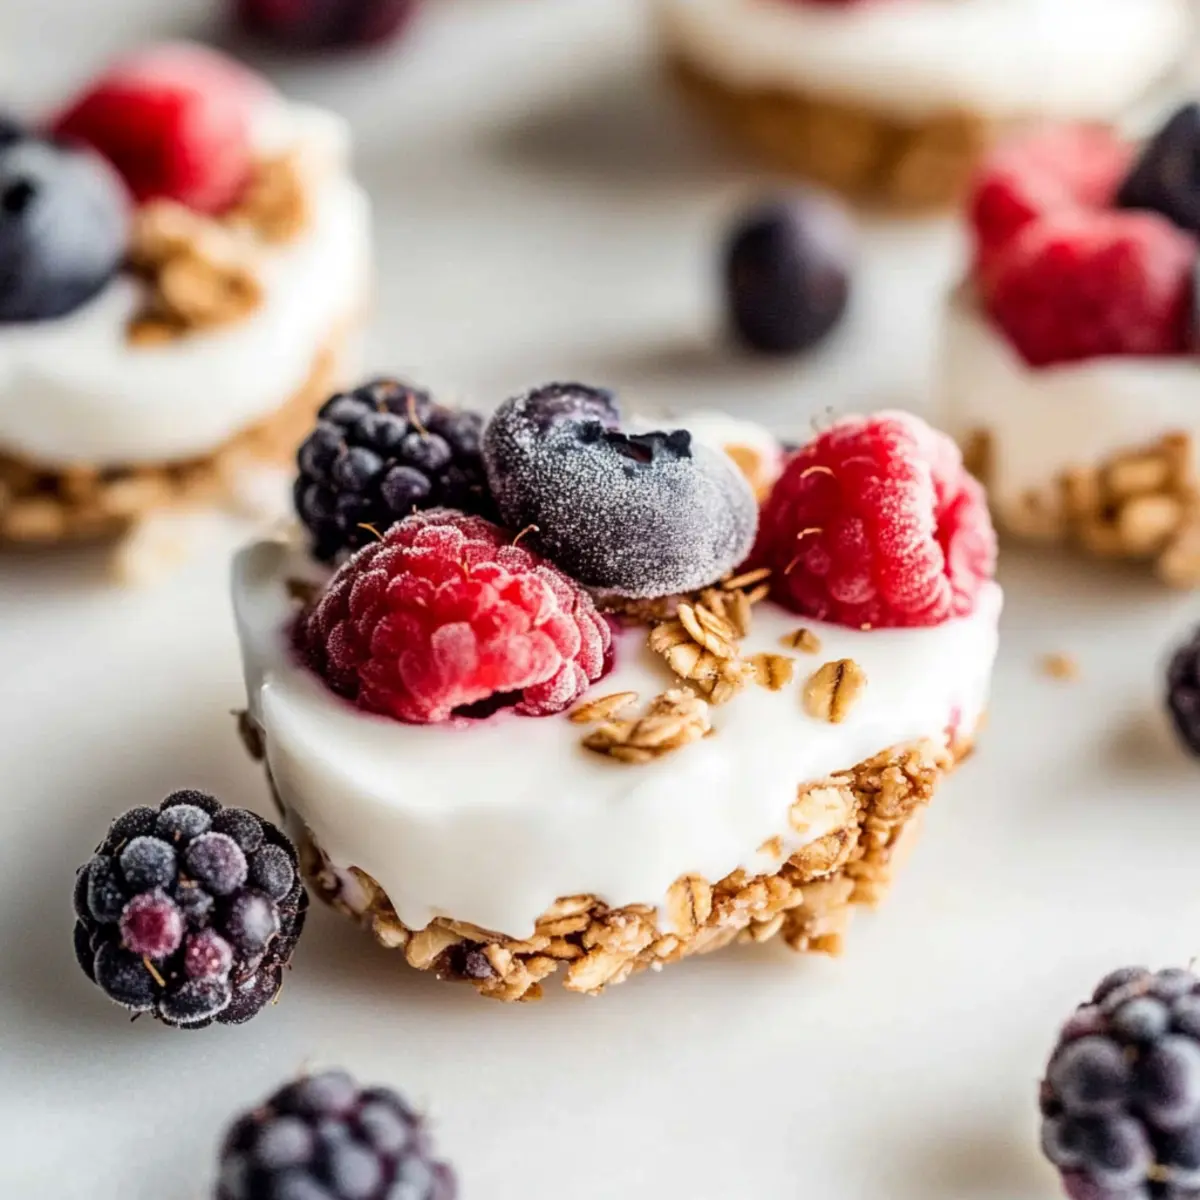
Frozen Yogurt Granola Cups: Your New Favorite Healthy Snack
Ingredients
Equipment
Method
- In a mixing bowl, combine oats, almond butter, honey, and vanilla extract. Mix well until a sticky dough forms, about 2 minutes.
- Divide the granola mixture evenly among the muffin cups, pressing firmly to form a sturdy base.
- Spoon the Greek yogurt into each crusted muffin cup, smoothing the top with a spoon.
- Gently place a variety of fresh berries on top of the yogurt layer.
- Carefully transfer the muffin tin to the freezer and allow the cups to freeze for at least 3 hours or until solid.
- When ready to enjoy, remove the cups from the freezer and let them sit at room temperature for 5-10 minutes to soften.
Leave a Reply