
You may not realize it, but there’s a delicious and delightfully fun twist to your favorite cheesecake waiting to be discovered! Introducing Cheesecake Fruit Salad Roll Ups, an irresistible no-bake dessert that’s so simple to whip up, it’s perfect for those lazy summer days or last-minute gatherings. Imagine creamy cheesecake wrapped snugly in a soft tortilla, bursting with the fresh flavors of seasonal fruits. This quick and easy recipe not only makes a satisfying portable treat, but it’s also incredibly adaptable, allowing you to switch up the fruits based on what’s in season. Ready to elevate your dessert game and impress your family and friends? Let’s dive into this unique creation that promises to bring smiles all around. What flavor combinations will you try first?
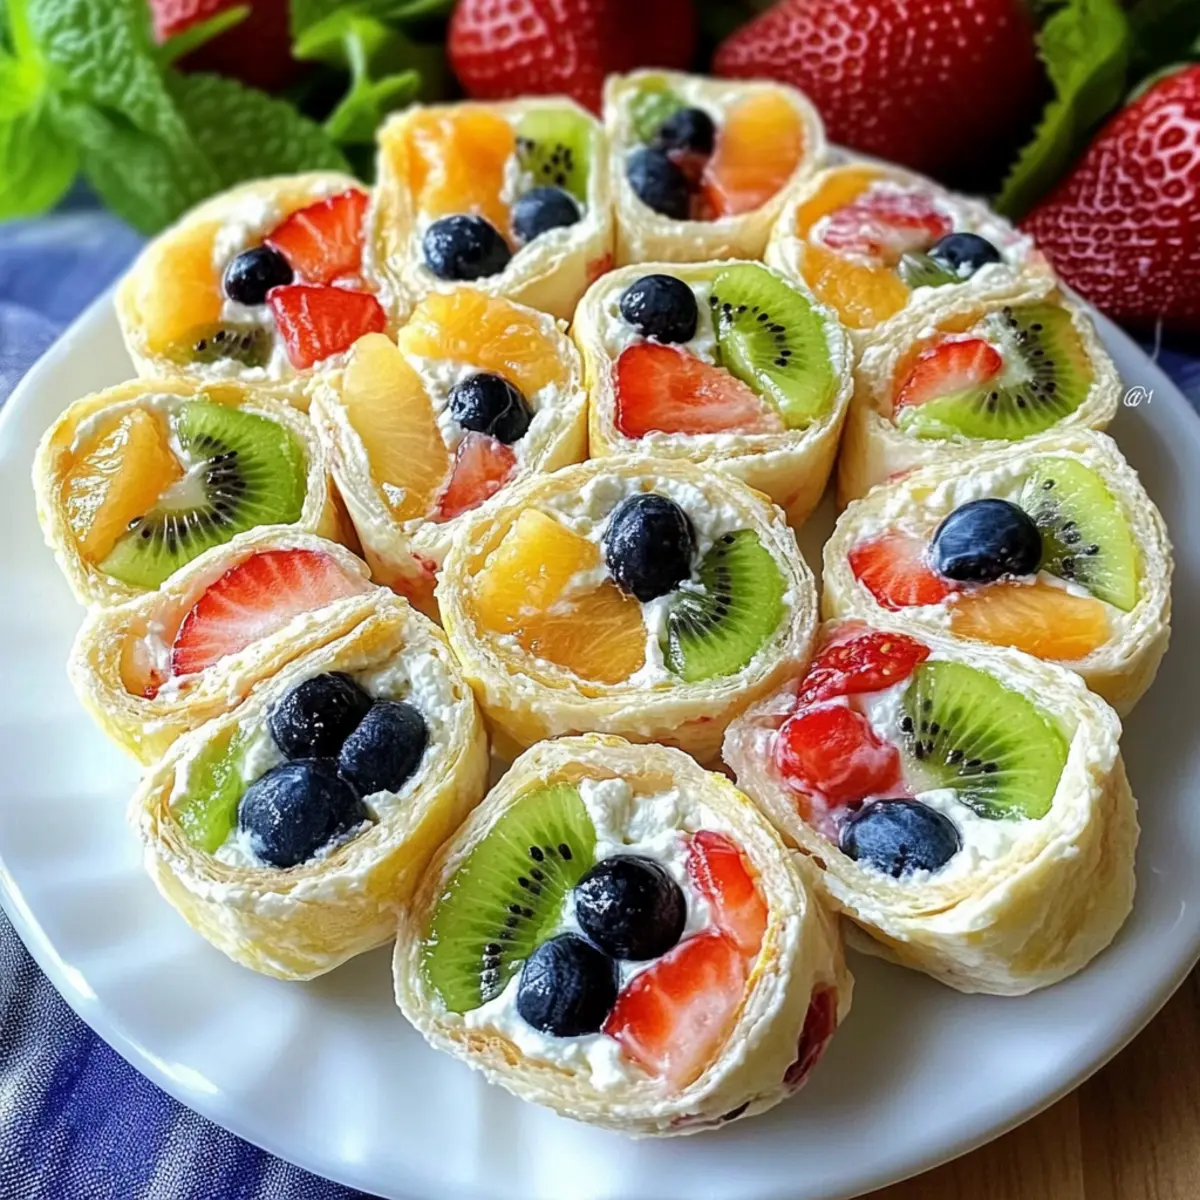
Why Try Cheesecake Fruit Salad Roll Ups?
Unique Twist: This recipe offers a playful take on traditional cheesecake, wrapping creamy goodness in a soft tortilla.
No-Bake Convenience: With zero baking required, you’ll have a delightful treat ready in minutes—ideal for those hot summer days!
Endless Flavor Combinations: The versatility allows you to mix and match seasonal fruits, making it a year-round favorite. Think strawberries in spring, peaches in summer, or apples in fall!
Fun for Everyone: Perfect for family picnics, gatherings, or kids’ parties, these roll ups are sure to be a hit.
Easy to Prepare: Even cooking novices can whip these up, making it a stress-free way to impress guests.
Want more exciting dessert ideas? Check out the delicious Sugar Cookie Cheesecake for another twist on classic flavors!
Cheesecake Fruit Salad Roll Ups Ingredients
For the Cheesecake Filling
• Cream Cheese – Provides a rich and creamy base; opt for low-fat cream cheese for a lighter version.
• Powdered Sugar – Adds a sweet touch to the filling; adjust based on your desired sweetness.
• Vanilla Extract – Elevates the flavor profile; use pure vanilla for the best results.
For the Wrap
• Tortillas – The perfect soft wrap for the filling; choose gluten-free if needed and warm them for flexibility.
For the Fresh Fruit
• Fresh Fruit (e.g., strawberries, kiwi) – Offers vibrant freshness and texture; select seasonal fruits for variety.
Optional Crunch
• Chopped Nuts – Adds a delightful crunch; toasted pecans or almonds work well, but skip them for nut-free versions.
Dive into this delightful combination and bring your Cheesecake Fruit Salad Roll Ups to life with these easy-to-find ingredients!
Step‑by‑Step Instructions for Cheesecake Fruit Salad Roll Ups
Step 1: Mix the Cheesecake Filling
In a mixing bowl, add softened cream cheese, powdered sugar, and vanilla extract. Using a hand mixer, beat the ingredients on medium speed for about 2–3 minutes until the mixture is smooth and fluffy. You should achieve a creamy consistency that spreads easily. This delightful filling will be the heart of your Cheesecake Fruit Salad Roll Ups.
Step 2: Prepare the Tortillas
Take your tortillas and slightly warm them in the microwave for 10–15 seconds. This step will make them more pliable and easier to roll without tearing. Lay the warmed tortilla flat on a clean surface, ready to be filled with the luscious cheesecake mixture and fresh fruit.
Step 3: Spread the Cheesecake Mixture
Using a spatula, spread 2–3 tablespoons of the creamy cheesecake filling evenly over each tortilla. Leave about half an inch of space around the edges to prevent overflow while rolling. The smooth blanket of cheesecake should look inviting and thick enough to hold its shape, setting the stage for the fruits to come.
Step 4: Add Fresh Fruit
Thinly slice your choice of fresh fruit, like strawberries or kiwi, and layer the pieces over the cheesecake filling. Aim for a generous amount to ensure each bite of the Cheesecake Fruit Salad Roll Ups bursts with fruity flavor. The colorful arrangement will create a visually appealing treat, bringing life to your no-bake dessert.
Step 5: Optional Nut Topping
If using, sprinkle a handful of chopped nuts over the fruit layer for added crunch before rolling. Toasted pecans or almonds can add a delightful texture contrast to the creamy and juicy ingredients. Remember, the nuts are optional—you can skip this step if you prefer a nut-free version of these delightful roll ups.
Step 6: Roll It Up
Starting from one edge, tightly roll the tortilla towards the opposite edge, enclosing the filling securely. Ensure to keep the roll snug but not overly tight, preventing the filling from squishing out. The final roll should resemble a burrito, showcasing the vibrant layers of fruit and cheesecake.
Step 7: Slice for Serving
Once your Cheesecake Fruit Salad Roll Ups are assembled, use a sharp knife to slice them into 1–1.5 inch pieces. If you prefer to serve them whole for handheld enjoyment, that’s perfect too! Arrange the pieces on a serving platter to showcase their colorful interiors and make them irresistible to your guests.
Step 8: Chill and Serve
To enhance the texture, you can chill the roll ups in the refrigerator for 10–20 minutes before serving. This will help the filling firm up slightly, making for cleaner cuts if you sliced them. After chilling, these delicious Cheesecake Fruit Salad Roll Ups are ready to impress your friends and family with their fresh, vibrant flavors!
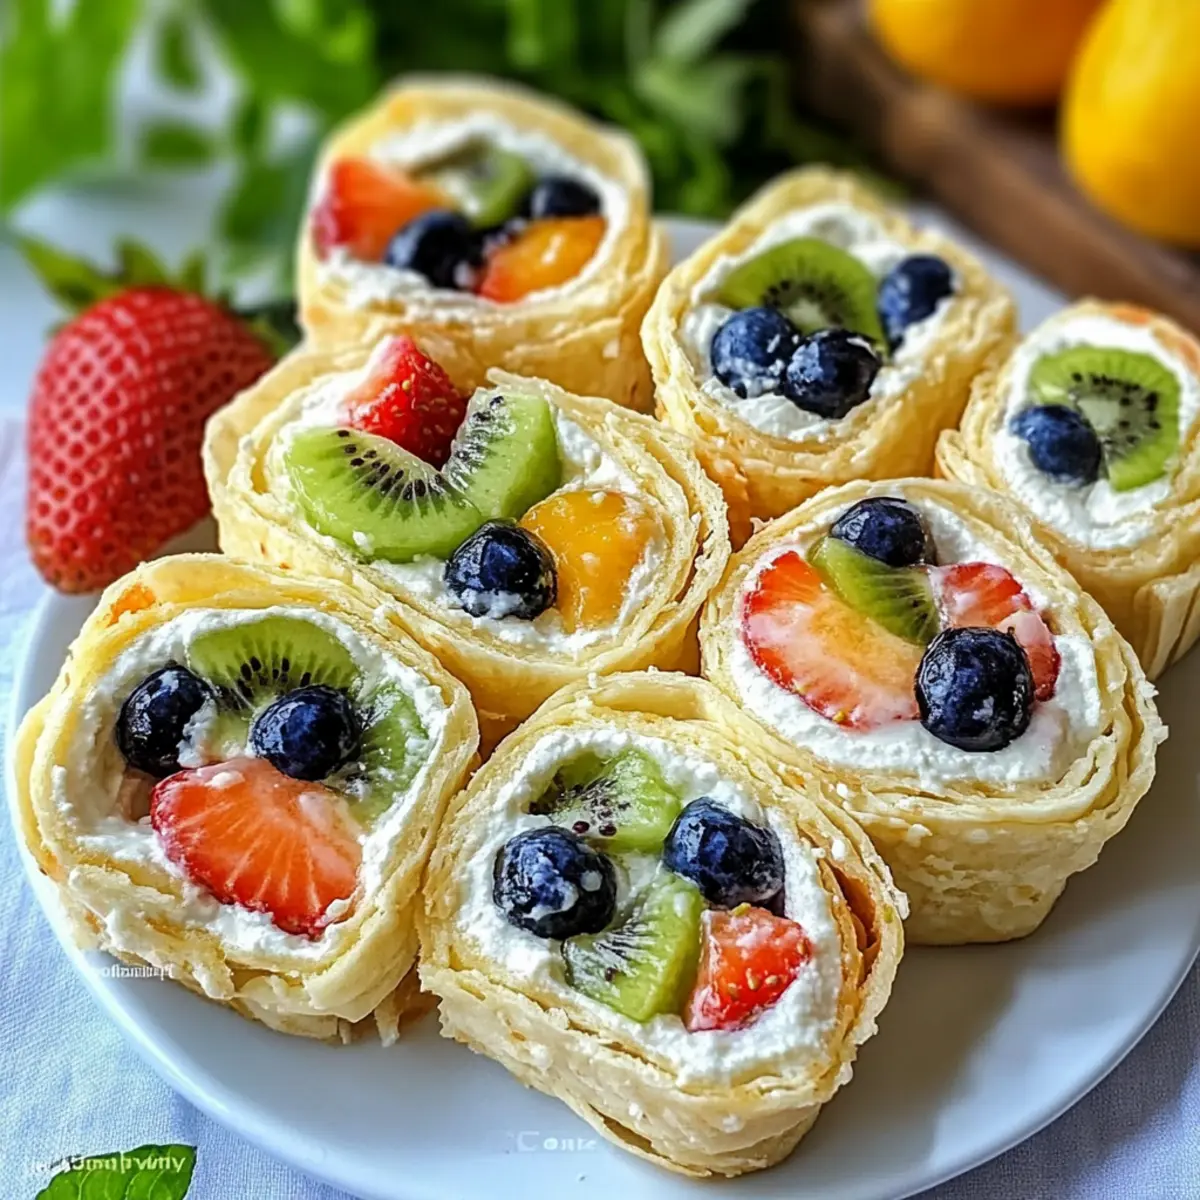
Variations & Substitutions for Cheesecake Fruit Salad Roll Ups
Feel free to get creative with your Cheesecake Fruit Salad Roll Ups and tailor them to your taste buds!
- Seasonal Fruits: Use any mix of fresh fruits such as peaches, raspberries, or apples to suit the season. The versatility of this recipe means you can explore delightful combinations year-round.
- Dairy-Free: Swap cream cheese for dairy-free alternatives like vegan cream cheese or cashew cream for a luscious, creamy filling that everyone can enjoy.
- Granola Crunch: Replace chopped nuts with granola for a delightful crunch without the risk of allergens. The added texture will elevate your roll ups!
- Flavored Cream Cheese: Enhance the filling by using flavored cream cheese, like strawberry or chocolate, for a sweet twist that adds an indulgent layer of flavor.
- Add Heat: For those who enjoy a spicy kick, consider adding a sprinkle of red pepper flakes to the fruit layer. It adds a surprising yet delightful contrast!
- Chocolate Drizzle: Drizzle melted chocolate over the sliced roll ups for an extra touch of decadence. It’s a simple addition that transforms your dessert into a special treat.
- Herbal Freshness: Incorporate fresh herbs like mint or basil into the filling or the fruit layer for a refreshing flavor boost that complements the sweetness beautifully.
If you’re looking for more exciting dessert ideas, try pairing your roll ups with my vibrant Celery Salad with Dates and Pistachios or indulge in a slice of Christmas Fruit Cake for something extra sweet!
Make Ahead Options
These Cheesecake Fruit Salad Roll Ups are perfect for busy home cooks looking to save time! You can prepare the cheesecake filling and store it in an airtight container in the refrigerator for up to 3 days. The tortillas can be wrapped tightly in plastic wrap to keep them fresh for the same duration. However, to maintain optimal flavor and texture, it’s best to assemble them just before serving. When ready to enjoy, simply spread the cheesecake mixture onto the tortillas, layer in your fresh fruit, roll them up, and slice. This way, you’ll have a delightful no-bake dessert that’s just as delicious as when freshly made!
How to Store and Freeze Cheesecake Fruit Salad Roll Ups
Fridge: Store leftover roll ups in an airtight container in the fridge for up to 1 day. This ensures they stay fresh and the tortilla maintains its softness.
Freezer: For longer storage, freeze the roll ups individually wrapped in plastic wrap, then place them in a zip-top bag for up to 2 months. Thaw in the fridge before serving.
Reheating: These roll ups are best served chilled or at room temperature. Avoid microwaving, as it may alter the texture of the fresh fruit.
Prep Ahead: While it’s best to enjoy the Cheesecake Fruit Salad Roll Ups fresh, you can prepare the filling a day in advance. Store it separately in the fridge to maintain the textures of the fruits.
What to Serve with Cheesecake Fruit Salad Roll Ups
Elevate your no-bake dessert experience by pairing it with delightful side dishes and beverages that complement its creamy and fruity flavors.
-
Fresh Berry Salad: A light and refreshing salad of mixed berries provides a vibrant burst of flavor that pairs beautifully with the cheesecake roll ups. The natural sweetness enhances each bite, making it a lovely companion.
-
Minty Cucumber Salad: Crisp cucumbers tossed with fresh mint give a refreshing crunch that balances the creaminess of the roll ups. This salad brings an herbaceous note that brightens up the meal, perfect for summer gatherings.
-
Chocolate-Dipped Pretzels: The salty-sweet contrast of chocolate-covered pretzels adds a fun twist, making for a perfect snack alongside the roll ups. Their crunchy texture also offers a satisfying bite alongside the creamy filling.
-
Sparkling Lemonade: A fizzy and tangy drink like sparkling lemonade adds excitement and quenches thirst, making it an ideal pairing with your cheesecake dessert. The citrus notes complement the fruity flavors while keeping everything light.
-
Mini Vanilla Cupcakes: For an extra sweet treat, serve mini vanilla cupcakes alongside the roll ups. Their light, fluffy texture and sweet frosting mirror the dessert theme, creating a delightful dessert spread that’s hard to resist.
-
Frozen Yogurt Bars: These fruity yogurt bars are a cool and refreshing side, perfect for hot days. Their smooth texture and sweetness blend well with the cheesecake while keeping the overall dessert vibe cheerful and light.
-
Iced Herbal Tea: A chilled herbal tea infusion adds a refreshing note that goes hand-in-hand with the fruit flavors. Opt for something fruity like hibiscus or a mint blend for the perfect drink pairing!
-
Cheese and Cracker Platter: A board of assorted cheeses and crackers introduces savory elements that balance the sweetness of the roll ups. This creates a touch of sophistication, making your gathering feel festive and well-rounded.
-
Lemon Sorbet: A light and zesty dessert option like lemon sorbet can cleanse the palate after enjoying the cheesecake roll ups. Its bright flavor and icy texture will leave everyone feeling refreshed, making it a wonderful summer treat!
Expert Tips for Cheesecake Fruit Salad Roll Ups
• Filling Consistency: Make sure your cream cheese is well-softened to create a smooth filling that spreads easily without tearing the tortilla.
• Tortilla Preparation: Warm the tortillas briefly to enhance their flexibility; this prevents cracking and ensures a tidy roll-up experience.
• Fruit Selection: Choose seasonal fruits and firm varieties to avoid excess moisture. Avoid overly juicy fruits unless dried to keep your roll ups intact.
• Keep It Simple: Don’t overfill the tortillas! A generous 2–3 tablespoons of filling will suffice, ensuring they roll easily without bursting.
• Chill for Success: Chilling your assembled roll ups for 10–20 minutes before slicing can help create cleaner cuts and maintain optimal texture.
• Explore Variations: Feel free to experiment with different fruit and cream cheese flavors to make your Cheesecake Fruit Salad Roll Ups uniquely yours!
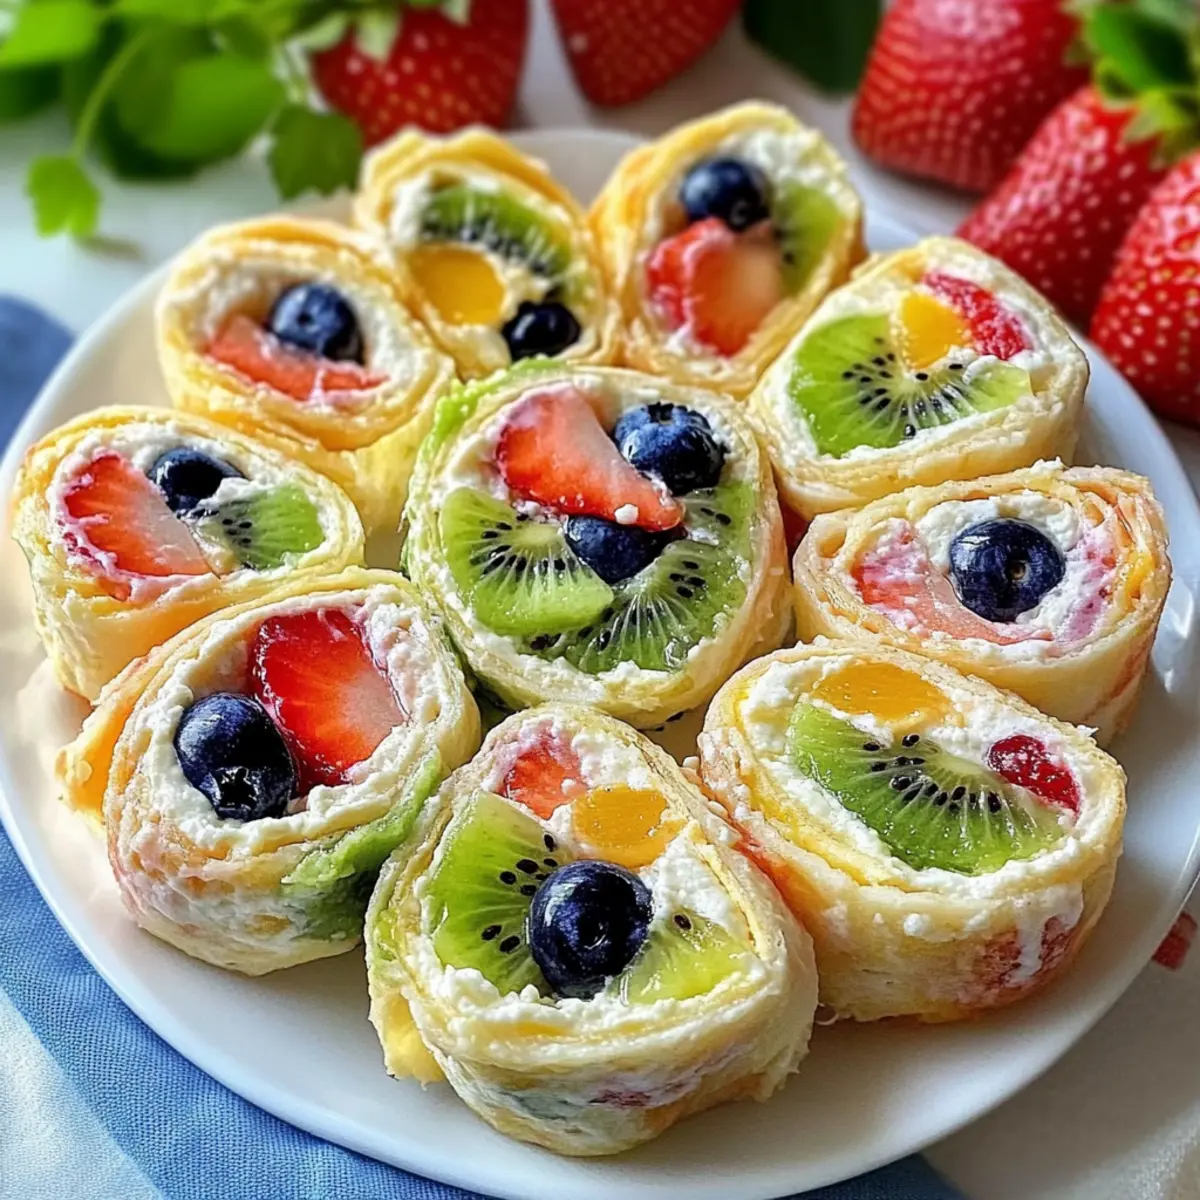
Cheesecake Fruit Salad Roll Ups Recipe FAQs
What fruits are best for Cheesecake Fruit Salad Roll Ups?
Absolutely! The best approach is to choose firm fruits that won’t release too much moisture. Strawberries, kiwi, and peaches are excellent options. For a twist, you could also try apples or raspberries based on what’s in season. Always consider the texture: firmer fruits hold up better within the roll ups.
How do I store leftover Cheesecake Fruit Salad Roll Ups?
To keep your roll ups fresh, store any leftovers in an airtight container in the refrigerator. They’ll last for up to 1 day. This will help maintain the softness of the tortilla and the freshness of the fruit. If you find them getting soggy, it’s best to consume them promptly.
Can I freeze Cheesecake Fruit Salad Roll Ups?
Certainly! To freeze, individually wrap each roll up in plastic wrap and then place them in a zip-top freezer bag. They can be stored for up to 2 months. When you’re ready to enjoy them, simply thaw them in the fridge overnight. This method preserves the flavors beautifully!
What should I do if my roll ups are falling apart?
If your Cheesecake Fruit Salad Roll Ups start to fall apart, it could be due to overfilling or not rolling them tightly enough. Make sure to spread only 2–3 tablespoons of filling, and roll snugly but not too tight, to prevent any bursting. Chilling them for 10–20 minutes before cutting can also help them stay together better!
Are Cheesecake Fruit Salad Roll Ups suitable for kids with nut allergies?
Very! You can easily make these roll ups nut-free by simply omitting the chopped nuts from the recipe. They will still be delicious and safe for kids with nut allergies. If you’re looking for extra crunch without nuts, consider substituting with granola for added texture!
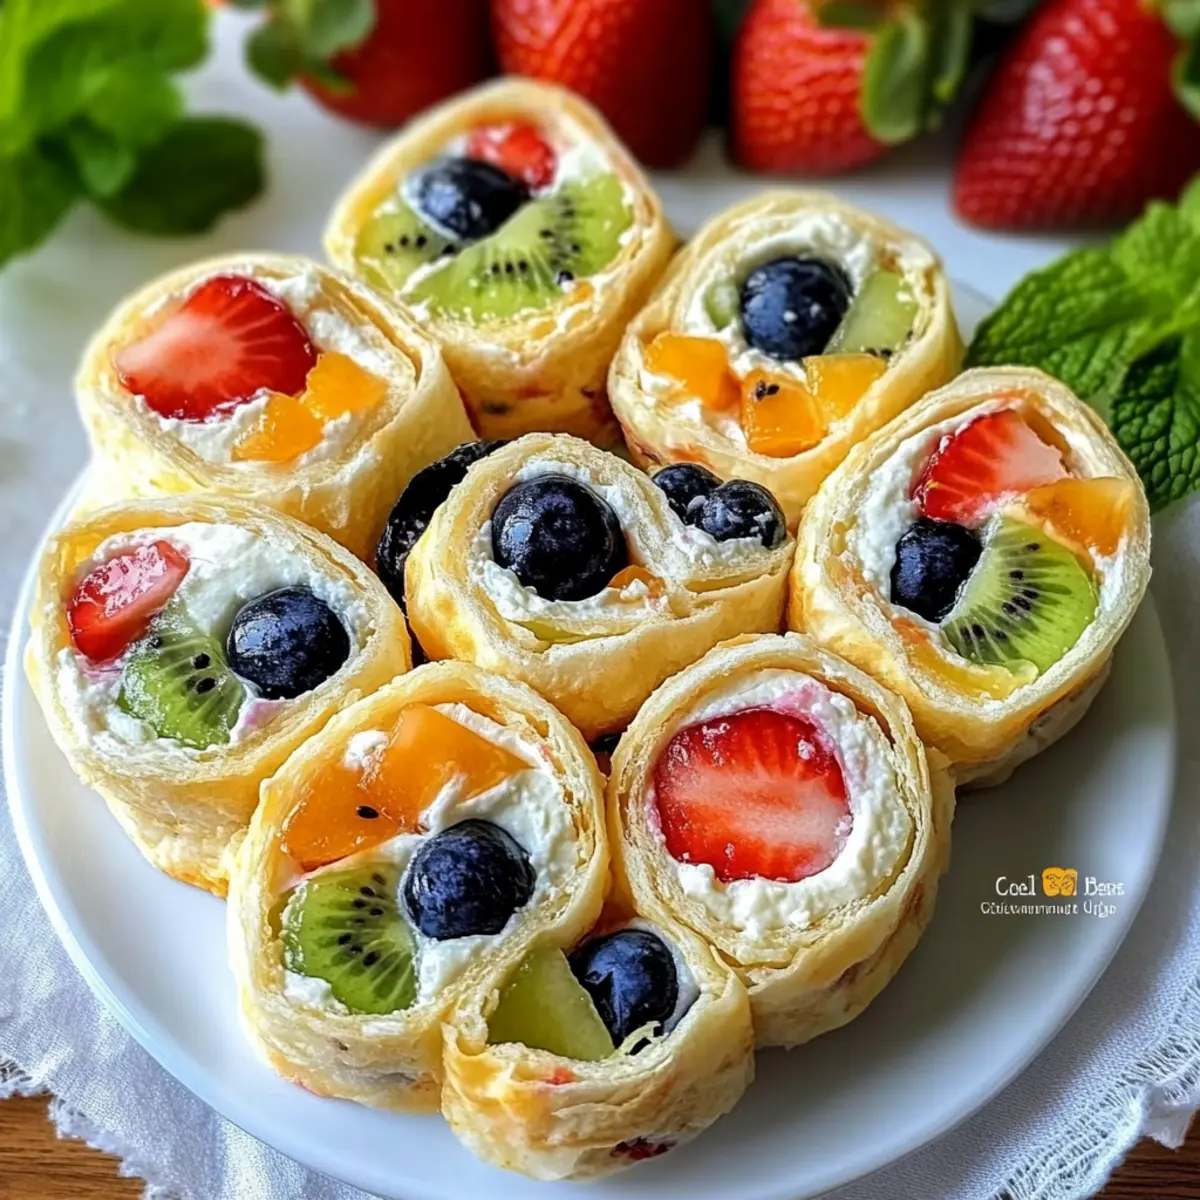
Cheesecake Fruit Salad Roll Ups: Your New Favorite No-Bake Treat
Ingredients
Equipment
Method
- In a mixing bowl, add softened cream cheese, powdered sugar, and vanilla extract. Beat on medium speed for about 2–3 minutes until smooth and fluffy.
- Warm tortillas in the microwave for 10–15 seconds to make them pliable.
- Spread 2–3 tablespoons of cheesecake filling evenly over each tortilla.
- Layer thinly sliced fresh fruit over the cheesecake filling.
- Sprinkle chopped nuts over the fruit layer if using.
- Tightly roll the tortilla from one edge to the opposite edge.
- Slice the roll ups into 1–1.5 inch pieces and arrange on a platter.
- Chill in the refrigerator for 10–20 minutes before serving.
Leave a Reply