
As the sun warms the air and the days grow longer, I find myself yearning for desserts that capture the essence of summer. Enter these No-Bake Key Lime Cheesecake Cups—a delightful twist on classic cheesecake that requires no oven time at all! With their buttery graham cracker crust and a refreshing, fluffy filling, these easy individual desserts are perfect for any gathering, be it a casual barbecue or a festive celebration. Not only do they offer a light and zesty flavor that dances on your taste buds, but their no-bake nature means you can whip them up in no time. Curious about how to make these delightful treats shine at your next event? Let’s dive into the recipe!
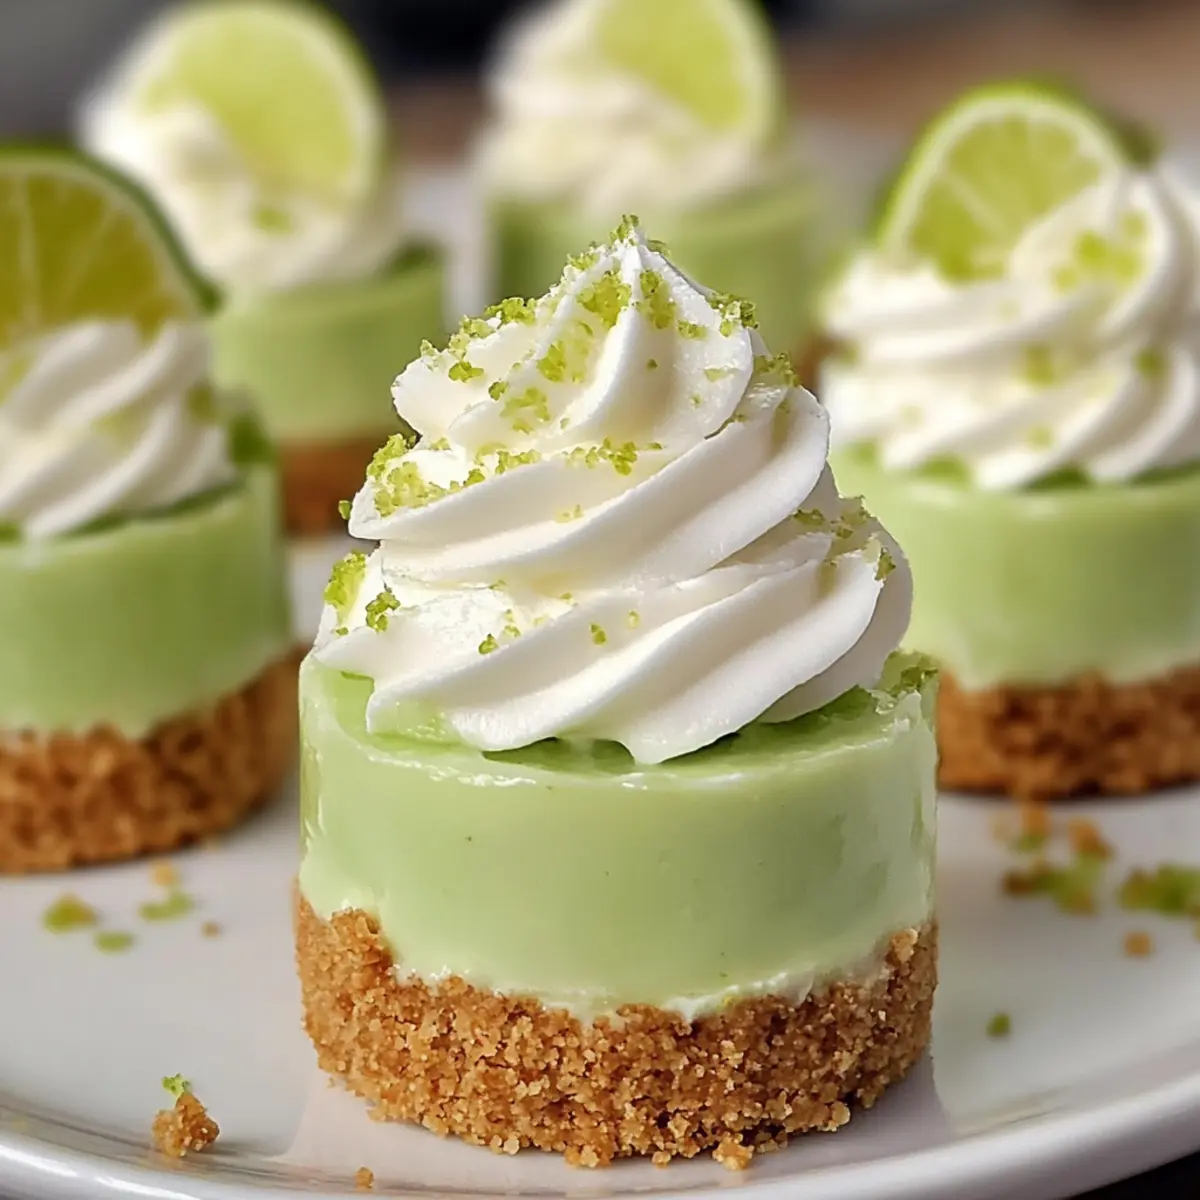
Why are These Cheesecake Cups a Must-Try?
Convenience: With no baking required, this recipe is perfect for busy days or unexpected guests—just mix, layer, and chill!
Zesty Refreshment: Each bite delivers a delightful tang from key limes, making these cups the ultimate refresher for warm summer days.
Customizable: Feel free to experiment with toppings or filling flavors; whether you opt for Mini Lemon Cheesecakes or vibrant fruits, the possibilities are endless.
Crowd-Pleaser: These individual servings not only look charming but are also a hit at potlucks, barbecues, and family gatherings.
Quick Prep Time: You can make these delicious treats in under 30 minutes, plus chilling time—making them a fantastic last-minute dessert solution!
No-Bake Key Lime Cheesecake Cups Ingredients
Prepare to whip up something truly special with these refreshing treats!
For the Crust
• Graham Cracker Crumbs – A buttery base for your crust; try using crushed digestive biscuits for a fun variation.
• Granulated Sugar – Sweetens the crust perfectly; consider brown sugar for a richer flavor.
• Melted Butter – Binds everything together for a sturdy crust; coconut oil works as a dairy-free option.
For the Filling
• Cream Cheese – The key to a creamy, rich filling; low-fat cream cheese offers a lighter choice.
• Powdered Sugar – Sweetens the cheesecake while ensuring a smooth texture; use a sugar alternative for fewer calories.
• Key Lime Juice – Provides that signature zesty flavor; substitute with regular lime juice if key limes aren’t available.
• Lime Zest (optional) – Boosts the lime flavor and adds a lovely visual touch; try orange zest for a different citrus twist.
• Whipped Topping – Lightens the filling beautifully; homemade whipped cream will elevate the taste.
These No-Bake Key Lime Cheesecake Cups will be the refreshing highlight of your dessert table, perfect for gatherings with family and friends!
Step‑by‑Step Instructions for No-Bake Key Lime Cheesecake Cups
Step 1: Prepare the Crust
In a medium-sized mixing bowl, combine graham cracker crumbs, granulated sugar, and melted butter, stirring until well blended. The mixture should resemble wet sand. Using your fingers or the back of a spoon, firmly press this crumb mixture into the bottom of each serving cup to create a sturdy base. Aim for an even layer, about ¼ inch thick.
Step 2: Make the Filling
In a separate mixing bowl, beat softened cream cheese with an electric mixer on medium speed until smooth and creamy. Gradually add powdered sugar and continue beating until fully combined. Next, pour in the fresh key lime juice and optional lime zest, mixing thoroughly until the filling is well blended and free of lumps, creating a luscious and smooth consistency.
Step 3: Fold in Whipped Topping
Gently fold in the whipped topping with a spatula into the key lime cheesecake mixture, being careful not to deflate the fluffy texture. Continue folding until no streaks remain, and the filling appears light and airy. This will give your No-Bake Key Lime Cheesecake Cups a delightful, creamy filling that melts in your mouth.
Step 4: Assemble Cups
Spoon the key lime cheesecake filling evenly over the prepared crust in each cup. Use a spatula to smooth the tops for a clean finish. Ensure even distribution so that each cup features the same luscious filling. The filling will create a beautiful contrast against the crumbly crust, making these cups look appealing.
Step 5: Chill
Cover each filled cup with plastic wrap or aluminum foil and refrigerate for at least 2 hours. This chilling time is essential for the cheesecake to set properly; it helps enhance both the flavor and texture, resulting in that perfect, creamy bite you expect from No-Bake Key Lime Cheesecake Cups.
Step 6: Garnish and Serve
Once fully chilled, remove the cups from the refrigerator and carefully peel off the wraps. Optionally, top each cheesecake cup with additional whipped topping and a sprinkle of lime zest for a cheerful presentation. Serve immediately, and watch as your guests delight in these refreshing and easy to prepare dessert cups!
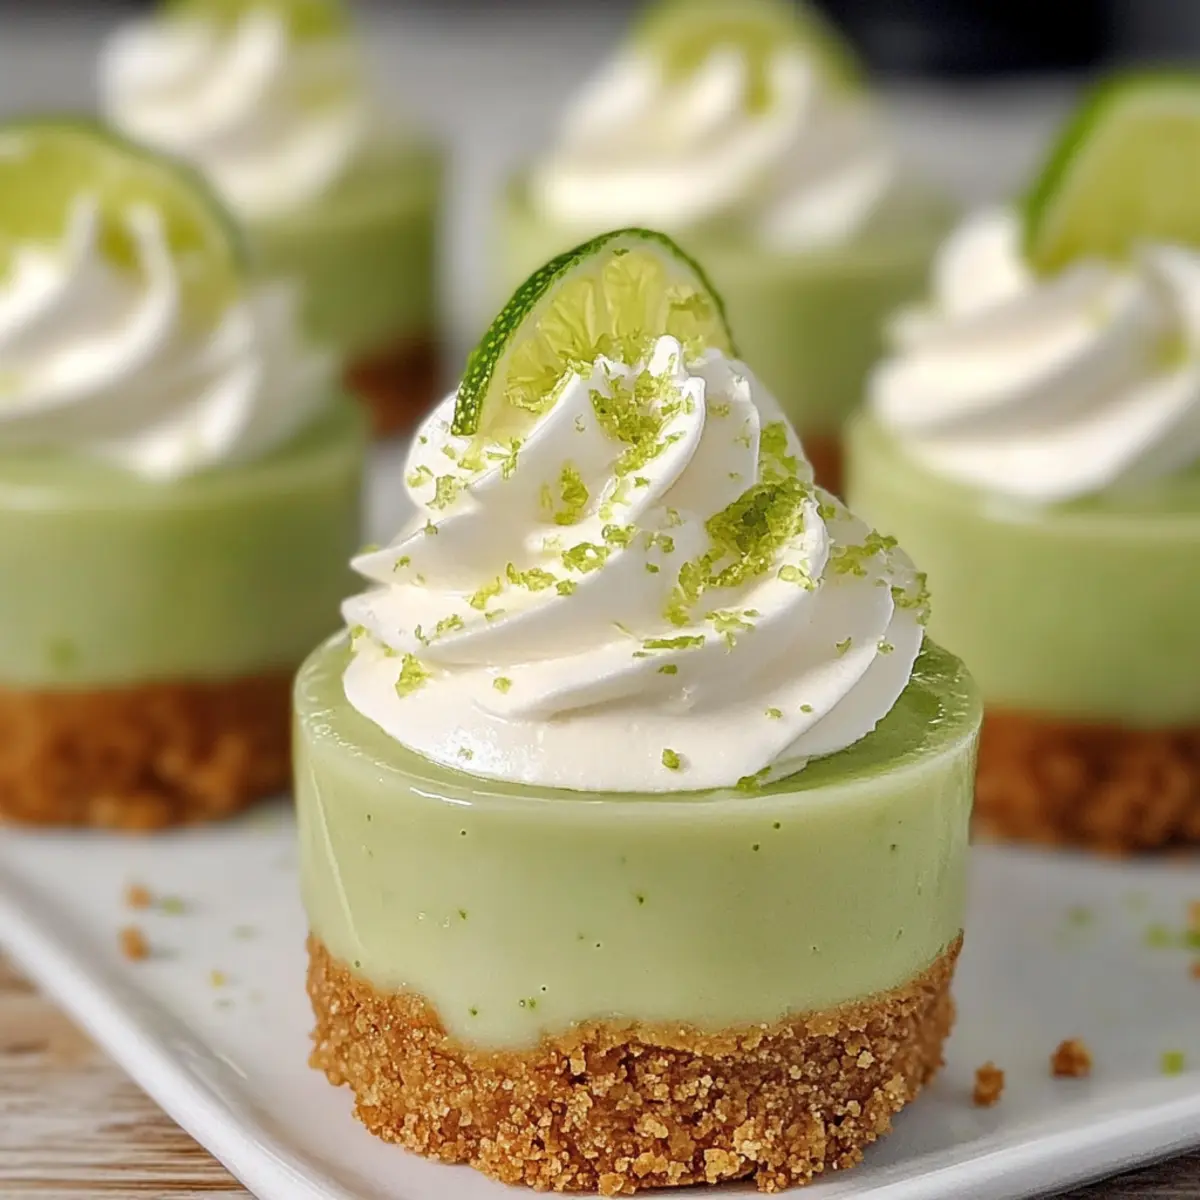
Expert Tips for No-Bake Key Lime Cheesecake Cups
-
Room Temperature Cream Cheese: Ensure your cream cheese is at room temperature for smooth mixing. Cold cream cheese can result in a lumpy filling, so don’t skip this step!
-
Chill Time Matters: Allow enough chilling time for the cheesecake to set properly; at least 2 hours is ideal. Properly chilled cups enhance both flavor and texture, creating a delightful dessert experience.
-
Taste as You Go: Don’t hesitate to adjust sweetness by tasting the filling as you mix. The perfect balance will make your No-Bake Key Lime Cheesecake Cups irresistible!
-
Variations Galore: Feel free to get creative! You can add different fruit toppings or mix in other citrus juices. This will personalize the flavors and keep things exciting.
-
Avoid Overmixing: When folding in the whipped topping, mix gently to retain airiness. Overmixing can result in a denser texture, which we want to avoid for these light and fluffy cups!
-
Storage Tips: These cheesecake cups can last in the refrigerator for up to 3 days. For longer storage, consider freezing them, but remember to thaw in the fridge before serving.
What to Serve with No-Bake Key Lime Cheesecake Cups
As your taste buds dance with the zesty delight of these creamy treats, consider how these pairings can complete your dining experience.
-
Creamy Coconut Rice: This mildly sweet and creamy side adds a tropical twist, balancing the tartness of the cheesecake while enhancing the summer vibe.
-
Fresh Berries Medley: A colorful assortment of strawberries, blueberries, and raspberries provides a burst of freshness and complements the cheesecake’s sweet-tart flavors.
-
Crispy Spring Rolls: Light, crunchy veggies wrapped in rice paper offer a refreshing contrast in texture and taste, making for a vibrant appetizer before indulging in dessert.
-
Minty Lime Sparkler: This refreshing beverage, made with lime juice, mint leaves, and sparkling water, mirrors the flavors of the cheesecake and cleanses the palate beautifully.
-
Grilled Peaches: Sweet, caramelized peaches drizzled with honey enhance your meal’s fruity tone, bringing a soft, juicy element to the dining table.
-
Lemon Sorbet: Serve as a palate cleanser between courses or as a light finish to your meal. Its citrus freshness is a perfect match for the vibrant key lime flavors.
-
Toasted Almonds: For a crunchy topping, sprinkle some lightly toasted almonds over the cheesecake cups to add a delightful nutty flavor and texture that contrasts with the creamy filling.
Make Ahead Options
These No-Bake Key Lime Cheesecake Cups are perfect for meal prep enthusiasts! You can prepare the crust and filling up to 24 hours in advance, which allows for great flexibility in your busy schedule. To do this, mix the graham cracker crumbs, sugar, and melted butter for the crust, and store it in the cups. Additionally, make the cheesecake filling and keep it refrigerated in a separate bowl. When you’re ready to serve, simply assemble the cups by spooning the filling over the crusts and chilling for about 2 hours. This ensures they taste just as delicious, with the flavors melding beautifully while saving you valuable time on the day of your gathering. Enjoy refreshing, hassle-free desserts!
How to Store and Freeze No-Bake Key Lime Cheesecake Cups
-
Fridge: Store your No-Bake Key Lime Cheesecake Cups in the refrigerator for up to 3 days. Ensure they’re covered with plastic wrap or in an airtight container to maintain freshness and flavor.
-
Freezer: To freeze, place the cups in a freezer-safe container or wrap them individually in plastic wrap. They can be frozen for up to 2 months.
-
Thawing: When ready to enjoy, thaw the cheesecake cups in the refrigerator overnight for the best texture and flavor. Avoid thawing at room temperature to keep them from becoming too soft.
-
Reheating: There’s no need to reheat these delightful treats; they are best served chilled. Just garnish and enjoy directly from the fridge!
No-Bake Key Lime Cheesecake Cups Variations
Feel free to tweak these delightful dessert cups to match your cravings and dietary preferences!
-
Dairy-Free: Substitute cream cheese with a dairy-free alternative, like cashew cream or coconut cream, for a luscious variant.
Explore the unique creamy texture of coconut while still enjoying the zesty flavor! -
Fruit Layering: Add a layer of fresh strawberries or blueberries on top of the crust before spooning in the cheesecake filling.
This not only adds beautiful color but also provides a burst of sweet juiciness with every bite. -
Citrus Twist: Use orange or grapefruit juice instead of key lime juice for a unique citrus flavor profile.
This exciting switch can introduce a whole new level of vibrancy to your cheesecake cups. -
Graham Cracker Swap: Try using crushed chocolate cookies or oats instead of graham cracker crumbs for a fun twist on the crust.
Each bite will be a delightful surprise with unique textures and flavors! -
Low-Calorie Option: Replace granulated and powdered sugar with a sugar substitute or erythritol for a low-calorie treat.
Indulge guilt-free while satisfying your sweet tooth! -
Spiced Up: Add a dash of cinnamon or nutmeg to the crust or filling for a warm, cozy flavor twist.
Just a hint of spice can elevate your dessert to new levels of deliciousness! -
Chocolate Drizzle: Drizzle melted dark or white chocolate over the tops before serving for an elegant finish.
This sweet touch amps up the visual appeal and adds an irresistible flavor contrast.
Don’t forget, each adjustment allows you to personalize these No-Bake Key Lime Cheesecake Cups, just like with my cherished recipes, such as Mini Lemon Cheesecakes! Enjoy your creative journey!
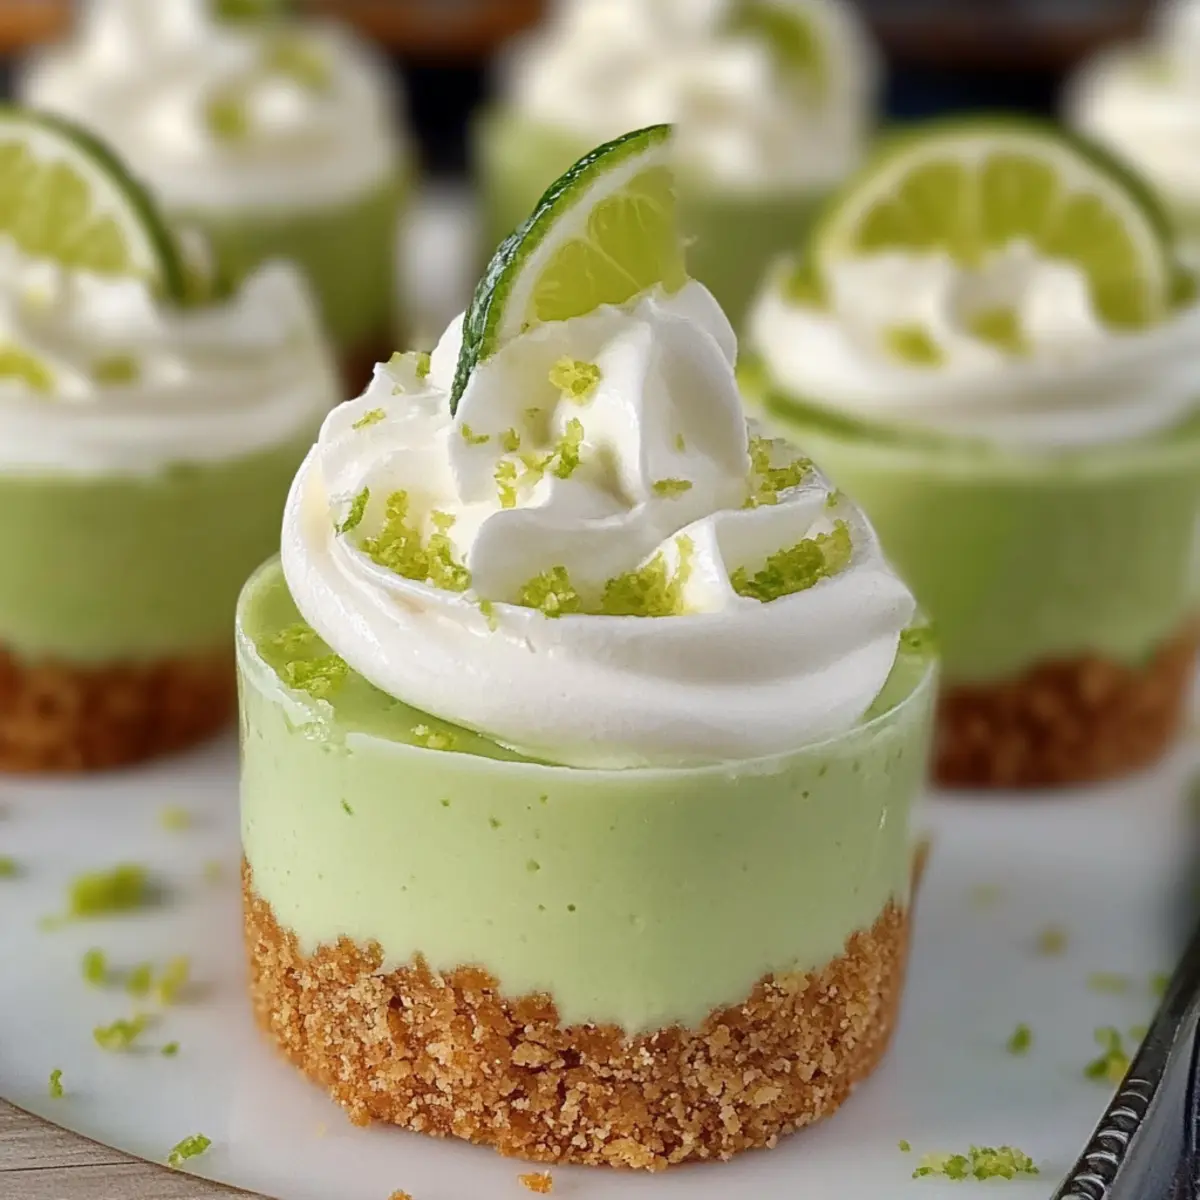
No-Bake Key Lime Cheesecake Cups Recipe FAQs
How do I select the right key limes for this recipe?
Absolutely! When choosing key limes, look for ones that are slightly heavy for their size and have a vibrant green color. Avoid limes with dark spots or blemishes; these may indicate overripeness. You want them firm yet slightly yielding when gently pressed.
How should I store my No-Bake Key Lime Cheesecake Cups?
Just pop them in the refrigerator, where they can stay fresh for up to 3 days. Make sure to cover them with plastic wrap or keep them in an airtight container to prevent them from absorbing any odors from your fridge.
Can I freeze No-Bake Key Lime Cheesecake Cups?
Yes, you can! To freeze, place each cup in a freezer-safe container or wrap them tightly with plastic wrap. They will maintain their taste and texture for up to 2 months. When you’re ready to enjoy them, simply thaw them in the refrigerator overnight for a refreshing treat!
What should I do if my filling is too runny or too thick?
If the filling turns out too runny, it could be due to overmixing or not using enough cream cheese. To remedy this, simply add an additional 2 ounces of softened cream cheese and mix until smooth. If it’s too thick, mix in a teaspoon of milk or key lime juice at a time until you reach the desired consistency.
Are these No-Bake Key Lime Cheesecake Cups suitable for people with dietary allergies?
Very! You can easily customize them by using gluten-free graham cracker crumbs for those with gluten sensitivities. If there’s a dairy allergy, substitute the cream cheese with a plant-based cream cheese alternative. Always check your other ingredients, too, for any potential allergens!
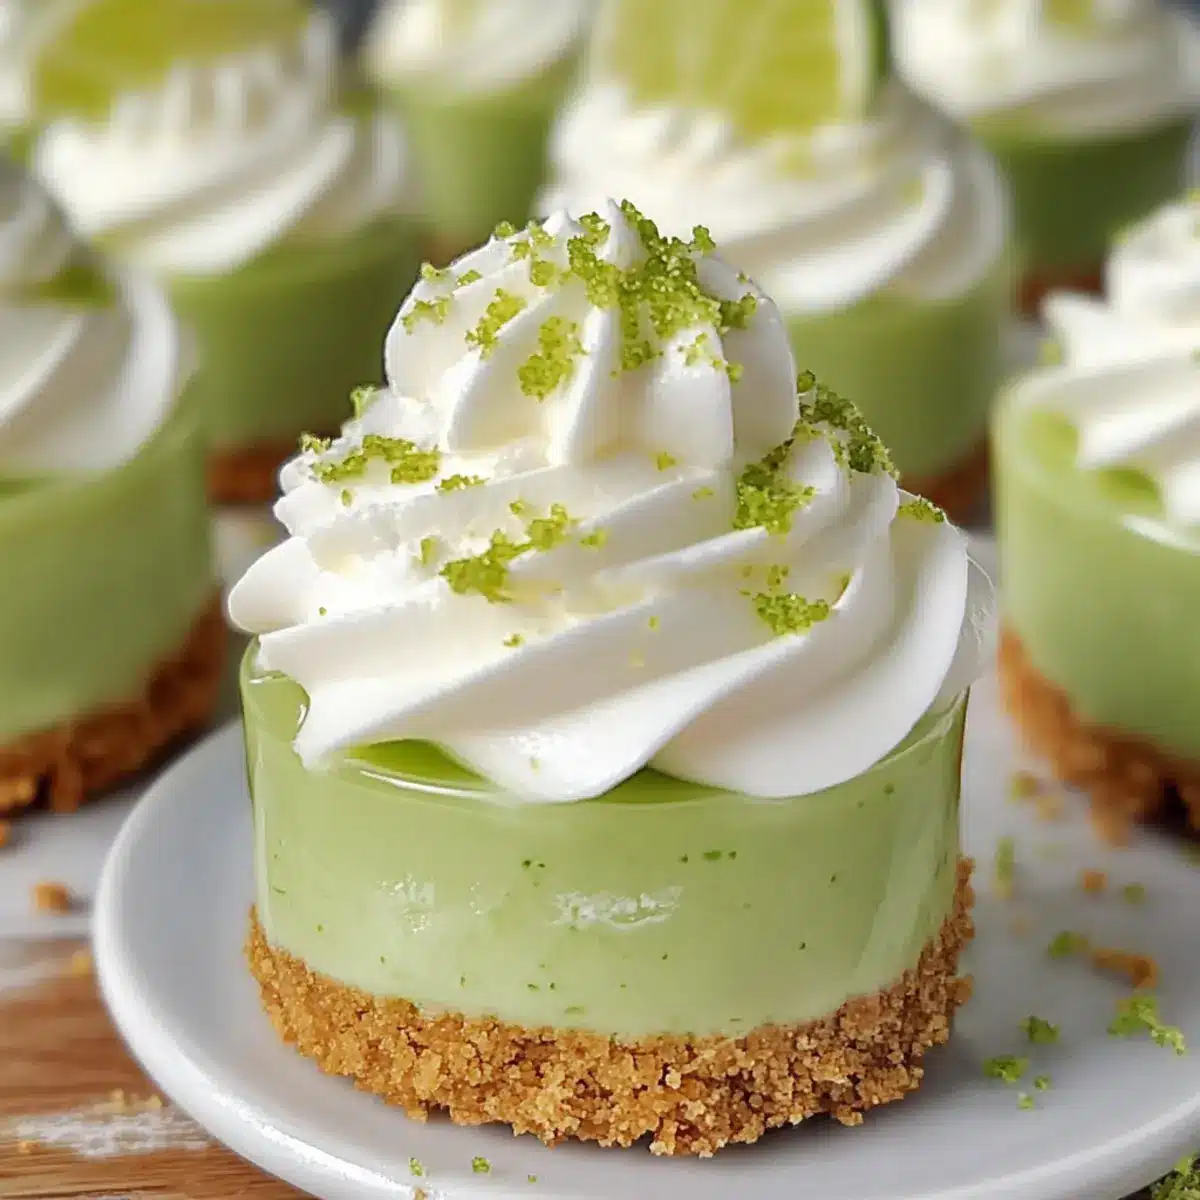
No-Bake Key Lime Cheesecake Cups for a Refreshingly Easy Treat
Ingredients
Equipment
Method
- Prepare the Crust: In a medium-sized mixing bowl, combine graham cracker crumbs, granulated sugar, and melted butter, stirring until well blended. Press into the bottom of each serving cup to create a sturdy base.
- Make the Filling: Beat softened cream cheese until smooth, add powdered sugar, then mix in key lime juice and optional zest until creamy and well blended.
- Fold in Whipped Topping: Gently fold in whipped topping until no streaks remain, retaining the fluffy texture.
- Assemble Cups: Spoon the filling over the crust in each cup, smoothing the tops for a clean finish.
- Chill: Cover and refrigerate for at least 2 hours to allow the cheesecake to set properly.
- Garnish and Serve: Remove wraps, optionally top with additional whipped topping and lime zest, and serve immediately.
Leave a Reply