
As I took the first bite of a No-Bake Key Lime Cheesecake Cup, a wave of refreshing tanginess swept over me, instantly whisking my taste buds away to a sun-soaked paradise. These delightful individual treats are not only effortlessly easy to whip up—no baking required—but also provide a customizable twist that makes them perfect for any occasion. Whether you’re planning a summer picnic or just craving a sweet finish after dinner, the cool, creamy layers of key lime filling atop a buttery graham cracker crust will undoubtedly satisfy. Plus, you can adapt these cups to your own personal taste with various flavor twists, ensuring that each bite feels like a little celebration. Are you ready to dive into a dessert that’s as simple as it is scrumptious? Let’s get started!
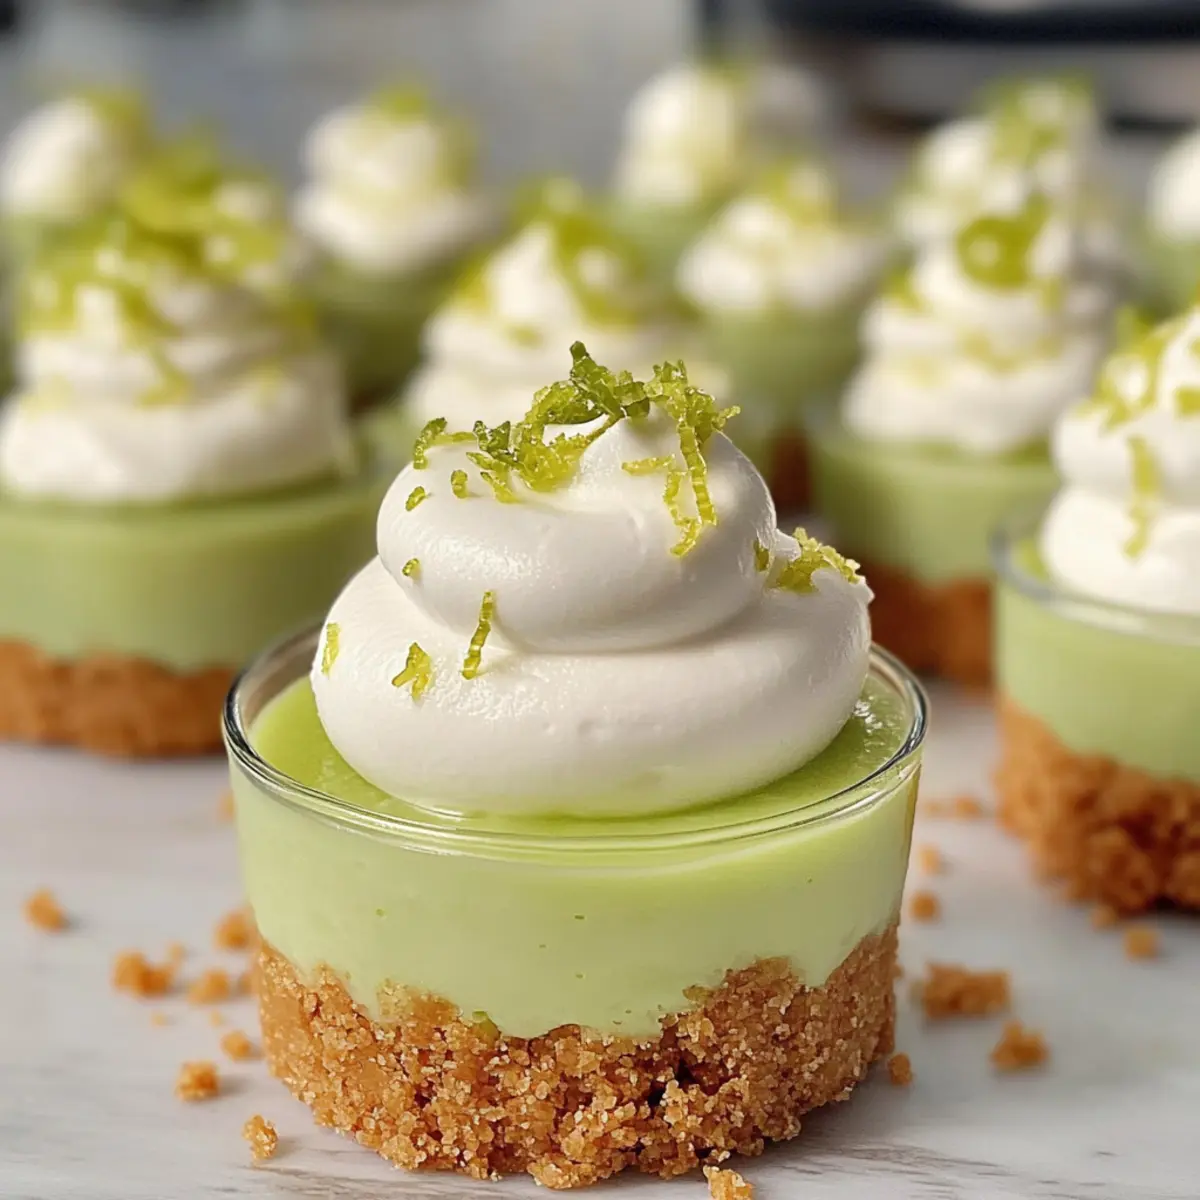
Why are No-Bake Key Lime Cheesecake Cups amazing?
Delightfully Easy: These cups require no oven, making them perfect for quick dessert preparations. Refreshing Tang: With zesty key lime juice, every bite is a burst of flavor that transports you to a tropical getaway. Customizable: Add your favorite toppings or mix up the flavors to suit your cravings—try a berry swirl or coconut cream! Crowd-Pleasing: Perfect for gatherings, these individual cups impress guests and are easy to serve. Light & Creamy: Enjoy a delicious treat that’s lower in calories compared to traditional cheesecakes without sacrificing flavor. For variations on this delightful dessert, check out our Mini Lemon Cheesecakes to bring a fresh twist to your table!
No-Bake Key Lime Cheesecake Cups Ingredients
• Get ready to whip up a delicious treat!
For the Crust
- Graham Cracker Crumbs – Provides the base and adds a crunchy texture; can use digestive biscuits or Oreo crumbs for different flavor profiles.
- Granulated Sugar – Sweetens the crust; adjust based on preference.
- Melted Butter – Binds the crust ingredients together; coconut oil can be used for a dairy-free option.
For the Filling
- Cream Cheese – Forms the rich and creamy filling base; ensure it is softened for easy mixing.
- Powdered Sugar – Adds sweetness and helps achieve a smooth texture; can be reduced for less sweetness.
- Key Lime Juice – Key flavor component, providing tanginess; regular lime juice can be used if key limes are unavailable.
- Lime Zest (optional) – Enhances the citrus flavor; use fresh zest for best results.
- Whipped Topping – Lightens the filling and provides a fluffy texture; substitute homemade whipped cream for a richer flavor.
Get ready to create your own No-Bake Key Lime Cheesecake Cups that will wow your family and friends!
Step‑by‑Step Instructions for No-Bake Key Lime Cheesecake Cups
Step 1: Prepare the Crust
In a medium bowl, combine graham cracker crumbs, granulated sugar, and melted butter. Use a fork to mix until the crumbs are moist and evenly coated. Spoon the mixture into individual serving cups, pressing firmly down with the back of a spoon to form a solid layer. Set the cups aside to allow the crust to hold its shape.
Step 2: Make the Filling
In a large mixing bowl, beat the softened cream cheese using a hand mixer on medium speed until it’s creamy and free of lumps, about 2-3 minutes. Gradually add the powdered sugar and continue mixing until incorporated. Begin adding the key lime juice and optional lime zest, mixing well until the filling is smooth and well combined, about 1-2 more minutes.
Step 3: Fold in Whipped Topping
Gently fold the whipped topping into the cream cheese mixture using a spatula. Be careful to preserve the lightness of the whipped cream—stop mixing once no streaks remain visible. This will help create the airy texture that makes the No-Bake Key Lime Cheesecake Cups delightfully creamy and fluffy.
Step 4: Assemble the Cups
Spoon the key lime filling over the prepared crust in each cup, filling them to the top. Use a spatula or the back of a spoon to smooth the tops for an even finish. The cups should be filled generously to showcase the creamy layer above the flavorful crust beneath.
Step 5: Chill
Cover the assembled No-Bake Key Lime Cheesecake Cups with plastic wrap or a lid. Place them in the refrigerator and chill for at least 2 hours, or until the filling is set. This chilling time is crucial to achieve the right texture, allowing the flavors to meld together beautifully.
Step 6: Garnish and Serve
Once chilled and set, remove the cups from the refrigerator. Garnish with additional whipped topping and a sprinkle of lime zest on top for an extra pop of color and flavor. Serve chilled for a refreshing dessert that’s sure to impress your family and friends!
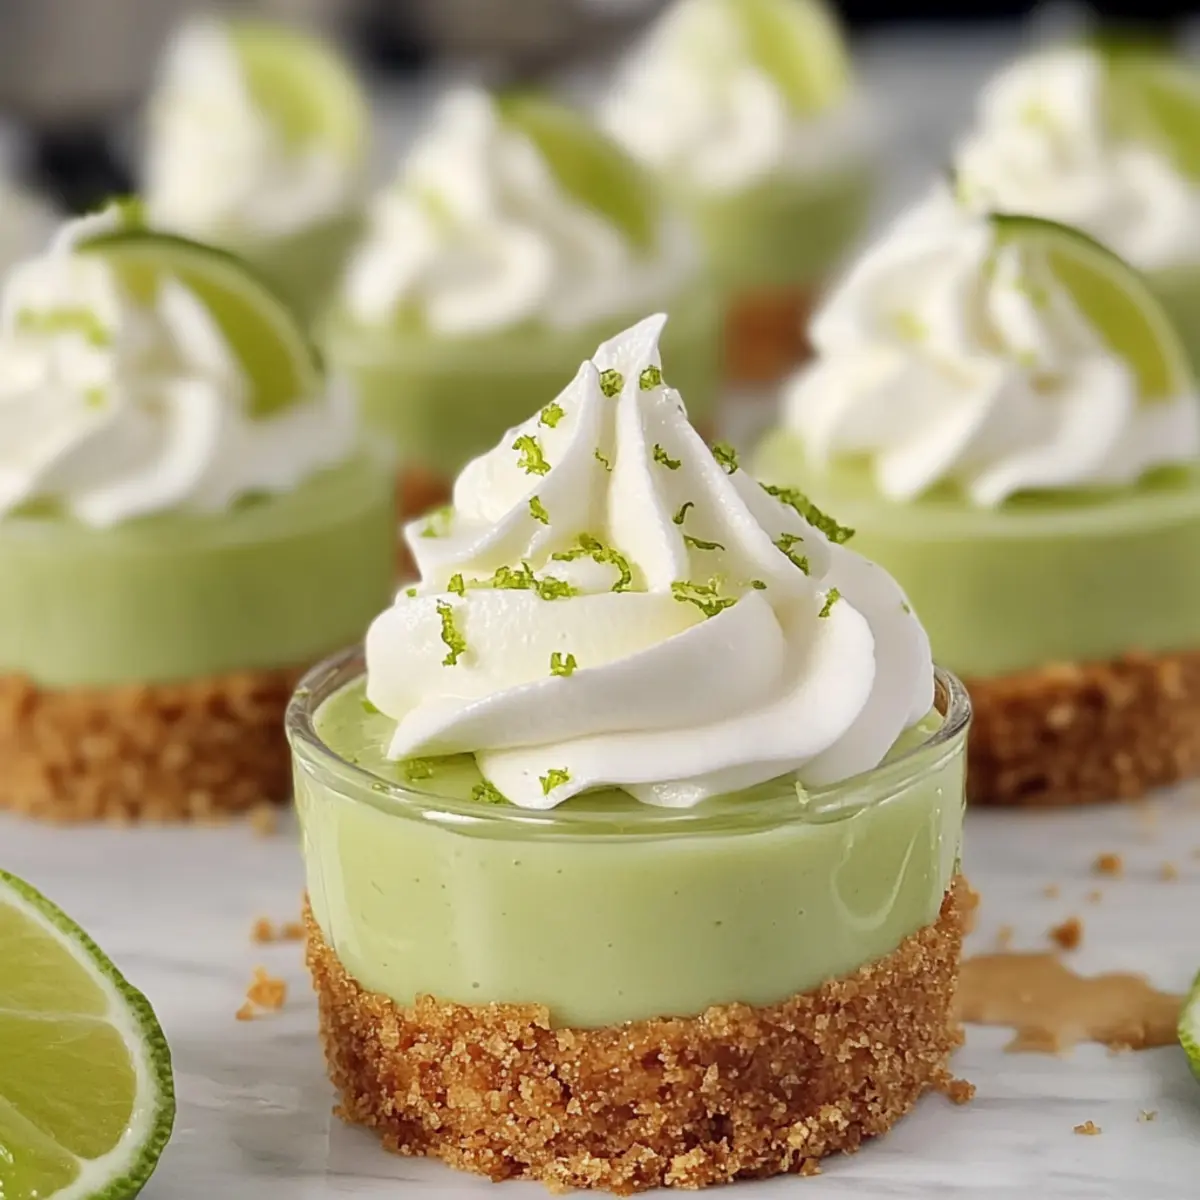
Expert Tips for No-Bake Key Lime Cheesecake Cups
-
Soften Cream Cheese: Ensure your cream cheese is at room temperature before mixing to avoid lumps in the filling, which can hinder that smooth texture you’re aiming for.
-
Chill Time Matters: Don’t rush the chilling process! Allow the cups to set for at least 2 hours. This time enhances the flavors and gives a beautiful, creamy consistency to your No-Bake Key Lime Cheesecake Cups.
-
Gently Fold: When incorporating whipped topping, be gentle! Overmixing can deflate the fluffy texture we love, resulting in a heavier filling.
-
Taste as You Go: Feel free to adjust the sweetness by tasting the filling mixture before assembling. You can add more powdered sugar or lime juice according to your preference.
-
Explore Variations: Consider experimenting with different zests or toppings. Fresh berries or a drizzle of chocolate can elevate your No-Bake Key Lime Cheesecake Cups and make them your own!
What to Serve with No-Bake Key Lime Cheesecake Cups
Elevate your dining experience by pairing delightful sides and drinks with these creamy, zesty treats!
-
Fresh Berries: Juicy strawberries or blueberries complement the tartness of the cheesecake, adding vibrant color and a burst of freshness. Their natural sweetness balances out the tangy key lime flavor perfectly.
-
Coconut Cream Whipped Topping: For enthusiasts of tropical flavors, adding coconut cream as an extra topping takes your cheesecake cups to the next level. The rich, creamy texture will delight your senses and enhance the overall dessert.
-
Sparkling Water with Lime: Refreshing and light, sparkling water with a hint of fresh lime acts as a palate cleanser, gently accompanying the dessert’s rich flavors without overpowering them.
-
Mango Sorbet: A scoop of mango sorbet alongside the cheesecake cups adds a bright and fruity element. The smooth texture and exotic sweetness provide a wonderful contrast to the creamy cheesecake.
-
Mini Fruit Salad: A mix of seasonal fruits like kiwi, pineapple, and watermelon creates a vibrant side that adds color and freshness to your dessert table. It’s light and refreshing, perfectly rounding out the meal.
-
Classic Iced Tea: Sweetened or unsweetened, a glass of iced tea pairs nicely, ensuring that your palate remains refreshed as you enjoy each sweet bite. Consider adding a wedge of lemon or mint leaves for a refreshing twist.
-
Chocolate Drizzle: A light drizzle of chocolate syrup on top of the cheesecake cups could be an unexpected yet satisfying complement, adding a touch of indulgence to your dessert experience.
Each of these pairings will enhance the joy of indulging in your No-Bake Key Lime Cheesecake Cups, making your gathering a hit!
Make Ahead Options
These No-Bake Key Lime Cheesecake Cups are perfect for meal prep, allowing you to enjoy a refreshing dessert without the last-minute rush! You can prepare the crust up to 24 hours in advance by mixing the graham cracker crumbs, sugar, and melted butter, then pressing it into the cups. Additionally, the key lime filling can be made up to 3 days ahead; simply combine the cream cheese, powdered sugar, lime juice, and whipped topping, and refrigerate it. When you’re ready to serve, just spoon the filling over the crusts, chill briefly if needed, and garnish with whipped topping and lime zest. These steps ensure your No-Bake Key Lime Cheesecake Cups remain just as delicious and delightfully creamy!
No-Bake Key Lime Cheesecake Cups Variations
Feel free to get creative and customize your No-Bake Key Lime Cheesecake Cups to fit your taste buds!
-
Berry Swirl:
Introduce some berry puree, like raspberry or strawberry, by swirling it into the filling for a fruity twist. -
Coconut Cream:
Add rich coconut cream to the filling for a tropical flavor that pairs beautifully with lime. -
Blood Orange Juice:
Swap out the key lime juice for blood orange juice to deliver an unexpected flavor punch and a vibrant color. -
Lemon Zest Upgrade:
Enhance the zesty profile by mixing in fresh lemon zest along with the key lime for a bright citrus explosion. -
Chocolate Drizzle:
Melt some dark chocolate and drizzled over each cup before serving for a decadent finishing touch. -
Nutty Crust:
For added crunch, mix crushed almonds or walnuts into the graham cracker crust. This gives a satisfying texture. -
Spicy Kick:
Incorporate a pinch of cayenne pepper or chili powder into the filling for an unexpected heat that contrasts beautifully with the sweetness. -
Meringue Topping:
Top the finished cups with a light, fluffy meringue instead of whipped topping for a classic dessert experience.
These variations can truly elevate your No-Bake Key Lime Cheesecake Cups! For more delicious inspiration, consider trying out our Mini Lemon Cheesecakes for another fruity delight!
Storage Tips for No-Bake Key Lime Cheesecake Cups
-
Fridge: Keep your cheesecake cups covered in the refrigerator for up to 3 days. This maintains their creamy texture and keeps them deliciously fresh.
-
Freezer: For longer storage, freeze the cups for about 2 months. Ensure they are securely wrapped in plastic wrap or placed in airtight containers to prevent freezer burn.
-
Thawing: When ready to enjoy, transfer the frozen cups to the fridge and allow them to thaw overnight for optimal taste and texture.
-
Reheating: These No-Bake Key Lime Cheesecake Cups are best served chilled. There’s no need to heat them—just let them chill in the fridge before serving for a refreshing treat!
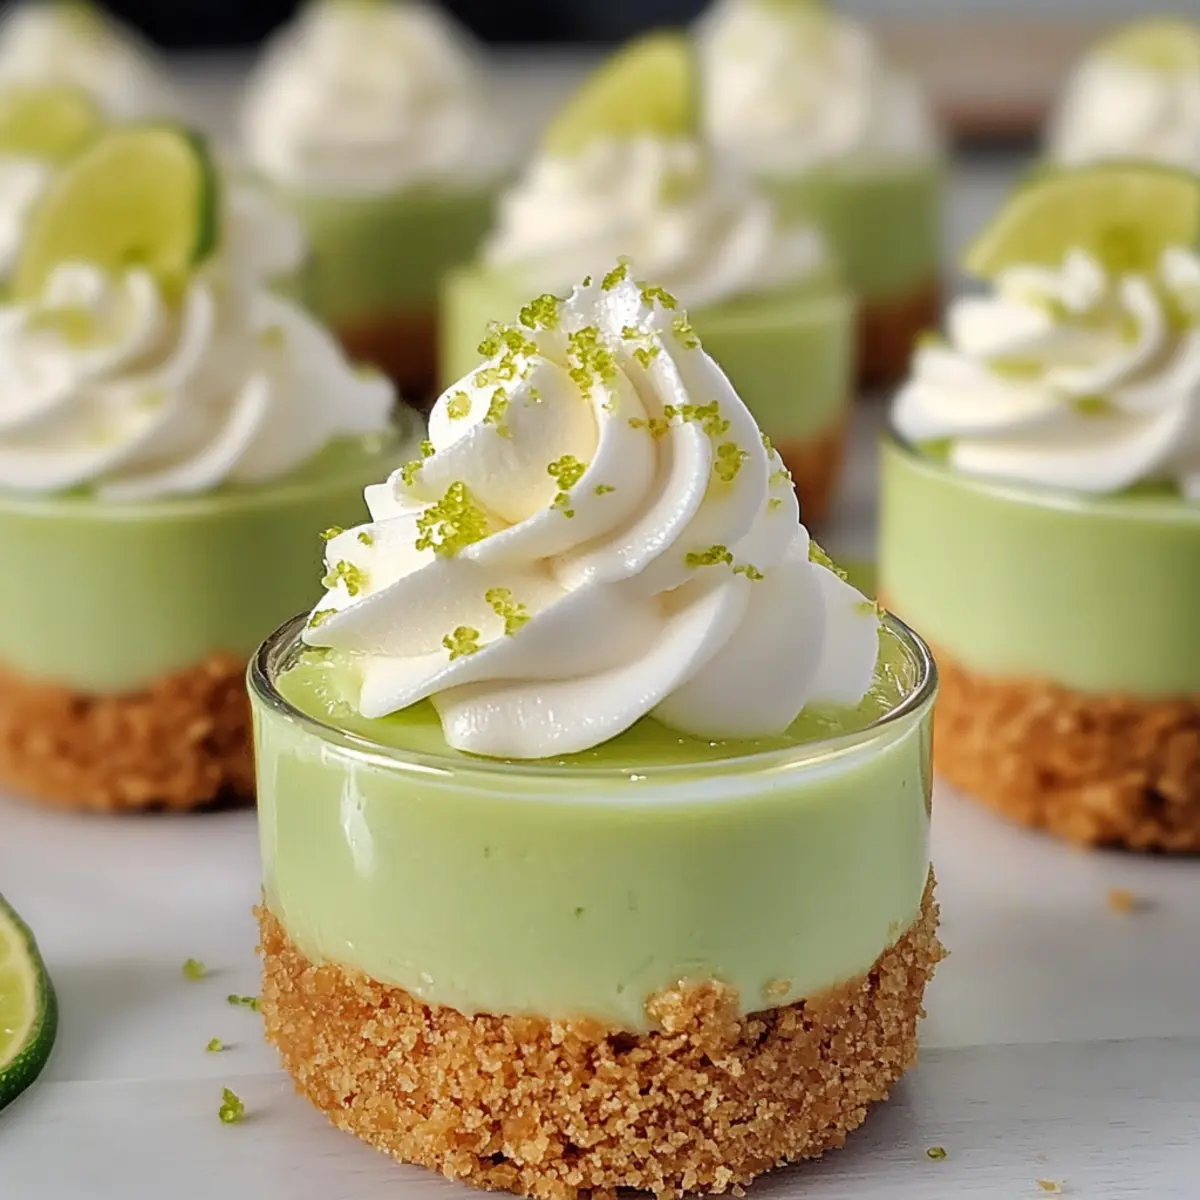
No-Bake Key Lime Cheesecake Cups Recipe FAQs
What type of graham crackers should I use for the crust?
Absolutely! I recommend traditional graham cracker crumbs for the perfect flavor and texture. However, you can use digestive biscuits or even Oreo crumbs if you’re looking for a sweeter, chocolatey twist! Just make sure to crush them finely for an even crust.
How should I store my No-Bake Key Lime Cheesecake Cups?
Keep your cheesecake cups covered in the refrigerator for up to 3 days. This helps maintain their creamy texture and delicious flavor. If you want to store them longer, you can freeze them for about 2 months—just make sure they are wrapped tightly in plastic wrap or stored in airtight containers to prevent freezer burn.
Can I freeze these cheesecake cups?
Yes, you can! To freeze, simply wrap each cup in plastic wrap or place it in a freezer-safe container. They will remain fresh for about 2 months. When you’re ready to enjoy, transfer the cheesecake cups to the refrigerator and let them thaw overnight. This will ensure they regain their creamy texture.
What should I do if my cream cheese mixture is lumpy?
No worries! If your cream cheese mixture is lumpy, it likely wasn’t softened enough. Be sure to let the cream cheese sit at room temperature for about 30 minutes before mixing. If lumps persist, you can use an electric mixer at medium speed for 2-3 minutes until smooth, or consider using a food processor for a perfectly creamy consistency.
Are these cheesecake cups safe for pets or people with allergies?
While No-Bake Key Lime Cheesecake Cups are vegetarian-friendly, they are not suitable for pets, especially due to the cream cheese and sugar content. If you’re serving guests with dietary restrictions, always check for allergies—especially to dairy or gluten. You can create a dairy-free version by substituting cream cheese with dairy-free alternatives like cashew cream or coconut yogurt.
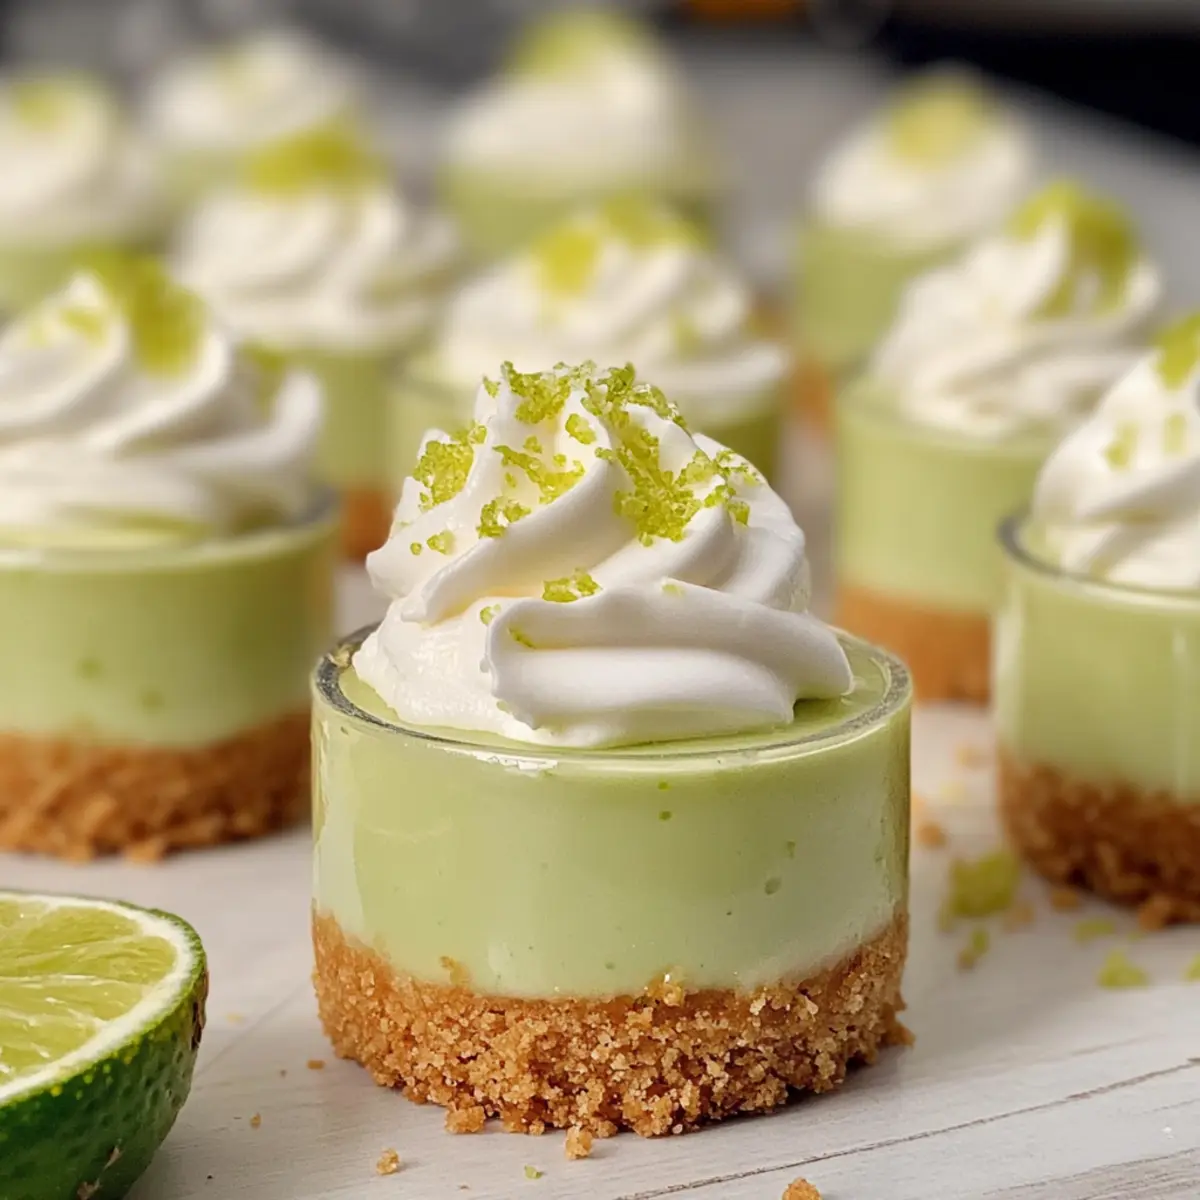
No-Bake Key Lime Cheesecake Cups
Ingredients
Equipment
Method
- Prepare the Crust: In a medium bowl, combine graham cracker crumbs, granulated sugar, and melted butter. Use a fork to mix until the crumbs are moist and evenly coated. Spoon the mixture into individual serving cups, pressing firmly down with the back of a spoon to form a solid layer. Set aside.
- Make the Filling: In a large mixing bowl, beat the softened cream cheese using a hand mixer until creamy and free of lumps, about 2-3 minutes. Gradually add the powdered sugar and continue mixing until incorporated. Add key lime juice and optional lime zest, mixing well until smooth, about 1-2 minutes.
- Fold in Whipped Topping: Gently fold the whipped topping into the cream cheese mixture using a spatula until no streaks remain visible.
- Assemble the Cups: Spoon the key lime filling over the prepared crust in each cup, filling them to the top. Smooth the tops for an even finish.
- Chill: Cover the cups with plastic wrap and refrigerate for at least 2 hours, allowing the filling to set.
- Garnish and Serve: Remove from the refrigerator, garnish with additional whipped topping and lime zest, and serve chilled.
Leave a Reply