
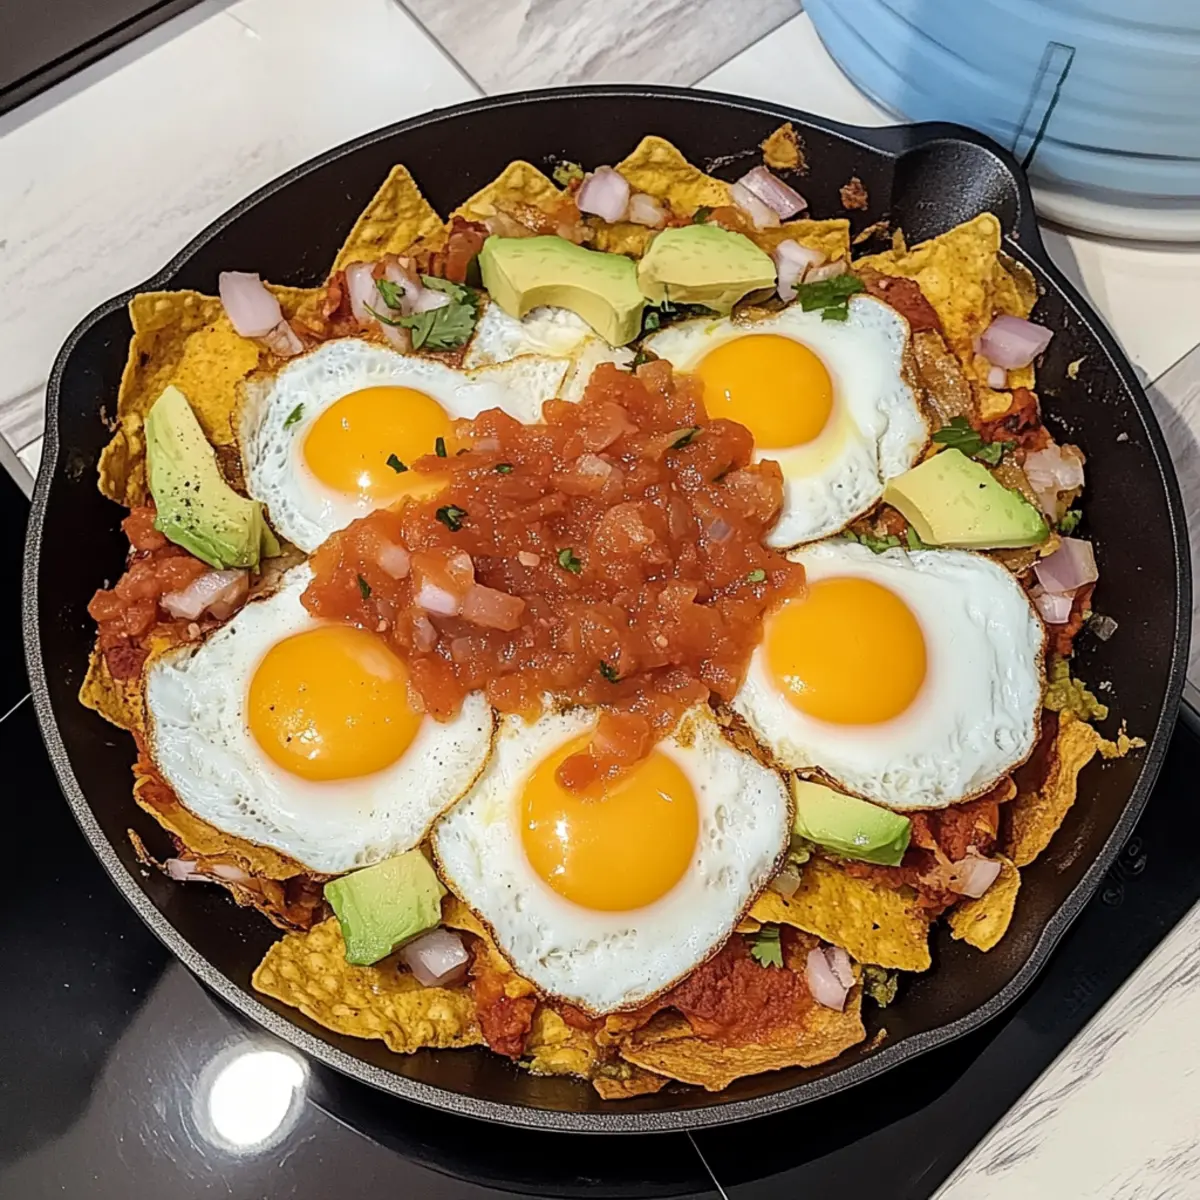
Beneath the warm glow of my kitchen lights, I recently found myself facing a late breakfast dilemma—how to whip up something hearty and satisfying without spending the entire morning cooking. Enter my solution: Easy Chilaquiles with Store-Bought Salsa. This vibrant twist on a traditional Mexican breakfast brings together crispy tortilla chips and a savory salsa that’s as flavorful as homemade, but way less time-consuming. Perfect for those busy weekends or when you need a quick dinner fix, this recipe highlights two irresistible perks: it’s fast to prepare and endlessly customizable. Whether you’re craving a comfort food classic or something with a little flair, these chilaquiles are here to save the day. Curious about how to create this delicious dish in no time? Let’s dive in!
Why Try Easy Chilaquiles Today?
Quick and Effortless: This recipe comes together in just minutes, making breakfast a breeze.
Flavor Packed: With the delicious balance of crispy tortilla chips, savory salsa, and melted cheese, you’ll savor every bite.
Versatile Delight: Customize with your favorite toppings like avocado or a sprinkle of cilantro for extra flair.
Crowd-Pleaser: Perfect for brunch gatherings or quick dinners, it appeals to everyone—from foodies to picky eaters.
Freshness Over Fast Food: Ditch the takeout! Homemade chilaquiles provide a satisfying, health-conscious alternative to greasy fast food, echoing the warmth of family meals.
Give these Easy Chilaquiles a try, and if you’re interested in more delicious breakfast ideas, check out my Easy French Onion Soup for a comforting dish or my Lemon Cake Melts for something sweet!
Easy Chilaquiles Ingredients
For the Chips
• Corn Tortillas – The staple for crispy texture; swap in tortilla chips if you’re in a hurry.
• Low-Sodium Chicken Broth – Depth of flavor for the sauce; substitute with vegetable broth for a vegetarian twist.
• Water – Adjusts sauce consistency; omit for a thicker sauce.
For the Salsa Mixture
• Salsa Verde – The heart of the dish that brings authenticity; choose your favorite brand or go homemade for a personal touch.
• Shredded Mexican Cheese – Melts beautifully for creaminess; substitute with Monterey Jack or Cheddar if desired.
For the Toppings
• Bacon – Adds a smoky crunch; for vegetarian meals, replace with crumbled tofu or skip it altogether.
• Eggs – Cooked sunny-side-up for richness; use a vegan egg alternative if preferred.
• Chopped Cilantro – Offers a fresh aroma to garnish; switch to green onions for a different flavor kick.
• Avocado Slices (optional) – Creaminess that complements the dish; omit or use sour cream for added richness.
Dive into this Easy Chilaquiles recipe, and watch how quickly it becomes a family favorite!
Step‑by‑Step Instructions for Easy Chilaquiles
Step 1: Preheat the Oven
Begin by preheating your oven to 350°F (175°C). This step is crucial as it ensures that your chips will turn out crispy and golden. While the oven heats up, gather all your ingredients and prepare for assembling the Easy Chilaquiles, setting a cheerful tone for your cooking adventure!
Step 2: Prepare the Tortilla Chips
Cut your corn tortillas into triangles and spread them evenly on a baking sheet. Bake them in the preheated oven for about 10-12 minutes, or until they are lightly golden and crisp—keep an eye on them to avoid burning. This step forms the delicious base for your chilaquiles, adding that signature crunch!
Step 3: Create the Salsa Mixture
As the chips bake, grab a saucepan and combine the low-sodium chicken broth, three-quarters of the salsa verde, and a splash of water. Bring this delicious blend to a gentle boil for about 2 minutes, stirring occasionally. Then, mix in half of the shredded Mexican cheese and let it cook for another minute, allowing the flavors to meld beautifully.
Step 4: Layer and Bake
Reduce your oven temperature to 325°F (160°C). Carefully transfer your baked tortilla chips to a cast iron skillet. Pour the rich salsa mixture evenly over the chips, making sure every chip is coated. Sprinkle the remaining cheese on top and bake for 8-9 minutes or until the cheese is melted and bubbly, creating a mouth-watering sight!
Step 5: Cook the Bacon and Eggs
In the same skillet, cook the bacon over medium heat until it’s crispy—set it aside for garnishing. Using the leftover bacon grease in the skillet, fry sunny-side-up eggs until the whites are set and the yolks remain beautifully runny. This final touch adds protein and richness to your Easy Chilaquiles.
Step 6: Assemble and Garnish
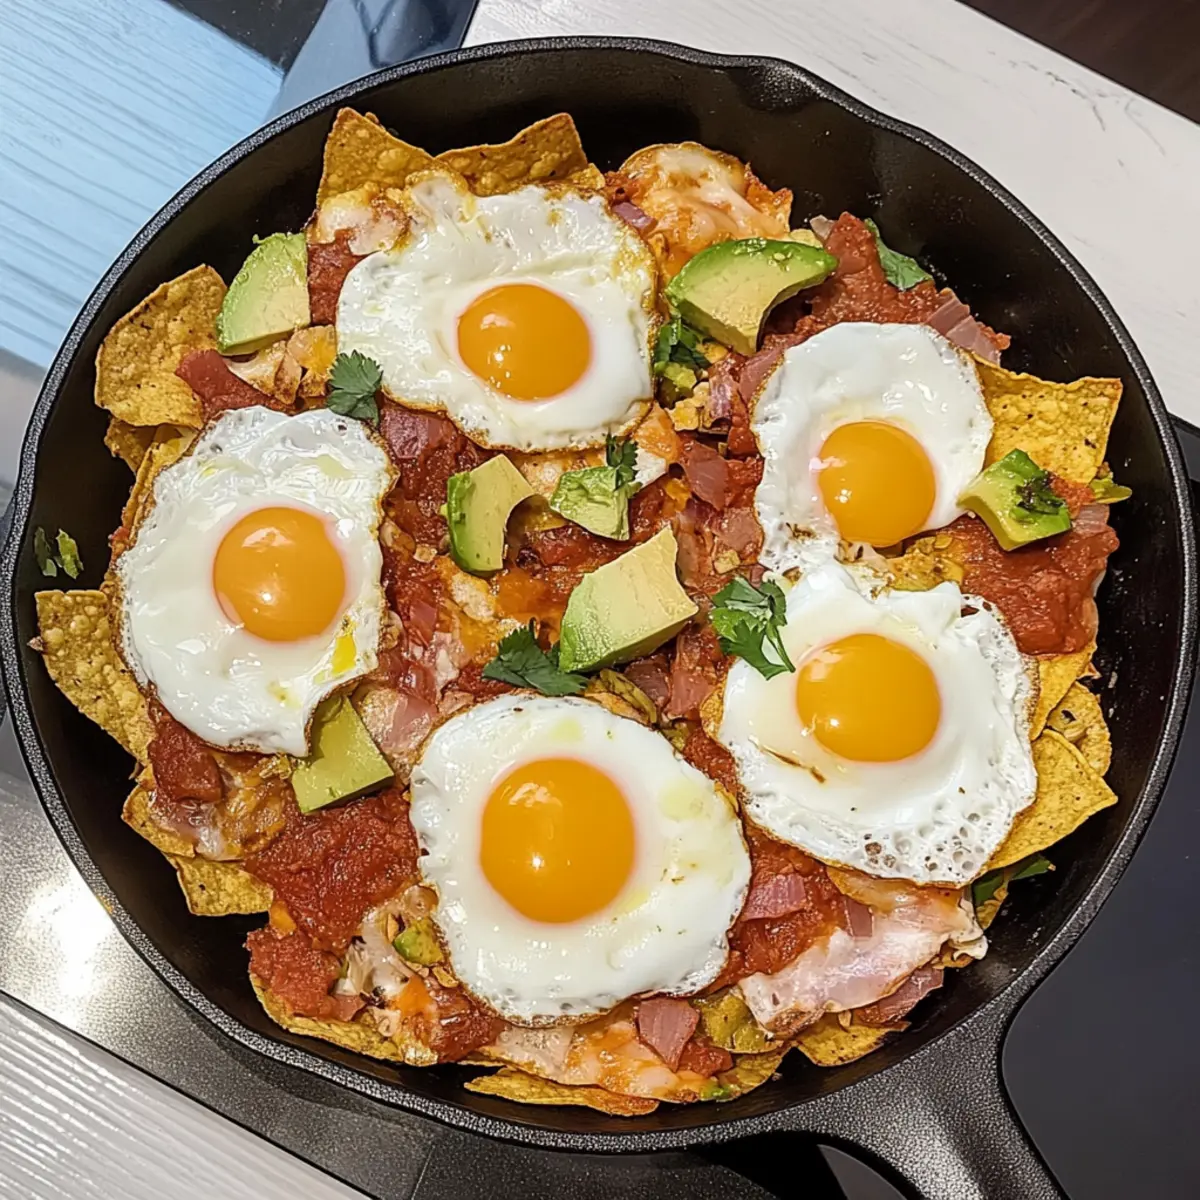
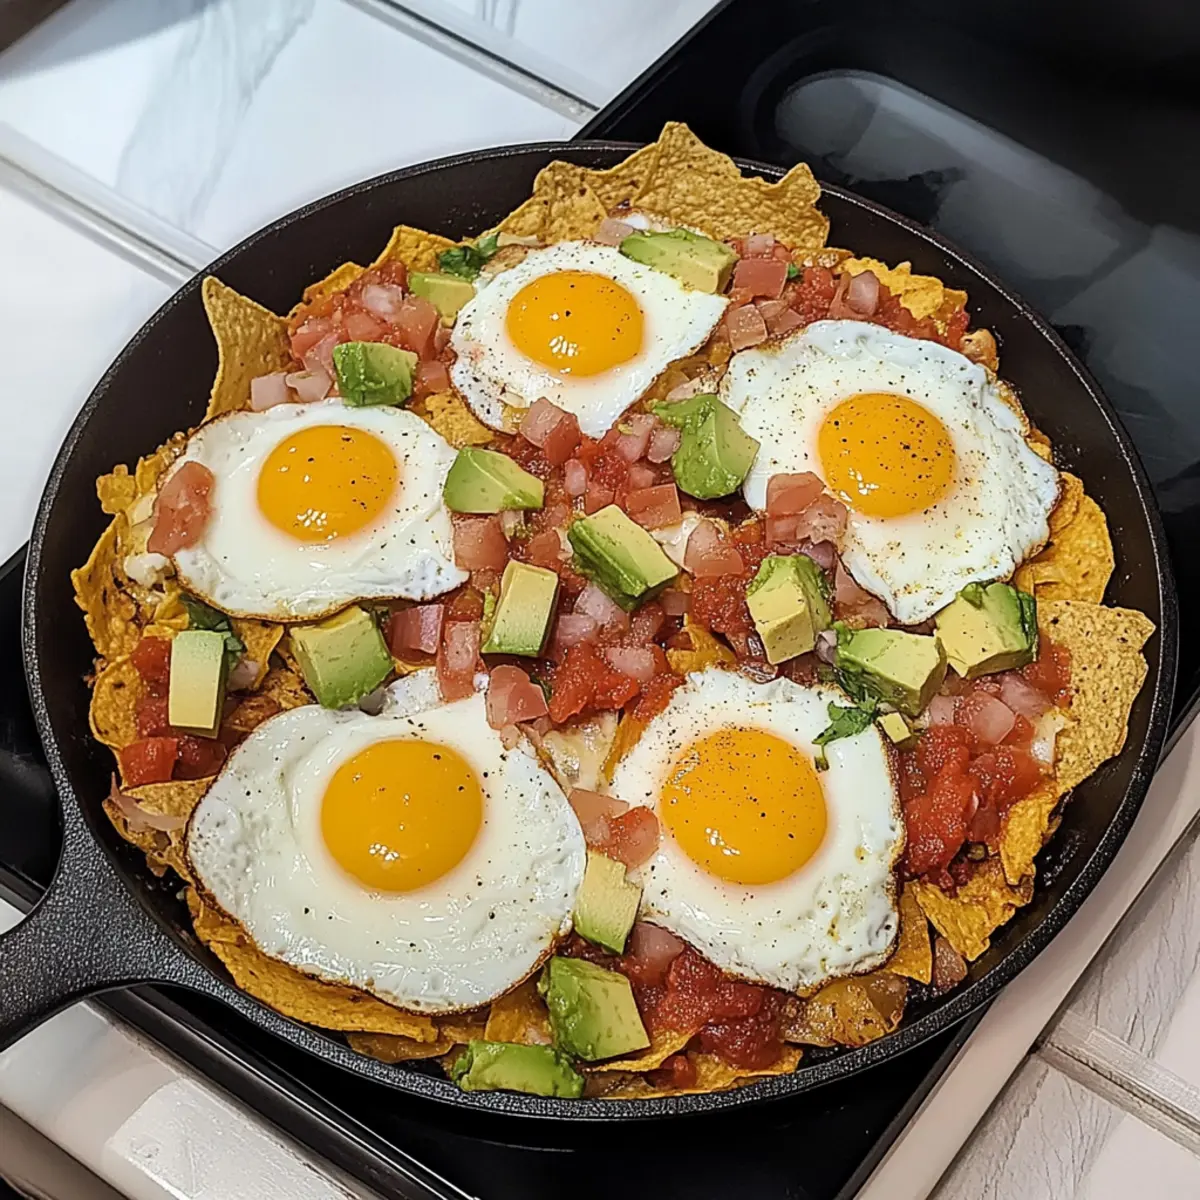
Once everything is cooked, add the crispy bacon on top of your baked chips, then carefully place the fried eggs. To finish, drizzle with the remaining salsa verde, and sprinkle chopped cilantro and optional avocado slices for a fresh, colorful finish. Serve immediately and bask in the deliciousness of your homemade Easy Chilaquiles!
Expert Tips for Easy Chilaquiles
-
Coat Chips Well: Ensure chips are fully coated with the salsa mixture; this helps them absorb flavors and prevents dryness.
-
Egg Cooking Tips: For crispy eggs, fry them in small batches to retain skillet temperature; it allows for even cooking and perfect runny yolks.
-
Use Parchment Paper: Line your baking sheet with parchment paper for easy cleanup and to prevent chips from sticking, ensuring a beautiful presentation.
-
Watch Your Chips: Keep an eye on the chips while baking; overbaking can lead to a burnt flavor that detracts from the fresh taste of your Easy Chilaquiles.
-
Experiment with Salsas: Try different varieties of salsa to switch up flavors; this simple change can brighten your dish while keeping it quick and easy.
Easy Chilaquiles: Fun Variations to Explore
Feel inspired to make these Easy Chilaquiles your own with some exciting swaps and additions!
-
Healthier Chips: Substitute corn tortillas with sweet potato or zucchini chips for a nutritious twist. This not only boosts flavor but also adds a lovely hue to your dish!
-
Satisfying Salsa Swaps: Experiment with a different salsa variety like red salsa or chipotle to bring a unique kick! Each option offers a delightful taste adventure.
-
Add Some Heat: Spice things up with jalapeños or serrano peppers. A little heat can transform your chilaquiles into a fiery breakfast that’ll wake up your taste buds!
-
Umami Boost: Toss in some olives or capers for a briny surprise that pairs beautifully with the creamy salsa and cheese—sure to impress your brunch guests!
-
Fresh Herbs Flare: Instead of chopped cilantro, try using fresh basil or parsley for a surprising flavor profile that still brightens your dish. It’s amazing how herbs can change the mood of a meal!
-
Vegetarian Delight: For a heartier vegetarian option, swap bacon for smoky tempeh or mushrooms. Their umami flavor truly enhances the dish while keeping it satisfying.
-
Creamy Avocado Twist: Top with a generous swirl of avocado crema instead of slices for a velvety finish. This rich addition complements the chilaquiles perfectly!
-
Breakfast Salsa Upgrade: Give your salsa a boost by blending in a touch of lime juice or adding honey for a sweet and zesty surprise that balances out the savory elements—an absolute treat!
Diving into your Easy Chilaquiles just got even better! For more comforting recipes, consider trying out my delicious Thai Coconut Chicken or a light yet scrumptious Lemon Cake Melts. Enjoy every delightful twist!
What to Serve with Easy Chilaquiles?
Elevate your dining experience by pairing these vibrant chilaquiles with delightful sides that enhance the meal’s cozy charm.
- Crispy Bacon Strips: The salty crunch contrasts beautifully with the creamy chilaquiles for a satisfying bite. Add more bacon for a heartier meal that everyone loves.
- Fresh Fruit Salad: A vibrant mix of melons, berries, and citrus brightens the plate, adding crunchy sweetness that cuts through the richness. The freshness balances every mouthful of the savory dish.
- Zesty Lime Wedges: A squeeze of fresh lime juice brings out the flavors in the chilaquiles, adding brightness to every bite and a refreshing complement to this savory dish.
- Mexican Street Corn: Grilled corn drizzled with lime, chili powder, and cheese creates a sweet and spicy side that mirrors the chilaquiles’ flavors while offering a delightful texture.
- Garlicky Refried Beans: The creamy texture and rich taste make this a perfect pairing, providing a hearty boost to your meal that satisfies and warms the soul.
- Chilled Horchata: This sweet, creamy rice drink cools down your palate and offers a delightful contrast to the warm, savory chilaquiles. Perfect for a brunch or hearty breakfast!
- Avocado Toast: Creamy and smooth, a slice of avocado toast topped with microgreens mirrors the texture of chilaquiles while adding a healthy twist to your breakfast spread.
- Spicy Salsa Fresca: A fresh mix of tomatoes, onions, and cilantro offers a zesty crunch that complements and enhances the chilaquiles. It’s the ultimate flavor booster for your meal.
- Cilantro-Lime Rice: This aromatic, flavorful side adds an extra touch of freshness and a mild flavor that pairs perfectly with your chilaquiles, rounding out the meal nicely.
Make Ahead Options
These Easy Chilaquiles are perfect for meal prep enthusiasts! You can prep individual components up to 24 hours in advance, making your cooking experience smoother. First, slice the corn tortillas and bake them as directed, then store them in an airtight container at room temperature to keep them crispy. You can also prepare the salsa mixture by combining the chicken broth, salsa verde, and cheese, then refrigerate it until you’re ready to assemble. When it’s time to serve, simply reheat the salsa mixture on the stove while following the final assembly steps. This way, you’ll have delicious, homemade Easy Chilaquiles ready in no time, allowing you to indulge without the wait!
Storage Tips for Easy Chilaquiles
Fridge: Store leftover Easy Chilaquiles in an airtight container for up to 2 days. Be sure to cool them completely before sealing to preserve texture.
Reheating: For the best texture, reheat in the oven at 350°F (175°C) for about 10 minutes. This will help revive the crunch of the tortilla chips.
Freezer: If you want to freeze, place chilaquiles in a freezer-safe container and use within a month. Reheat directly from frozen but expect a softer texture.
Serving Freshness: For optimal flavor, enjoy your Easy Chilaquiles fresh; the combination of ingredients shines brightest right after preparation.
Easy Chilaquiles Recipe FAQs
What type of corn tortillas should I use for chilaquiles?
Absolutely go for fresh corn tortillas, as they provide the best texture and flavor. If you’re short on time, store-bought tortilla chips work just as well. Just make sure they’re sturdy enough to hold the toppings!
How should I store leftover Easy Chilaquiles?
Leftover Easy Chilaquiles can be stored in an airtight container in the fridge for up to 2 days. To maintain their delicious crunch, let them cool completely before sealing.
Can I freeze Easy Chilaquiles?
Yes, you can freeze them! To do so, place the chilaquiles in a freezer-safe container. They’ll keep well for up to 3 months. When ready to eat, reheat them directly from frozen in the oven at 350°F (175°C) for about 15-20 minutes. Just note that they may lose a bit of crunch.
What if my chilaquiles turn out too soggy?
If your chilaquiles are soggy, make sure your chips are fully coated with the salsa mixture for even flavor absorption, but not drowning in liquid. You can also bake them a bit longer to allow excess moisture to evaporate. If you’ve already made them and they’re too wet, consider adding a few extra tortilla chips on top before reheating.
Are there any dietary considerations for Easy Chilaquiles?
Certainly! This recipe can be adjusted for various dietary needs: opt for gluten-free corn tortillas or tortilla chips, replace bacon with crumbled tofu for a vegetarian option, and substitute eggs with a vegan egg alternative. Always be mindful of any specific allergies your guests may have!

Easy Chilaquiles in Minutes for Delicious Breakfast Bliss
Ingredients
Equipment
Method
- Preheat your oven to 350°F (175°C).
- Cut corn tortillas into triangles and spread on a baking sheet. Bake for 10-12 minutes until golden.
- In a saucepan, combine chicken broth, three-quarters of the salsa verde, and a splash of water. Boil for 2 minutes, stir, then add half of the cheese and cook for another minute.
- Reduce oven temperature to 325°F (160°C). Transfer chips to a cast iron skillet, pour salsa mixture over chips, sprinkle remaining cheese, and bake for 8-9 minutes until melted.
- Cook bacon until crispy, then fry sunny-side-up eggs in the same skillet.
- Add crispy bacon and fried eggs on top of baked chips. Drizzle with remaining salsa verde and sprinkle with cilantro and avocado.
Leave a Reply