
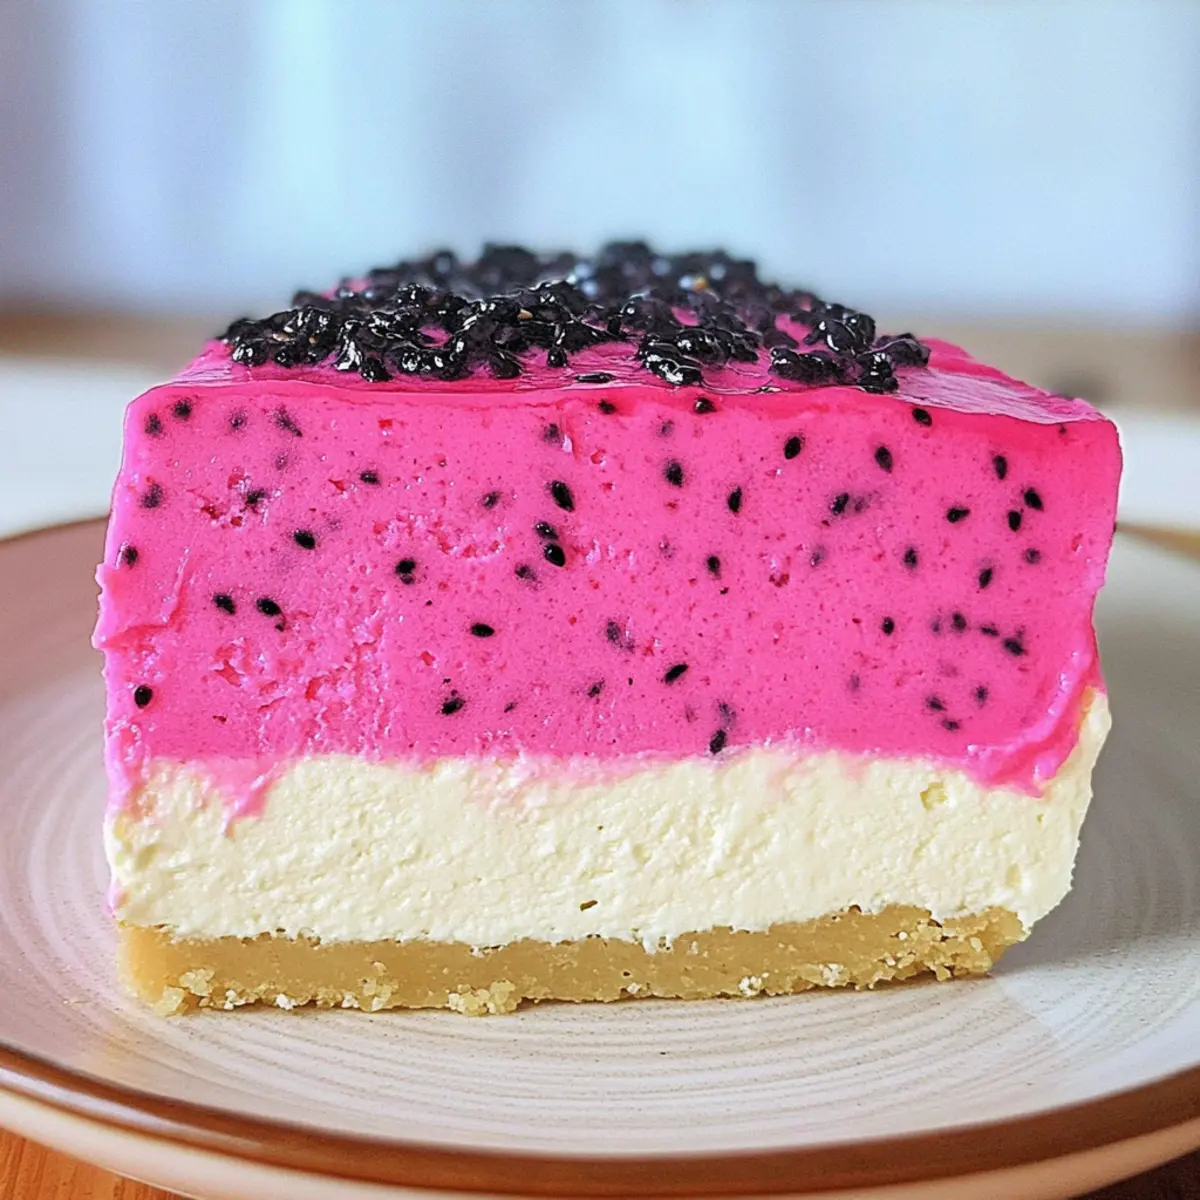
As I gazed at the vibrant pink and purple hues swirling through my latest creation, the no-bake Dragon Fruit Cheesecake, I couldn’t help but be captivated by its beauty. This dessert is an enchanting blend of delightful flavors and stunning visuals, making it the perfect centerpiece for any gathering. What I love most is how effortlessly it comes together—you get all the creamy goodness without the fuss of baking. Not only is it quick to whip up, but it’s also a refreshing treat that elevates everyday occasions to something special. Imagine serving this tropical masterpiece to friends and family while they marvel at its colors and flavors. Ready to impress? Let’s dive into how to create this irresistible Dragon Fruit Cheesecake that will surely become a favorite!
Why Will You Adore This Cheesecake?
Effortless Preparation: This no-bake cheesecake is a breeze to make, perfect for both beginner and experienced chefs. With no baking required, you can achieve impressive results without the stress!
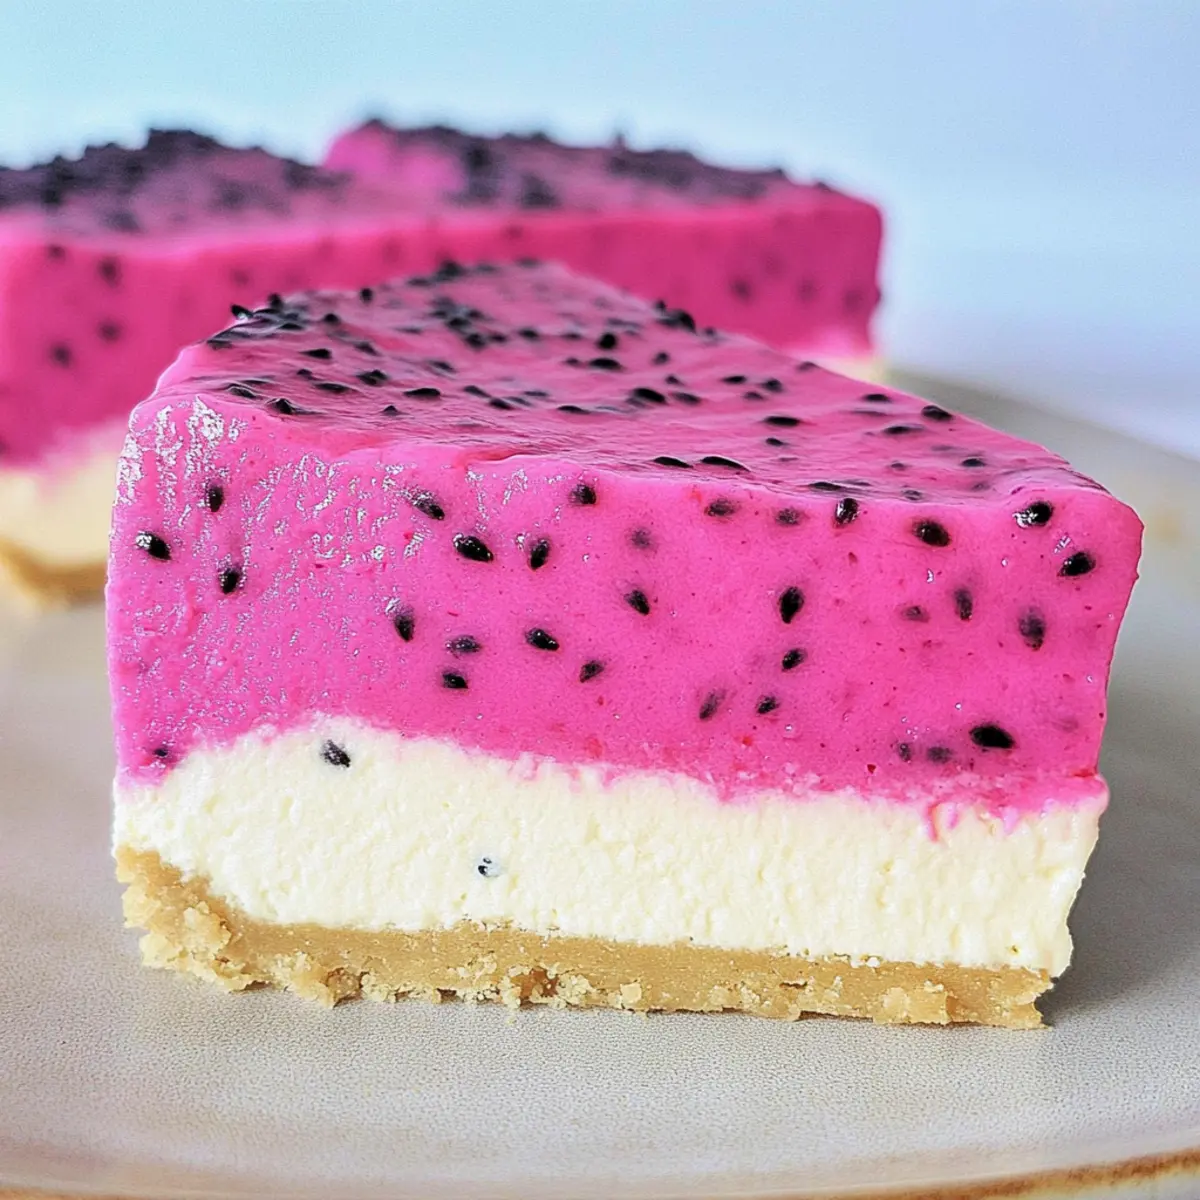
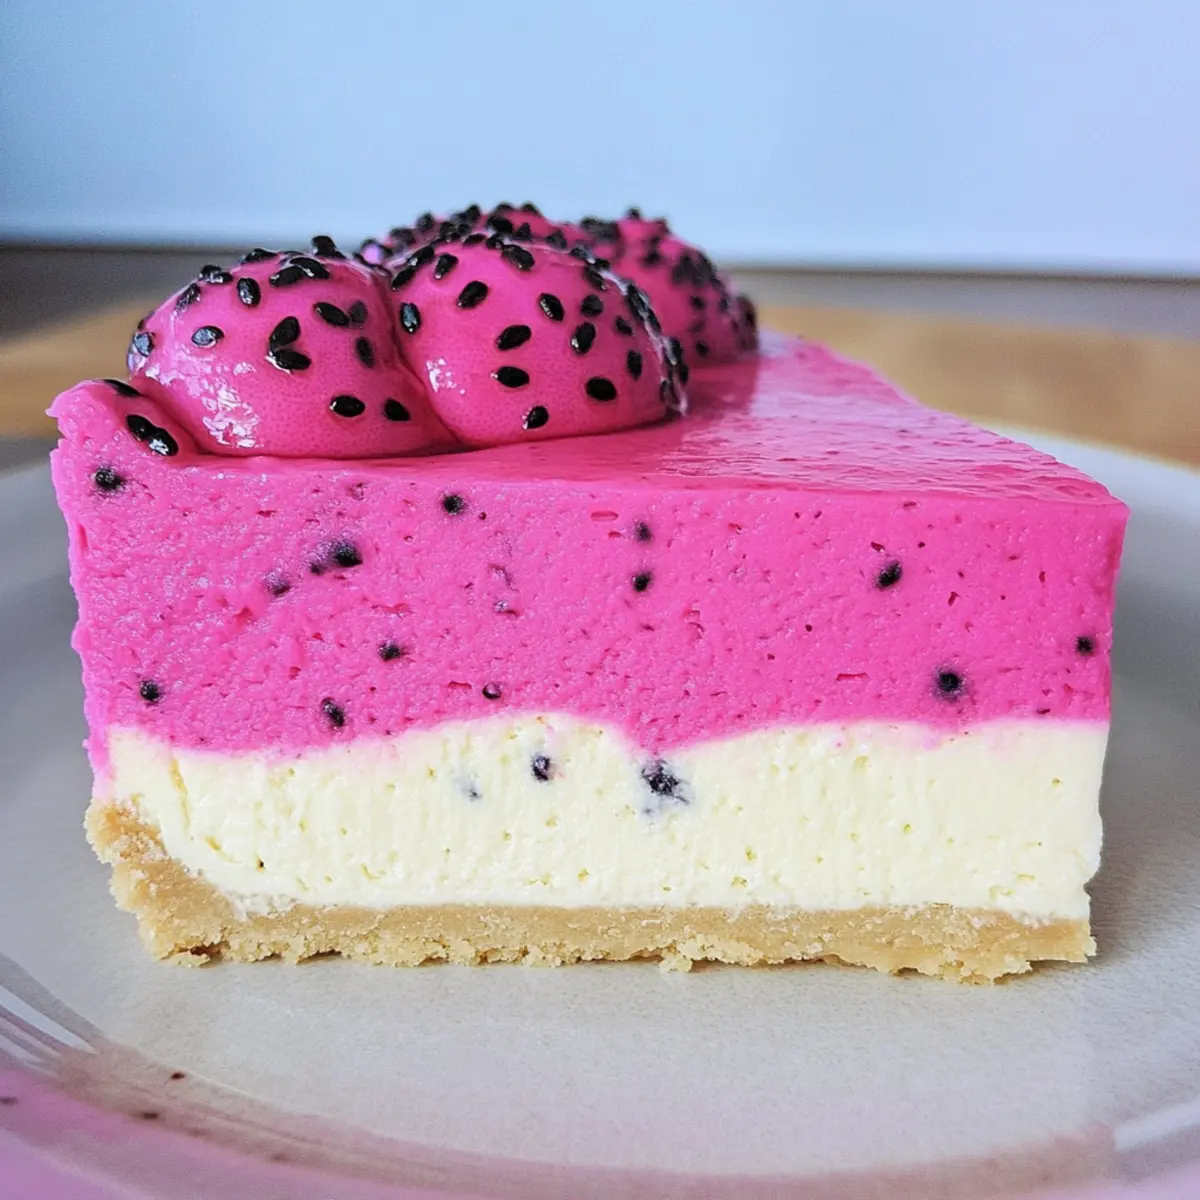
Stunning Presentation: The vibrant colors of dragon fruit create a stunning visual masterpiece that will steal the show at any gathering, making it a fantastic choice for celebrations.
Tropical Flavor Boost: The exotic taste of dragon fruit adds a refreshing tropical twist, which pairs beautifully with a rich, creamy filling that keeps everyone coming back for more.
Versatile Base: Feel free to experiment with other fruits like mango or strawberries for different flavor experiences. You can even add a layer of fruit puree for extra fun!
Make-Ahead Convenience: This cheesecake can be prepared a day or two in advance, making it the perfect dessert for gatherings, allowing you to enjoy the occasion without rushing.
Whether you’re looking for an eye-catching dessert for dinner parties or simply want to treat yourself, this Vibrant No-Bake Dragon Fruit Cheesecake promises to delight!
Dragon Fruit Cheesecake Ingredients
• Note: Get ready to gather your ingredients for this delicious and visually appealing Dragon Fruit Cheesecake!
For the Crust
- Graham Crackers – A base for the crust; ensure fine crumbs for even texture.
- Sugar – Adds sweetness to the crust; substitute with coconut sugar for a healthier option.
- Butter – Binds crust ingredients; unsalted butter keeps the flavors balanced.
For the Filling
- Cream Cheese – Main structure of the cheesecake, providing creaminess; use full-fat for best results.
- Heavy Cream – Adds fluffiness when whipped; can substitute with coconut cream for a dairy-free option.
- Granulated Sugar – Sweetens the filling; adjust based on personal taste preference.
- Vanilla Extract – Enhances flavor depth; pure vanilla is recommended for quality.
- Knox Unflavored Gelatin – Helps set the cheesecake; ensure you follow package instructions for proper consistency.
- Water – Used to dissolve gelatin.
To Color the Cheesecake
- Neon Pink and Purple Food Coloring – For vibrant colors; adjust based on desired intensity.
- Frozen Dragon Fruit – Provides flavor and stunning color; thaw before use; fresh dragon fruit can also be used if available.
Step‑by‑Step Instructions for Dragon Fruit Cheesecake
Step 1: Prepare Crust
Begin by crushing graham crackers into fine crumbs using a food processor or a zip-top bag and rolling pin. In a mixing bowl, combine the crumbs with sugar and melted unsalted butter. Press the mixture into the bottom of a lined 9-inch spring-form pan until it forms an even layer. Place the crust in the freezer for about 30 minutes to set firmly.
Step 2: Make Whipped Cream
In a mixing bowl, whip the heavy cream and granulated sugar together using an electric mixer or whisk until stiff peaks form, approximately 3-5 minutes. This step is crucial for achieving the lightness in your Dragon Fruit Cheesecake. Once done, carefully transfer the whipped cream to the refrigerator to keep it chilled as you prepare the filling.
Step 3: Mix Cream Cheese
In another bowl, blend the softened cream cheese, remaining sugar, and vanilla extract using a hand mixer or stand mixer until smooth and creamy, around 2-3 minutes. Scrape down the sides of the bowl as needed to ensure everything is combined. This mixture will form the base of your cheesecake filling, giving it a rich texture.
Step 4: Prepare Gelatin
In a small bowl, dissolve the Knox unflavored gelatin in water according to the package instructions. Allow it to sit for a few minutes until it blooms. Then, gently heat it in the microwave for 10-15 seconds until fully dissolved and clear, ensuring there are no lumps. This gelatin will help set your cheesecake beautifully.
Step 5: Combine Mixtures
Pour the dissolved gelatin into the cream cheese mixture, blending thoroughly to integrate completely. Next, fold the chilled whipped cream into the mixture gently, preserving its airy texture. This blended filling will create the luscious layer of your Dragon Fruit Cheesecake, so take your time to mix carefully.
Step 6: Layering
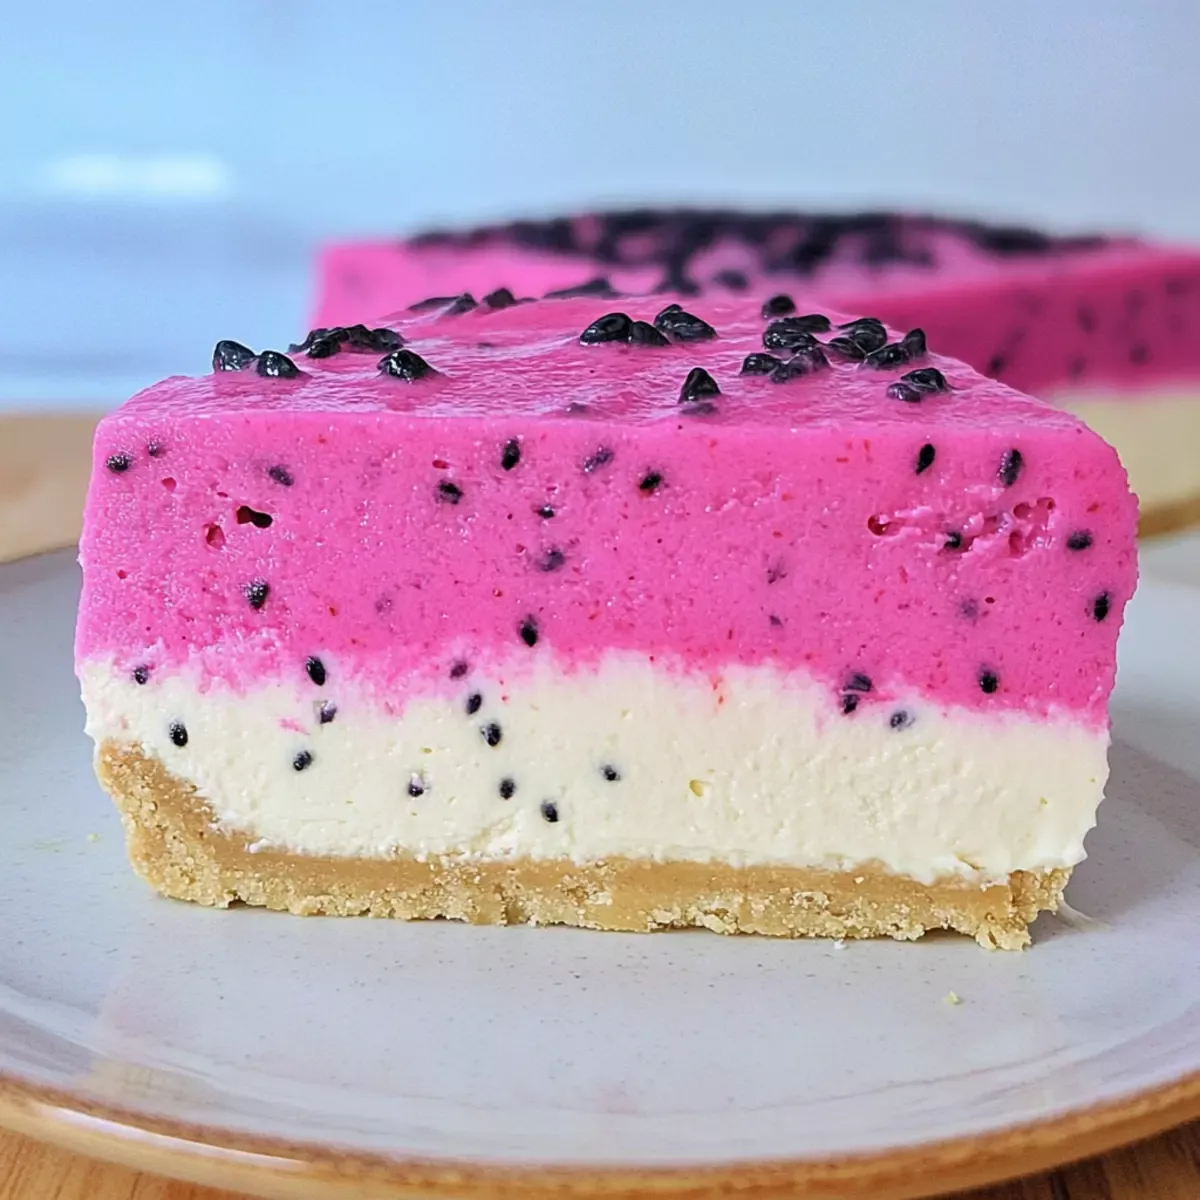
Divide the cheesecake batter into two separate bowls. To one bowl, add the thawed dragon fruit puree and neon pink food coloring, mixing until evenly colored. Pour the plain cheesecake batter into the spring-form pan to create the first layer. Carefully add the pink dragon fruit batter on top, spreading it evenly with a spatula for a vibrant contrast.
Step 7: Chill
Cover the spring-form pan with plastic wrap or a lid and place it in the freezer for at least 4-6 hours, or preferably overnight. This chilling period allows the Dragon Fruit Cheesecake to set properly, ensuring a smooth slice when you are ready to serve it. Keep an eye on the chilling process to ensure it is firm yet creamy.
Step 8: Serve
Once chilled and fully set, carefully remove the cheesecake from the spring-form pan. For clean slices, use a serrated knife dipped in warm water. Slice and serve with fresh fruit or a drizzle of fruit sauce if desired. Your visually stunning Dragon Fruit Cheesecake is ready to impress at any gathering!
How to Store and Freeze Dragon Fruit Cheesecake
Fridge: Store leftover dragon fruit cheesecake tightly covered in the refrigerator for up to 5 days. This keeps the flavors intact and the texture creamy.
Freezer: For longer storage, slice and wrap the cheesecake in plastic wrap, then place in an airtight container. It can be frozen for up to 2 months.
Thawing: To enjoy frozen cheesecake, transfer it from the freezer to the fridge to thaw overnight before serving.
Reheating: While this dessert is best served chilled, if slightly softened, leave it at room temperature for 10-15 minutes before slicing.
Dragon Fruit Cheesecake Variations
Feel free to unleash your creativity and customize this cheesecake with delightful twists that take advantage of the tropical flavors!
-
Berry Blast: Substitute dragon fruit with fresh strawberries or raspberries for a tangy flavor. These berries not only add sweetness but also stunning visual appeal.
-
Mango Madness: Swap dragon fruit for pureed mango for a vibrant, sunny twist. The creamy mango adds a tropical richness that’s irresistible.
-
Coconut Cream: Use coconut cream instead of heavy cream for a luscious, dairy-free option. It provides a subtle sweetness and rich flavor that complements the fruity layers beautifully.
-
Nutty Crust: Replace graham crackers with crushed almonds or pecans mixed with a bit of coconut oil. This will give your cheesecake a delightful crunch and nutty flavor.
-
Layered Puree: Top the chilled cheesecake with a layer of mixed berry or passionfruit puree for added sweetness and a burst of color. It not only enhances the flavor but also adds an artistic touch.
-
Spice Up the Flavor: Add a pinch of lime zest to the cream cheese filling. This brightens the flavor while adding a refreshing zing that complements the tropical fruits.
-
Chili Kick: For those who love a bit of heat, mix in a dash of chili powder with the fruit puree for a surprising sweet and spicy contrast. It’s a conversation starter for sure!
-
Mini Cheesecakes: For an adorable twist, pour the cheesecake batter into mini muffin tins instead of a spring-form pan. These bite-sized treats are perfect for parties and easy to serve.
As you explore these variations, consider pairing your cheesecake with a refreshing fruit sauce or a dollop of whipped cream to elevate your serving experience! For more delicious desserts, you might also enjoy our Mini Lemon Cheesecakes or a decadent Sugar Cookie Cheesecake for a festive touch. Dive in and have fun creating your unique version of this delightful cheesecake!
What to Serve with Vibrant No-Bake Dragon Fruit Cheesecake
Elevate your dining experience by pairing this tropical cheesecake with delightful accompaniments that enhance both flavor and presentation.
- Fresh Mango Slices: Juicy mango adds a tropical burst that complements the cheesecake’s flavors and adds a beautiful color contrast.
- Coconut Whipped Cream: The airy fluffiness of coconut cream elevates the creamy texture while enhancing the tropical vibe.
- Tropical Fruit Salad: A medley of pineapple, kiwi, and passion fruit not only freshens the palate but also enhances the vibrant aesthetic of your dessert spread.
- Mint Leaves: A sprinkle of fresh mint adds a refreshing herbal note that cuts through the creaminess, making each bite more invigorating.
Serve the cheesecake with a light drizzle of passion fruit sauce for a delightful tartness that plays beautifully with the sweetness. Keep it cool and colorful! Enjoy it with a cup of herbal tea or a glass of sparkling water for a refreshing finish.
Expert Tips for Dragon Fruit Cheesecake
- Gelatin Precision: Ensure the gelatin is fully dissolved before mixing into the cheesecake. Undissolved gelatin can cause lumps, ruining the silky texture.
- Cream Cheese Softening: Allow your cream cheese to soften at room temperature for at least 30 minutes prior to mixing. This helps achieve a smooth texture in your cheesecake filling.
- Whipping Heavy Cream: Always whip the heavy cream separately until stiff peaks form. This allows the cheesecake to have maximum lightness and fluffiness.
- Chill Time: Patience is key! Allow the cheesecake to chill overnight for the best results. The longer it sets, the creamier and more flavorful it will be.
- Color Adjustment: When using food coloring, start with a small amount and gradually increase until you reach your desired shade for the vibrant layers of your Dragon Fruit Cheesecake.
Make Ahead Options
These vibrant no-bake Dragon Fruit Cheesecakes are ideal for busy home cooks looking to streamline their meal prep! You can prepare the crust and filling up to 24 hours in advance, storing them separately in the refrigerator. Simply mix the crust ingredients and press them into the pan, then whip the cream cheese and fold in the whipped cream as directed. To maintain the cheesecake’s creamy texture, store the crust covered with plastic wrap. When you’re ready to serve, layer the batter, chill overnight, and enjoy the delightful tropical flavors that will surely impress your guests with minimal effort!
Dragon Fruit Cheesecake Recipe FAQs
How do I choose ripe dragon fruit?
Absolutely! Look for dragon fruit that is vibrant in color with smooth skin. Avoid any that have dark spots all over or are shriveled—these are signs of overripeness. When you press gently, it should yield slightly but shouldn’t feel mushy. A ripe dragon fruit also has a sweet aroma, an indicator that it’s ready to be enjoyed!
How should I store leftover dragon fruit cheesecake?
Very easy! Store your leftover Dragon Fruit Cheesecake in an airtight container or tightly covered with plastic wrap in the refrigerator for up to 5 days. This helps maintain its creamy texture and lovely flavor. Just remember to keep it chilled to savor its deliciousness!
Can I freeze the dragon fruit cheesecake?
Yes, you can! To freeze, slice the cheesecake and wrap each piece tightly in plastic wrap. Place these slices in an airtight container and store them in the freezer for up to 2 months. When you’re ready to enjoy a slice, transfer it to the fridge and let it thaw overnight before serving. This ensures your dessert retains its wonderful taste and texture.
What should I do if my cheesecake doesn’t set properly?
If you find that your cheesecake hasn’t set, it might be due to the gelatin not being dissolved properly or not using enough. To troubleshoot, gently reheat the cheesecake mixture on low heat while stirring until it loosens. Then, reapply the mixture into the pan and chill it for a few more hours. Ensure you’re using the correct amount of gelatin according to the package instructions next time.
Is this cheesecake suitable for people with allergies?
While the Dragon Fruit Cheesecake is a delightful option, be cautious! The primary allergens include dairy from cream cheese and heavy cream, as well as gluten from graham crackers. For a gluten-free and dairy-free version, use dairy-free cream cheese, coconut cream, and gluten-free crackers. Always read labels carefully, especially for those with severe allergies.
Can I skip the gelatin in this recipe?
It’s not recommended, as gelatin is key for helping the cheesecake set. However, if you prefer a vegetarian alternative, you could use agar-agar instead. Just follow the instructions on the package to prepare it properly. Keep in mind that the texture might differ slightly, but it could still be delicious!
Delightful Dragon Fruit Cheesecake for a Tropical Twist
Ingredients
Equipment
Method
- Begin by crushing graham crackers into fine crumbs using a food processor or a zip-top bag and rolling pin. In a mixing bowl, combine the crumbs with sugar and melted unsalted butter. Press the mixture into the bottom of a lined 9-inch spring-form pan until it forms an even layer. Place the crust in the freezer for about 30 minutes to set firmly.
- In a mixing bowl, whip the heavy cream and granulated sugar together using an electric mixer or whisk until stiff peaks form, approximately 3-5 minutes. Once done, carefully transfer the whipped cream to the refrigerator to keep it chilled.
- In another bowl, blend the softened cream cheese, remaining sugar, and vanilla extract using a hand mixer until smooth and creamy, around 2-3 minutes. Scrape down the sides of the bowl as needed.
- In a small bowl, dissolve the Knox unflavored gelatin in water according to the package instructions. Allow it to sit for a few minutes until it blooms. Then, gently heat it in the microwave for 10-15 seconds until fully dissolved and clear.
- Pour the dissolved gelatin into the cream cheese mixture, blending thoroughly. Next, fold the chilled whipped cream into the mixture gently, preserving its airy texture.
- Divide the cheesecake batter into two bowls. To one bowl, add the thawed dragon fruit puree and neon pink food coloring. Pour the plain cheesecake batter into the spring-form pan to create the first layer. Carefully add the pink dragon fruit batter on top and spread evenly.
- Cover the spring-form pan with plastic wrap and place it in the freezer for at least 4-6 hours or preferably overnight.
- Once chilled and fully set, carefully remove the cheesecake from the spring-form pan. Slice and serve with fresh fruit or a drizzle of fruit sauce if desired.
Leave a Reply