
As I stood in my kitchen, the delicious aroma of frying rice drifted through the air, whisking me away to my favorite sushi bar. That’s when the thought struck me: why not transform ordinary leftover sushi rice into something extraordinary? Enter my Crispy Rice Bites—your new go-to versatile appetizer! Whether you’re hosting a gathering or simply craving a quick snack, these gluten-free bites are a game-changer. They’re not just about the satisfying crunch; their adaptability to various toppings and sauces means every bite can be a unique culinary experience. Plus, with their quick prep time, there’s no reason to reach for takeout again. Are you ready to elevate your appetizer game? Let’s dive into this delightful recipe together!
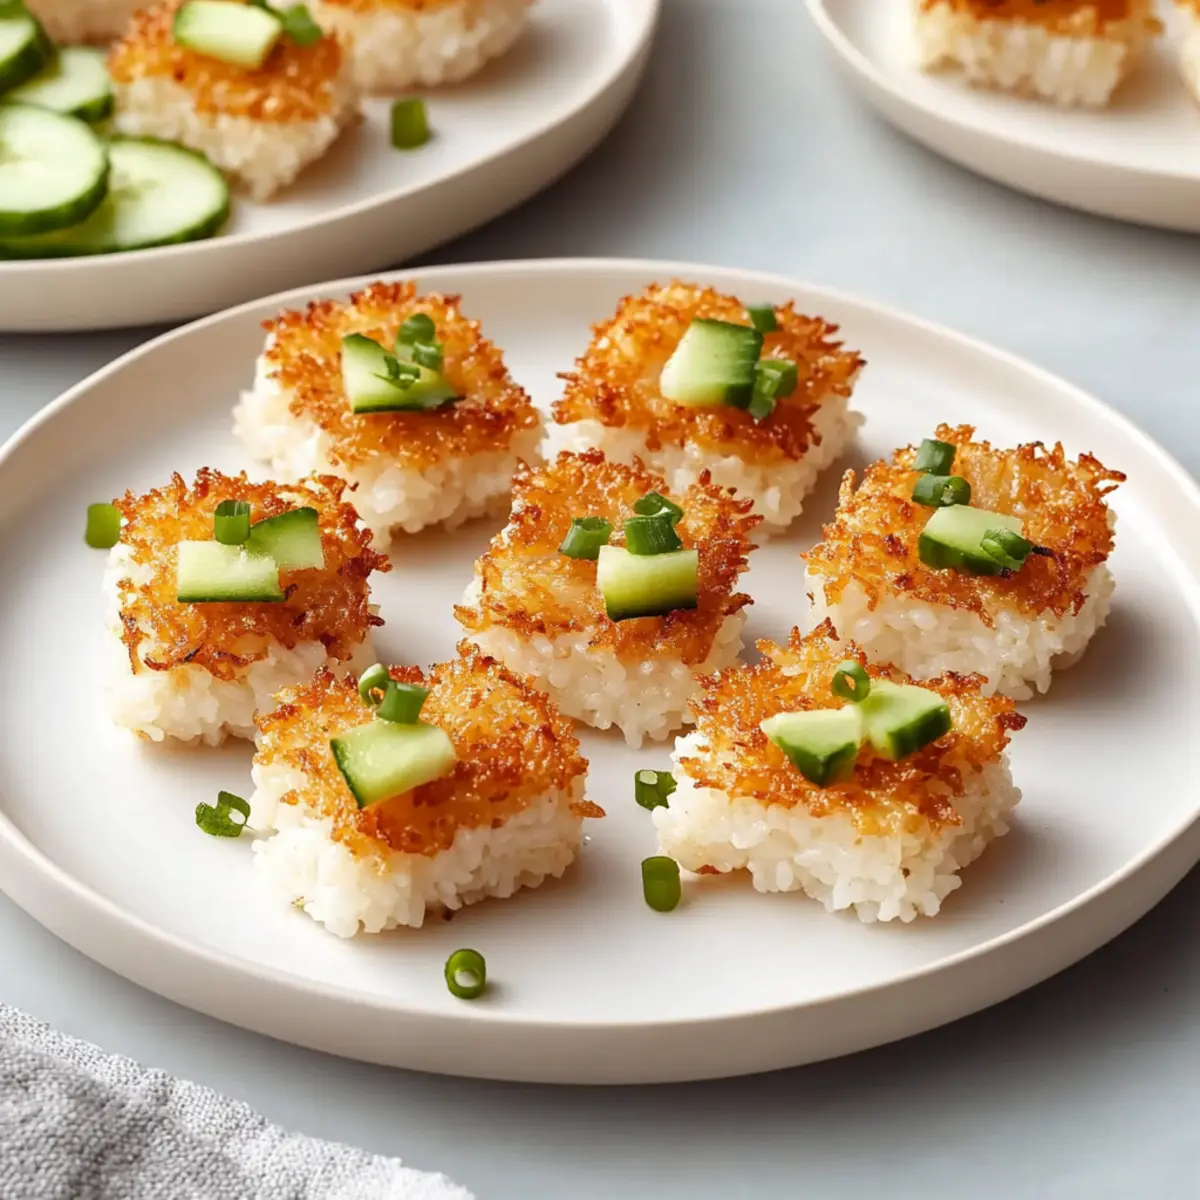
Why Are Crispy Rice Bites So Irresistible?
Crunchy Texture: Each bite offers a delightful crunch paired with a slightly chewy center, making them utterly satisfying.
Endless Variations: You can easily customize these bites by adding your favorite toppings—think spicy mayo, avocado, or even grilled shrimp!
Quick and Easy: With just a few simple steps, you’ll have a tasty snack ready in no time, perfect for any occasion.
Crowd Pleaser: These bites are sure to impress your guests, whether it’s a cozy movie night or a lively get-together.
Gluten-Free Option: Make them gluten-free by choosing the right toppings and sauces—fun for everyone!
Add some flair to your appetizer spread by serving these Crispy Rice Bites alongside other crowd favorites like Brie Cranberry Bites or for a satisfying meal that packs a flavor punch, try Breakfast Fried Rice.
Crispy Rice Bites Ingredients
Transform your cooking game with these Crispy Rice Bites, the perfect blend of texture and flavor!
For the Rice
- Sushi Rice – Provides the ideal texture for crispy bites; short-grain ensures perfect stickiness.
- Water – Essential for cooking; accurate measurement ensures the perfect consistency.
- Salt – Enhances flavor; adjust to your taste preferences for optimal enjoyment.
- Rice Vinegar – Adds a tangy kick; substitute with apple cider vinegar if you’re in a pinch.
- Granulated Sugar – Balances the flavors; honey works as a lovely alternative if desired.
- Toasted Sesame Oil – Infuses a nutty aroma; olive oil can replace it for a milder flavor.
For Frying
- Cooking Oil – A neutral oil like canola is recommended for frying, helping achieve that perfect crispy texture.
Optional Toppings
- Fresh Sushi-Grade Fish – Salmon or tuna recommended for topping; they elevate the flavors of your bites beautifully.
- Diced Avocado – Adds a creamy contrast that pairs deliciously with the crunch.
- Cucumber Slices – Provide a refreshing bite that complements the overall savory flavor.
- Spicy Mayo or Eel Sauce – A drizzle of your favorite sauce enhances flavor; pick your top choice!
- Furikake – A Japanese seasoning that gives your crispy rice bites a delightful umami boost.
Those vibrant Crispy Rice Bites are now just a few ingredients away from making their savory debut on your table!
Step‑by‑Step Instructions for Crispy Rice Bites
Step 1: Rinse and Cook Rice
Start by thoroughly rinsing 1 cup of sushi rice under cold water until the water runs clear, which helps prevent mushiness. Then, combine the rinsed rice with 1.2 cups of water in a rice cooker or pot. Cook on a medium heat until it becomes tender and sticky, about 15-20 minutes. Once cooked, fluff the rice and let it cool for about 10 minutes.
Step 2: Season Rice
In a separate bowl, whisk together 1 teaspoon of salt, 2 tablespoons of rice vinegar, 1 tablespoon of granulated sugar, and 1 tablespoon of toasted sesame oil. After the rice has cooled slightly, gently fold this seasoning mixture into the rice using a spatula, ensuring an even distribution of flavor. Be careful not to smash the rice; the goal is to preserve its texture.
Step 3: Shape and Chill
Transfer the seasoned rice onto a lined baking tray, pressing it down firmly into a uniform layer about ½ inch thick. Use your fingertips to smooth the surface. Cover the tray with plastic wrap and refrigerate for at least 3 hours, or preferably overnight. Chilling the rice will make it easier to cut and shape into your Crispy Rice Bites later.
Step 4: Slice and Dry
After chilling, carefully remove the rice block from the tray and place it on a cutting board. Using a sharp knife, cut it into bite-sized squares or rectangles, about 1-2 inches each. To reduce excess moisture, gently pat each piece with a paper towel. This step is crucial for achieving a delightful crunch when frying.
Step 5: Fry
In a large skillet, heat about ½ inch of neutral cooking oil (like canola oil) over medium heat until it reaches approximately 350°F. Once hot, carefully add several rice pieces to the skillet, avoiding overcrowding. Fry each side for about 1-2 minutes, or until a beautiful golden brown color forms and they become crispy.
Step 6: Drain and Serve
Once crispy, use a slotted spoon to remove the rice bites from the oil and transfer them onto a wire rack. This will help maintain their crunch. If desired, sprinkle some furikake seasoning for an extra flavor boost while they’re still hot. Serve warm with your favorite toppings, such as diced avocado, sushi-grade fish, or a drizzle of spicy mayo for a perfect finish to your Crispy Rice Bites.
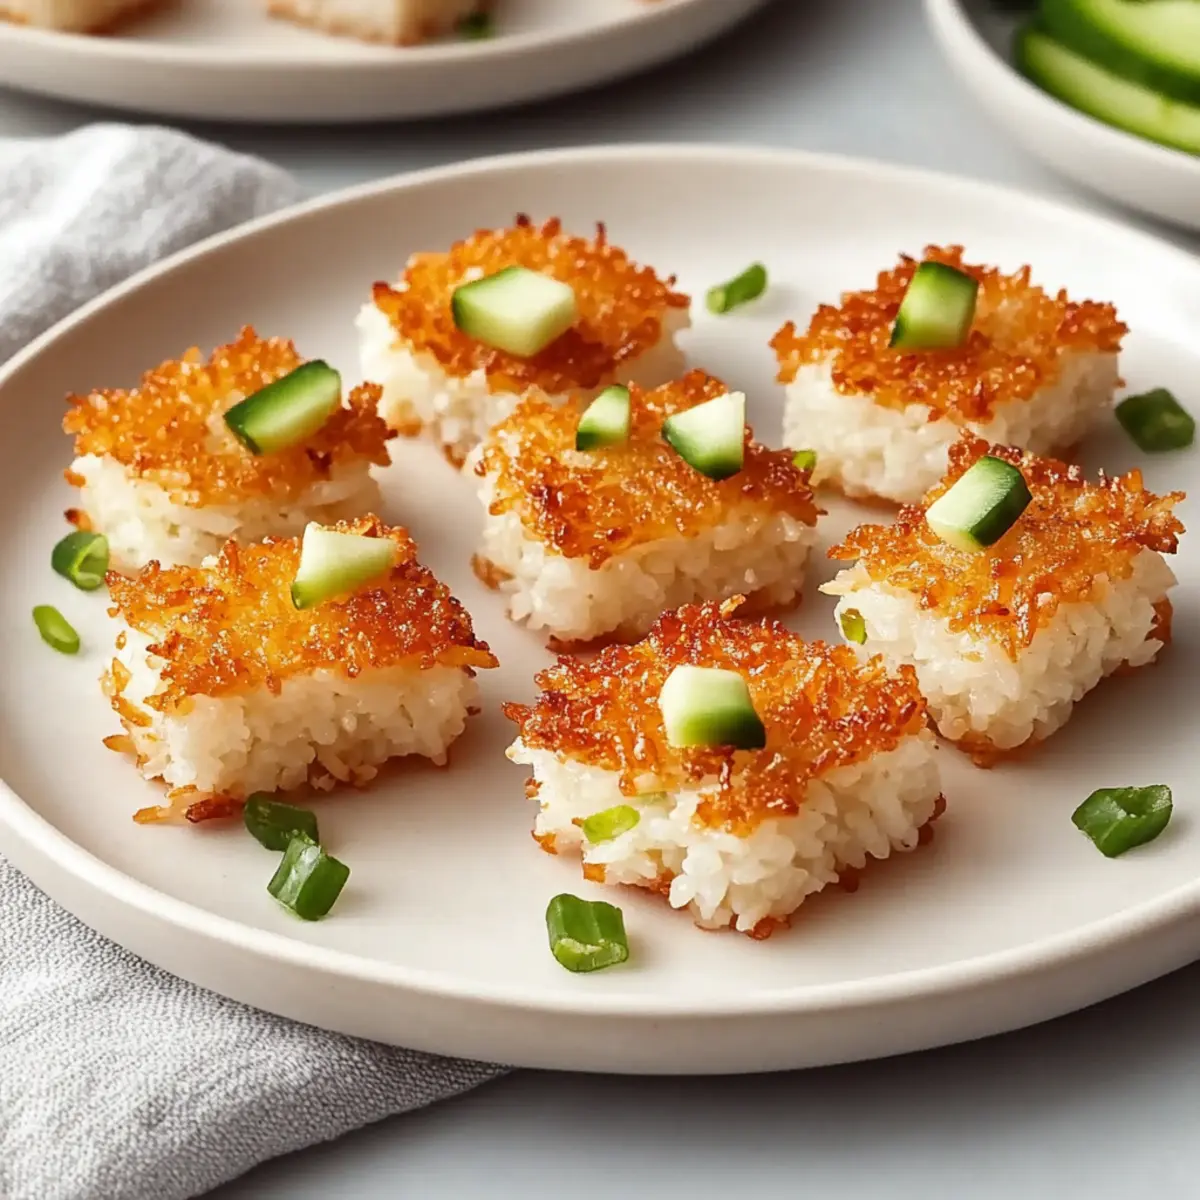
Storage Tips for Crispy Rice Bites
-
Fridge: Store undressed Crispy Rice Bites in an airtight container for 3-5 days. This keeps them fresh while maintaining their flavor and texture.
-
Freezer: Place shaped rice bites on a tray to freeze individually before transferring them to a bag. They can be frozen for up to 2 months; reheat them in a skillet for the best texture.
-
Reheating: To reheat, warm the bites in a skillet over medium heat for about 3-5 minutes, flipping halfway through to restore their crispiness.
-
Room Temperature: If serving immediately, keep the bites at room temperature for up to 2 hours before consumption to avoid losing their delightful crunch.
Expert Tips for Crispy Rice Bites
-
Rinse Thoroughly: Always rinse sushi rice until the water is clear to prevent excess starch that can lead to mushy bites.
-
Chill Properly: Allowing the rice to chill for at least 3 hours is essential for achieving the right texture and preventing the bites from falling apart during frying.
-
Optimal Oil Temperature: Test the oil temperature before frying; it should sizzle immediately when rice pieces are added, ensuring perfect crispiness.
-
Avoid Overcrowding: Fry the rice bites in batches to avoid overcrowding the skillet, which can lower the oil temperature and result in less crispy bites.
-
Use a Wire Rack: Drain the fried bites on a wire rack rather than paper towels to maintain their delightful crunch.
Exploring these expert tips will ensure your Crispy Rice Bites turn out perfectly every time!
Make Ahead Options
These Crispy Rice Bites are perfect for meal prep enthusiasts looking to save time during busy weeknights! You can cook and season the sushi rice, then shape it into a block and refrigerate it for up to 24 hours. This ensures the rice is compact and easy to slice later. When you’re ready to serve, simply cut the chilled rice into bite-sized pieces, pat them dry, and fry as directed. For optimal quality, keep any uncooked rice bites covered in the refrigerator and let them come to room temperature for a few minutes before frying; they’ll still be just as delicious with that delightful crunch!
What to Serve with Crispy Rice Bites
Elevate your snack time with an array of delightful pairings that enhance the flavors of your Crispy Rice Bites.
-
Creamy Avocado Salad: This fresh salad adds a creamy, cool contrast that perfectly complements the bites’ crunch. Toss with lime juice and cilantro for zest!
-
Spicy Tuna Tartare: The rich and spicy notes of this tartare will add an exciting layer of flavor, making your bites feel more gourmet. Top your rice bites with a scoop or serve on the side!
-
Soy Ginger Dipping Sauce: A tangy dip with soy sauce, ginger, and a hint of sesame pairs beautifully with each crispy bite, enhancing their umami experience.
-
Pickled Ginger: A side of pickled ginger provides a refreshing palate cleanser between bites, cutting through the richness of any toppings.
-
Sushi Rolls: Introduce a playful sushi theme by serving a side of your favorite sushi rolls, creating a deliciously cohesive meal.
-
Chilled Sake: Enjoy a glass of chilled Sake alongside your bites to elevate the dining experience with a traditional Japanese twist.
-
Edamame: This simple side is packed with protein and offers a satisfying bite that pairs well with the rice’s crispy texture. Lightly salt for best flavor!
These pairings not only enhance the experience but also add variety, ensuring every moment with your Crispy Rice Bites is deliciously memorable!
Crispy Rice Bites Variations & Substitutions
Feel free to get creative with your Crispy Rice Bites! These delightful bites can be customized to suit your taste and dietary needs.
- Gluten-Free: Use gluten-free soy sauce or tamari as a dipping sauce to keep it safe for gluten-sensitive guests.
- Vegan: Swap out any fish or mayonnaise toppings with diced avocado and a drizzle of sriracha for a flavorful, plant-based option!
- Spicy Twist: Add chopped fresh jalapeños or a sprinkle of chili flakes to the rice mixture for an added kick.
- Savoury Boost: Top with crumbled feta cheese or a sprinkle of grated Parmesan for a cheesy flavor that contrasts well with the crispiness.
- Fresh Veggie Medley: Add sautéed mushrooms, bell peppers, or zucchini on top for an extra layer of flavor and nutritious goodness.
- Asian Flavors: Drizzle with hoisin sauce or extra sesame oil before serving for a touch of authentic Asian flavor.
- Herb-Infused: Mix in chopped fresh herbs like cilantro or green onions into the rice for a fresh and zesty taste.
- Sweeten the Deal: For a sweet twist, dip in sweet chili sauce or serve with a honey drizzle for a unique dessert-like treat.
For more scrumptious ideas, consider pairing these bites with other favorites like Honey Garlic Tofu or treating yourself to a filling plate of Breakfast Fried Rice. The possibilities are endless, so let your culinary creativity flourish!
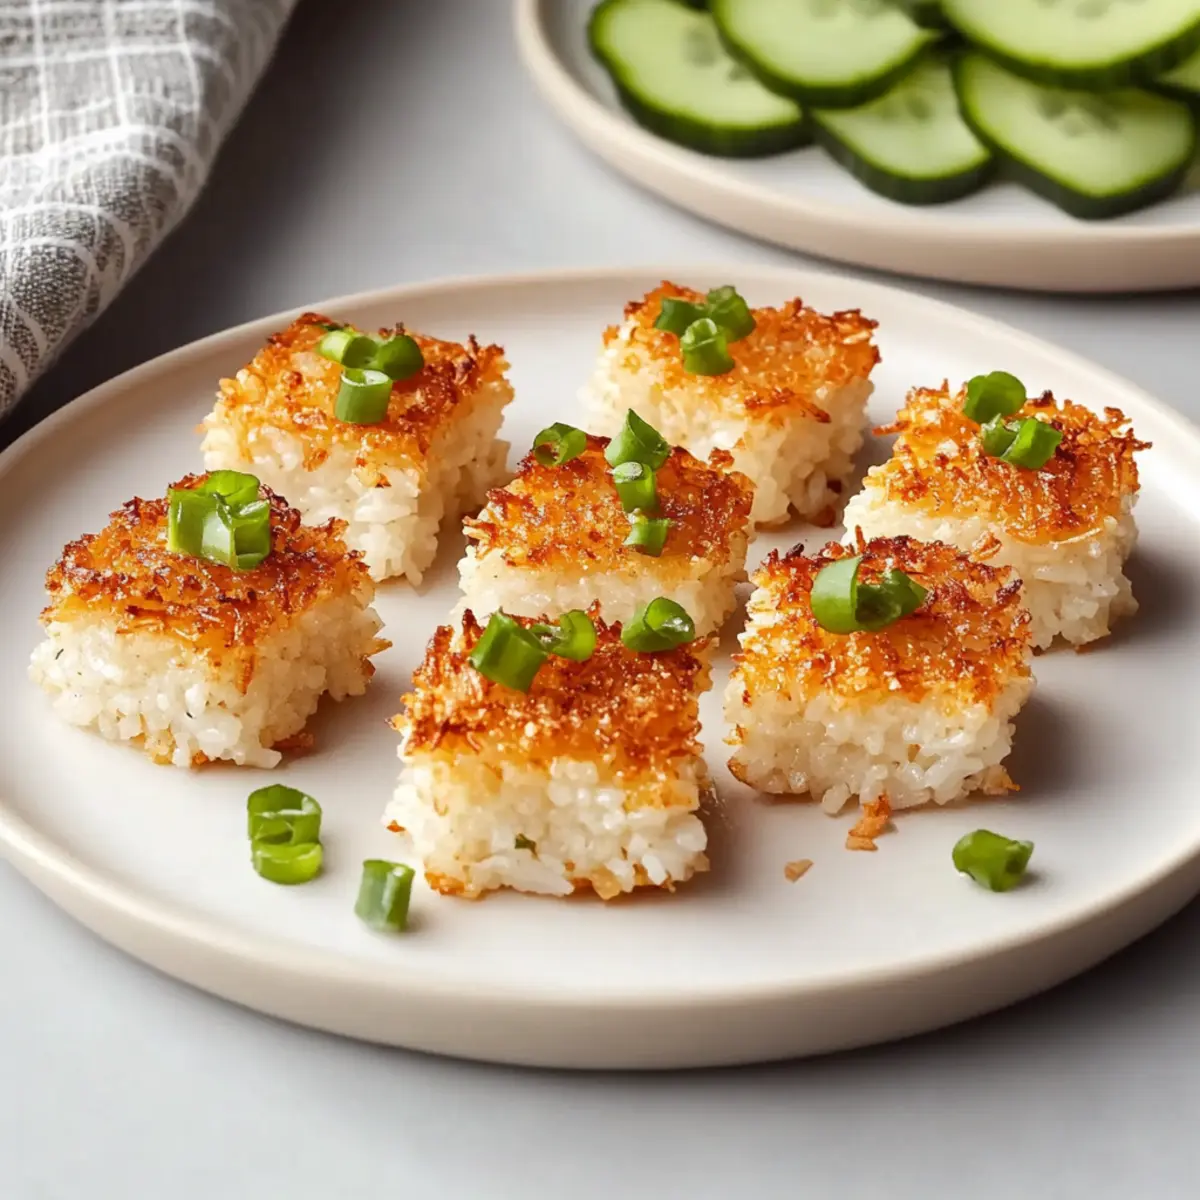
Crispy Rice Bites Recipe FAQs
How do I select the best sushi rice for my Crispy Rice Bites?
Absolutely! When choosing sushi rice, look for high-quality short-grain rice. It should have a slightly sticky texture when cooked, which is essential for forming your Crispy Rice Bites. If you notice any dark spots or off colors in the grains, it’s best to pick another bag.
What’s the best way to store Crispy Rice Bites?
For storing your delicious Crispy Rice Bites, keep them undressed in an airtight container. They will remain fresh for 3-5 days in the refrigerator. I often pack them in small layers with parchment paper in between to maintain their crunch.
Can I freeze my Crispy Rice Bites?
Certainly! To freeze your shaped rice bites, place them on a tray, ensuring they’re not touching, and freeze for about 1-2 hours until firm. Then, transfer them to a freezer bag, removing as much air as possible. They can be stored like this for up to 2 months. When you’re ready to enjoy them again, just reheat in a skillet on medium heat for 3-5 minutes until crispy!
What should I do if my Crispy Rice Bites are falling apart while frying?
No stress! If your bites are falling apart, it could be due to a few reasons. First, make sure the rice is well-chilled before cutting. Pack the rice firmly but not too tight when shaping. If the oil temperature is too low, it can also cause them to break apart. Use a thermometer to ensure the oil is around 350°F before frying.
Are Crispy Rice Bites suitable for a gluten-free diet?
Very much so! To keep your Crispy Rice Bites gluten-free, simply select gluten-free sauces like tamari instead of soy sauce, and include toppings like fresh vegetables or avocado. Always check labels to ensure all ingredients meet gluten-free standards, and you can easily share these delightful bites with all your friends and family, regardless of dietary preferences!
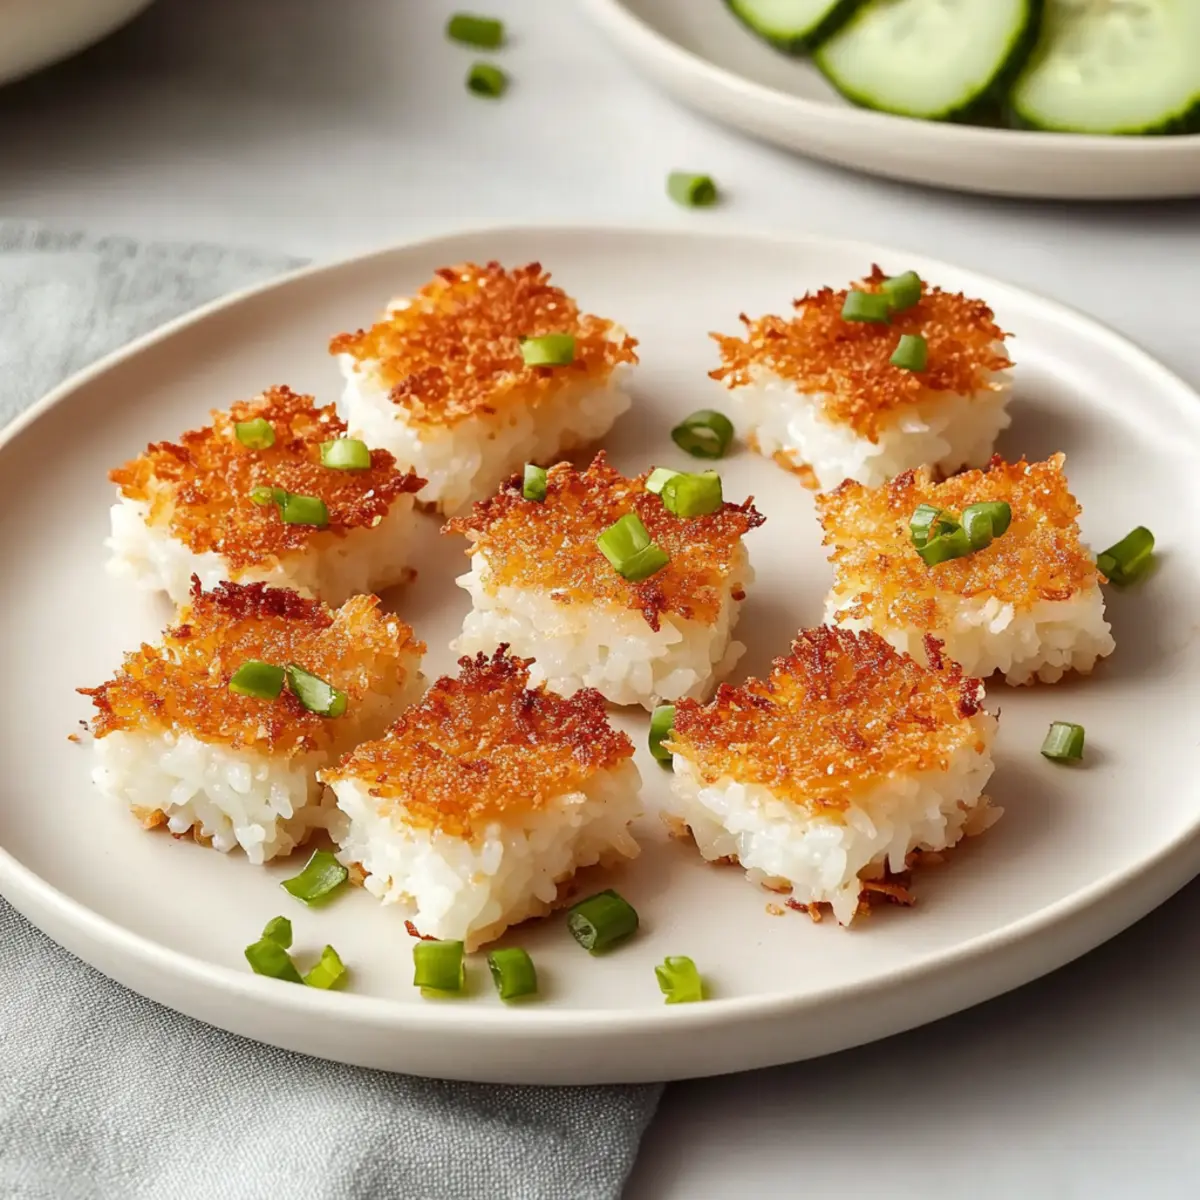
Crispy Rice Bites: Crunchy Goodness for Every Snack Craving
Ingredients
Equipment
Method
- Rinse and cook rice: Rinse 1 cup of sushi rice under cold water until clear, then combine with 1.2 cups of water and cook until tender, about 15-20 minutes.
- Season rice: Whisk together 1 teaspoon of salt, 2 tablespoons of rice vinegar, 1 tablespoon of sugar, and 1 tablespoon of sesame oil. Gently fold into cooled rice.
- Shape and chill: Transfer seasoned rice to a lined baking tray, press into a layer about ½ inch thick, cover, and refrigerate for at least 3 hours.
- Slice and dry: Cut chilled rice into bite-sized pieces. Pat with paper towels to reduce moisture.
- Fry: Heat ½ inch of cooking oil in a skillet to 350°F. Fry rice pieces until golden brown, about 1-2 minutes per side.
- Drain and serve: Remove bites from oil and drain on a wire rack. Add optional toppings as desired.
Leave a Reply