
As I pulled back the curtains on a sweltering summer day, the sun beckoned for something refreshing and delicious. That’s when I stumbled upon my new favorite treat: Fruity Yogurt Pops! These vibrant frozen delights not only offer a fun twist on traditional desserts but are also incredibly easy to whip up—perfect for a busy day filled with sunshine. With just a handful of fresh fruits and creamy yogurt, you can indulge in a cooling snack that’s vegan, gluten-free, and made with minimal waste. Whether you’re hosting a backyard barbecue or simply looking for a guilt-free way to satisfy your sweet tooth, these fruity yogurt pops hit all the right notes. Curious how to bring this joy into your kitchen? Let’s dive into the recipe!
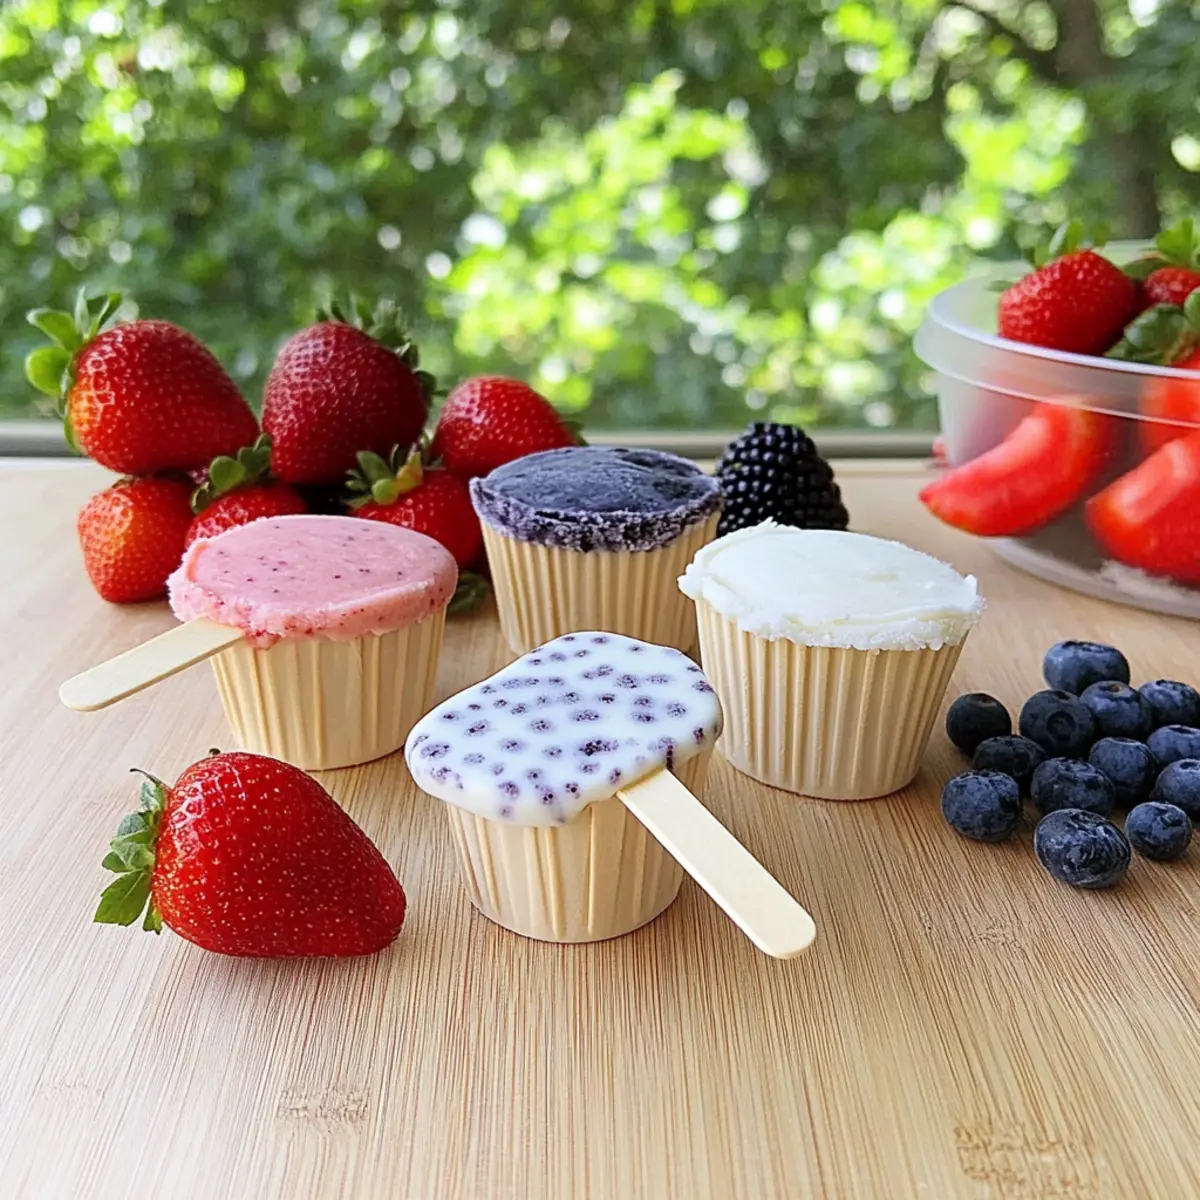
Why Will You Love These Pops?
Effortless Delight: These Fruity Yogurt Pops are a breeze to make, requiring minimal prep time and only a blender to create a deliciously creamy treat.
Customization Galore: You can mix and match your favorite fruits—be it sweet strawberries or zesty citrus—to tailor the pops to your taste buds.
Healthy Indulgence: Packed with vitamins and probiotics, these pops are not just a snack; they’re a guilt-free dessert that keeps you feeling good.
Eco-Friendly Choice: Using minimal ingredients means less waste, making these pops a perfect choice for those looking to incorporate sustainability into their snacking.
Crowd-Pleaser: Perfect for summer gatherings, kids and adults alike will love these vibrant treats. Pair them with other favorites like Apple Yogurt Pancakes for a complete snack experience!
Fruity Yogurt Pops Ingredients
• Here’s what you’ll need to get started on your delicious Fruity Yogurt Pops!
For the Pops
- Fresh Fruit – Offers natural sweetness and vibrant flavors; feel free to use seasonal options like peaches, berries, or even mangoes.
- Yogurt – The creamy base needed for these pops; opt for homemade coconut yogurt for a vegan choice or any favorite plant-based variety.
- Liquid Sweetener (Agave or Honey) – Balances the flavors and boosts sweetness; maple syrup is a great alternative if you prefer a different option.
Optional Add-ins
- Mint or Basil – A unique twist that can elevate the flavor profile; try adding in a few leaves for an herbal kick!
Step‑by‑Step Instructions for Fruity Yogurt Pops
Step 1: Gather Your Ingredients and Equipment
Begin by gathering your fresh fruits, yogurt, and liquid sweetener. To create these delightful Fruity Yogurt Pops, you’ll need a blender, reusable silicone baking cups or popsicle molds, and wooden sticks. Prepare your fruits by washing and chopping larger pieces into smaller chunks to ensure smooth blending.
Step 2: Blend the Mixture
In your blender, combine the chopped fruits, yogurt, and sweetener. Blend the ingredients on high for about 30–60 seconds, or until you achieve a smooth and creamy consistency. The vibrant colors of the fruits will blend beautifully, creating a luscious mixture that is tempting to taste.
Step 3: Pour Mixture into Molds
Carefully pour the blended mixture into the silicone baking cups or popsicle molds. Make sure to fill them evenly, leaving a little space at the top to account for expansion as they freeze. Place the filled molds on a plate for ease of transfer to the freezer, ensuring they won’t spill.
Step 4: Initial Freeze
Put the popsicle molds into the freezer for about 1 hour. This initial chilling allows the mixture to firm up slightly, making it easier to insert the wooden sticks without them sinking completely. Keep an eye on the mixture—when it feels somewhat set but not completely frozen, it’s time for the next step.
Step 5: Insert Wooden Sticks
After the first hour, carefully remove the molds from the freezer. Insert a wooden stick into the center of each pop, pushing it in until it reaches the bottom. Return the molds back to the freezer immediately to maintain their cold temperature and prevent the sticks from tipping.
Step 6: Final Freeze
Allow the Fruity Yogurt Pops to freeze for an additional 4–5 hours, or until they are completely solid. This is crucial for achieving that perfect texture—your pops should feel solid to the touch when you check them. Patience is key for that creamy, icy delight!
Step 7: Remove from Molds
Once fully frozen, it’s time to enjoy your Fruity Yogurt Pops! To remove them from the molds, run warm water over the outside for a few seconds. This gentle warming will loosen the pops, allowing you to easily pull them out without breaking.
Step 8: Serve and Savor
Now that your fresh, vibrant Fruity Yogurt Pops are ready, serve them immediately for the ultimate refreshing treat! These colorful pops are perfect for summer gatherings, picnics, or just a sweet snack at home. Enjoy the burst of fruity flavors and creamy yogurt goodness!
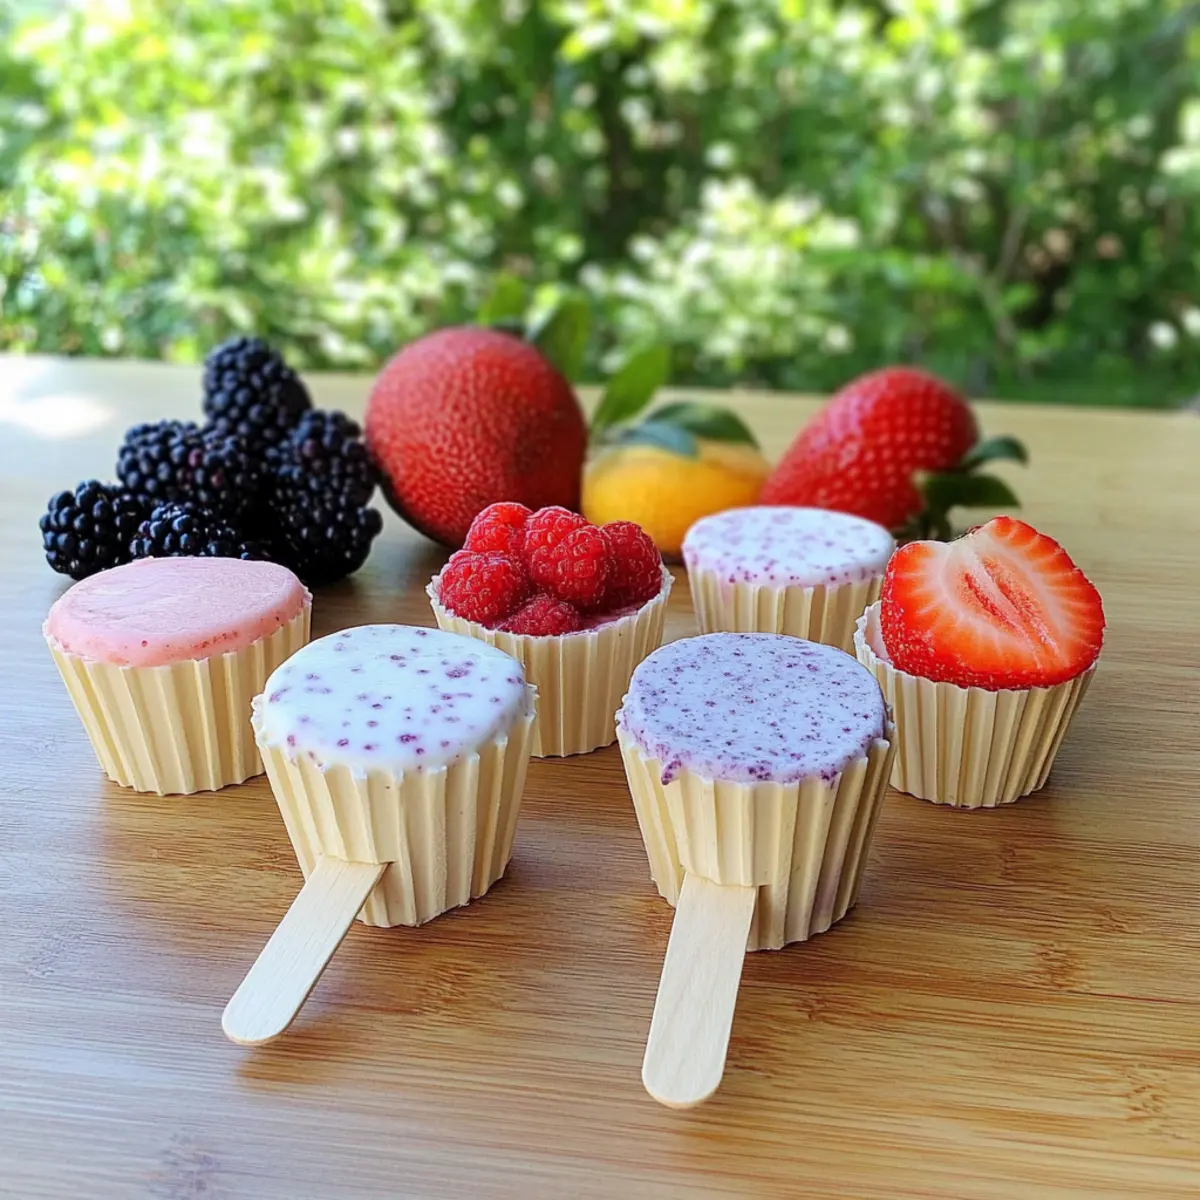
Storage Tips for Fruity Yogurt Pops
Freezer: Keep your fruity yogurt pops in an airtight container for up to two weeks to maintain optimal freshness and flavor.
Thawing: When you’re ready to enjoy, simply let the pops sit at room temperature for a few minutes to soften before peeling them out of the molds.
Refrigeration: If you have leftover yogurt mixture, store it in the fridge for up to 3 days for another round of pops—just blend and freeze as needed.
Serving: For an extra special touch, serve your fruity yogurt pops with a drizzle of honey or a sprinkle of granola right before indulging!
Fruity Yogurt Pops Variations & Substitutions
Feel free to get creative with your Fruity Yogurt Pops! Your taste buds will thank you for the delicious adjustments.
-
Dairy-Free: Use homemade coconut yogurt or almond milk yogurt instead of traditional yogurt for a completely vegan treat. Creamy and luscious, you’ll savor every bite without missing the dairy.
-
Sweetness Adjustments: Substitute honey with agave syrup or maple syrup to cater to different dietary needs. Remember, the sweetness of your fruits will also influence the final flavor!
-
Herbal Infusion: Add a handful of fresh mint or basil leaves for a refreshing twist. The fragrant herbs elevate the pops, creating a garden-fresh flavor that’ll surprise and delight!
-
Tropical Escape: Swap out your usual fruits for tropical favorites like pineapple or coconut to give your pops a vacation vibe. These flavors meld beautifully and offer a getaway through taste!
-
Nutty Crunch: Stir in a handful of chopped nuts or seeds before freezing for added texture. Almonds or sunflower seeds can provide a delightful crunch amidst the creamy pops.
-
Berry Medley: Mix various berries, like strawberries, blueberries, and raspberries for a colorful pop bursting with juicy sweetness. Each bite is a delightful burst of flavor and a feast for the eyes!
-
Chocolate Drizzle: Before serving, drizzle melted dark chocolate over the pops for a decadent treat. The combination of fruity such as banana with chocolate is irresistible!
-
Mix In Smoothies: Use leftover yogurt mixture as a smoothie base! Blend it with some ice and a splash of your favorite milk for a thick and satisfying drink. You can even pair it with healthy bites, like these Apple Yogurt Pancakes, for a delightful brunch!
Expert Tips for Fruity Yogurt Pops
- Fruit Selection: Choose ripe, in-season fruits for the best flavors and sweetness; avoid overly ripe fruits to maintain a pleasant texture.
- Chopping Technique: Cut larger fruits into smaller pieces before blending. This ensures a creamy final product without any chunks.
- Sweetness Balance: Start with less sweetener and taste the mixture before adding more; you can always add, but you can’t take it out!
- Mold Prep: Lightly grease your molds or cups with a bit of coconut oil to make removal easier and keep your fruity yogurt pops intact.
- Freezing Time: Be patient; allowing the pops to freeze a full 5-6 hours is essential for achieving that perfect texture, ensuring they’re completely solid when ready to serve.
Make Ahead Options
These Fruity Yogurt Pops are ideal for meal prep, allowing you to enjoy refreshing treats without a last-minute hassle! You can blend the fruit, yogurt, and sweetener mixture up to 24 hours in advance, and store it in the refrigerator to maintain freshness. To prep ahead, simply pour the mixture into molds and freeze for 1 hour before inserting the sticks, then freeze the pops for another 4-5 hours or until completely solid. For best quality, keep the pops stored in an airtight container in the freezer for up to 2 weeks. When you’re ready to enjoy, just run warm water over the molds to easily release your delicious Fruity Yogurt Pops!
What to Serve with Fruity Frozen Yogurt Pops
Treat your taste buds to a refreshing summer feast by creating the perfect spread to accompany these delightful frozen pops.
-
Crispy Fruit Salad: A medley of seasonal fruits tossed in a splash of lime juice adds a refreshing crunch that complements the creamy yogurt pops wonderfully. This colorful dish elevates your dessert experience and makes for a vibrant display on any table.
-
Creamy Coconut Whipped Cream: A dollop of this fluffy, dairy-free delight enhances the fruitiness and adds a rich texture that pairs beautifully with the pops. The subtle sweetness of coconut will make each bite even more heavenly!
-
Nutty Granola Bars: Serve these chewy bars alongside your fruity yogurt pops for a delightful textural contrast. The oats and nuts provide a satisfying crunch while balancing the sweetness of your dessert.
-
Chilled Mint Lemonade: A glass of zesty mint lemonade refreshes and rehydrates, harmonizing with the fruity pops. The bright flavors invigorate any gathering and enhance the summertime vibe.
-
Savory Veggie Platter: A colorful array of crunchy vegetables with a tangy dip offers a savory balance to the sweet pops. The contrast of flavors keeps your palette engaged, ensuring no one misses out on those healthy munchies!
-
Chocolate Dipped Pretzels: The sweet-salty combo of these treats provides a fun and unexpected pairing. The richness of chocolate complements the fruity pops, making for a decadent snack combination.
Make your summer gatherings unforgettable with these delightful pairings that highlight the vibrant flavors and textures of your Fruity Frozen Yogurt Pops!
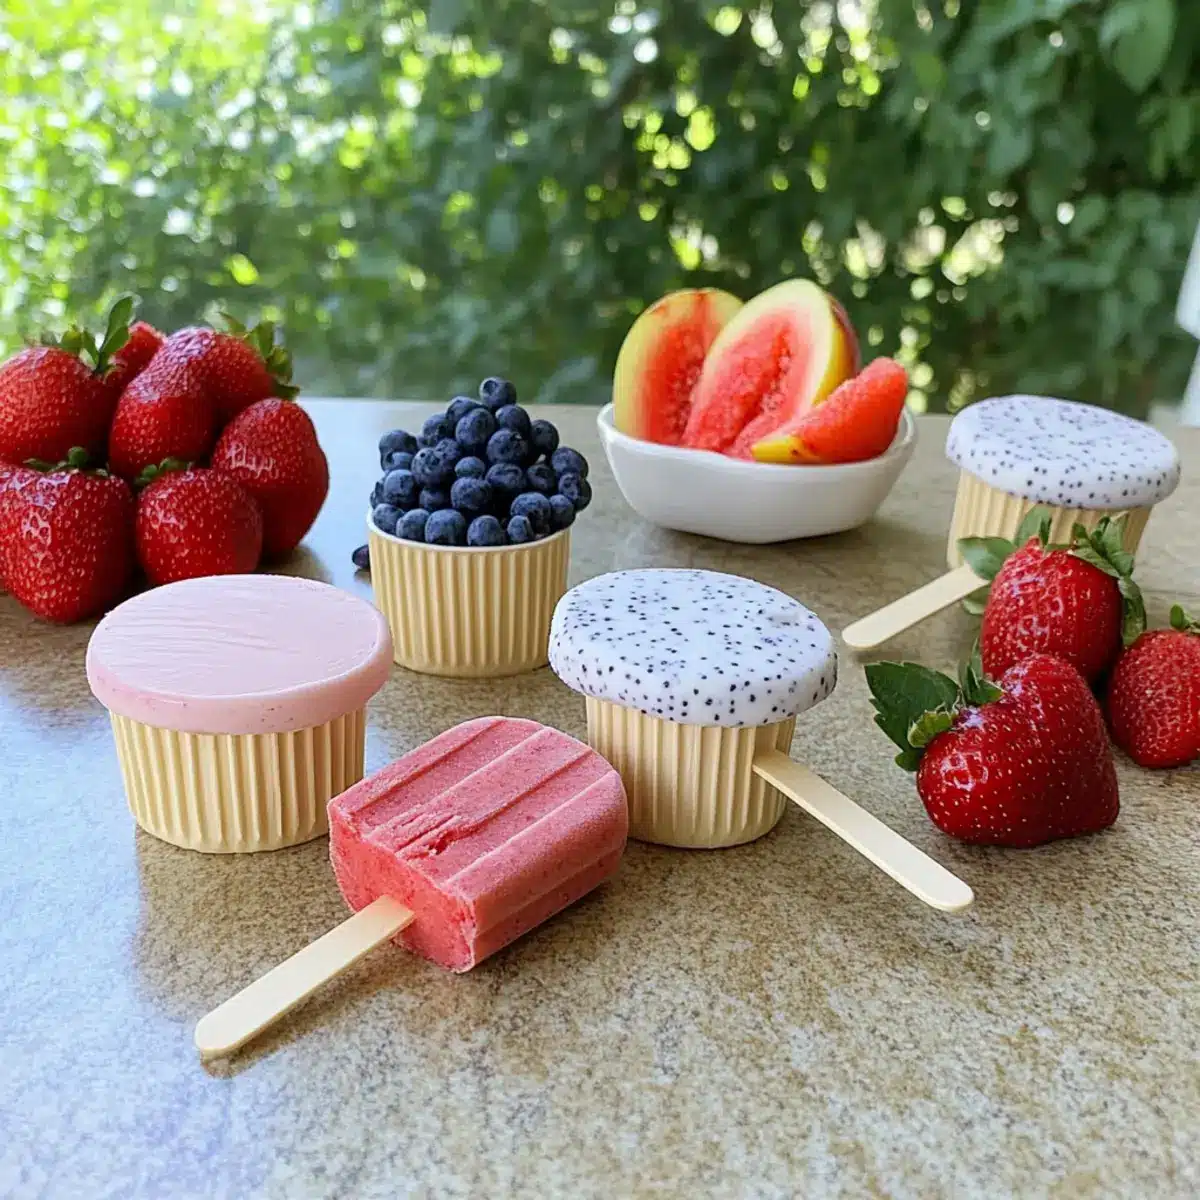
Fruity Yogurt Pops Recipe FAQs
What type of fruit should I use for my pops?
Absolutely! You can use any fresh, ripe fruits for your Fruity Yogurt Pops. Seasonal fruits like strawberries, peaches, and mangoes work beautifully. It’s best to avoid overly ripe fruit as it may affect the texture and flavor of your pops.
How should I store my frozen yogurt pops?
To keep your fruity yogurt pops fresh, store them in an airtight container in your freezer for up to two weeks. This will help maintain their taste. If you’re not going to eat them right away, wrapping individual pops in plastic wrap can also help preserve them!
Can I freeze my pops for longer?
Yes! While I recommend enjoying them within two weeks for the best quality, you can freeze your Fruity Yogurt Pops for up to three months. Just remember to seal them tightly in an airtight container or freezer bag, as freezer burn can affect the flavor.
How do I prevent my pops from sticking to the molds?
Very! To help your pops release easily, I often lightly grease the molds with a small amount of coconut oil before pouring in the mixture. If you’re still having trouble, running warm water over the outside of the mold for a few seconds works wonders, gently loosening the pops.
Are these pops suitable for people with allergies?
Always a good question! These Fruity Yogurt Pops are especially friendly for various dietary needs since they are vegan, gluten-free, and made with minimal ingredients. However, if you’re making them for someone with allergies, be sure to double-check your yogurt and sweetener options to avoid any allergens.
Can I make the yogurt mixture ahead of time?
Absolutely! If you have any leftover yogurt mixture after pouring into your molds, you can store it in the refrigerator for up to 3 days. Just give it a quick blend again before pouring it into your molds to give it that smooth consistency back. Enjoy the process, and happy freezing!
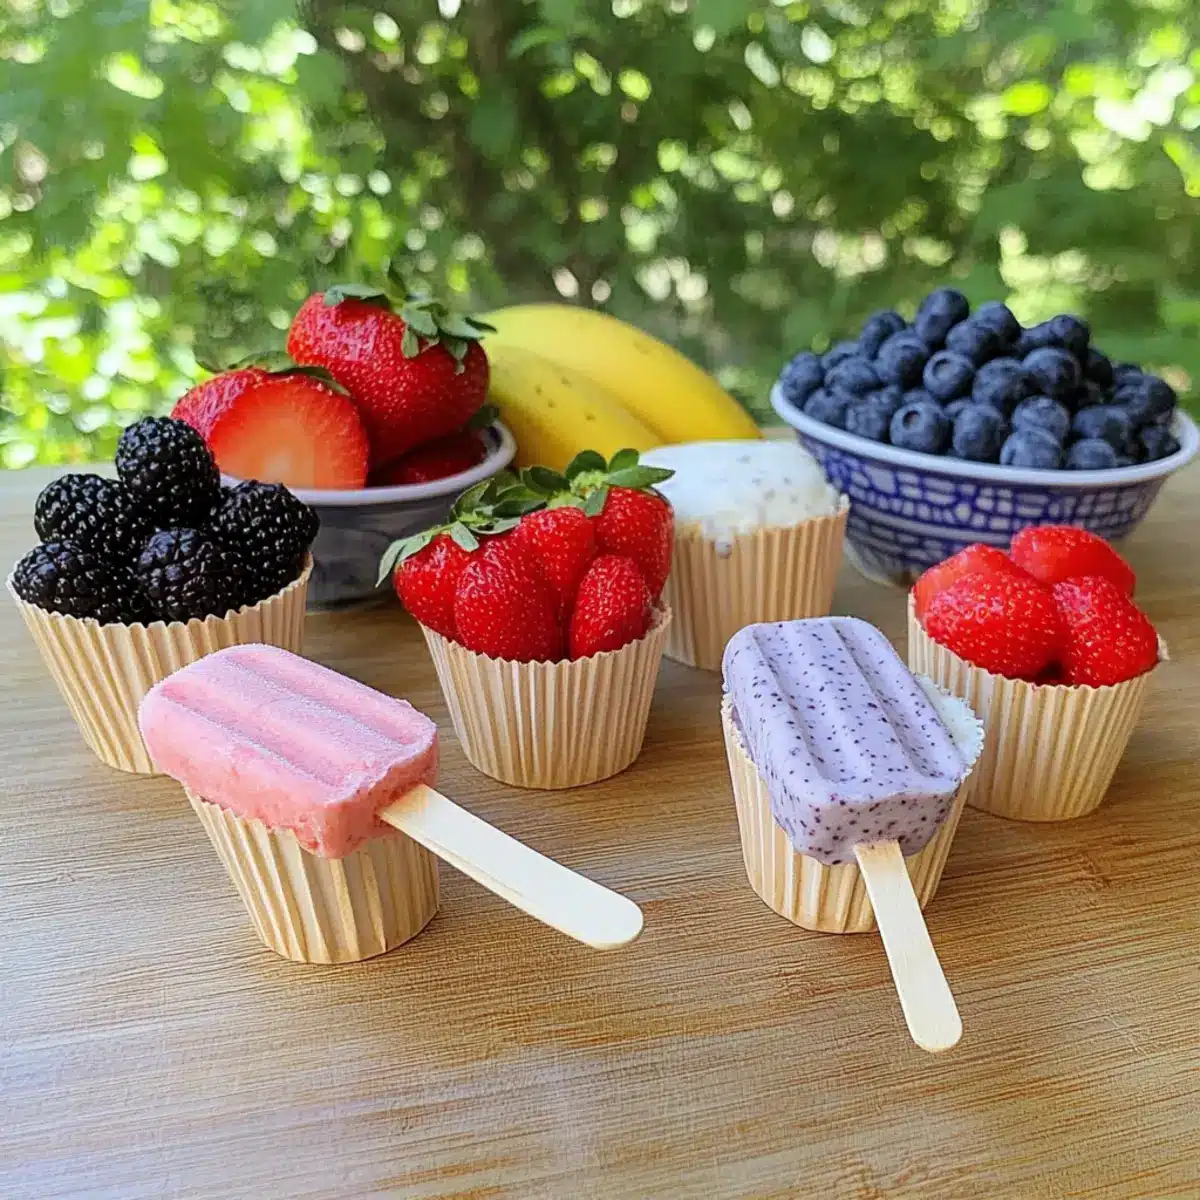
Fruity Yogurt Pops: Cool, Healthy Treats for Summer Fun
Ingredients
Equipment
Method
- Gather your fresh fruits, yogurt, and liquid sweetener. Prepare your fruits by washing and chopping larger pieces into smaller chunks.
- In your blender, combine the chopped fruits, yogurt, and sweetener. Blend until smooth and creamy.
- Pour the blended mixture into molds, leaving a little space at the top for expansion. Place molds on a plate.
- Freeze for about 1 hour until slightly firm, then insert wooden sticks into each pop.
- Return molds to the freezer and allow to freeze for an additional 4-5 hours until solid.
- To remove pops from molds, run warm water over the outside for a few seconds.
- Serve immediately for a refreshing treat!
Leave a Reply