
As I sifted through my pantry searching for a quick sweet fix, it struck me: why not recreate that delightful campfire treat right in my kitchen? These Quick and Easy S’mores Bars transform the nostalgic experience of toasted marshmallows, sturdy graham crackers, and rich chocolate into a hassle-free dessert for any occasion. Best of all, they come together in just 27 minutes, making them an ideal solution for last-minute gatherings or satisfying cravings without the wait. Plus, they’re a crowd-pleaser that serves up to 18 people, ensuring everyone can indulge in that classic s’mores flavor without the mess. Ready to dive into this easy recipe that brings the spirit of summer indoors? Let’s get started!
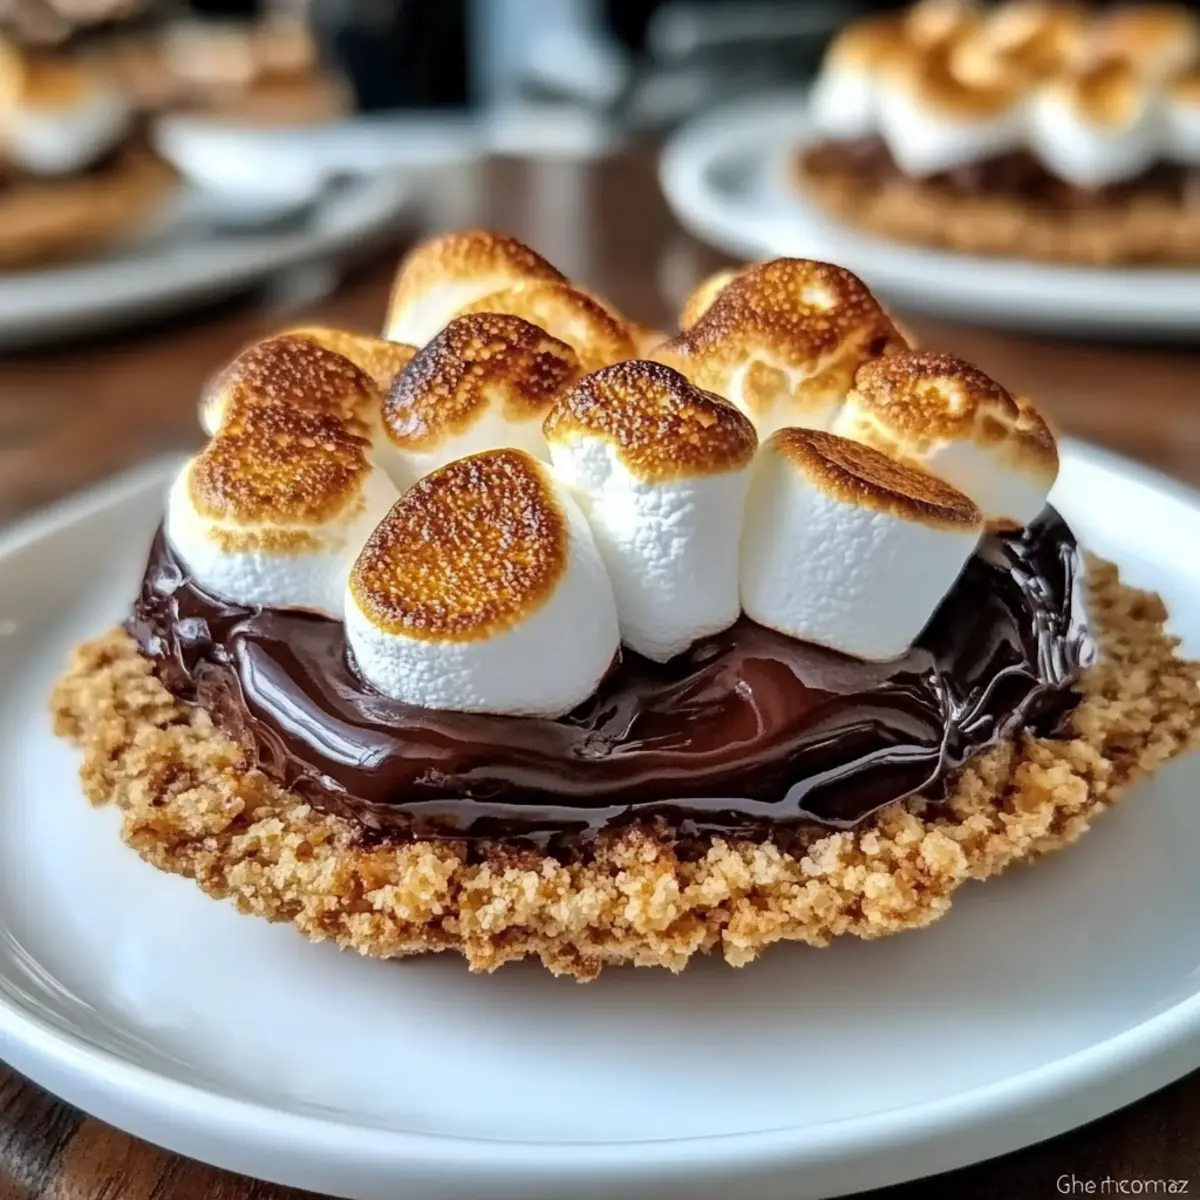
Why Make S’mores Bars Today?
Quick and Easy: In just 27 minutes, you can whip up a dessert that delights everyone.
Nostalgic Flavor: Enjoy the iconic taste of classic s’mores without the fuss of a campfire.
Perfect for Gatherings: With 18 servings, these bars are ideal for parties or family get-togethers.
Versatile Options: Feel free to experiment with different chocolates or add layers, like peanut butter, for a unique twist.
Crowd-Pleasing Treat: They never fail to bring smiles and satisfied cravings, much like my favorite Korean Pork Chops.
Whip up these S’mores Bars now and bring a bit of campfire magic right to your kitchen!
S’mores Bars Ingredients
Get ready to create a delightful treat!
For the Crust
- Graham Cracker Crumbs – Offers a crunchy and sturdy base; you can use honey-based biscuits if you’re in a pinch.
- Unsalted Butter, Melted – Binds all the crust’s ingredients together; feel free to swap for coconut oil for a dairy-free version.
- Granulated Sugar – Brings sweetness to your crust; adjust the amount to suit your preference for sweetness.
- Salt – Enhances flavor; a sprinkle of flaky sea salt before adding marshmallows adds a savory kick.
For the Filling
- Semi-Sweet Chocolate Chips – Melts beautifully for that essential chocolate flavor; swap for dark chocolate (70% cocoa) for a richer experience.
- Mini Marshmallows – Creates that iconic gooey texture of s’mores; consider using gourmet marshmallows to elevate your bars.
This S’mores Bars recipe is sure to be a hit, bringing the joy of classic s’mores right to your kitchen in just 27 minutes!
Step‑by‑Step Instructions for Smores Bars in 27 Minutes
Step 1: Preheat the Oven
Start by preheating your oven to 350°F (175°C). While the oven warms up, take an 8×8 inch baking pan and line it with parchment paper, allowing some excess to hang over the sides. This will help you easily lift the S’mores Bars out later.
Step 2: Make the Crust Mixture
In a mixing bowl, combine graham cracker crumbs, melted unsalted butter, granulated sugar, and a pinch of salt. Stir thoroughly until the mixture achieves a wet sand-like consistency, ensuring the butter is evenly distributed. This crust provides the classic foundation for your S’mores Bars, enhancing that sweet and salty balance.
Step 3: Press the Crust
Transfer the crust mixture into the prepared baking pan, spreading it evenly. Use a flat-bottomed glass or your hands to firmly press it down into an even layer. This ensures a sturdy base for your bars, preventing them from becoming soggy once the filling is added.
Step 4: Bake the Crust
Place the pan in the preheated oven and bake the crust for 8-10 minutes. You’ll know it’s ready when it turns a light golden brown and releases a pleasant, buttery aroma. Keep an eye on it to avoid over-baking, as the crust should remain crisp yet slightly soft.
Step 5: Add Chocolate Chips
Once the crust has baked, remove it from the oven and immediately sprinkle semi-sweet chocolate chips evenly over the top. Allow the heat from the crust to melt the chocolate chips for about 2-3 minutes, creating a luscious layer that forms the heart of your S’mores Bars.
Step 6: Spread the Chocolate
Using a spatula, gently spread the melted chocolate chips to create an even layer across the crust. This step is crucial, as it helps absorb the marshmallows while adding that rich, chocolatey flavor that makes S’mores Bars irresistible.
Step 7: Top with Mini Marshmallows
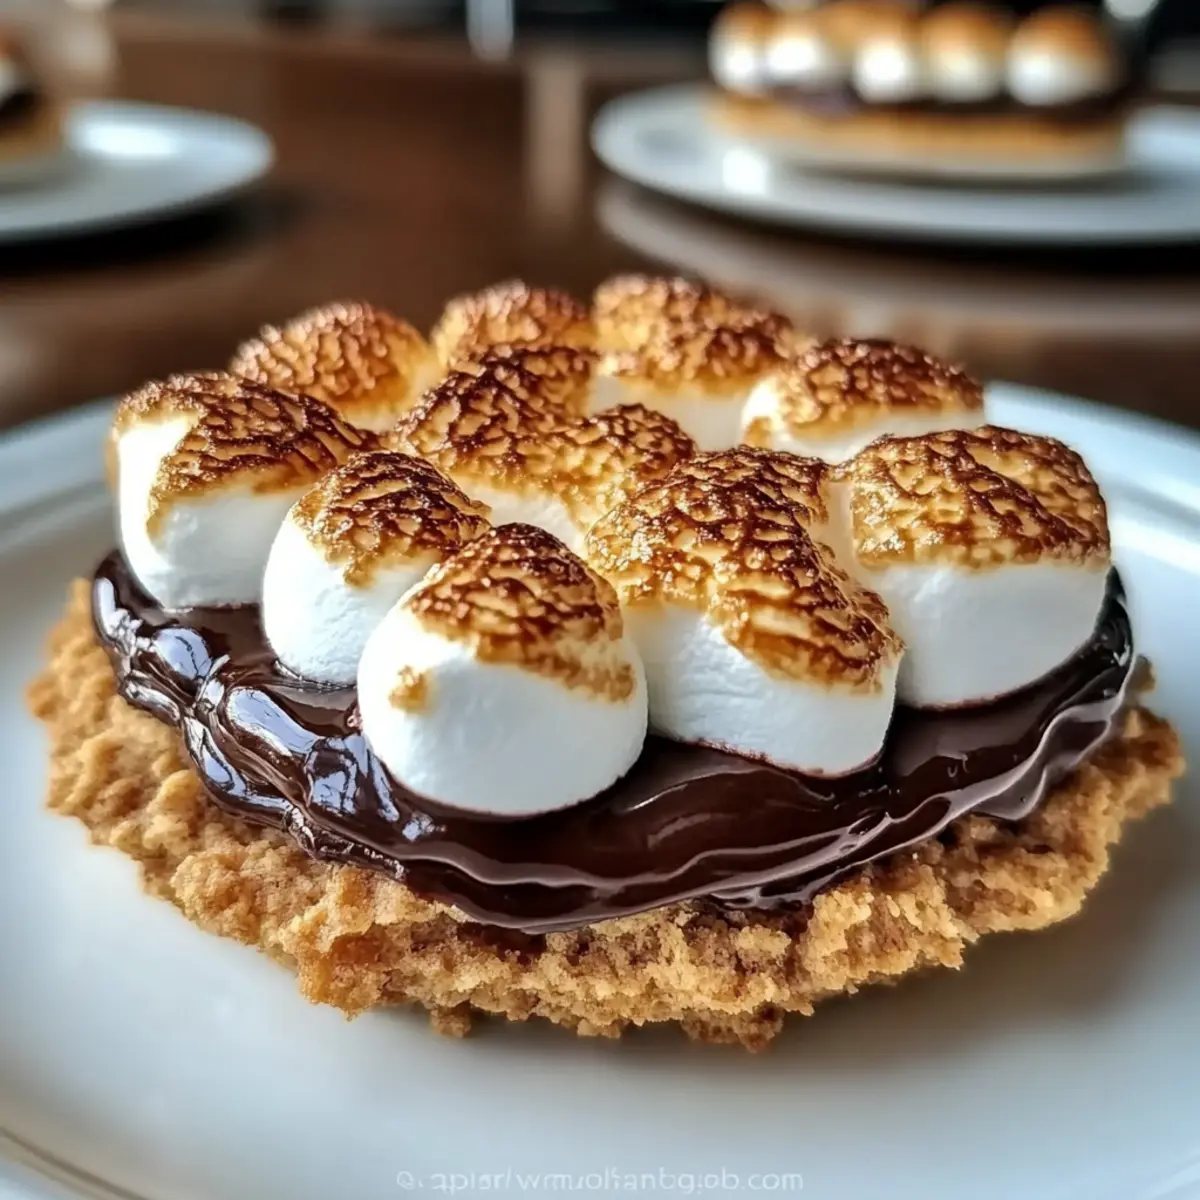
Now it’s time to add the mini marshmallows. Scatter them in a single layer over the melted chocolate, making sure to cover the entire surface. This will create that iconic smooshy topping, reminiscent of perfect s’mores, ready for toasting!
Step 8: Bake the Bars Again
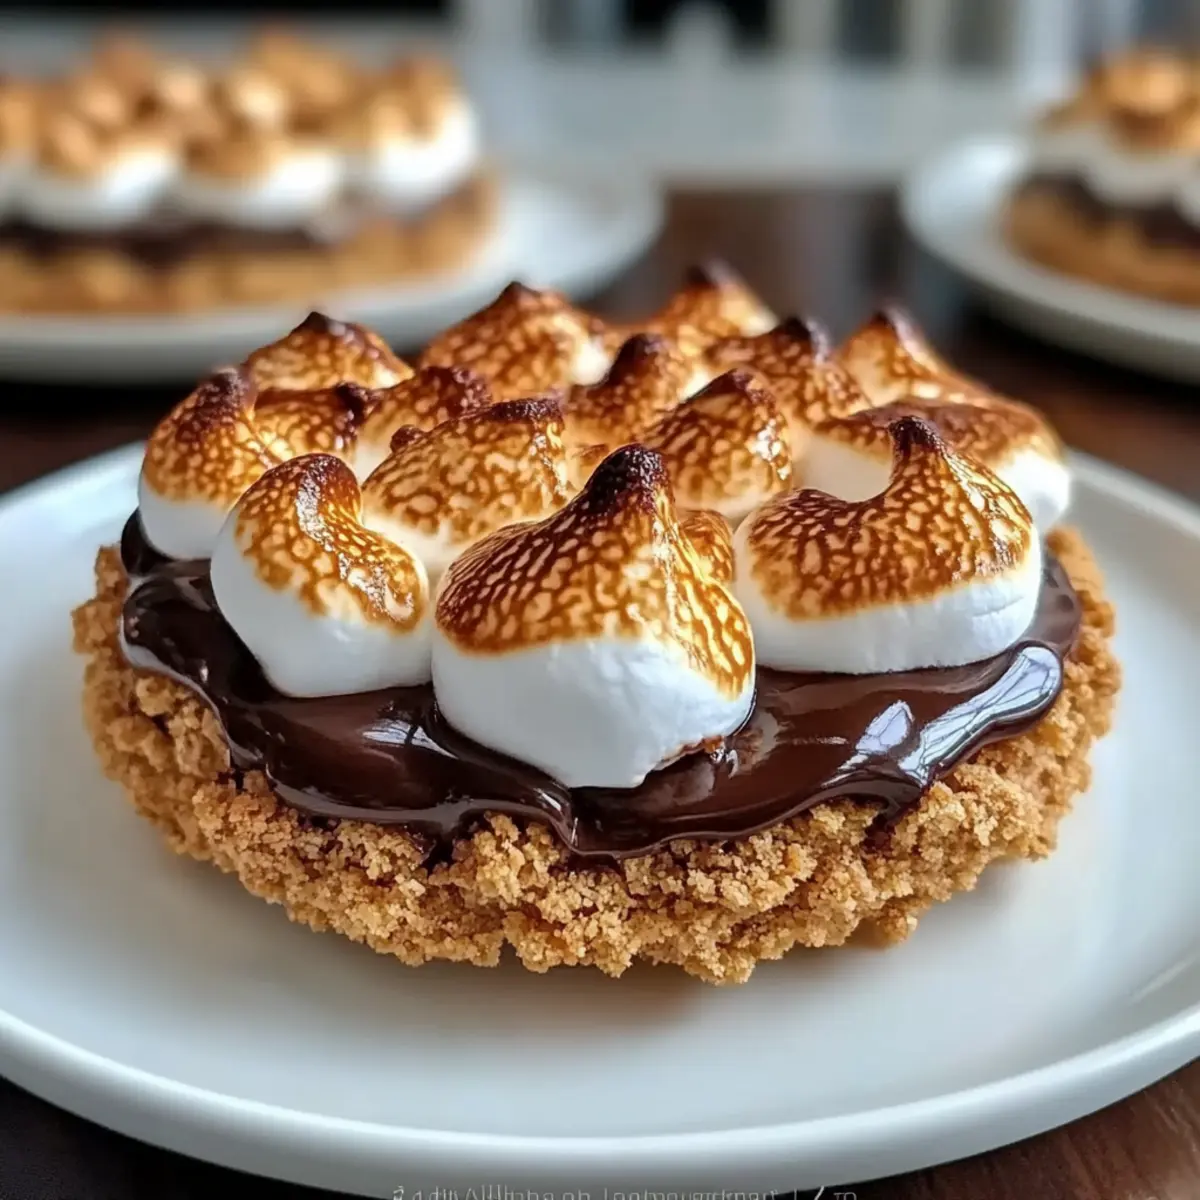
Return the pan to the oven and bake for another 5-7 minutes, or until the marshmallows puff up and turn golden brown. Keep a watchful eye during this stage to ensure the marshmallows achieve that lovely toasted color without burning, which will enhance the S’mores flavor.
Step 9: Cool and Slice
Once baked, remove the pan from the oven and allow it to cool in the pan for at least 30 minutes. This cooling period helps the chocolate and marshmallows set properly. Use the parchment paper to lift the S’mores Bars out and place them on a cutting board for slicing into delicious squares.
Make Ahead Options
These S’mores Bars are perfect for meal prep enthusiasts looking to save time during busy weeks! You can prepare the crust up to 24 hours in advance by mixing the graham cracker crumbs, melted butter, sugar, and salt, then pressing it into the baking pan. Simply cover the pan tightly with plastic wrap and refrigerate to maintain freshness. When you’re ready to enjoy, sprinkle chocolate chips on top and bake as directed. The bars can also be baked and stored in the refrigerator for up to 5 days, keeping them deliciously chewy. Just slice and serve chilled or warm for a gooey treat anytime!
Storage Tips for S’mores Bars
- Fridge: Store S’mores Bars in a sealed container for up to 5 days. Keeping them chilled helps maintain their texture and gooeyness, ensuring every bite tastes fresh.
- Freezer: For longer storage, wrap individual bars in parchment paper and freeze for up to 2 months. This way, you can enjoy homemade s’mores anytime the craving strikes.
- Reheating: To revitalize the gooey texture, microwave a frozen bar for about 15-20 seconds before serving. This quick reheating makes the S’mores Bars even more delightful!
- Room Temperature: If you plan to serve them right away, they can stay out for about 2 hours. Just be mindful to put any leftovers back in the fridge to keep them fresh!
S’mores Bars Variations & Substitutions
Get creative and personalize these S’mores Bars to suit your taste!
- Gluten-Free: Use gluten-free graham cracker crumbs or crushed almond cookies to make a delicious, gluten-free treat. You won’t miss a beat!
- Nutty Twist: Add chopped nuts, such as pecans or walnuts, before baking for an added crunch and depth of flavor. A little crunch never hurt anyone!
- Peanut Butter Layer: Spread a layer of creamy peanut butter over the melted chocolate for a rich, nutty addition that will make your taste buds sing. It’s a flavor burst!
- Minty Flavor: Toss in some crushed peppermint candy or a drizzle of mint chocolate over the marshmallows for a refreshing twist. Perfect for holiday cheer!
- Fruit Addition: Consider adding thin slices of banana or strawberries in between the layers for a fruity surprise that compliments the sweet s’mores flavor beautifully. A burst of freshness!
- Chili Kick: For those who love heat, sprinkle a dash of cayenne pepper or chili powder over the marshmallows before baking for a surprising spicy twist. Embrace the unexpected!
- Mini S’mores: For bite-sized treats, use a mini muffin tin to create individual S’mores Bars. Just adjust the baking time accordingly; perfect for parties or snacking!
- Themed Treats: Make a festive version by incorporating seasonal sprinkles or colored marshmallows for birthdays or holidays. It’s all about celebration!
These tasty variations can help you keep your S’mores Bars exciting, just like my beloved Chinese Chicken Salad that keeps everyone coming back for more!
What to Serve with Quick and Easy S’mores Bars
Indulging in the sweet, gooey delight of S’mores Bars is only the beginning of your dessert experience; elevate it further with these delightful pairings.
- Chilled Milk: A classic companion that balances the sweetness of the bars, offering a refreshing sip between bites.
- Fresh Strawberries: Their juiciness and slight tartness create a vibrant contrast, enhancing the flavors of the S’mores Bars beautifully.
- Tangy Raspberry Coulis: Drizzle a bit of this fruity sauce on your plate for a zingy twist that perfectly complements the richness of the chocolate and marshmallow.
- Vanilla Ice Cream: The creamy, cold scoop brings a delightful temperature contrast to the warm bars and melts decadently into every bite.
- Coffee: A warm, robust cup serves as a lovely counterpoint to the sweetness, making it a perfect after-dinner treat.
- Chocolate Drizzle: For the chocoholics, a drizzle of hot fudge or chocolate sauce on top adds an extra layer of indulgence.
- Flaky Sea Salt: Sprinkle a touch of sea salt on the warm bars just before serving for a salty-sweet combination that will tantalize your taste buds.
Combine these elements for a harmonious dessert experience that invites you and your loved ones to savor every delightful mouthful of S’mores Bars in 27 minutes!
Expert Tips for S’mores Bars
- Crust Pressure: Ensure the crust is pressed firmly using a flat-bottomed glass; this prevents sogginess when adding the filling.
- Oven Monitoring: Keep a close eye on the marshmallows when toasting; perfect golden brown is your goal, but they can burn quickly.
- Storage Secrets: To maintain the right texture, store your S’mores Bars in a sealed container in the refrigerator for up to 5 days.
- Freezing for Later: For longer storage, individually wrap bars in parchment and freeze for up to 2 months; reheat in the microwave for a gooey treat when serving.
- Flavor Variations: Don’t hesitate to experiment with different chocolate types or add peanut butter between the layers for your own twist on these S’mores Bars in 27 minutes!
S’mores Bars Recipe FAQs
How do I select the right graham cracker crumbs?
Absolutely! When choosing graham cracker crumbs, look for those that are finely crushed and free of dark spots. You can substitute them with any honey-based biscuit crumbs, like Digestive biscuits, for a similar flavor profile.
How should I store leftover S’mores Bars?
To keep your S’mores Bars fresh, store them in a sealed container in the refrigerator for up to 5 days. This not only maintains their texture but also enhances the gooeyness, making each bite a delightful experience.
Can I freeze S’mores Bars for later enjoyment?
Very! To freeze your S’mores Bars, wrap individual pieces in parchment paper and place them in an airtight container or a freezer-safe bag. They can be stored for up to 2 months. When you’re ready to enjoy one, simply microwave it for 15-20 seconds to regain that irresistible gooey texture.
What should I do if the marshmallows burn when baking?
Monitor the marshmallows closely during the baking phase, as they can go from perfectly toasted to burnt quickly. If you notice they’re browning too fast, reduce the baking time or lower the oven temperature slightly. You can always toast them just until puffed!
Are S’mores Bars safe for pets or those with allergies?
While S’mores Bars are a delicious treat for humans, they aren’t suitable for pets, especially chocolate, which is toxic to dogs and cats. Additionally, if you or your guests have allergies, check the ingredients: ensure the chocolate chips and marshmallows are free from allergens like nuts or gluten, or consider using alternatives to cater to specific dietary needs.
What if I want to change the flavor profile of my S’mores Bars?
Absolutely! You can experiment with different types of chocolate, using dark or milk chocolate for varied sweetness. For a richer experience, spread a layer of peanut butter between the crust and chocolate layer. Feel free to sprinkle some flaky sea salt on top for extra flavor dimension, too!
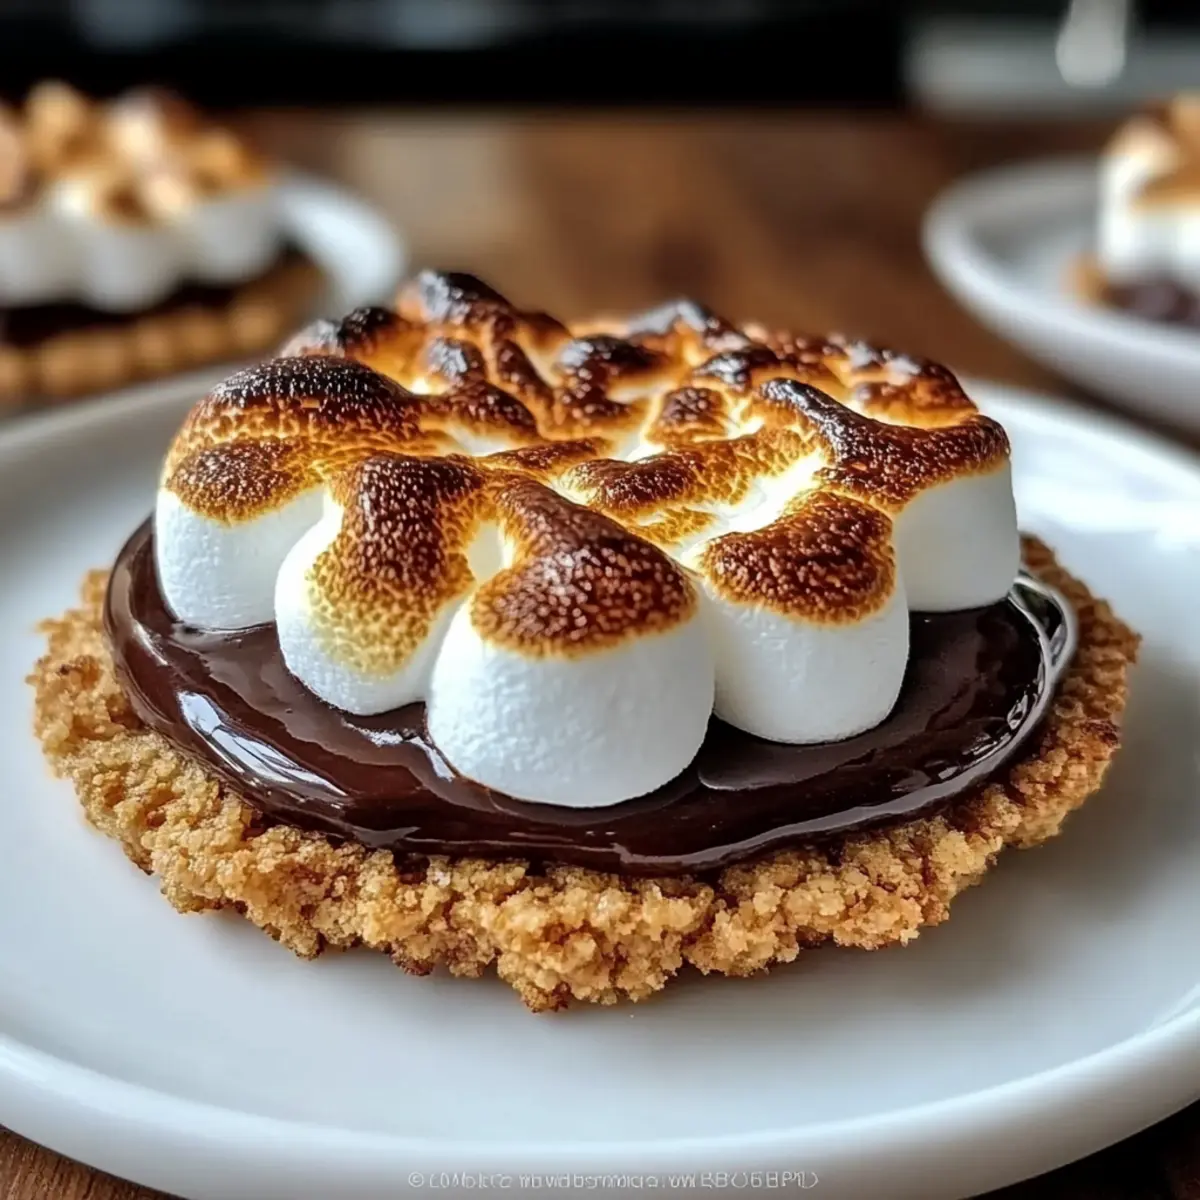
S'mores Bars in 27 Minutes: Quick and Irresistibly Gooey
Ingredients
Equipment
Method
- Preheat your oven to 350°F (175°C) and line an 8x8 inch baking pan with parchment paper.
- In a mixing bowl, combine graham cracker crumbs, melted unsalted butter, granulated sugar, and salt. Stir until the mixture has a wet sand-like consistency.
- Transfer the crust mixture into the baking pan, spreading it evenly and pressing it down firmly.
- Bake the crust for 8-10 minutes until golden brown and fragrant.
- Remove from oven and sprinkle semi-sweet chocolate chips over the crust; let them melt for 2-3 minutes.
- Use a spatula to spread the melted chocolate chips evenly across the crust.
- Top with mini marshmallows in a single layer.
- Return to oven and bake for another 5-7 minutes, or until the marshmallows are golden brown.
- Remove from the oven and cool in the pan for at least 30 minutes before slicing.
Leave a Reply