
The moment that garlic butter hits the hot skillet, it’s like an aromatic explosion, taking ordinary chicken thighs to a whole new level. I’m excited to share my recipe for Garlic Butter Baked Chicken Thighs, which transforms these juicy cuts into a mouthwatering dish that’s both easy and satisfying. Perfect for those busy weeknights, this recipe is a real time-saver, taking just 45 minutes from prep to plate. The combination of crispy skin and tender meat makes it a guaranteed crowd-pleaser, drawing everyone to the dinner table with its savory scent. Whether you’re feeding a family or just craving something hearty, this dish is sure to satisfy. Curious about how to make your chicken thighs the star of the show? Let’s dive into the enticing world of flavor!
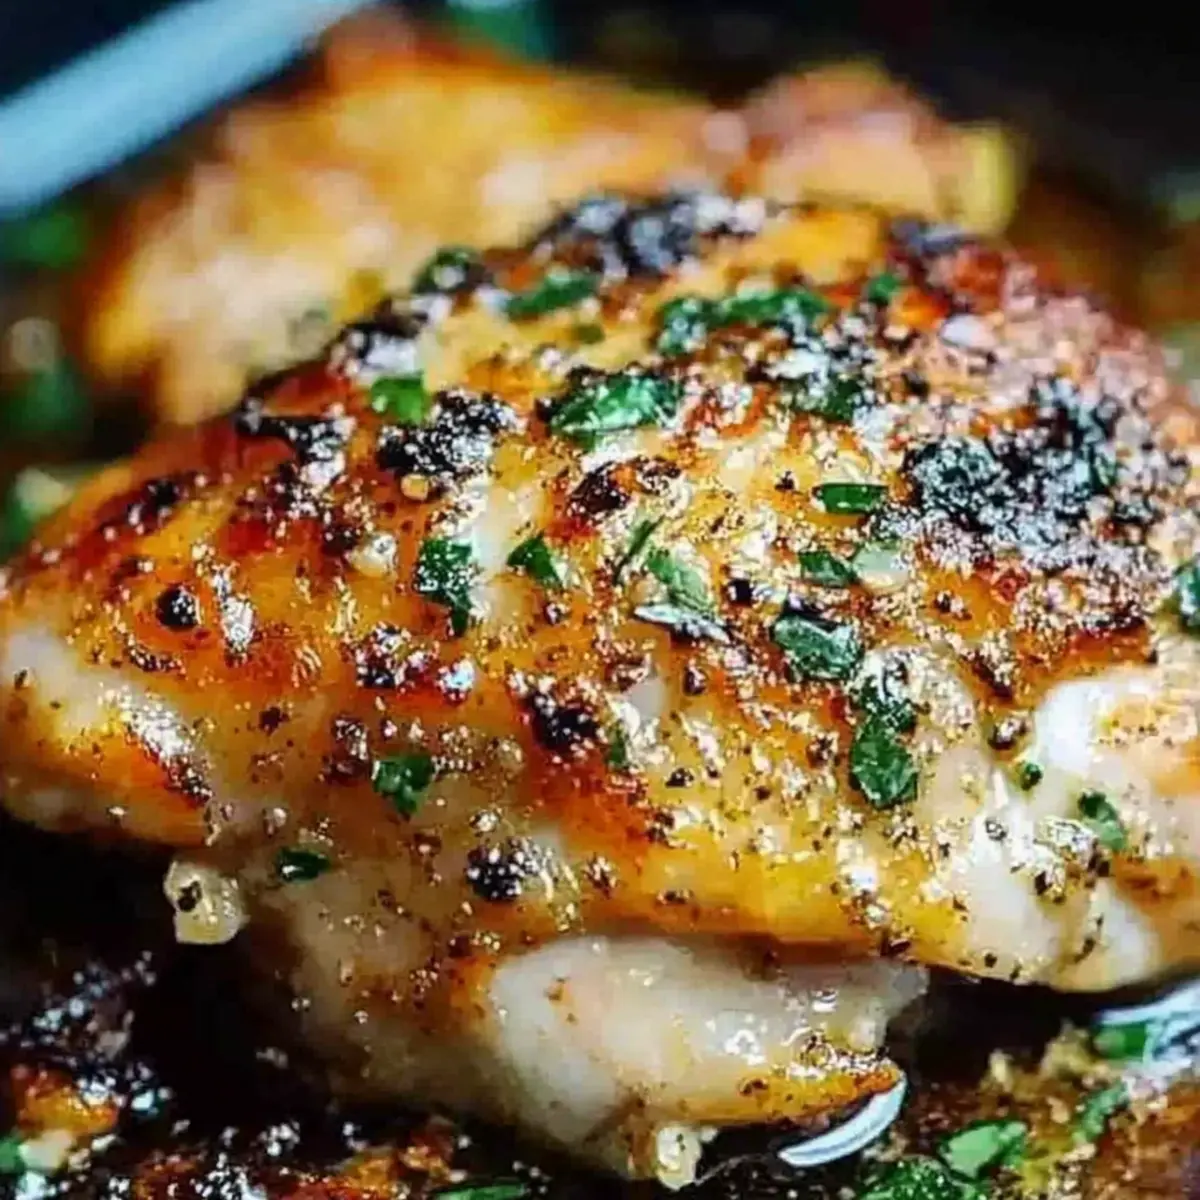
Why Are Baked Chicken Thighs So Irresistible?
Flavor Explosion: The garlic butter infuses each bite with a rich, savory taste that will have you going back for seconds.
Ease of Preparation: With just a few simple ingredients and straightforward steps, even beginner cooks can nail this dish.
Time-Saving Delight: Ready in only 45 minutes, it’s perfect for busy weeknights or last-minute dinners.
Juicy and Tender: The bone-in, skin-on thighs ensure unparalleled moisture, keeping the meat succulent.
Versatile Pairings: Serve it alongside creamy mashed potatoes or roasted vegetables for a comforting meal that satisfies all palates.
Indulge in this delightful recipe that checks every box for flavor, ease, and crowd appeal!
Baked Chicken Thighs Ingredients
• Here’s what you need to create your succulent dish!
-
For the Chicken
-
Bone-in, Skin-on Chicken Thighs – These provide the best flavor and moisture; boneless skinless thighs can be used but reduce baking time to 20-25 minutes.
-
For the Garlic Butter
-
Fresh Garlic – Use freshly crushed for a robust flavor; avoid pre-minced to prevent bitterness.
-
Unsalted Butter – Adds richness and moisture; unsalted helps control saltiness.
-
Olive Oil – Essential for searing, helping achieve that crispy skin.
-
For Seasoning
-
Salt – Generously season to enhance the overall taste of the chicken.
-
Black Pepper – Adds a subtle heat; make sure to season both sides for balanced flavor.
Enjoy cooking these delicious baked chicken thighs that promise to bring joy to your table!
Step‑by‑Step Instructions for Garlic Butter Baked Chicken Thighs
Step 1: Preheat Oven
Begin by preheating your oven to 400°F (200°C). Ensure the oven rack is positioned in the center for even cooking. This temperature is perfect for achieving crispy skin while keeping the meat juicy. While the oven heats, you can prepare your chicken thighs, making the process smooth and efficient.
Step 2: Prepare Chicken
Take your bone-in, skin-on chicken thighs and pat them dry with paper towels, which helps achieve a crispy skin during baking. Generously season both sides with salt and black pepper, making sure each piece is well coated. This simple step ensures that each bite of your baked chicken thighs is packed with flavor.
Step 3: Sear Chicken
Heat a 10-inch cast iron skillet over medium-high heat and add a splash of olive oil. Once the oil is shimmering, carefully place the seasoned chicken thighs skin-side down in the skillet. Sear for about 5 minutes until the skin turns a beautiful golden brown. This step locks in moisture and flavor, creating that irresistible crispness.
Step 4: Add Butter and Garlic
After searing, flip the chicken thighs gently and push them to one side of the skillet. Add unsalted butter to the empty side and allow it to melt. Once melted, stir in freshly crushed garlic, cooking for about 30 seconds until fragrant. Be cautious not to burn the garlic, as it can turn bitter. This garlic butter will infuse the chicken with amazing flavor.
Step 5: Bake
Carefully transfer the skillet to the preheated oven and bake the chicken thighs for 30 minutes. Use a meat thermometer to ensure the internal temperature reaches 165°F (75°C). If the chicken skin begins to darken too quickly, lightly tent it with foil to prevent burning. This baking step transforms your sautéed thighs into juicy baked chicken thighs.
Step 6: Rest and Serve
Once baked, remove the skillet from the oven and let the chicken rest for 5 minutes. This resting period allows the juices to redistribute, ensuring moist and tender meat. To serve, spoon the garlic butter sauce over the chicken and garnish with fresh parsley, if desired. This final touch enhances both presentation and flavor, making your baked chicken thighs a delightful family meal.

Expert Tips for Baked Chicken Thighs
-
Dry for Crispiness: Pat chicken thighs dry with paper towels before seasoning to avoid moisture, leading to crispy skin instead of steaming.
-
Mind the Timing: Adjust cooking times if using different chicken cuts. Boneless thighs require less baking time, typically around 20-25 minutes.
-
Resting Is Key: Always let the baked chicken thighs rest for 5 minutes post-baking. This allows juices to redistribute, resulting in tender, flavorful meat.
-
Sear Smartly: Use a cast iron skillet for optimal heat retention, but if unavailable, any oven-safe skillet will do. Just transfer it to a baking dish before cooking.
-
Garlic Care: Fresh garlic is your friend. Avoid pre-minced options to prevent bitterness and achieve the robust flavor this dish is known for.
Baked Chicken Thighs: Variations & Substitutions
Customize your baked chicken thighs to suit your taste buds! Let your creativity shine in the kitchen with these delightful twists.
-
Boneless Option: Swap bone-in, skin-on thighs for boneless, skinless cuts. Just reduce the baking time to 20-25 minutes for a speedy dinner!
Turning dinner into a quick 30-minute affair means you can enjoy whipping this up even on the busiest of nights. -
Herb Infusion: Enhance flavor by adding fresh herbs like rosemary or thyme before baking. These aromatic favorites elevate your dish to new heights.
Imagine the fragrant aroma wafting through your kitchen as the herbs work their magic in every bite. -
Spicy Kick: For those who enjoy heat, sprinkle some red pepper flakes or cayenne pepper on the thighs before baking. The heat will balance beautifully with the garlic butter!
This zesty addition will have your taste buds dancing with delight, making every bite exhilarating. -
Vegetable Fusion: Toss sliced bell peppers, onions, or zucchini in the skillet along with the chicken for a delicious roasted vegetable side. They soak up that garlic flavor beautifully!
You’ll create a one-pan meal bursting with color and flavor, perfect for impressing family or guests. -
Mustard Twist: Mix a tablespoon of whole grain mustard into the garlic butter for a tangy, rich sauce that complements the chicken perfectly.
This delightful twist brings a new layer of depth that will keep your taste buds tingling for more! -
Asian Influence: Marinate chicken thighs in soy sauce, ginger, and sesame oil before searing, then bake as usual for an Asian-inspired weelnight delight.
A quick switch that transports your meal to a new level of flavor, showcasing your culinary prowess. -
Sweet Glaze: Add a tablespoon of honey or maple syrup to the garlic butter for a sweet and savory finish. Your baked chicken thighs will develop a delectable caramelization!
Sugar and spice come together beautifully, leaving you with a dish that’s just the right amount of indulgent.
Feel inspired? If you loved these ideas, check out other tasty options like Savory Baked French Toast or Chicken Vesuvio Succulent to keep your dinner routine exciting!
What to Serve with Garlic Butter Baked Chicken Thighs
Imagine the delightful aroma wafting through your home as you plan a satisfying meal around your savory chicken thighs.
- Creamy Mashed Potatoes: The smooth and buttery texture complements the juicy chicken, soaking up that delicious garlic sauce.
- Garlic Green Beans: Crisp-tender green beans sautéed in garlic add a fresh crunch that balances the richness of the chicken.
- Roasted Vegetables: A medley of colorful, caramelized veggies adds sweetness and vibrant flavors, enhancing the overall meal experience.
- Quinoa Salad: Light and nutty quinoa mixed with fresh herbs brings a healthy contrast, making every bite colorful and nutritious.
- Buttered Corn on the Cob: Sweet and buttery corn pairs perfectly, providing a nostalgic touch to your family dinner.
- Caesar Salad: Crisp romaine with creamy dressing and crunchy croutons adds brightness, cutting through the richness of the baked chicken.
- White Wine: A chilled glass enhances the meal, offering a refreshing contrast to the savory flavors of your chicken thighs.
Whichever pairings you choose, each brings something special to the table, ensuring your dinner is a flavorful feast!
How to Store and Freeze Baked Chicken Thighs
Fridge: Store your baked chicken thighs in an airtight container for up to 4 days. This keeps them fresh and ready for quick meals throughout the week.
Freezer: For longer storage, freeze cooked chicken thighs for up to 3 months. Place them in a freezer-safe bag, removing as much air as possible to prevent freezer burn.
Reheating: To reheat, preheat your oven to 350°F (175°C) and bake the chicken thighs for about 15 minutes. This method helps retain their juicy flavor and crispy skin.
Wrapping: If you plan to freeze, wrap each thigh in plastic wrap before placing them in a container. This extra layer of protection ensures your baked chicken thighs remain flavorful and moist.
Make Ahead Options
These Garlic Butter Baked Chicken Thighs are a fantastic option for meal prep enthusiasts! You can season the chicken thighs and refrigerate them for up to 24 hours before cooking, allowing the flavors to meld beautifully. Additionally, you can make the garlic butter mixture in advance—just store it in the refrigerator and stir in the garlic right before cooking to maintain its aroma. When ready to bake, simply sear the marinated chicken thighs, add the butter, and follow through with baking as per the original instructions. This prep method not only saves time but also ensures your baked chicken thighs are just as delicious when you’re short on time!
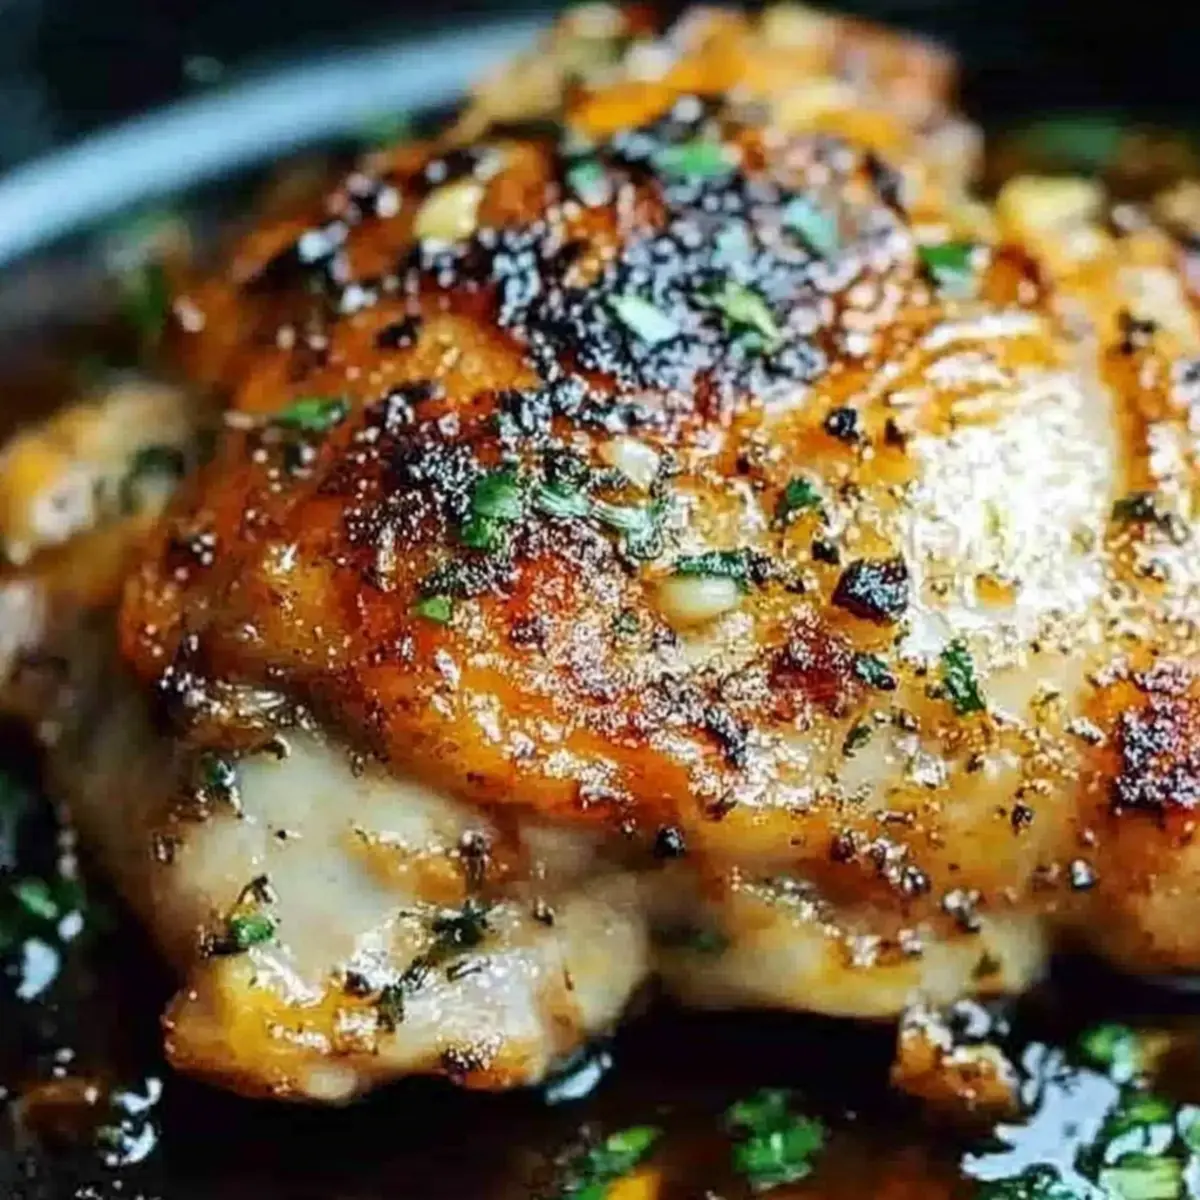
Garlic Butter Baked Chicken Thighs Recipe FAQs
How do I choose the best chicken thighs?
Absolutely! When selecting chicken thighs, look for bone-in, skin-on varieties as they provide the best flavor and moisture. Look for skin that is a light golden color, without any dark spots or discoloration. If you prefer boneless skinless thighs or chicken breasts, keep in mind to reduce the baking time to about 20-25 minutes to ensure they don’t dry out.
What’s the best way to store leftover baked chicken thighs?
For sure! Store your baked chicken thighs in an airtight container in the refrigerator for up to 4 days. This will keep them fresh and juicy for your next meal. If you have extra space, it’s great to label the container with the date to keep track of freshness!
Can I freeze my baked chicken thighs?
Yes, very much! To freeze, let the chicken cool completely. Then, wrap each thigh in plastic wrap and place them in a freezer-safe bag, removing as much air as possible to prevent freezer burn. You can store them this way for up to 3 months. When you’re ready to enjoy them, just thaw in the fridge overnight and reheat in the oven at 350°F for about 15 minutes to maintain their crispy texture.
What should I do if my baked chicken thighs are not crispy?
Sometimes that can happen, but don’t worry! First, ensure you pat the chicken thighs dry before seasoning. Moisture on the skin can lead to steaming instead of crisping. If your skin still isn’t crispy, try increasing the oven temperature to 425°F for the last few minutes of baking—just keep an eye on it to prevent burning. Additionally, always let them rest after baking so that the juices redistribute, which helps with overall flavor and moisture.
Are there any dietary considerations I should be aware of?
Very! If you’re cooking for someone with allergies, be mindful that this recipe contains butter, which can be a concern for those with dairy allergies. As for gluten, the recipe is naturally gluten-free, but always check other seasonings or sides you might serve. And while this dish is human food, chicken is safe for dogs in moderation, but avoid seasoning excess, especially salt and garlic.
How long can I reheat my baked chicken thighs?
Of course! To reheat, preheat your oven to 350°F. Place the chicken thighs in an oven-safe dish and cover them with foil to keep them moist. Heat for about 15 minutes or until warmed through, monitoring closely to maintain that lovely crispness! Enjoy these succulent baked chicken thighs without compromise.
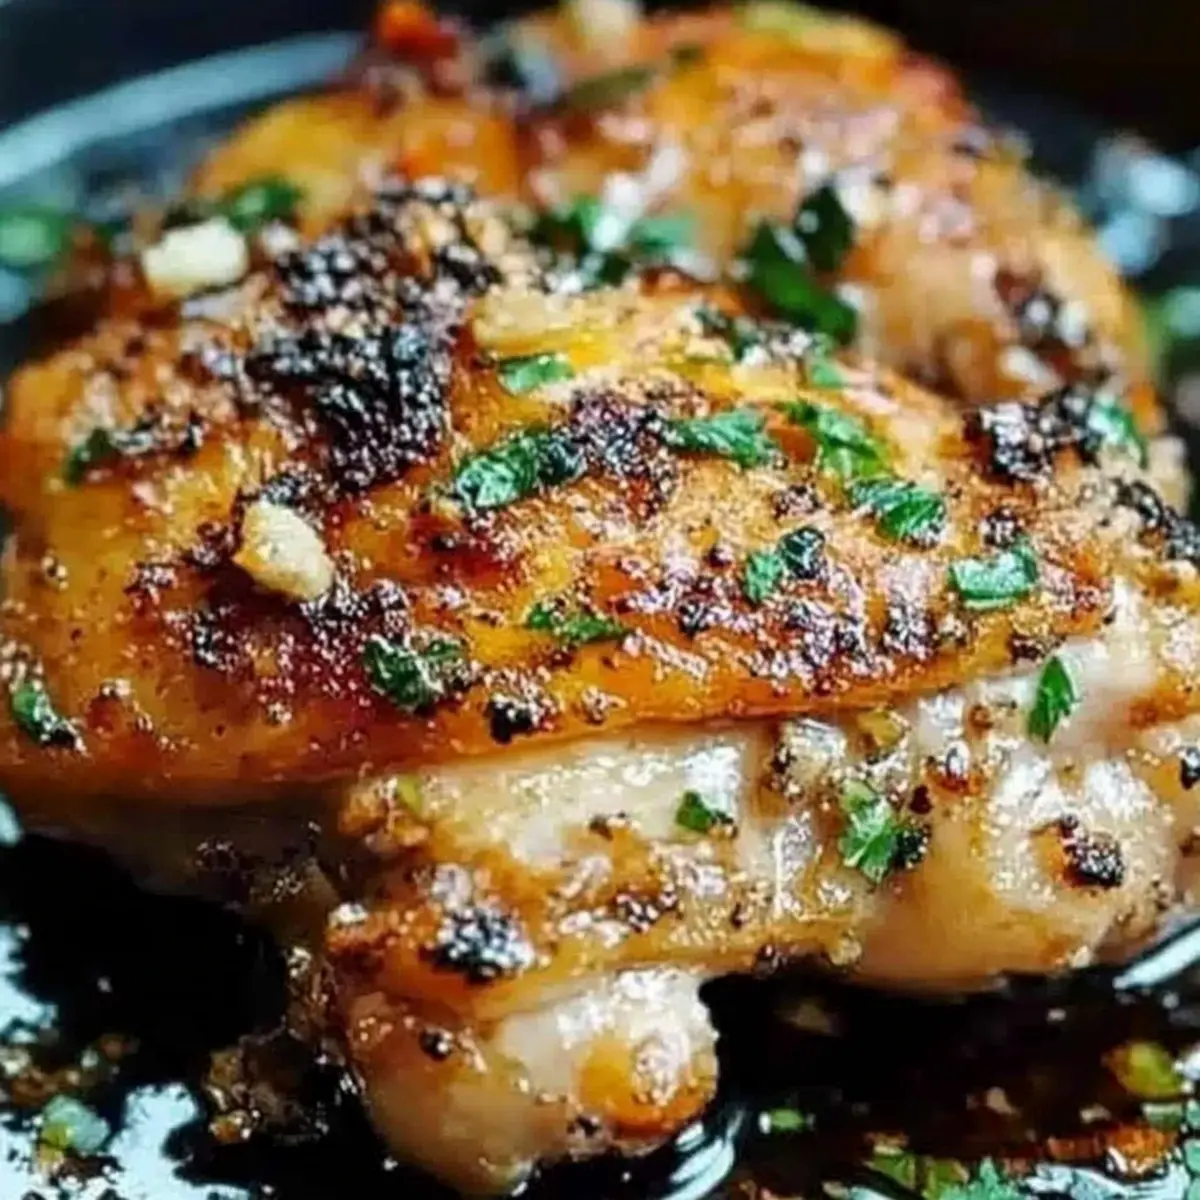
Juicy Garlic Butter Baked Chicken Thighs for Family Comfort
Ingredients
Equipment
Method
- Preheat your oven to 400°F (200°C) and prepare the chicken thighs.
- Pat the chicken thighs dry with paper towels and season with salt and black pepper.
- Heat a cast iron skillet over medium-high heat, add olive oil, and sear the chicken skin-side down for about 5 minutes.
- Flip the chicken, add butter and garlic, cooking until fragrant.
- Transfer the skillet to the oven and bake the chicken thighs for 30 minutes.
- Let the chicken rest for 5 minutes, then serve with garlic butter sauce.
Leave a Reply