
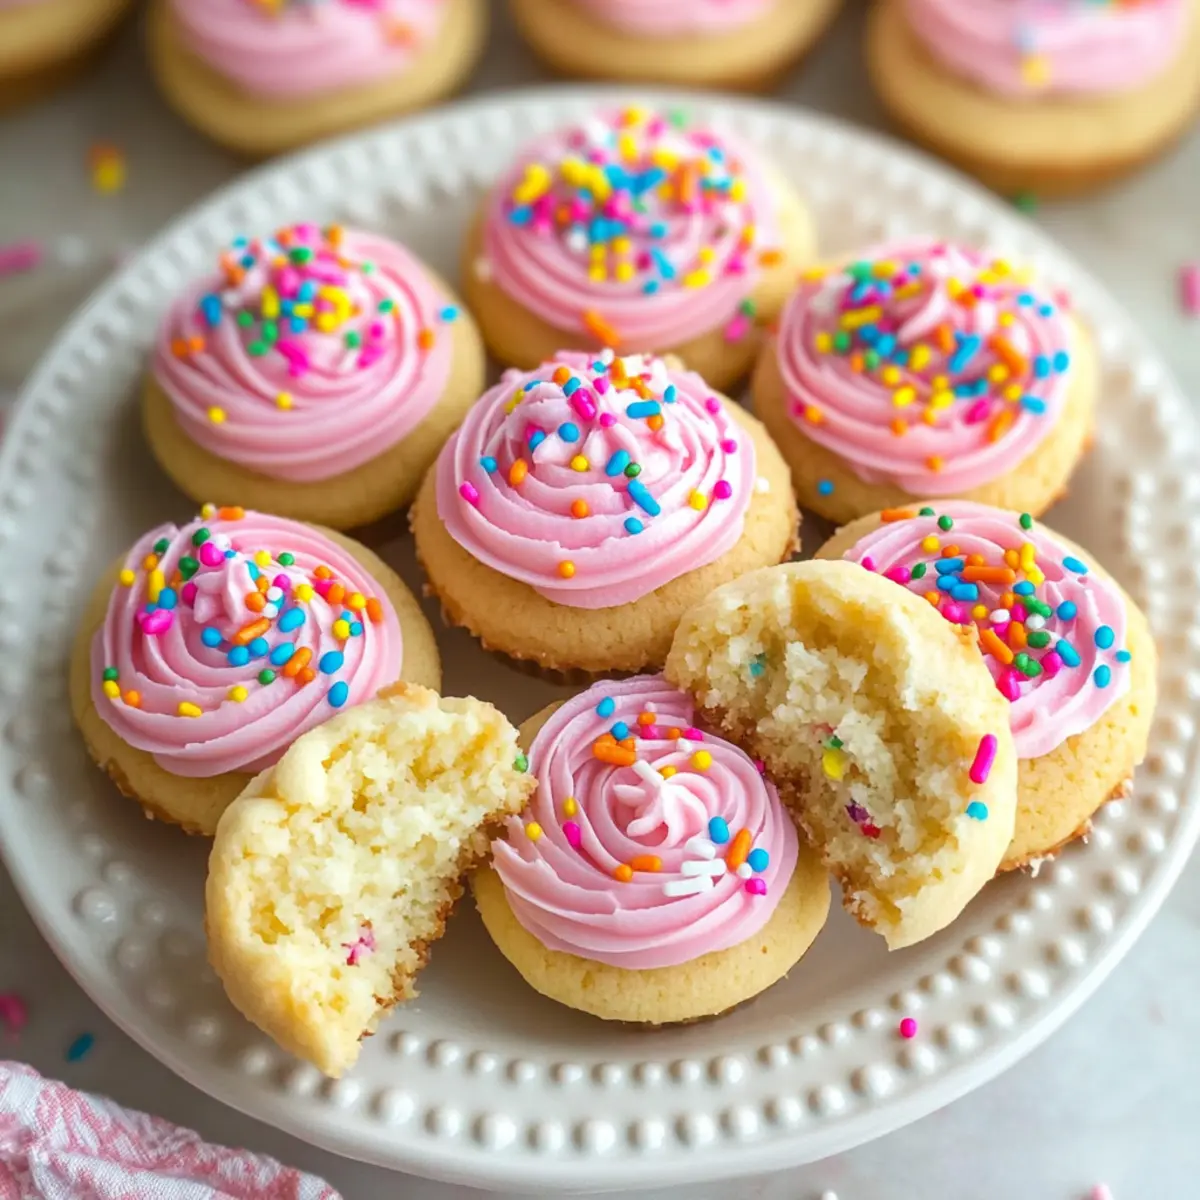
Ever tried a dessert that’s not just a treat but an experience? My adorable Sugar Cookie Cups are just that—a delightful fusion of soft, chewy cookie and creamy frosting that’s sure to charm anyone. Crafted with basic ingredients, these versatile little cups are perfect for every occasion, making them an ideal choice for holidays like Valentine’s Day or Christmas, or even just a cozy gathering. Not only are they simple to prepare, but these cookie cups can also be customized with various fillings and frostings to suit any celebration. Imagine the smiles on your loved ones’ faces as they bite into these cute creations—it’s a heartwarming moment worth savoring. Curious about how to make these irresistible treats? Let’s dive in!
Why are Sugar Cookie Cups irresistible?
Irresistible Delight: These Sugar Cookie Cups are more than just cute—they deliver a mind-blowing flavor explosion in every bite, combining soft cookie with creamy frosting.
Customizable: With a variety of frosting and filling options, you can adapt them for any occasion, be it Christmas or a birthday party.
Simple to Make: With easy-to-follow instructions, whipping up a batch is a breeze, even for busy weeknights!
Kid-Friendly Fun: Kids will love helping create their own personal cookie cups, making baking a family bonding experience.
Perfect for Any Gathering: Whether it’s a festive gathering or just a cozy night in, these cookie cups are sure to impress your guests, reminiscent of the joy found in treats like Cannoli Cookies or Pistachio Shortbread Cookies.
Sugar Cookie Cups Ingredients
For the Cookie Cups
• Salted Butter – Adds richness and moisture; use unsalted butter and add 1/4 teaspoon of salt if preferred.
• Granulated Sugar – Provides sweetness and texture; no substitutes for the best results.
• Large Egg – Binds the ingredients and adds moisture; ensure it’s at room temperature for optimal blending.
• Vanilla Extract – Enhances the flavor; substitute with vanilla bean extract for a more complex taste.
• Almond Extract – Infuses classic sugar cookie flavor; can be omitted if no almond flavor is desired.
• All-Purpose Flour – Provides structure; swap for gluten-free flour for a gluten-free version.
• Baking Powder & Baking Soda – Essential leavening agents that ensure a light and fluffy texture.
For the Frosting
• Cream Cheese – Forms the base of the frosting with a rich, tangy flavor; make sure it’s softened for easier mixing.
• Powdered Sugar – Sweetens and thickens the frosting; no substitutes for consistency.
• Milk – Adjusts the frosting’s thickness; any type of milk can be used, including plant-based options.
• Food Coloring Gel (optional) – Personalize the frosting’s look for any occasion or theme.
Step‑by‑Step Instructions for Sugar Cookie Cups
Step 1: Preheat and Prepare
Start by preheating your oven to 350°F (175°C). While the oven heats up, grease two muffin pans generously with butter or non-stick cooking spray to prevent the Sugar Cookie Cups from sticking. This is crucial for easy removal after baking, ensuring that your adorable treats maintain their shape.
Step 2: Cream the Butter and Sugar
In a large mixing bowl, cream together the softened salted butter and granulated sugar using a hand mixer or stand mixer on medium speed. Beat the mixture for about 2-3 minutes until it becomes light and fluffy. This process incorporates air, giving your Sugar Cookie Cups a wonderfully soft texture. Then, add in the room-temperature egg, vanilla extract, and almond extract, mixing until fully combined and smooth.
Step 3: Mix the Dry Ingredients
In a separate bowl, whisk together the all-purpose flour, baking powder, and baking soda until well mixed. This step is essential for evenly distributing the leavening agents throughout the dough. Once your dry ingredients are combined, gradually add them to the wet mixture, stirring gently until just combined. Avoid over-mixing to keep the cookies tender and chewy.
Step 4: Form the Cookie Cups
Using a regular tablespoon, scoop about 2 tablespoons of dough and press it into each muffin cup, ensuring to push the dough halfway up the sides to create a cup shape. This will form the base of your Sugar Cookie Cups. Make sure to evenly distribute the dough among the muffins cups, leaving a little space between each to allow for spreading during baking.
Step 5: Bake Until Golden
Place your muffin pans in the preheated oven and bake for 12 minutes, or until the edges of the Sugar Cookie Cups are lightly golden and the centers appear set. Keep an eye on them to prevent over-baking; they should be soft to the touch. Once done, remove them from the oven and let them cool in the pans for about 15 minutes.
Step 6: Shape the Centers
After cooling, gently press down the centers of each cookie cup using the back of a rounded tablespoon or your fingers to create space for the frosting. This step is crucial for holding your creamy fillings later. Allow the cups to cool completely in the pans before carefully removing them to a wire rack to ensure they maintain their shape.
Step 7: Prepare the Cream Cheese Frosting
In another mixing bowl, beat together the softened cream cheese and salted butter until creamy and smooth, about 2-3 minutes. Gradually mix in the powdered sugar, vanilla extract, and milk, adjusting the milk amount as needed to achieve your desired frosting consistency. The frosting should be smooth and easily spreadable, ready to fill those lovely Sugar Cookie Cups.
Step 8: Frost the Cookie Cups
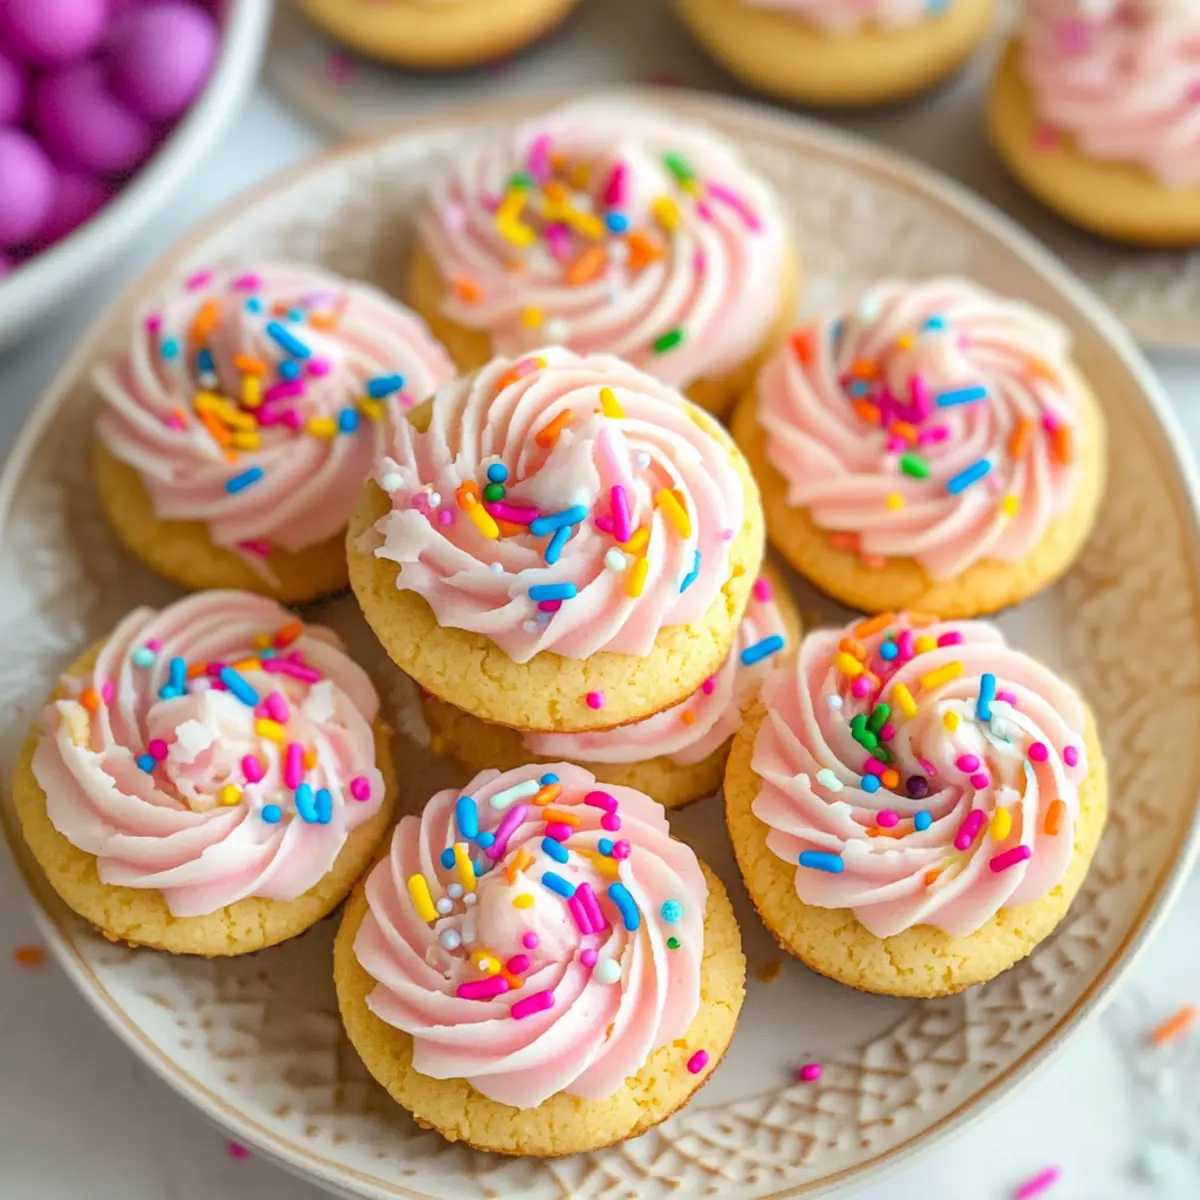
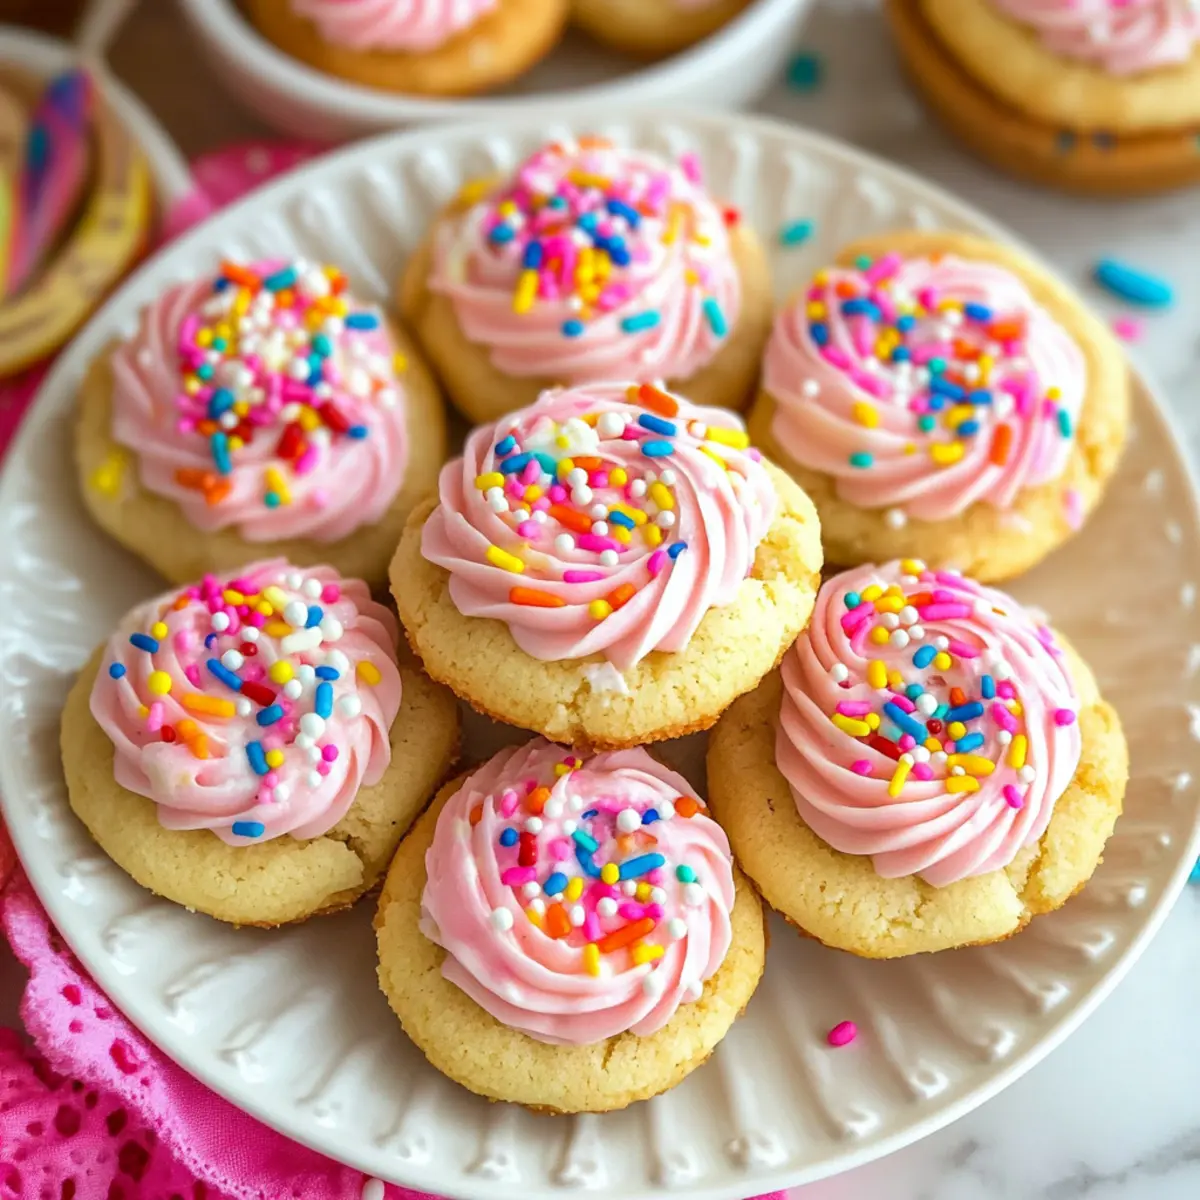
Once your Sugar Cookie Cups are cooled completely and the frosting is ready, pipe or spoon your creamy frosting into the centers of each cookie cup generously. Feel free to decorate with colorful sprinkles, chocolate shavings, or other toppings to make each one uniquely delightful. These personalized touches will bring joy to any celebration!
Make Ahead Options
These Sugar Cookie Cups are perfect for meal prep! You can bake the cookie cups up to 3 days in advance and store them in an airtight container at room temperature to keep them fresh. Just ensure they are completely cooled before storing to maintain their shape and texture. When you’re ready to serve, simply whip up the frosting—this can also be made up to 24 hours ahead and refrigerated until needed. For best results, allow the frosting to come to room temperature before piping it into your cookie cups. This way, you can enjoy delightful, personalized desserts with minimal effort on the day of your event!
What to Serve with Sugar Cookie Cups
Delightful treats that bring joy to any celebration need the perfect companions to complete the meal.
- Fresh Fruit Salad: Bursting with bright flavors and juiciness, it balances the sweetness of the sugar cookie cups beautifully.
- Vanilla Ice Cream: A classic pairing, the creamy coolness of vanilla ice cream creates a delightful contrast with the warm, soft cookie.
- Hot Chocolate: Rich and comforting, a cozy cup of hot chocolate accentuates the chewy texture of sugar cookie cups, making each bite blissful.
- Coffee or Espresso: The deep, rich flavors of coffee enhance the sweetness, providing a lovely contrast that energizes your dessert experience.
- Whipped Cream Topping: Light and fluffy, a dollop of whipped cream adds an extra touch of indulgence and complements the creamy frosting perfectly.
- Chocolate Dipping Sauce: Drizzling melted chocolate over the cookie cups elevates their flavor, making each bite a luscious treat.
- Milk: A classic beverage choice, chilled milk refreshes the palate and intensifies the overall dessert experience, especially for kids.
- Mini Cupcakes: For a fun dessert table, mini cupcakes offer a variety of flavors and textures but keep the fun vibe of your sugar cookie cups.
- Spiced Chai Latte: The warm spices from chai contrast beautifully with the sweet cookie, creating a comforting pairing perfect for cozy gatherings.
Sugar Cookie Cups: Fun Twists
Customize your Sugar Cookie Cups with these delightful variations that will elevate your treats and make every bite memorable!
-
Frosting Options: Use chocolate buttercream for a rich twist, or vanilla and strawberry frostings to brighten them up. Imagine the sweet satisfaction that comes from savoring each unique flavor combination!
-
Fruit Fillings: Try adding lemon curd, fruit preserves, or chocolate ganache inside the cookie cups. The tangy curd or gooey ganache creates a delightful surprise that perfectly contrasts the cookie’s sweetness.
-
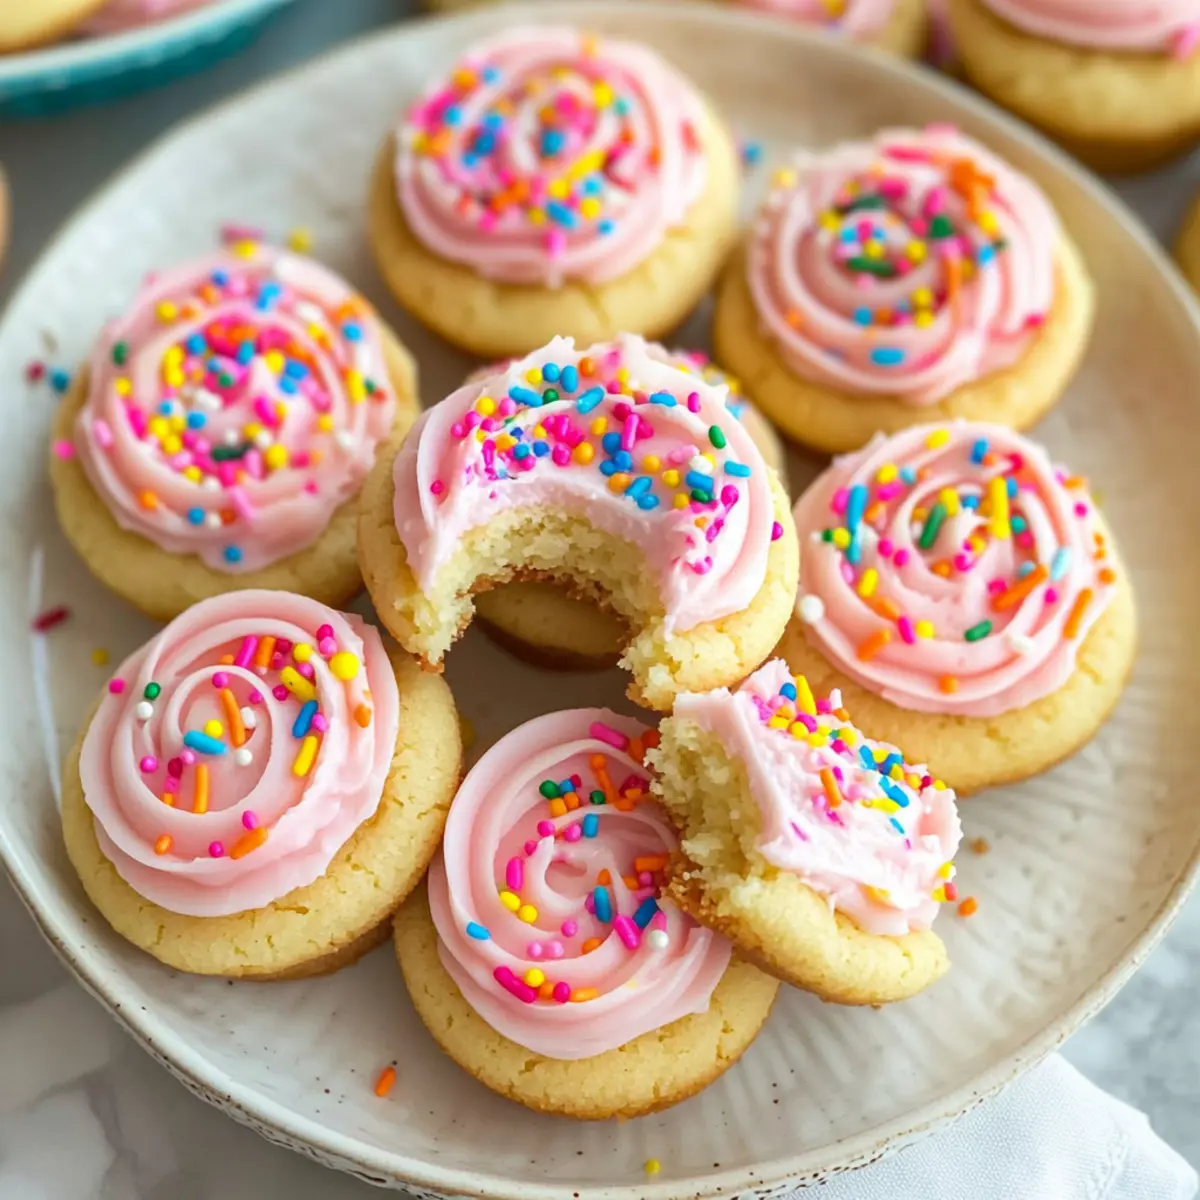
Sprinkles Galore: Customize your toppings with different colored sprinkles to fit the occasion—think red and green for Christmas or pastels for a spring event. Transform each cookie cup into a festive masterpiece that dazzles your guests!
-
Gluten-Free Goodness: Swap regular flour for gluten-free flour to make these treats suitable for everyone. Ensure your baking powder is gluten-free too, so no one has to miss out on this delicious dessert!
-
Nutty Flair: Add chopped nuts like pecans or almonds to the cookie dough for an unexpected crunch. Each bite becomes a uniquely textured experience while still delivering that signature sugar cookie flavor.
-
Spice It Up: Introduce a pinch of cinnamon or pumpkin spice for a warm flavor twist, perfect for cozy gatherings and seasonal celebrations. This will bring a lovely aromatic quality to your cookie cups that’s hard to resist!
-
Dairy-Free Delight: Substitute the cream cheese frosting with a coconut cream frosting for those avoiding dairy. This creamy alternative is both delicious and satisfying, making every bite as enjoyable as the original.
These variations enable you to get creative in the kitchen while making treats that remind you of life’s sweet moments, similar to the joy brought by Bake Cookie Butter or a slice of Sugar Cookie Cheesecake.
Expert Tips for Sugar Cookie Cups
Room Temperature Ingredients: Ensure butter and egg are at room temperature for a smooth mixture that helps your Sugar Cookie Cups achieve the perfect texture.
Don’t Overmix: Mix the dough until just combined to keep the cookies tender and chewy. Overmixing can lead to tough cookie cups.
Cooling Time: Allow cookie cups to cool completely before frosting; this prevents the cream cheese frosting from melting and ensures a beautiful presentation.
Customize Wisely: Feel free to experiment with different frostings and fillings, but stick to basic ingredients for the best results with your Sugar Cookie Cups.
Check Oven Temperature: Ovens can vary, so consider using an oven thermometer to ensure your baking temperature is accurate for perfectly baked cookie cups.
How to Store and Freeze Sugar Cookie Cups
Fridge: Store your Sugar Cookie Cups in an airtight container in the fridge for up to 3 days. This keeps them fresh while the frosting stays chilled and creamy.
Freezer: For longer storage, freeze the unfilled cookie cups in a single layer for up to 2 months. Thaw them in the fridge before filling with frosting.
Airtight Container: Use an airtight container to preserve the texture and flavor of the Cookie Cups. Avoid stacking them directly to prevent any damage to the frosting.
Reheating: If preferred, gently warm the filled cookie cups in the microwave for about 10-15 seconds, just until the frosting is soft, but not melted, for a delightful treat.
Sugar Cookie Cups Recipe FAQs
What type of butter should I use for the Sugar Cookie Cups?
Absolutely! You can use either salted or unsalted butter for these Sugar Cookie Cups. Salted butter adds a bit of richness and flavor, while unsalted butter allows you to control the saltiness. If you choose unsalted butter, don’t forget to add 1/4 teaspoon of salt to the mix for balanced taste.
How should I store my Sugar Cookie Cups?
To keep your Sugar Cookie Cups fresh, store them in an airtight container in the fridge for up to 3 days. This ensures the frosting remains creamy and delicious. If you prefer them at room temperature, they can be kept in a cool area for 2 days, but be cautious as the frosting may soften.
Can I freeze Sugar Cookie Cups?
Yes, you can! For the best results, freeze the unfilled cookie cups in a single layer on a baking sheet until solid, then transfer them to an airtight container or freezer bag. They can be frozen for up to 2 months. When you’re ready to enjoy, simply thaw them in the fridge and frost them once they’ve reached room temperature.
What should I do if the cookie cups puff up while baking?
Very often, this can happen if the dough is overmixed or if there’s too much flour. If your Sugar Cookie Cups puff up, gently press down the centers with a spoon right after removing them from the oven to form the cup shape. Don’t worry; they’ll still taste delightful!
Can I use different fillings or frostings?
The more the merrier! These Sugar Cookie Cups are incredibly versatile. Feel free to experiment with various fillings like lemon curd, fruit preserves, or chocolate ganache. For frosting, you can swap out the cream cheese frosting for chocolate buttercream, vanilla, or even whipped cream for a lighter touch.
Are these Sugar Cookie Cups suitable for pets or people with allergies?
While these delightful treats are made for people, ingredients like butter and icing sugar can be harmful to pets, so keep them away from your furry friends. If allergies are a concern, substitute ingredients accordingly; for example, use gluten-free flour for those with gluten sensitivities, and always check for allergens in any frosting used.
Delicious Sugar Cookie Cups Perfect for Every Celebration
Ingredients
Equipment
Method
- Preheat your oven to 350°F (175°C) and grease two muffin pans.
- Cream together the softened salted butter and granulated sugar until light and fluffy.
- In a separate bowl, whisk together the all-purpose flour, baking powder, and baking soda.
- Scoop about 2 tablespoons of dough and press it into each muffin cup to create a cup shape.
- Bake for 12 minutes or until the edges are lightly golden.
- Press down the centers of each cookie cup after cooling to create space for the frosting.
- Beat together the cream cheese and salted butter, then mix in the powdered sugar and milk.
- Pipe or spoon the frosting into the centers of each cookie cup.
Leave a Reply