
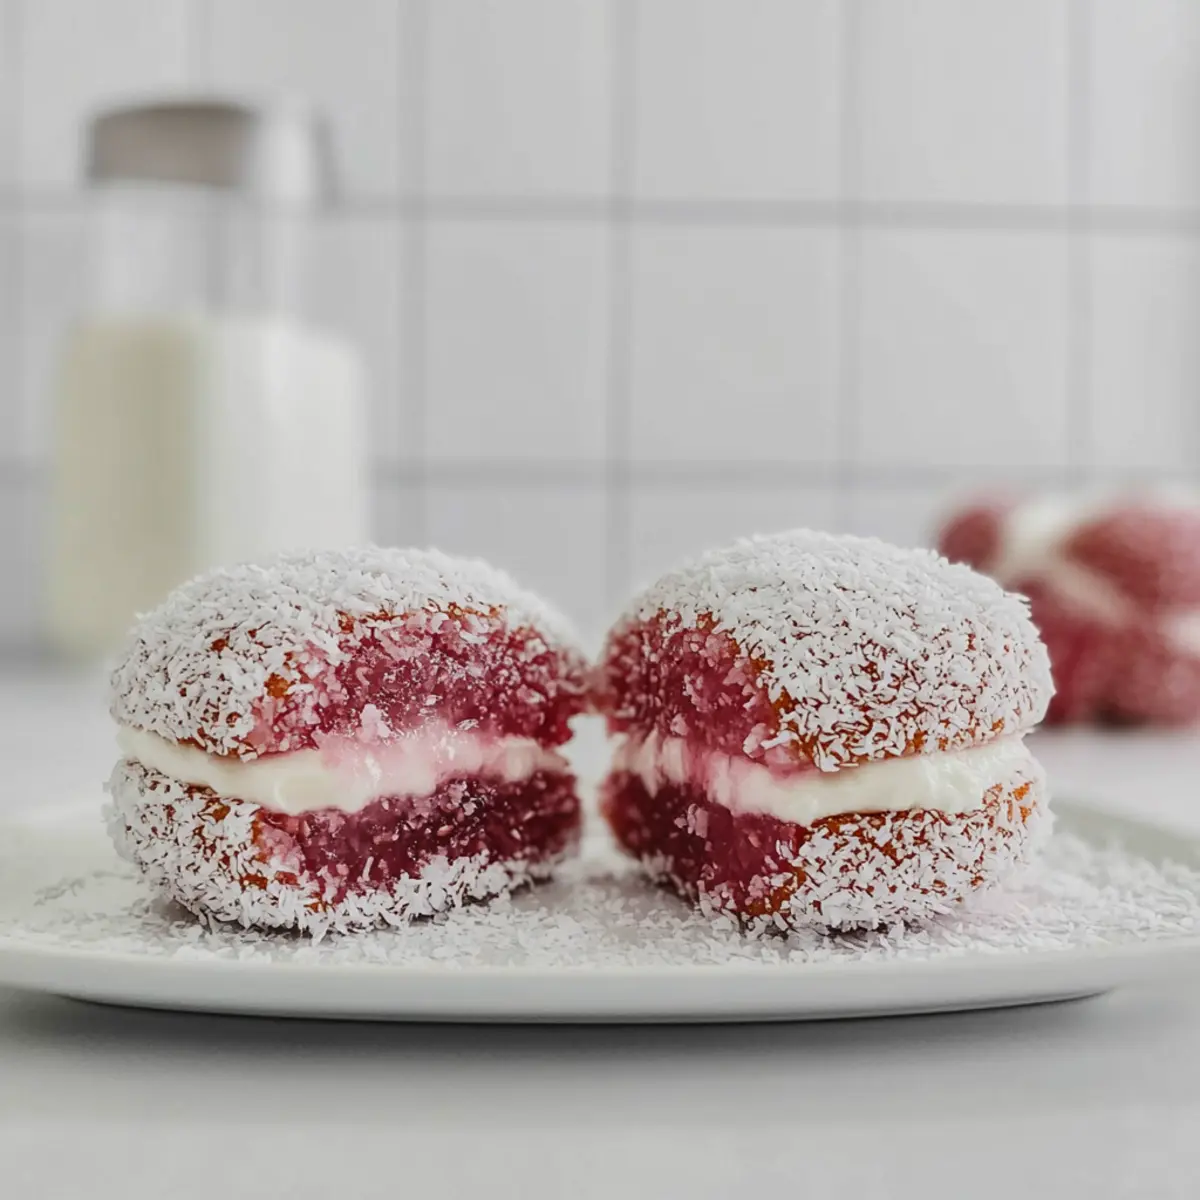
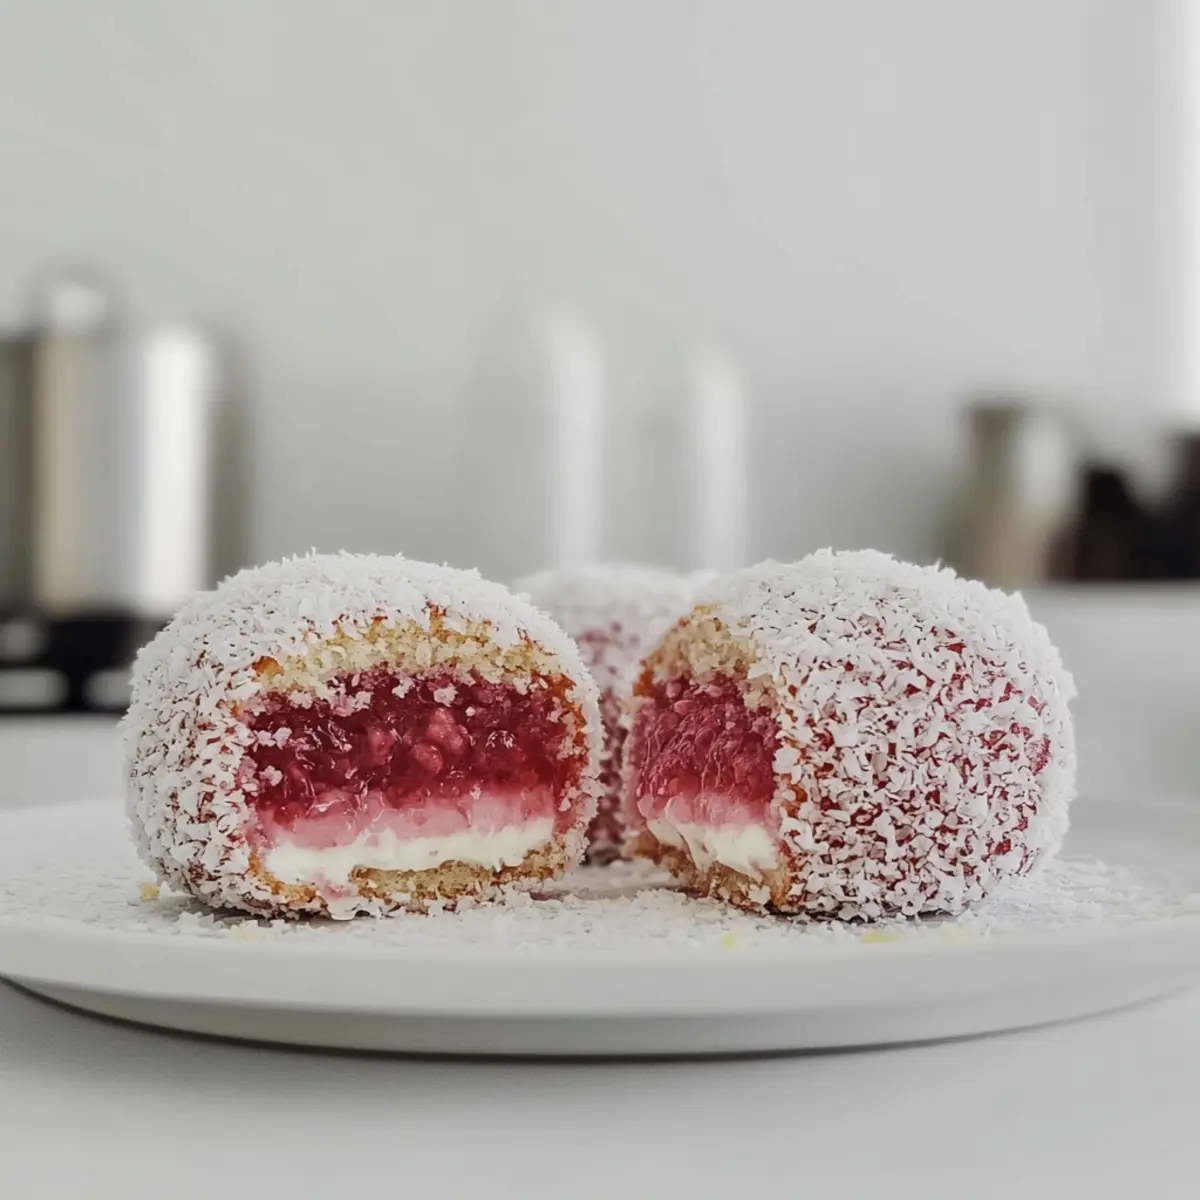
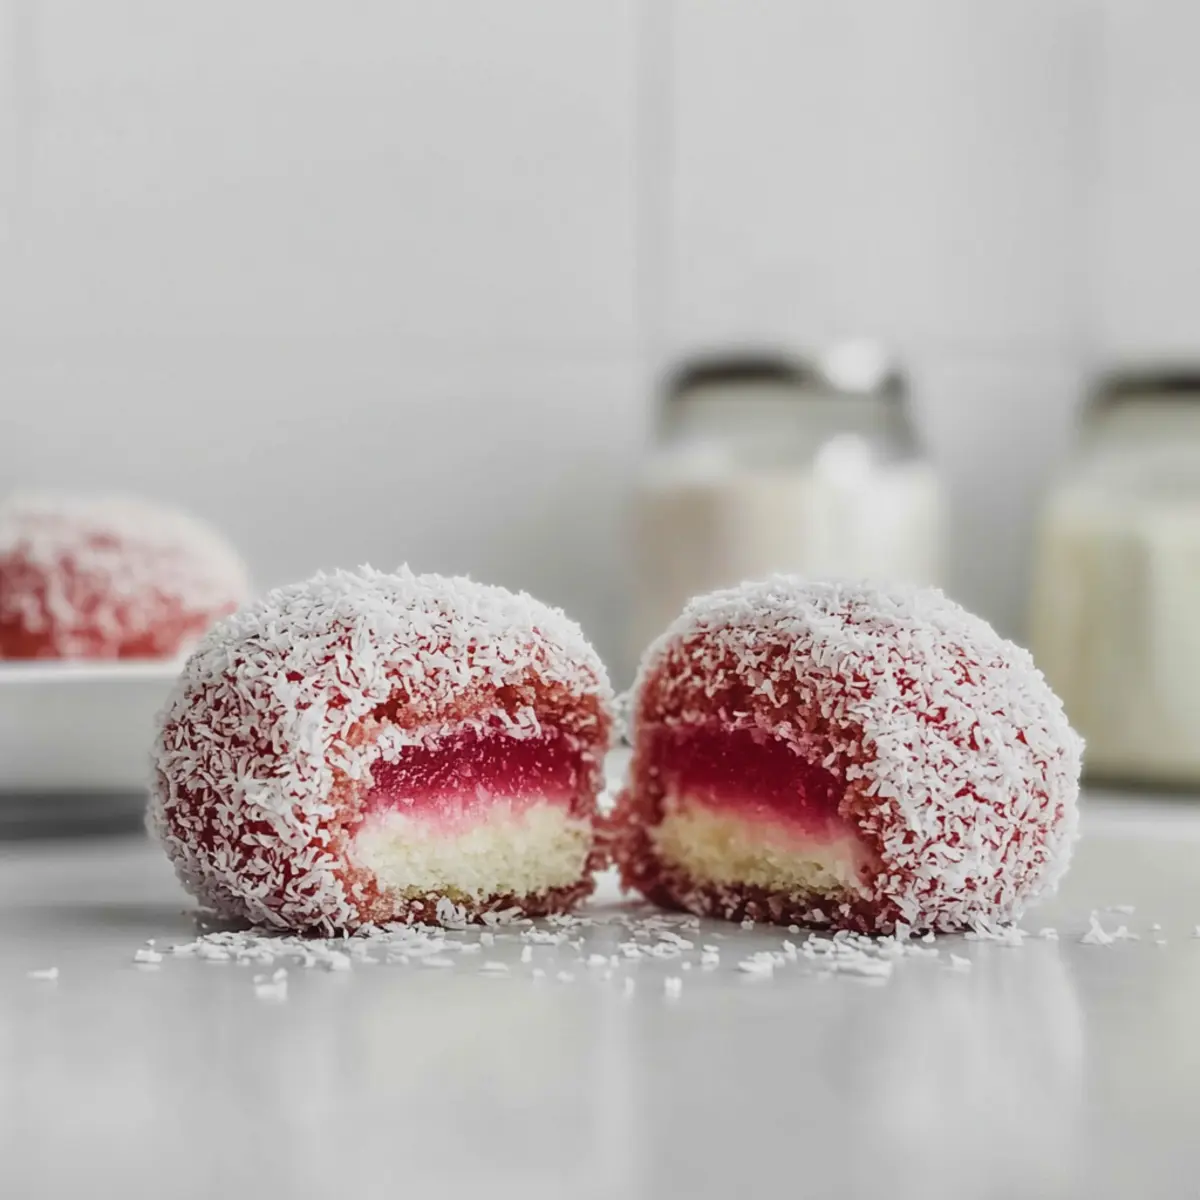
As the kettle whistles and the afternoon light dances through my kitchen, memories of joyful gatherings flood my mind. Classic Australian Jelly Cakes—with their delicate pink sponges and fluffy chantilly cream—exude charm and nostalgia that tug at my heartstrings. These delightful treats are not only a feast for the eyes, but they’re surprisingly easy to whip up, making them ideal for impromptu tea parties or festive celebrations. Picture yourself serving these whimsical desserts, their colorful jelly coating glistening and enticing guests to take a bite. They’re a reliable hit—perfectly suited for anyone longing for a refreshing and light dessert option. So, are you ready to bake a batch of these charming Jelly Cakes that capture the essence of childhood sweetness?
Why are Jelly Cakes a must-try?
Nostalgic Delight: These bright and cheerful jelly cakes transport you back to carefree childhood days filled with laughter and fun.
Visual Appeal: The vivid colors and fluffy textures make for a stunning centerpiece at any gathering, perfect for impressing guests.
Effortless Elegance: With straightforward steps, you don’t need to be a master baker to create these charming treats that are sure to wow.
Versatile Options: From raspberry to passionfruit jelly, you can customize these cakes to fit any flavor preference or theme.
Crowd Pleaser: These jelly cakes are perfect for afternoon teas, children’s parties, or light desserts—everyone loves them!
Indulge in the nostalgic joy of baking with these Classic Australian Jelly Cakes. And if you’re looking for more light treats, consider trying Mini Lemon Cheesecakes or Apple Yogurt Pancakes for your next sweet fix!
Jelly Cakes Ingredients
• Get ready to create delightful treats!
For the Batter
- Butter – Provides richness and flavor; use unsalted butter for the best results.
- Caster Sugar – Adds sweetness and helps achieve a light sponge texture; granulated sugar works too.
- Eggs – Acts as a binding agent and adds moisture; ensure they’re at room temperature for better incorporation.
- Vanilla Extract – Enhances flavor; use pure vanilla extract for the best taste.
- Self-raising Flour – Offers structure with built-in leavening; substitute with all-purpose flour and baking powder if needed.
- Milk – Adds moisture to the batter; whole or low-fat milk are both great choices.
For the Jelly Coating
- Raspberry Jelly Crystals – Coats the cakes for fruity flavor; feel free to explore alternatives like strawberry jelly.
- Cold Water – Used to adjust jelly consistency.
For the Chantilly Cream
- Thickened Cream – Used to make chantilly cream, contributing to its rich texture.
- Chantilly Cream – Adds richness between cake layers; whipped cream can also be a suitable substitute.
For the Topping
- Desiccated Coconut – Coats the jelly-covered cakes for added texture and a hint of flavor.
Dive into the delightful experience of making Jelly Cakes that will surely brighten any gathering! 🌸
Step‑by‑Step Instructions for Jelly Cakes
Step 1: Prepare Jelly Coating
Start by dissolving raspberry jelly crystals in 1 cup of boiling water, stirring until fully melted. Then, add ½ cup of cold water to the mixture and stir gently. Pour the combined jelly into a shallow dish, allowing it to cool slightly before placing it in the refrigerator. Let it chill for 1 to 2 hours until it’s thickened but still pourable, ready to coat your lovely Jelly Cakes.
Step 2: Bake Patty Cakes
Preheat your oven to 180°C (350°F) and grease your patty pan tins with a light coating of cooking spray. In a mixing bowl, cream together 125g of unsalted butter and 150g of caster sugar until the mixture is pale and fluffy. Add 2 room-temperature eggs one at a time, along with a splash of vanilla extract. Gradually fold in 150g of self-raising flour and 50ml of milk, alternating between both, until you achieve a smooth batter. Carefully spoon the batter into the tins and bake for about 15 minutes or until they are golden and springy to the touch.
Step 3: Cool Cakes
Once baked, remove the patty cakes from the oven and let them cool in the tins for 5 to 10 minutes. Gently run a knife around the edges of each cake to ensure they release easily. Transfer the cakes to a wire rack to cool completely, allowing them to set without sogginess. This cooling step is crucial to maintain the delicate texture of your Jelly Cakes.
Step 4: Make Chantilly Cream
While the cakes are cooling, prepare your chantilly cream. In a mixing bowl, beat together 300ml of thickened cream, 2 tablespoons of caster sugar, and 1 teaspoon of vanilla extract. Whip the mixture until soft peaks form; it should be smooth and thick but not over-whipped. For an easier assembly, transfer the chantilly cream into a piping bag fitted with a round tip, making it simple to layer between your cakes later.
Step 5: Assemble Cakes
Once the cakes are completely cooled, dip each one into the thickened raspberry jelly, ensuring they are fully coated. Next, roll them gently in desiccated coconut, giving them a lovely, textured finish. Lay the cakes flat on a serving platter, then pipe a generous swirl of chantilly cream onto the flat side of one cake. Sandwich with another cake, flat side down, creating delightful little layers of flavor with your Jelly Cakes.
Step 6: Chill and Serve
After assembling your Jelly Cakes, pop them in the refrigerator for about 30 minutes to let the chantilly cream set. This chilling period also helps the jelly firm up slightly on the outer layer, making them easier to handle. Serve these charming Jelly Cakes at your next afternoon tea or festive gathering for a sweet surprise that is sure to delight everyone!
Expert Tips for Jelly Cakes
-
Room Temperature Ingredients: Ensure your eggs and milk are at room temperature. This helps achieve a smoother batter and a fluffier cake.
-
Jelly Consistency: Monitor the jelly mixture closely while thickening. It should be thick but pourable; too thick will make it difficult to coat the cakes evenly.
-
Even Baking: Bake the cakes until they are golden and spring back when lightly touched. Overbaking can lead to dryness, while underbaking may result in collapse.
-
Storing Cakes: Best enjoyed on the same day, yet you can store the Jelly Cakes in an airtight container in the fridge for up to two days while maintaining their delightful texture.
-
Cutting Domes: If your cakes have domed tops, gently slice off the excess for a better fit when sandwiching. This ensures a more polished appearance and easier handling.
Embrace these tips, and your Jelly Cakes will turn out perfectly every time!
How to Store and Freeze Jelly Cakes
Fridge: Store in an airtight container in the fridge for up to 2 days to maintain freshness and prevent them from drying out.
Room Temperature: For best quality, avoid keeping Jelly Cakes at room temperature for more than a couple of hours, especially in warm conditions.
Freezer: These cakes can be frozen if you want to store them longer—place them in a single layer in a freezer-safe container for up to 1 month. Just remember that freezing may alter their texture slightly.
Reheating: If you’ve frozen Jelly Cakes, let them thaw in the fridge overnight and enjoy them cold or bring to room temperature before serving for the best flavor experience.
What to Serve with Classic Australian Jelly Cakes
Savor the delightful taste of these jelly cakes alongside other scrumptious selections that elevate your afternoon tea experience.
-
Fresh Fruit Salad: A vibrant mix of seasonal fruits adds a refreshing contrast to the sweetness of the jelly cakes, enhancing the overall experience. The natural acidity of citrus fruits can beautifully balance the creamy richness of the cakes.
-
Creamy Vanilla Ice Cream: The smooth, cold texture of vanilla ice cream provides a decadent pairing, melting perfectly against the spongy cakes. Scoop it generously alongside for a delightful contrast.
-
Mint-Infused Iced Tea: A light, minty iced tea offers a fresh and invigorating sip to accompany your sweet treats. Its herbal notes cleanse the palate between bites, enhancing the flavors of the jelly cakes.
-
Savory Finger Sandwiches: Pair these jelly cakes with light finger sandwiches filled with cucumber, smoked salmon, or cream cheese. The savory elements balance the sweetness, creating a well-rounded afternoon tea spread.
-
Chocolate-Dipped Strawberries: Add an indulgent touch with chocolate-dipped strawberries that deliver a burst of flavor. They introduce a rich and fruity aspect, complementing the jelly cakes and delighting your guests.
-
Fizzy Lemonade: A sparkling, zesty lemonade pairs wonderfully with the sweet cakes, offering a bubbly contrast. The citrusy zing rejuvenates the palate, making each bite of jelly cake even more enjoyable.
Treat your guests to an enchanting afternoon tea experience by combining these offerings with your Classic Australian Jelly Cakes, creating cherished memories around the table!
Make Ahead Options
These Classic Australian Jelly Cakes are perfect for busy home cooks looking to save time! You can prepare the cake batter and bake the patty cakes up to 24 hours in advance. Simply store the cooled cakes in an airtight container at room temperature. Additionally, the jelly coating can be made ahead of time and stored in the fridge for up to 3 days. When you’re ready to serve, just dip the cakes in the jelly and roll them in desiccated coconut, then pipe in the chantilly cream just before assembly. This way, your Jelly Cakes will still be fresh and just as delicious, making your afternoon tea stress-free and enjoyable!
Jelly Cakes Variations & Substitutions
Feel free to get creative with your Jelly Cakes! Here are some delightful twists and swaps that can make this recipe uniquely yours.
- Flavor Swap: Try using strawberry jelly instead of raspberry for a different fruity experience; the sweet yet tart flavor will brighten each bite.
- Chocolate Lovers: Opt for a chocolate ganache coating instead of jelly for an indulgent dessert. Drizzle warm ganache over the cakes for a melty and rich finish!
- Gluten-Free: Substitute self-raising flour with a gluten-free blend plus 1½ tsp baking powder to ensure everyone can enjoy these cakes.
- Vegan-Friendly: Use plant-based butter and flax eggs (1 tbsp ground flaxseed mixed with 2.5 tbsp water per egg) for an egg-free alternative.
- Nutty Texture: Add finely chopped nuts to the batter for a delightful crunch. Walnuts or pistachios would complement the soft sponge beautifully.
- Citrus Zest: Infuse your cakes with a hint of lemon or orange zest to brighten the flavor profile—just a teaspoon will suffice!
- Banana Cream: Instead of chantilly cream, use banana whipped cream for a fruity filling that pairs perfectly with the jelly coating.
- Spicy Kick: Add a hint of cayenne pepper to the batter for an unexpected and bold flavor contrast that balances out the sweetness.
Let these variations inspire you, and don’t hesitate to explore new combinations! If you’re after more delightful treats, why not try these velvety Mini Lemon Cheesecakes or the fluffy Swirled Chocolate Cupcakes? Your baking adventures await!

Classic Australian Jelly Cakes Recipe FAQs
How do I choose the best raspberries for my jelly?
Absolutely! When selecting raspberries, look for plump, bright-colored berries without any dark spots or mushiness. Fresh raspberries should feel firm and give slightly under pressure. If they’re too soft or have any signs of mold, it’s best to choose another batch. If you can’t find fresh, frozen raspberries can also work beautifully for your jelly!
What is the best way to store leftover Jelly Cakes?
You can store your Jelly Cakes in an airtight container in the fridge for up to 2 days. Ensure they are fully cooled before sealing, as this helps maintain their texture. If you’re expecting to keep them for a longer period, it’s best to freeze them.
Can I freeze Jelly Cakes?
Yes! To freeze your Jelly Cakes, place them in a single layer in a freezer-safe container, ensuring they are separated by parchment paper to prevent sticking. They will remain fresh in the freezer for up to 1 month. When you’re ready to enjoy them, simply let them thaw in the fridge overnight before serving.
What if my jelly is too thick to coat the cakes?
If your jelly mixture becomes too thick, gently reheat it on low heat with a splash of water until it softens. Ensure to stir continuously to prevent scorching. The consistency should be thick but pourable, allowing for a nice even coating when you dip your cakes.
Are these Jelly Cakes suitable for those with dietary restrictions?
For those with egg allergies, substituting eggs can be tricky, but you can try using a flaxseed meal mixed with water as a binding agent. If you’re concerned about gluten, using a gluten-free flour blend instead of self-raising flour could work as well. Always check the ingredients in the jelly crystal packets for allergens and opt for allergy-friendly brands.
Can pets eat Jelly Cakes?
While it’s tempting to offer your pets a little treat, it’s best to avoid giving them Jelly Cakes. Ingredients like sugar and dairy can upset their stomachs and contribute to other health issues. Stick to pet-friendly treats to ensure their tummies stay happy!
Irresistibly Soft Jelly Cakes Perfect for Afternoon Tea
Ingredients
Equipment
Method
- Dissolve raspberry jelly crystals in 1 cup of boiling water, stirring until fully melted. Add ½ cup of cold water and stir gently. Pour into a shallow dish and refrigerate for 1 to 2 hours until thickened but still pourable.
- Preheat oven to 180°C (350°F) and grease patty pan tins. Cream together unsalted butter and caster sugar until pale and fluffy. Add eggs one at a time, then vanilla. Gradually fold in self-raising flour and milk until smooth. Spoon batter into tins and bake for about 15 minutes until golden.
- Remove cakes from the oven and let cool in tins for 5 to 10 minutes. Run a knife around edges to release, then transfer to a wire rack to cool completely.
- Beat thickened cream, caster sugar, and vanilla extract until soft peaks form. Transfer to a piping bag for easy layering.
- Dip cooled cakes into thickened raspberry jelly, ensuring full coating. Roll in desiccated coconut and lay flat. Pipe chantilly cream onto the flat side of one cake, sandwich with another cake.
- Chill assembled Jelly Cakes in the refrigerator for about 30 minutes to let the cream set.
Leave a Reply