
As the aroma of freshly baked cookies fills the air, it’s impossible to resist the temptation to indulge. Enter these delightful Gluten-free Lofthouse Cookies, a homemade version that brings the classic store-bought treat into your kitchen with a healthier twist. With less than half the sugar of their commercial counterparts and a rapidly accessible recipe—no dough chilling required—these cookies are perfect for spontaneous baking adventures. Soft, fluffy, and topped with a sweet layer of frosting, they’re sure to enchant kids and adults alike. So, are you ready to dive into a cookie experience that lets you savor every bite without guilt? Let’s get baking!
Why will you adore these cookies?
Quick and Easy: You’ll love how simple it is to whip up these Gluten-free Lofthouse Cookies without having to chill the dough!
Healthier Delight: Enjoy the sweetness of cookies containing less sugar, making them a guilt-free treat for everyone.
Versatile Toppings: Get creative with frosting options! Customize as you like, from sprinkles to drizzles, for any occasion.
Family Favorite: The fluffy, melt-in-your-mouth texture will be a hit with kids and adults alike, perfect for family gatherings.
For more delightful ideas, check out our Cannoli Cookies Bring and Pistachio Shortbread Cookies for a sweet touch to any dessert table!
Gluten-free Lofthouse Cookies Ingredients
These delightful cookies come together with pantry staples!
For the Cookies
- Sugar – Sweetness and structure; substitute with coconut sugar for a lower glycemic index.
- Gluten-free flour blend – Provides the tender texture; choose a pre-made blend or mix almond flour with tapioca flour for variation.
- Butter (or vegan butter) – Adds richness and moisture; can use coconut oil for a dairy-free alternative.
- Eggs – Acts as a binding agent for structure; use flax eggs for a vegan option.
- Baking powder – Leavening agent for that fluffy texture; make sure it’s gluten-free.
- Buttermilk (or plant-based milk with vinegar) – Contributes moisture and tang; any non-dairy milk with vinegar works well here to create a similar effect.
For the Frosting
- Powdered sugar – Sweetness and smooth consistency; use less for a lighter flavor.
- Butter (or vegan butter) – Provides creamy texture; coconut cream can be used as a dairy-free option.
- Vanilla extract – Enhances the frosting flavor; almond extract can add a unique twist!
- Milk (or plant-based alternative) – Adjusts frosting consistency; make it thicker for piping or thinner for spreading.
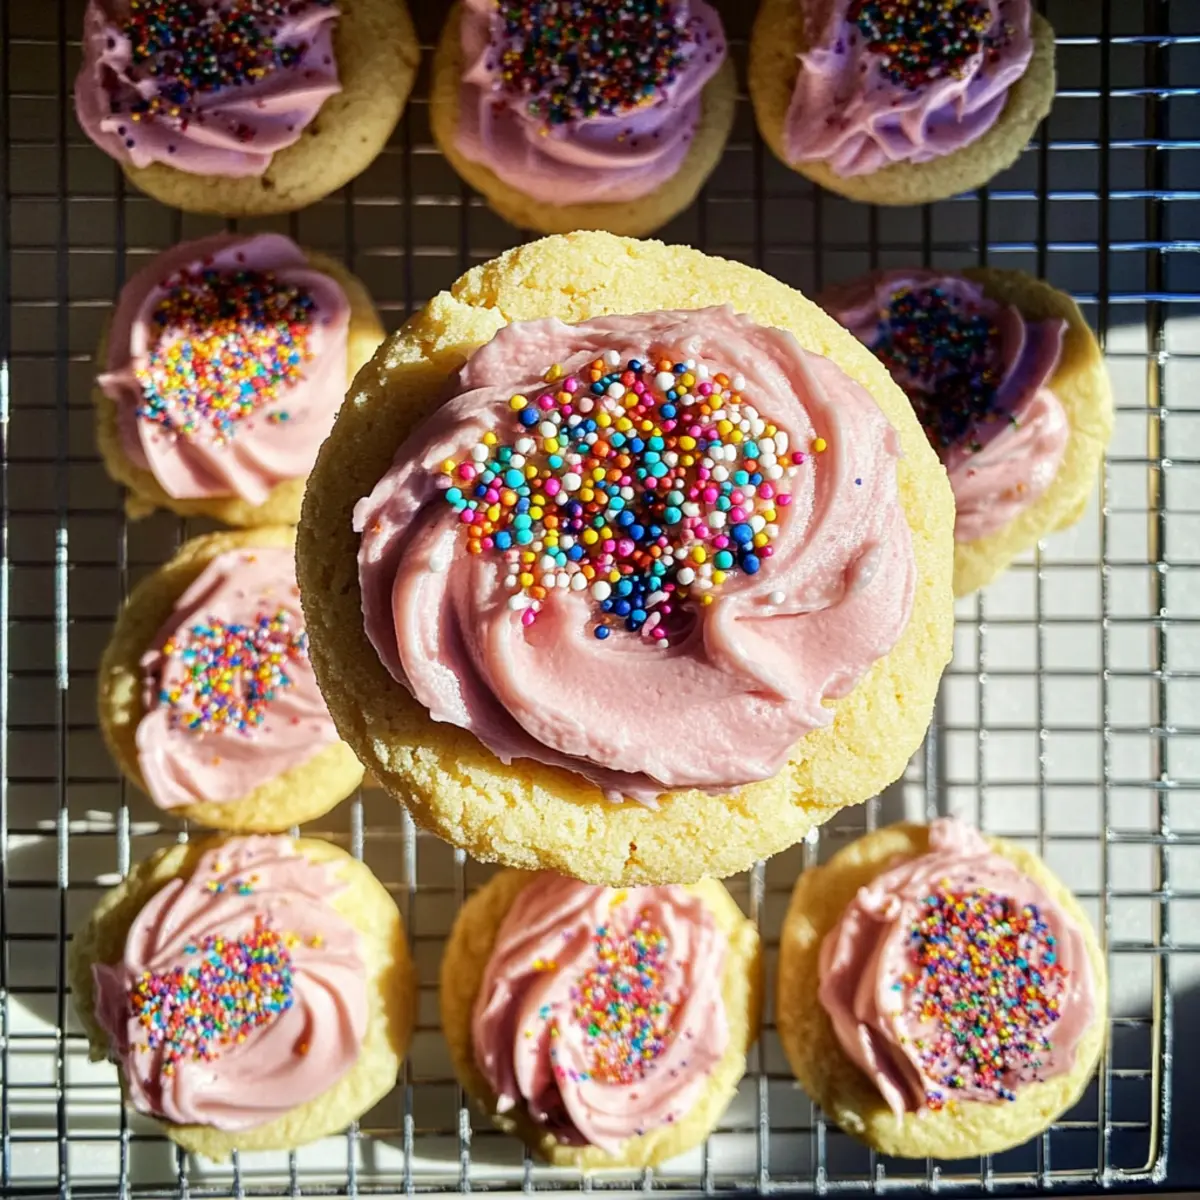
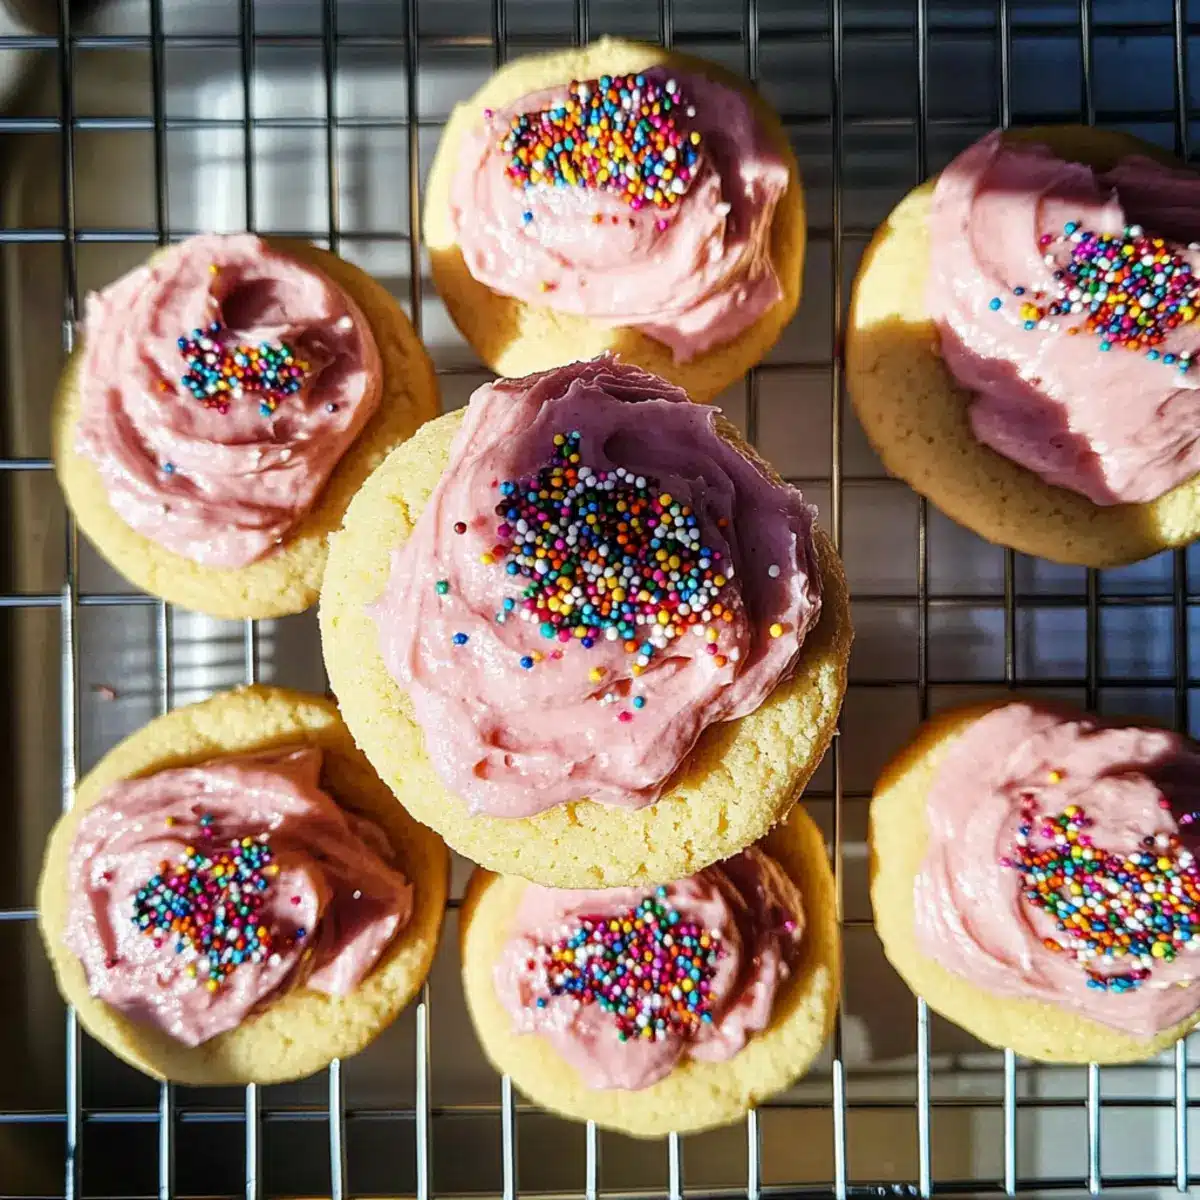
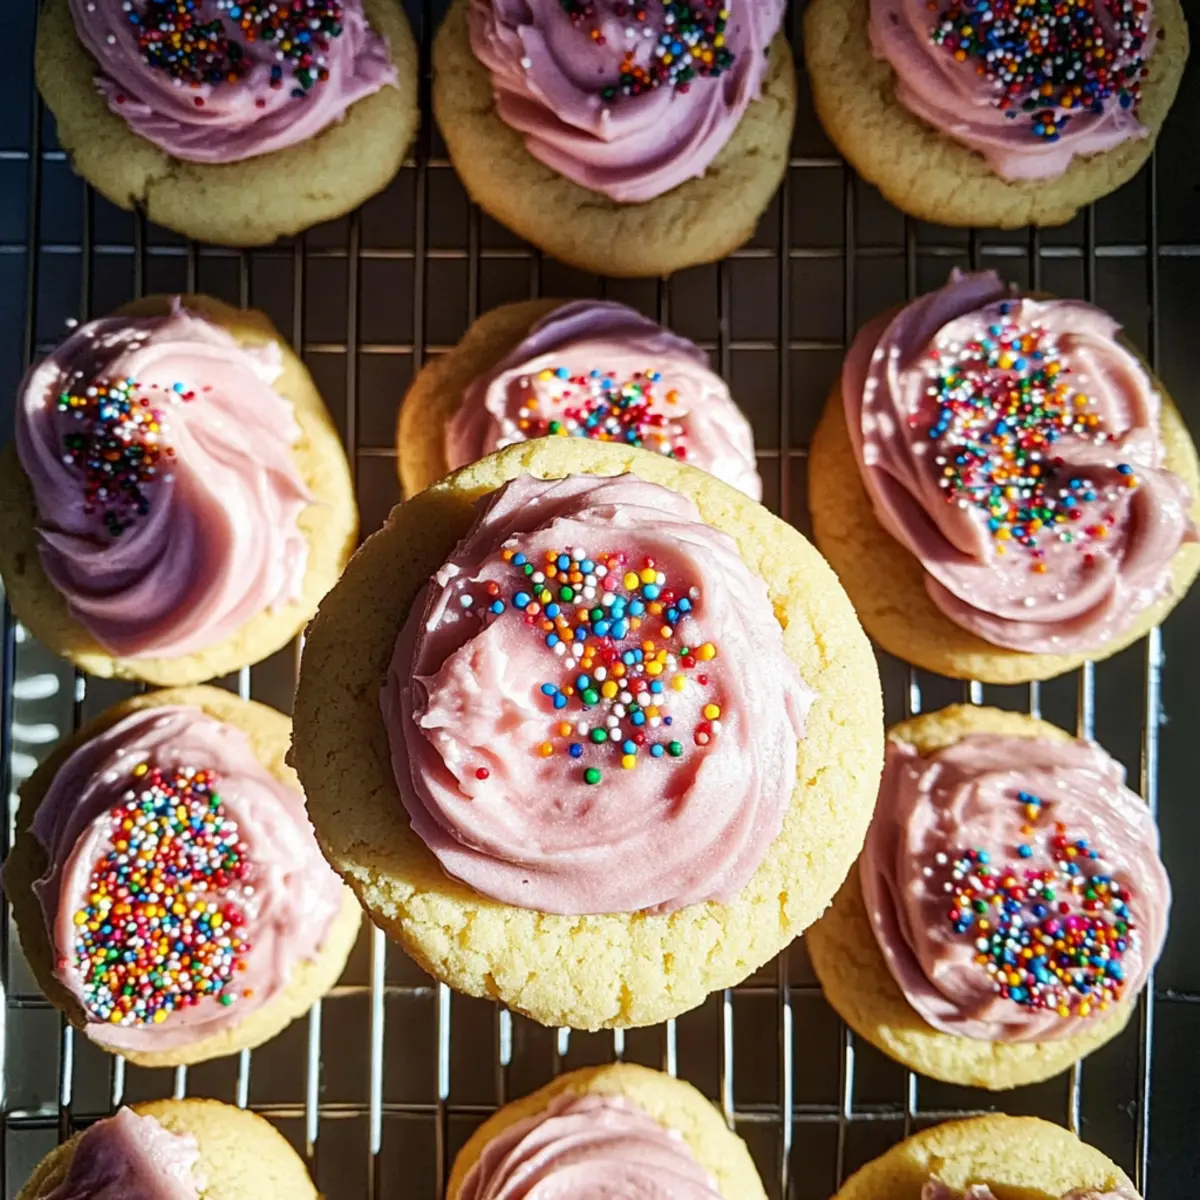
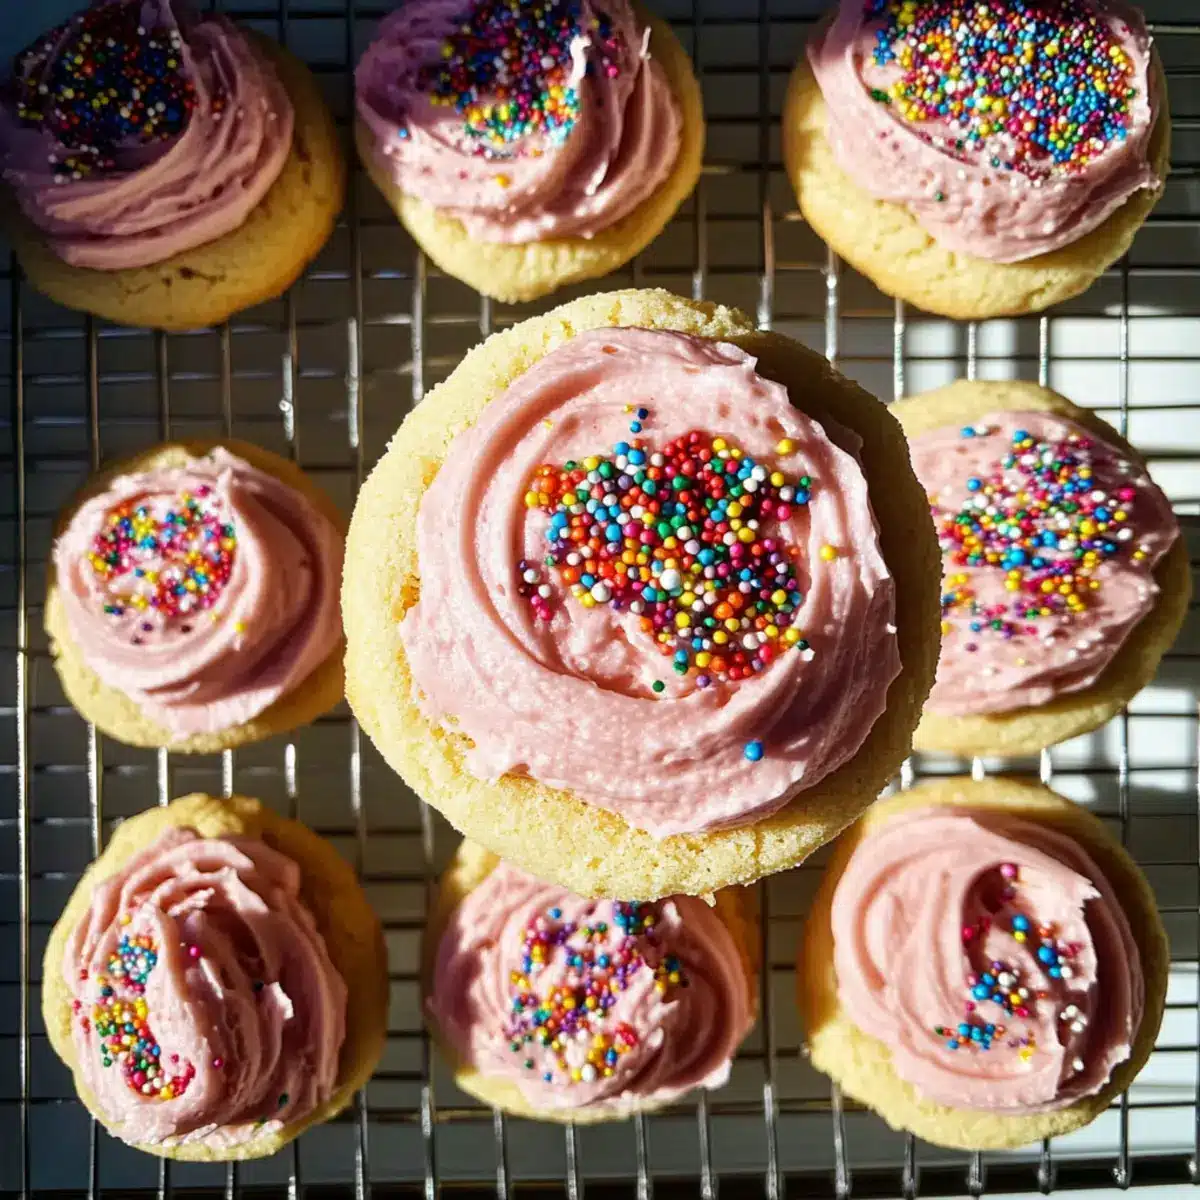
Enjoy making these Gluten-free Lofthouse Cookies fresh from the oven!
Step‑by‑Step Instructions for Gluten-free Lofthouse Cookies
Step 1: Preheat the Oven
Begin by preheating your oven to 350°F (175°C). This crucial step ensures that your Gluten-free Lofthouse Cookies bake evenly and rise perfectly. While the oven heats, gather your mixing bowls and parchment paper, which you’ll need to line your baking sheet later.
Step 2: Cream the Butter and Sugar
In a mixing bowl, combine softened butter and sugar using an electric mixer. Mix on medium speed for about 3-4 minutes until the mixture becomes light and fluffy, a sure sign that your cookies will have a delightful texture. Scrape down the sides of the bowl as needed to ensure everything is well incorporated.
Step 3: Add the Eggs
Once the butter and sugar mixture is fluffy, add the eggs one at a time, mixing well after each addition. This will help bind the ingredients together and add richness to your Gluten-free Lofthouse Cookies. You should aim for a smooth mixture without any streaks of egg, which should take about 2 minutes of mixing.
Step 4: Incorporate Buttermilk and Vanilla
Next, pour in the buttermilk and vanilla extract. Mix on low speed until just combined. The buttermilk adds moisture and tanginess, essential for that traditional Lofthouse flavor. Be sure to mix gently to prevent overworking the batter at this stage, which can lead to dense cookies.
Step 5: Whisk the Dry Ingredients
In a separate bowl, whisk together the gluten-free flour blend, baking powder, and a pinch of salt. This step ensures that your leavening agent is evenly distributed throughout the flour. The right balance in dry ingredients is key to achieving the fluffy texture that Gluten-free Lofthouse Cookies are known for.
Step 6: Combine Wet and Dry Ingredients
Gradually add the dry mixture to the wet ingredients, mixing gently with a spatula until just combined. This keeps your cookies soft and fluffy. The dough may look slightly crumbly, which is perfectly normal; avoid overmixing to ensure the best texture for your cookies.
Step 7: Scoop the Dough
Using a cookie scoop or tablespoon, drop rounded portions of dough onto a baking sheet lined with parchment paper. Make sure to leave adequate space between each scoop, as the cookies will spread slightly while baking. Aim for about 2 inches apart to give them room to grow!
Step 8: Bake the Cookies
Bake the cookies in your preheated oven for about 10-12 minutes, or until the edges start to turn a light golden color. The centers should remain soft but set, contributing to that signature melt-in-your-mouth texture of Gluten-free Lofthouse Cookies. Keep an eye on them to ensure they don’t overbake.
Step 9: Cool the Cookies
Remove the baking sheet from the oven, allowing the cookies to cool on it for about 5 minutes. Afterward, gently transfer them to a wire rack to cool completely. This cooling process is essential to help maintain their fluffy structure while avoiding any crumble.
Step 10: Frost and Decorate
Once the cookies have cooled completely, prepare your favorite frosting to top them. Spread or pipe the frosting generously on each cookie, and get creative with decorations. Whether you sprinkle on colorful toppings or enjoy them plain, these Gluten-free Lofthouse Cookies will be a treat to behold!
Variations for Gluten-free Lofthouse Cookies
Feel free to get creative with these Gluten-free Lofthouse Cookies and make them your own! Each swap or addition enhances their deliciousness in unique ways.
- Dairy-Free: Substitute butter with coconut oil to make them dairy-free without sacrificing flavor. Enjoy a light, tropical twist on your cookies!
- Nut-Free: Use sunflower seed butter instead of almond flour in the gluten-free blend to keep your cookies nut-free but equally delightful. This adds a rich, nutty flavor.
- Sugar Alternatives: Swap regular sugar for coconut sugar for a lower glycemic index. The subtle caramel notes of coconut sugar bring an extraordinary depth to every bite!
- Vegan Option: Replace eggs with flax eggs (1 tablespoon ground flaxseed + 2.5 tablespoons water per egg), keeping your cookies vegan. Your loved ones won’t even notice the difference!
- Flavor Boost: Try adding orange zest or almond extract to the dough for a fragrant twist. This citrus or nutty infusion brightens up the cookie experience!
- Frosting Alternatives: Experiment with different frostings such as cream cheese or chocolate ganache to elevate the flavor profile. The variations can create surprising and delicious combinations!
- Seasonal Decorations: Use colored frosting and festive sprinkles for birthdays or holidays to make your cookies shine. They’ll be the centerpiece of any dessert table!
- Add-Ins: Mix in chocolate chips, cranberries, or chopped dried fruits for delightful bursts of flavor and texture. This mouthwatering addition takes these cookies to another level!
And if you’re on the hunt for more cookie inspiration, don’t miss out on our delightful Coffee Butter Cookies or the fun, festive Twisted Christmas Cookies to keep your cookie jar brimming with goodness!
Helpful Tricks for Gluten-free Lofthouse Cookies
Room Temperature Ingredients: Ensure all your ingredients, especially butter and eggs, are at room temperature. This facilitates better mixing, yielding a smoother batter for your gluten-free Lofthouse Cookies.
Don’t Overmix: Mix the dough just until combined to avoid dense cookies. Overmixing can develop the gluten structure in your gluten-free flour, leading to cookies that are less fluffy.
Monitor Baking Time: Keep an eye on the cookies as they bake; the edges should turn light golden while the centers remain soft. This balance is essential for that melt-in-your-mouth texture.
Cool Before Frosting: Always let your cookies cool completely before adding frosting. This prevents the icing from melting and ensures a beautiful, creamy finish on your gluten-free Lofthouse Cookies.
Experiment with Flavors: Feel free to customize the frosting or add flavors like almond extract for a unique taste. Mix it up to create a variety of delightful cookies that suit any craving!
Make Ahead Options
These Gluten-free Lofthouse Cookies are perfect for meal prep! You can prepare the cookie dough up to 24 hours in advance by tightly wrapping it in plastic wrap and refrigerating it. This prevents the dough from drying out while still allowing the flavors to meld beautifully. Alternatively, you can scoop the dough onto your baking sheet, freeze the individual cookie balls, and store them in an airtight container for up to 2 months. When you’re ready to bake, simply take them straight from the freezer and add an additional minute or two to the baking time. With these make-ahead tips, you’ll have fresh, delicious cookies ready to enjoy with minimal effort on busy weeknights!
How to Store and Freeze Gluten-free Lofthouse Cookies
Room Temperature: Store cookies in an airtight container at room temperature for up to 5 days to maintain their soft and fluffy texture.
Freezer: If you want to enjoy them later, freeze the baked cookies in a single layer on a baking sheet until firm, then transfer them to a resealable freezer bag for up to 2 months.
Dough Storage: The uncooked dough can also be frozen, wrapped tightly in plastic wrap, for up to 2 months. Thaw in the fridge before baking.
Reheating: To bring back that fresh-baked feeling, reheat cookies in a preheated oven at 300°F (150°C) for about 5-7 minutes before serving. Enjoy your Gluten-free Lofthouse Cookies!
What to Serve with Gluten-free Lofthouse Cookies?
Nothing pairs better with these delightful treats than a few simple choices that elevate your cookie experience into something truly special.
-
Cold Glass of Milk: The classic pairing that balances sweetness and enhances the soft texture of the cookies. It’s a nostalgic combo loved by all!
-
Fresh Berries: Juicy strawberries or raspberries add a refreshing tartness that complements the sweetness, perfect for a well-rounded treat.
-
Fruit Salad: A mix of seasonal fruits can brighten the dessert table, offering a healthy contrast to the cookies’ rich flavors. The natural juices provide a lovely balance.
-
Mocha Coffee: A rich mocha coffee can enhance the buttery taste of the cookies, making each bite an indulgent experience. Pairing the two is simply divine!
-
Herbal Tea: A soothing cup of chamomile or lemon ginger tea offers a comforting backdrop to your cookies, perfect for afternoon tea or evening chats.
-
Ice Cream: Top a cookie with a scoop of vanilla or chocolate ice cream for an unforgettable dessert creation; the warm cookie and cold ice cream make a dreamy combination.
-
Chocolate Sauce: Drizzle some chocolate sauce over the cookies for an extra layer of indulgence that will turn each cookie into a decadent delight.
-
Cream Cheese Frosting: Swap out regular frosting for a rich cream cheese frosting that pairs beautifully with the fluffy cookies for a tangy finish.
Gluten-free Lofthouse Cookies Recipe FAQs
What should I look for when selecting gluten-free flour?
Absolutely! When choosing a gluten-free flour blend, look for one that contains a mix of different flours such as rice flour, tapioca flour, or sorghum flour for the best texture. I recommend going for blends that already include xanthan gum, as this helps mimic the structure that gluten provides in regular flour.
How should I store leftover cookies?
To keep your gluten-free Lofthouse Cookies fresh, store them in an airtight container at room temperature for up to 5 days. If they seem to dry out, placing a slice of bread in the container can help maintain moisture, ensuring they stay soft for your second (or third!) delicious bite.
Can I freeze the dough for later use?
Absolutely! To freeze the uncooked dough, wrap it tightly in plastic wrap and store it in the freezer for up to 2 months. When you’re ready to bake, simply thaw it overnight in the refrigerator before scooping, shaping, and baking as directed. This is a great way to have homemade cookies on hand whenever the craving strikes!
What if my cookies turn out too crumbly?
Very good question! If your gluten-free Lofthouse Cookies crumbled, it might be because the dough was overmixed or the flour blend used lacks proper binding agents. To avoid this, mix until just combined, and if you’re worried about crumbly cookies, you can add a tablespoon of milk or water to the dough to help bind it better.
Are these cookies safe for those with nut allergies?
Yes, these gluten-free Lofthouse Cookies can be made nut-free! Just stick to a gluten-free flour blend that contains no nut flours, and if you substitute butter with a dairy-free option, avoid almond butter. Always double-check any other ingredients for cross-contamination to ensure safety for those with nut allergies.
How can I tell if my cookies are done baking?
You’ll know your gluten-free Lofthouse Cookies are done when the edges turn a light golden brown while the centers remain soft. To give yourself that perfect texture, take them out of the oven once you see the edges set, and remember they will continue to cook slightly as they cool!
Gluten-Free Lofthouse Cookies That Are Quick and Irresistible
Ingredients
Equipment
Method
- Preheat your oven to 350°F (175°C).
- In a mixing bowl, cream softened butter and sugar using an electric mixer on medium speed for about 3-4 minutes until light and fluffy.
- Add the eggs one at a time, mixing well after each addition until smooth.
- Incorporate the buttermilk and vanilla extract, mixing on low speed until just combined.
- Whisk together the gluten-free flour blend, baking powder, and a pinch of salt in a separate bowl.
- Gradually add the dry mixture to the wet ingredients, mixing gently until just combined.
- Using a cookie scoop, drop rounded portions of dough onto a parchment-lined baking sheet, spaced about 2 inches apart.
- Bake the cookies for about 10-12 minutes until the edges are light golden, while the centers remain soft.
- Cool cookies on the baking sheet for about 5 minutes before transferring to a wire rack to cool completely.
- Once cooled, generously frost each cookie and decorate as desired.
Leave a Reply