
As I stood in my kitchen, smells of sizzling garlic and onions wafted through the air, instantly transporting me to a bustling Tex-Mex cantina. This is the magic that happens when you whip up these Ultimate Crispy Baked Chicken and Cheese Chimichangas! Not only do they come together in just about 35 minutes, but they also offer a delightful crunch while being baked—making this the healthier alternative to the traditional fried version. Picture tender shredded chicken enveloped in gooey Monterey Jack cheese, all nestled in crispy tortillas that are sure to please even the pickiest eaters. Whether you’re prepping for a busy weeknight dinner or a laid-back family gathering, these crispy chimichangas will quickly become a staple in your home. Have you ever tasted such a perfect blend of comfort and convenience?
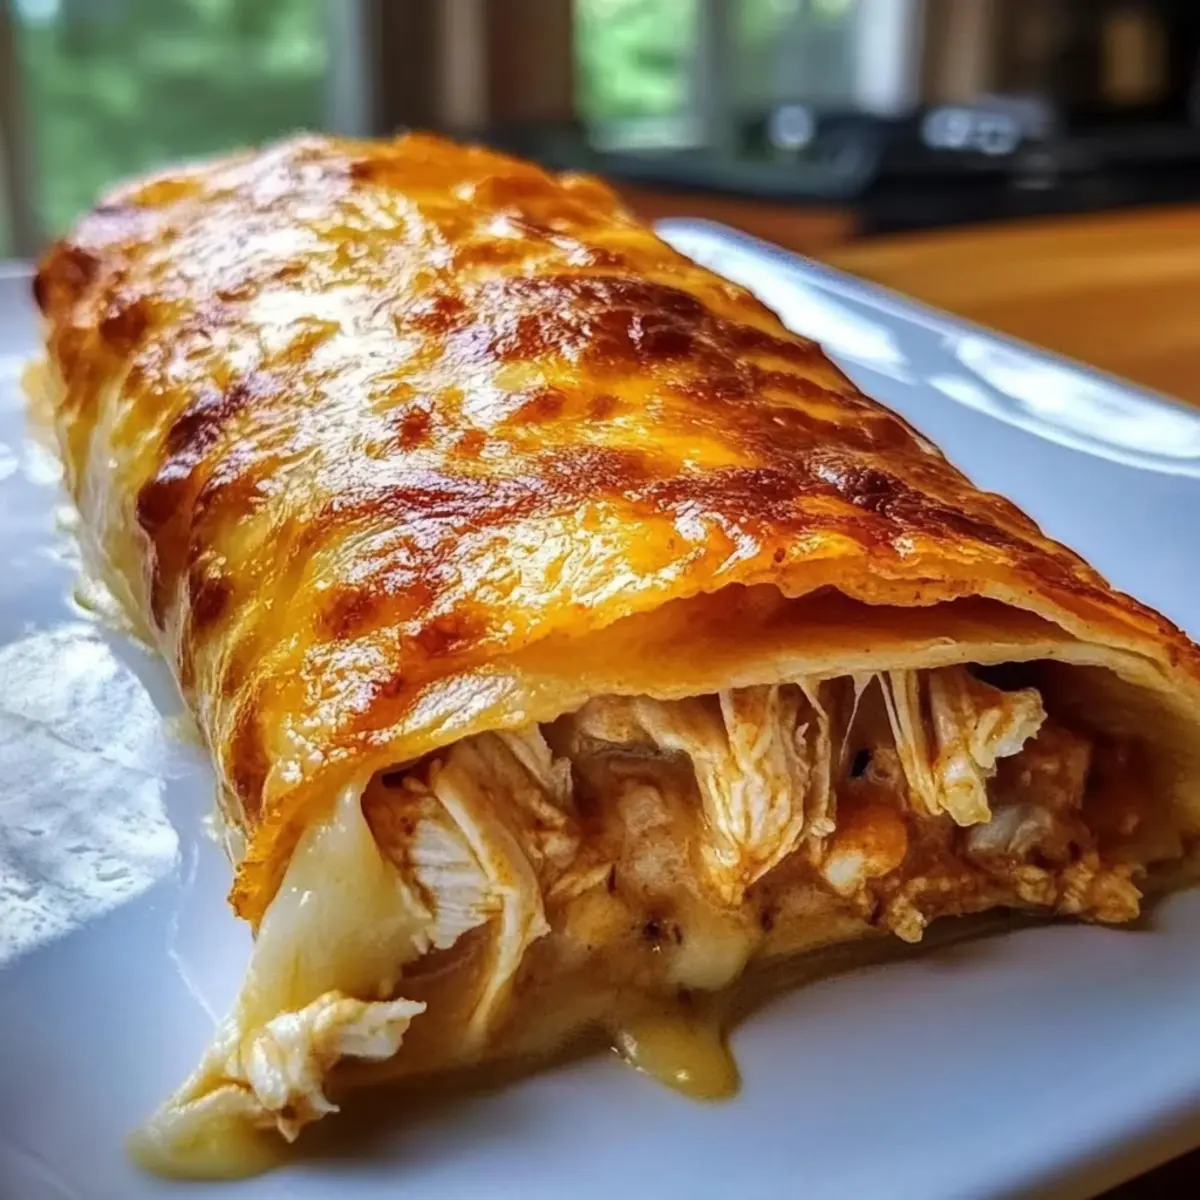
Why Are These Chimichangas So Irresistible?
Crispy Delight: These chimichangas offer an incredible crunch that rivals any takeout, transforming your dinner into a fiesta at home.
Healthier Option: Baked instead of fried, they deliver guilt-free comfort food that satisfies your cravings without compromising on flavor.
Versatile Filling: Made with shredded chicken, this recipe is easily customizable. Swap in your favorite protein or even try a Ground Beef Chimichanga variation!
Quick Prep Time: With just 35 minutes from prep to plate, dinner is ready before you know it. Perfect for those busy weeknights!
Crowd Pleaser: Serve these with salsa, guacamole, or sour cream for a dinner that everyone will love. Your friends and family won’t be able to resist coming back for seconds!
Crispy Chimichangas Ingredients
• Have everything you need to create these flavor-packed delights right at your fingertips!
For the Filling
- Olive Oil – Adds moisture and flavor; substitute with vegetable oil if unavailable.
- Yellow Onion (1 small, diced) – Provides sweetness and depth to the filling; use shallots as an alternative.
- Garlic (2 cloves, minced) – Enhances aroma and flavor profile; can replace with garlic powder (1/2 teaspoon) if fresh isn’t available.
- Cooked, Shredded Chicken (1 pound) – Main protein and filling; use rotisserie chicken for convenience or ground beef for a variation.
- Mild Red Enchilada Sauce (1, 10-ounce can) – Adds moisture and authentic flavor; substitute with green enchilada sauce for a different taste.
- Chili Powder (1 teaspoon) – Provides heat and flavor; adjust amount for preferred spice level.
- Ground Cumin (1/2 teaspoon) – Contributes a warm, earthy flavor; omit if preferred.
- Dried Oregano (1/4 teaspoon) – Offers an herby aroma; fresh oregano can be used for a stronger flavor.
- Salt and Black Pepper – Essential for seasoning; adjust to taste.
- Monterey Jack Cheese (1 cup, shredded) – Creamy texture that complements the filling; substitute with cheddar or pepper jack for variation.
For the Chimichangas
- Flour Tortillas (8 large, 10-inch) – Encase the filling and provide a base; use corn tortillas for a gluten-free option.
- Cooking Spray – Helps achieve a crispy exterior; brush with melted butter for added richness.
Step‑by‑Step Instructions for Crispy Chimichangas
Step 1: Prep Filling
In a large skillet, heat 1 tablespoon of olive oil over medium heat. Add the diced yellow onion and sauté for about 5 minutes until softened and translucent. Stir in 2 minced garlic cloves and cook for 1 additional minute, allowing the fragrant aroma to fill your kitchen and set the stage for your crispy chimichangas.
Step 2: Combine and Simmer
Next, incorporate 1 pound of cooked, shredded chicken into the skillet along with a 10-ounce can of mild red enchilada sauce, 1 teaspoon of chili powder, ½ teaspoon of ground cumin, and ¼ teaspoon of dried oregano. Cook the mixture for 5 to 7 minutes until heated through and most liquid has evaporated. Season with salt and black pepper, then let it cool slightly for easier handling.
Step 3: Wrap Chimichangas
Warm 8 large flour tortillas in the microwave or on a skillet to make them pliable. Take one tortilla and place about ½ cup of the chicken filling on the lower third. Fold the sides inward and roll the tortilla tightly from the bottom up. If necessary, use a toothpick to secure the seam, helping your crispy chimichangas keep their shape during baking.
Step 4: Bake
Preheat your oven to 400°F (200°C) and lightly spray a baking sheet with cooking spray to prevent sticking. Place the wrapped chimichangas seam-side down on the sheet and generously spray the tops with cooking spray for that perfect golden finish. Bake in the oven for 15 to 20 minutes, flipping them halfway through, until they are beautifully golden brown and crispy.
Step 5: Serve
Once baked to perfection, remove the chimichangas from the oven and discard any toothpicks before serving. Pair your ultimate crispy chimichangas with delicious optional toppings like fresh salsa, sour cream, or guacamole, adding vibrant flavors that enhance this Tex-Mex delight for a truly satisfying meal.
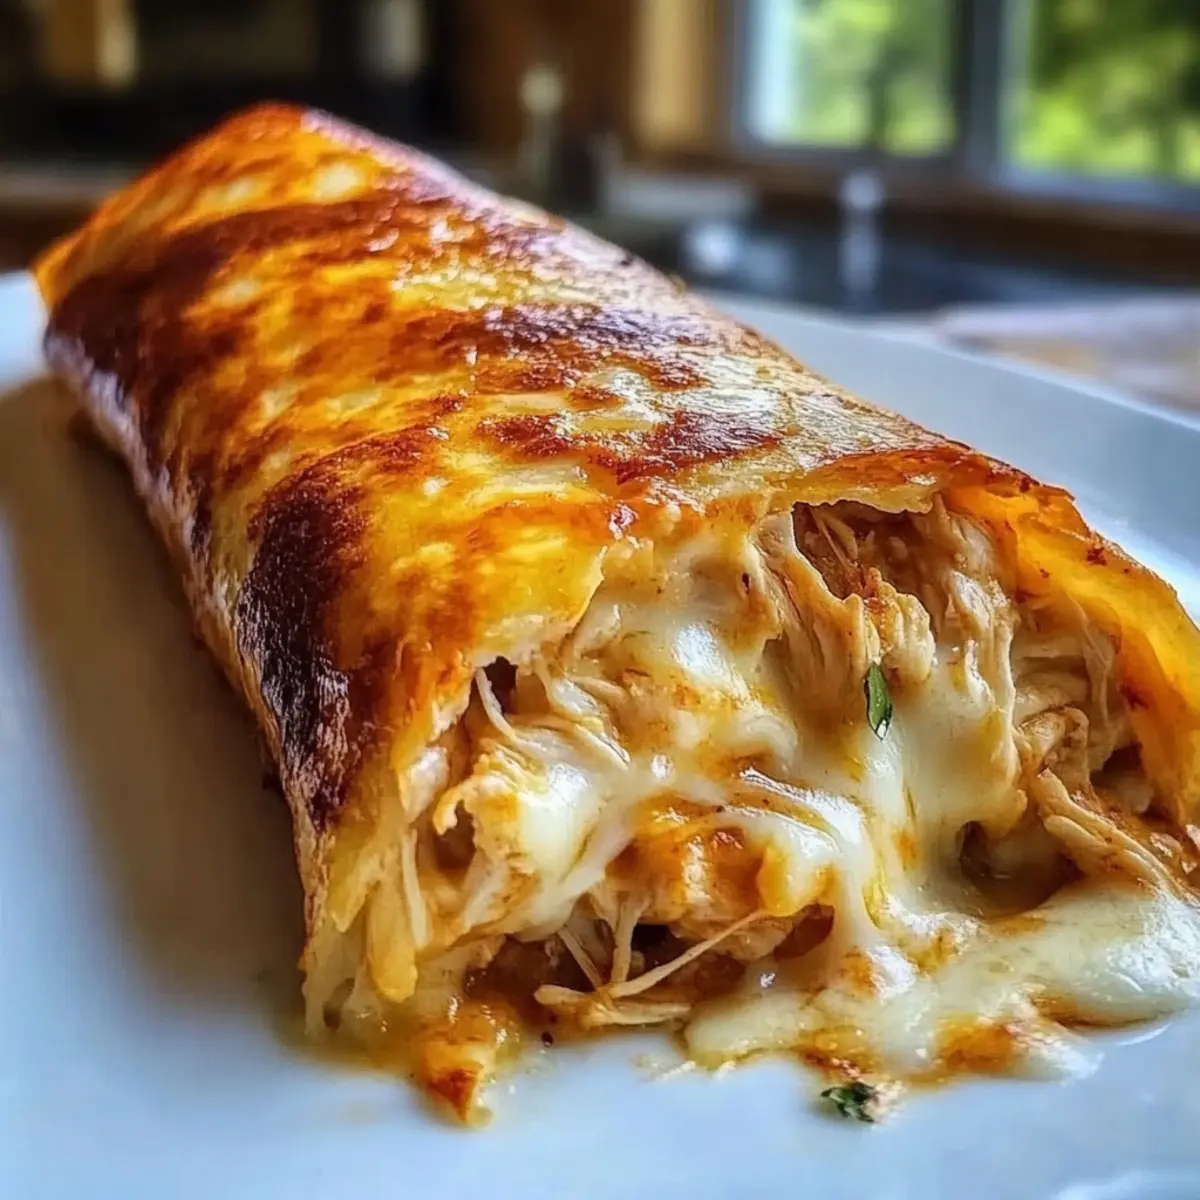
Expert Tips for Crispy Chimichangas
Warm Tortillas: Ensure your tortillas are warm to prevent tearing when rolling them. If they’re cold, they’ll crack when you try to wrap them.
Spray Generously: Use a generous amount of cooking spray on the tops of your chimichangas for an extra crispy texture. If desired, a light brush of melted butter can enhance the richness.
Optimize Cooking Time: For air fryer users, adjust cooking time to about 10-12 minutes at 375°F, flipping halfway through, to achieve that perfect crunch.
Filling Variations: Don’t hesitate to get creative! Using pre-cooked rotisserie chicken or ground beef can save time while adding flavor. Feel free to include your favorite veggies or beans in the filling for a nutritious boost.
Serving Accompaniments: Serve these crispy chimichangas with zesty salsa, fresh guacamole, or cool sour cream to elevate the overall experience and bring out more Tex-Mex flavor.
Make Ahead Options
These Ultimate Crispy Baked Chicken and Cheese Chimichangas are fantastic for meal prep, allowing you to save time on busy weeknights! You can prepare the filling (chicken, cheese, and spices) up to 3 days in advance. Simply cook the filling as instructed, let it cool, and store it in an airtight container in the refrigerator. When it’s time to eat, warm the tortillas and assemble the chimichangas; bake them just before serving for that perfect crunch. To maintain quality, avoid pre-wrapping the tortillas and only wrap them just prior to baking. This way, you’ll enjoy fresh, crispy chimichangas that taste just as delicious as if you made them from scratch in one go!
What to Serve with Ultimate Crispy Baked Chicken and Cheese Chimichangas
Indulge your senses with a deliciously complete Tex-Mex meal by pairing your chimichangas with sides that elevate flavors and textures.
-
Cilantro Lime Rice: The zest of lime and freshness of cilantro balance the richness of the chimichangas, making each bite a delight.
-
Refried Beans: Creamy and flavorful, refried beans offer a satisfying side that complements the crispy texture of the chimichangas.
-
Mexican Street Corn Salad: This vibrant dish adds a sweet, smoky flavor profile and crunchy texture, enhancing the overall dining experience beautifully.
-
Guacamole: Creamy and cool, homemade guacamole provides a refreshing contrast to the warm, crispy chimichangas, elevating each mouthful.
-
Fresh Salsa: A bright and zesty salsa brings acidity and freshness, cutting through the richness of the cheese and chicken while tantalizing your taste buds.
-
Chips and Queso: Serve crispy tortilla chips with a warm, cheesy queso dip to keep the Tex-Mex theme flowing and satisfy snack cravings.
-
Margaritas: To drink, a classic margarita pairs perfectly with the flavors, creating a festive atmosphere while enhancing your meal.
-
Chocolate Flan: For dessert, finish off with a silky chocolate flan. Its rich creaminess makes a lovely contrast to the crispy chimichangas, rounding out the meal beautifully.
How to Store and Freeze Crispy Chimichangas
Fridge: Store leftover crispy chimichangas in an airtight container for up to 4 days. This keeps them fresh and ready for a flavorful reheat.
Freezer: For longer storage, freeze chimichangas before baking. Lay them flat in a single layer on a baking sheet, then transfer to a freezer-safe bag once solid. They can last up to 3 months!
Reheating: To reheat, bake frozen chimichangas directly from the freezer at 375°F (190°C) for about 20-25 minutes or until heated through and crispy. You can also use an air fryer for quicker results!
Wrapping: If storing before baking, wrap each chimichanga tightly in plastic wrap to maintain freshness and avoid freezer burn.
Crispy Chimichangas Customizations
Feel free to let your creativity shine with these delicious variations to make each chimichanga uniquely yours!
-
Ground Beef: Substitute shredded chicken with 1 pound of browned ground beef for a heartier filling. This classic twist makes for a comforting dish everyone loves.
-
Vegetarian Delight: Swap the chicken for black beans or lentils for a veggie-packed option that doesn’t skimp on flavor or protein. Feel free to add in your favorite veggies, like bell peppers or zucchini, for extra nutrition!
-
Spicy Kick: Add diced jalapeños or a dash of cayenne pepper to the filling for those who enjoy a little extra heat in their chimichangas. Just be mindful of how spicy you want the dish; a little can go a long way!
-
Cheesy Variations: Swap Monterey Jack cheese for cheddar or pepper jack to introduce a new flavor profile and a little extra kick. Each cheese brings its unique twist to the chimichanga experience.
-
Gluten-Free Option: Use corn tortillas instead of flour tortillas for a gluten-free chimichanga that everyone can enjoy. Ensure the other ingredients are also gluten-free for a safe meal.
-
Quick Convenience: Shortcut your prep time by using pre-cooked rotisserie chicken. Just shred and mix it with the enchilada sauce for a fast, tasty filling without sacrificing quality or flavor.
-
Dipping Sauce: Serve your chimichangas with homemade pico de gallo or a creamy cilantro-lime ranch. These sauces will elevate the overall dish and provide a refreshing contrast to the crispy chimichangas.
-
Crispy Coating: For an extra crunchy texture, dip your rolled chimichangas in egg wash before applying the cooking spray. They’ll come out even crispier, providing that satisfying crunch with every bite!
Feel free to explore these variations and make this recipe your own. Whether you’re trying a new filling or a unique dip, it’s all about creating that perfect bite!
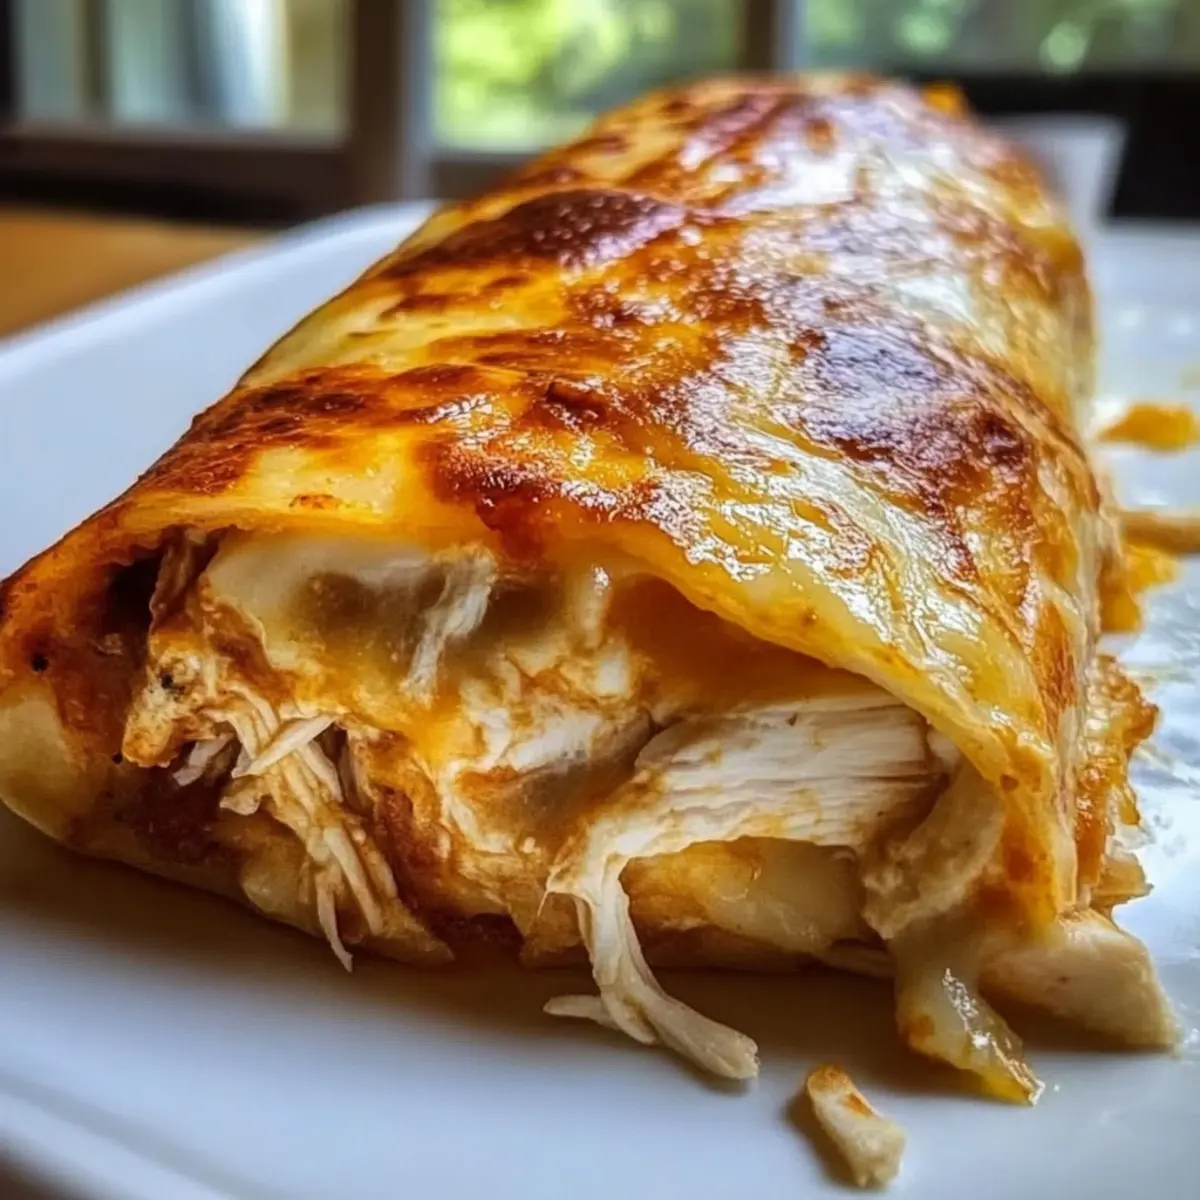
Ultimate Crispy Baked Chicken and Cheese Chimichangas Recipe FAQs
What type of chicken should I use for the filling?
Absolutely! You can use cooked, shredded chicken as the main protein for these chimichangas. For convenience, I often recommend using rotisserie chicken since it’s flavorful and saves time. If you’re looking for a variation, feel free to substitute with ground beef or even black beans for a vegetarian option!
How should I store leftover chimichangas?
Very! After you’ve enjoyed your delicious chimichangas, place any leftovers in an airtight container in the refrigerator. They can be stored for up to 4 days. When you’re ready to enjoy them again, reheat in the oven or air fryer for that crispy texture—absolutely a must!
Can I freeze my chimichangas?
Yes, you can! For best results, freeze the unbaked chimichangas. Simply lay them flat on a baking sheet to freeze individually, then transfer them to a freezer-safe bag or container. They can be stored this way for up to 3 months. When you’re ready to bake them, just place them directly from the freezer into a preheated oven—no need to thaw!
What’s the best way to avoid tearing the tortillas?
Yes! To prevent tearing, it’s essential to warm the tortillas before rolling them. I recommend heating them in the microwave for about 30 seconds or briefly on a skillet. This softens the tortillas, making them pliable and easier to wrap the filling without cracking.
Are these chimichangas pet-friendly?
Not exactly! While the individual ingredients are generally safe, be cautious with seasonings like salt and spices that may not suit your pet’s digestion. It’s best to stick with plain chicken and tortillas if you plan to share. Be sure to keep those flavorful sauces far away from your furry friends!
What should I do if my chimichangas don’t turn out crispy?
No worries! If your chimichangas come out a bit soggy, ensure you are generously spraying the tops with cooking spray or brushing them with melted butter before baking. This helps achieve that perfect crunch! Also, make sure you’re baking them at the right temperature—400°F (200°C) is key, and flipping them halfway through ensures even crispness.
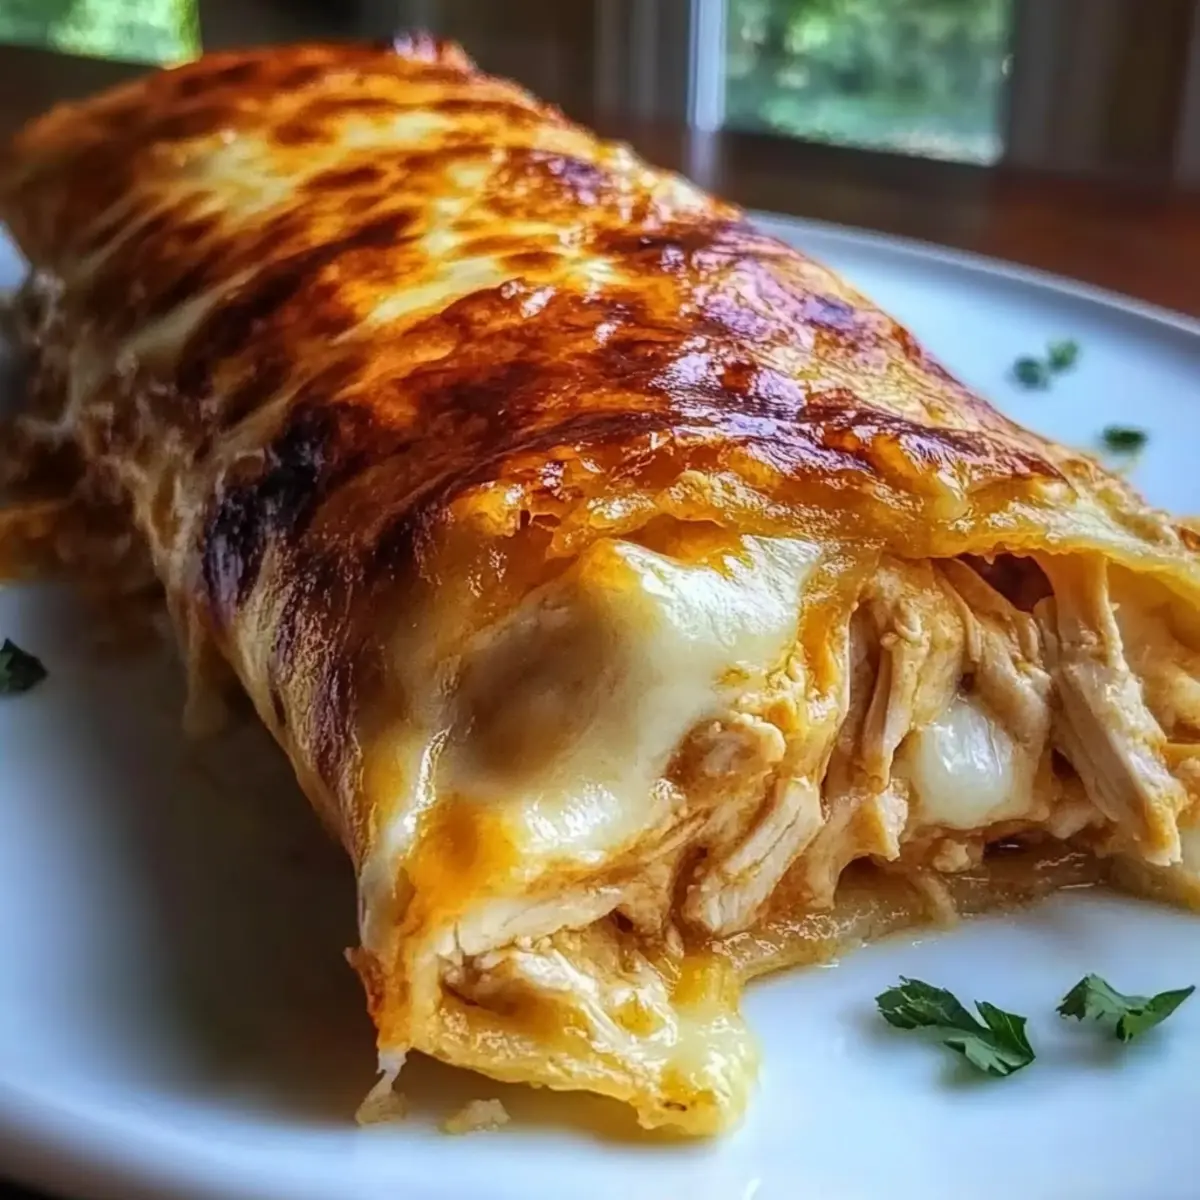
Crispy Chimichangas That Beat Takeout in Flavor and Crunch
Ingredients
Equipment
Method
- In a large skillet, heat 1 tablespoon of olive oil over medium heat. Add the diced yellow onion and sauté for about 5 minutes until softened and translucent.
- Stir in 2 minced garlic cloves and cook for 1 additional minute, allowing the fragrant aroma to fill your kitchen.
- Next, incorporate 1 pound of cooked, shredded chicken into the skillet along with a 10-ounce can of mild red enchilada sauce, 1 teaspoon of chili powder, ½ teaspoon of ground cumin, and ¼ teaspoon of dried oregano. Cook for 5 to 7 minutes until heated through.
- Season with salt and black pepper, then let it cool slightly for easier handling.
- Warm 8 large flour tortillas to make them pliable. Place about ½ cup of filling on the lower third of each tortilla and roll it tightly, securing the seam as necessary.
- Preheat your oven to 400°F (200°C) and lightly spray a baking sheet with cooking spray. Place the chimichangas seam-side down and spray the tops generously.
- Bake in the oven for 15 to 20 minutes, flipping halfway through, until they are golden brown and crispy.
- Remove from the oven and discard any toothpicks before serving. Pair with optional toppings like salsa, sour cream, or guacamole.
Leave a Reply