
Just a hint of sweet spice lingered in the air as I stirred a simple bowl of gooey Biscoff brownies, and I could already feel my cravings kick in. There’s something enchanting about combining rich, fudgy chocolate with the distinct, caramelized flavor of Biscoff cookies and cookie butter. This one-bowl recipe not only makes for a quick cleanup but delivers a delightful treat that’s easy to whip up, leaving you more time to savor those indulgent bites. With their soft, chewy centers and crispy edges, every morsel of these brownies promises to be a true showstopper at your next gathering. Are you ready to dive into a dessert that will surely steal the spotlight?
Why are Biscoff Brownies a Must-Try?
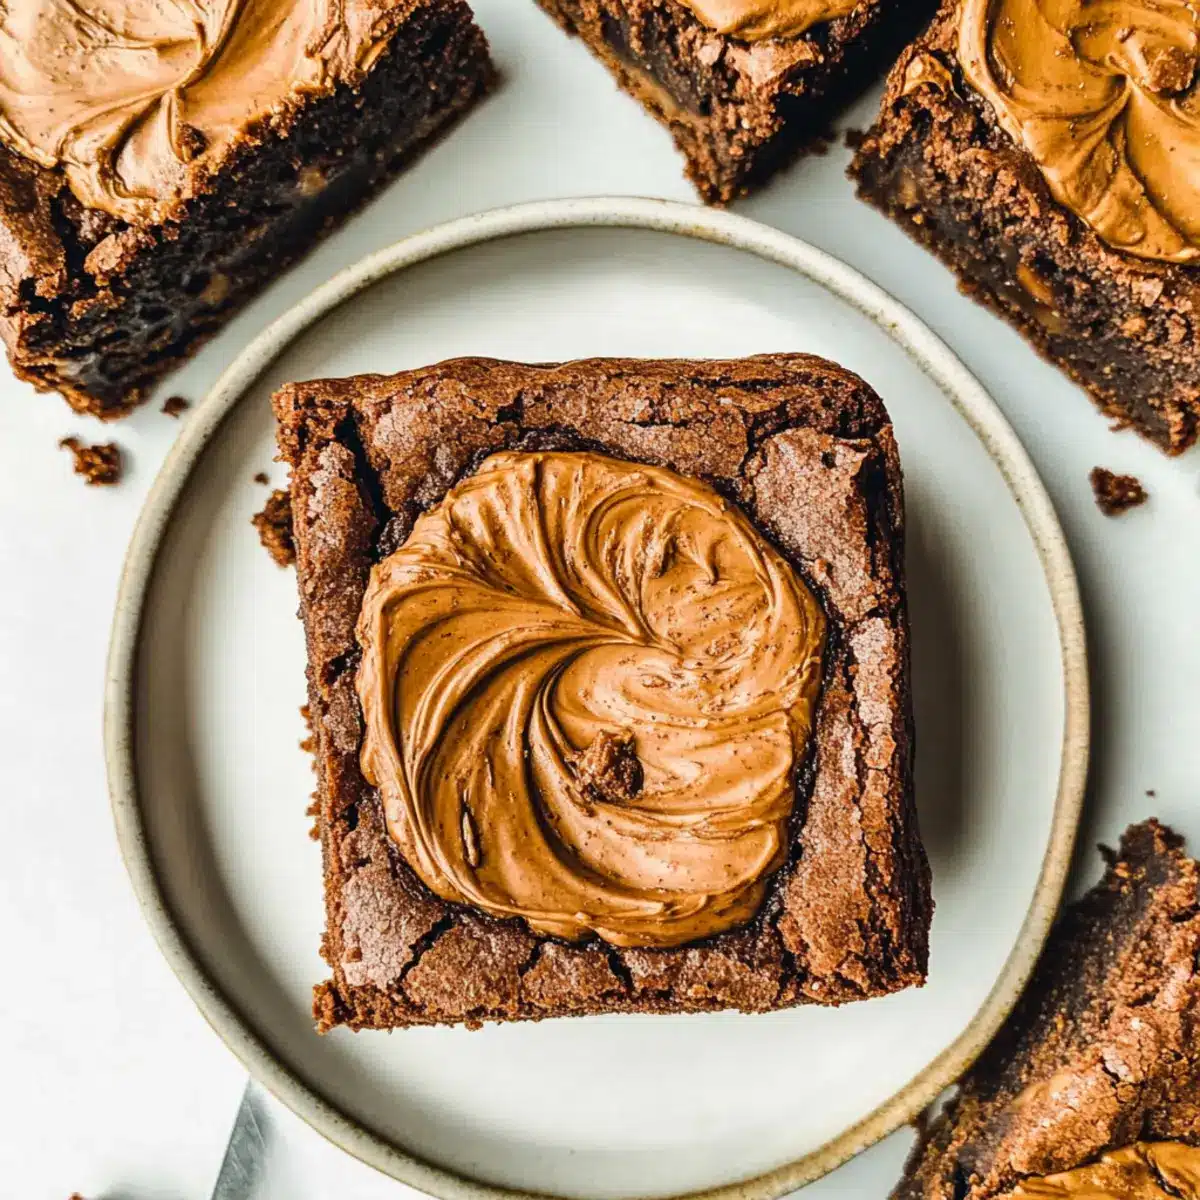
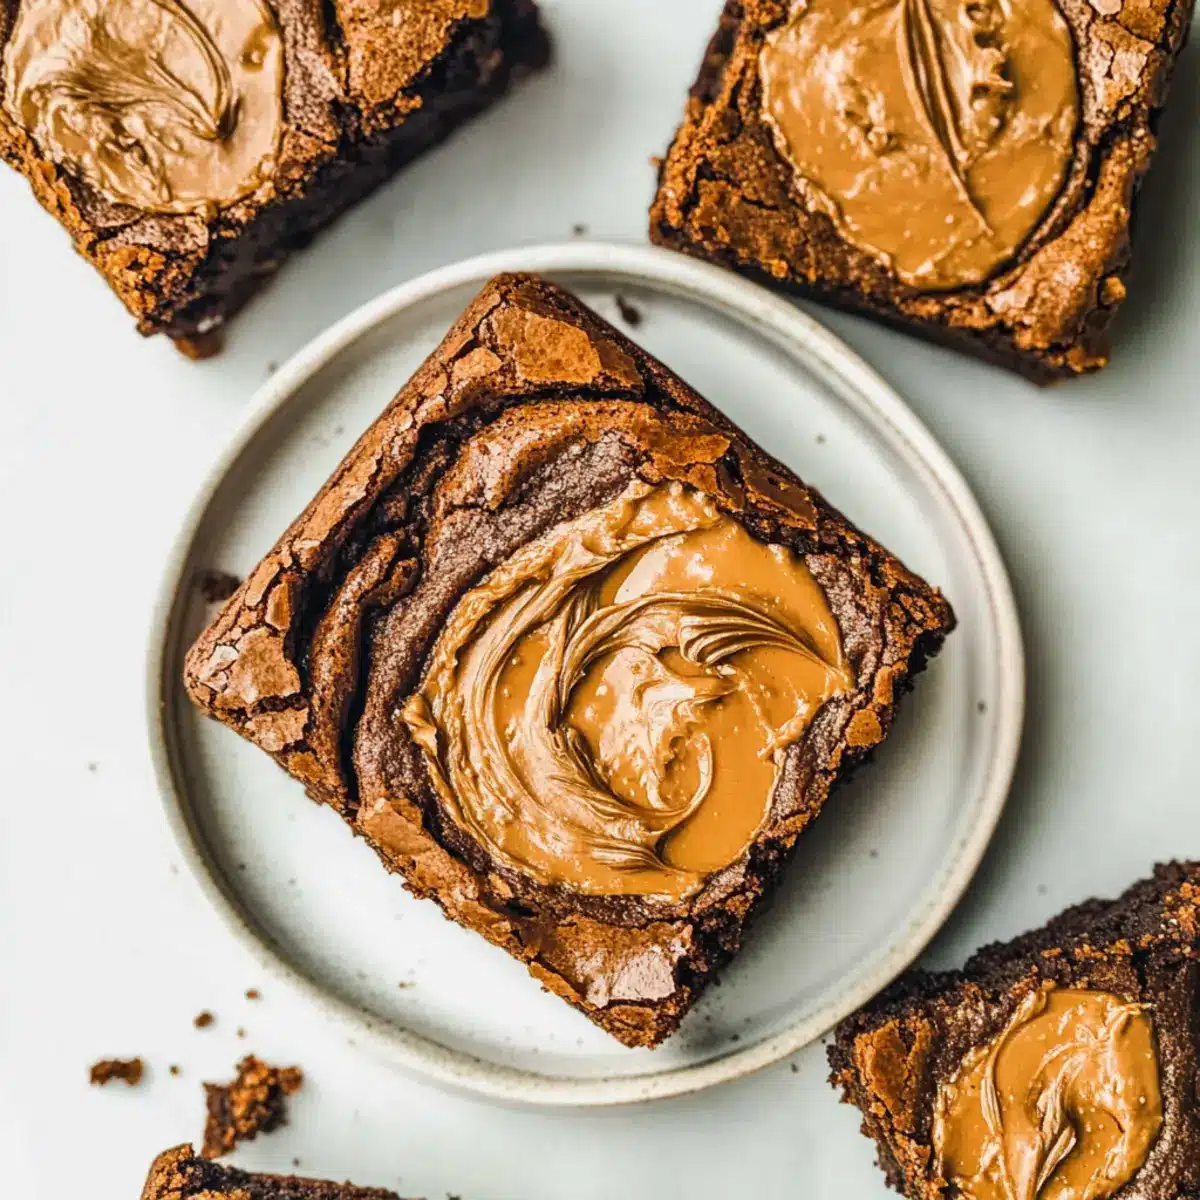
Gooey Delights: These Biscoff brownies are the ultimate indulgence, bringing together rich chocolate and the unique taste of Biscoff for a match made in heaven.
One-Bowl Wonder: Simplify your baking experience! With just one bowl needed, cleanup is a breeze, making these brownies perfect for busy weeknights or impromptu gatherings.
Texture Paradise: Expect a captivating contrast between soft, fudgy centers and the crisp edges that will enchant your taste buds.
Endless Variations: Love experimenting? Try adding nuts or using different chocolate types to create your own signature version!
Perfect for Sharing: Bring them to your next potluck or dinner party, and watch them disappear in seconds—everyone will ask for the recipe! If you adore easy yet delicious desserts, check out my Santa Hat Brownies for another delightful treat!
Biscoff Brownie Ingredients
For the Brownie Batter
• Butter (115 g / 1 stick) – Adds moisture and richness; you can substitute with plant-based butter for a dairy-free version.
• Semi-sweet or Dark Chocolate (200 g / 7 oz) – Provides depth of flavor; avoid using milk chocolate as it may be too sweet.
• Granulated Sugar (250 g / 1 ¼ cups) – Sweetens the brownies; brown sugar can add a richer taste.
• Eggs (4 large) – Binds the ingredients and adds moisture; for a vegan option, consider using flax eggs.
• All-purpose Flour (90 g / ¾ cup) – Gives structure to the brownies; use a gluten-free flour blend for a gluten-free version.
• Cocoa Powder (30 g / ¼ cup) – Enhances chocolate flavor; make sure it’s unsweetened to maintain balance.
• Salt (½ tsp) – Balances sweetness; an essential ingredient for flavor enhancement.
For the Biscoff Flavor
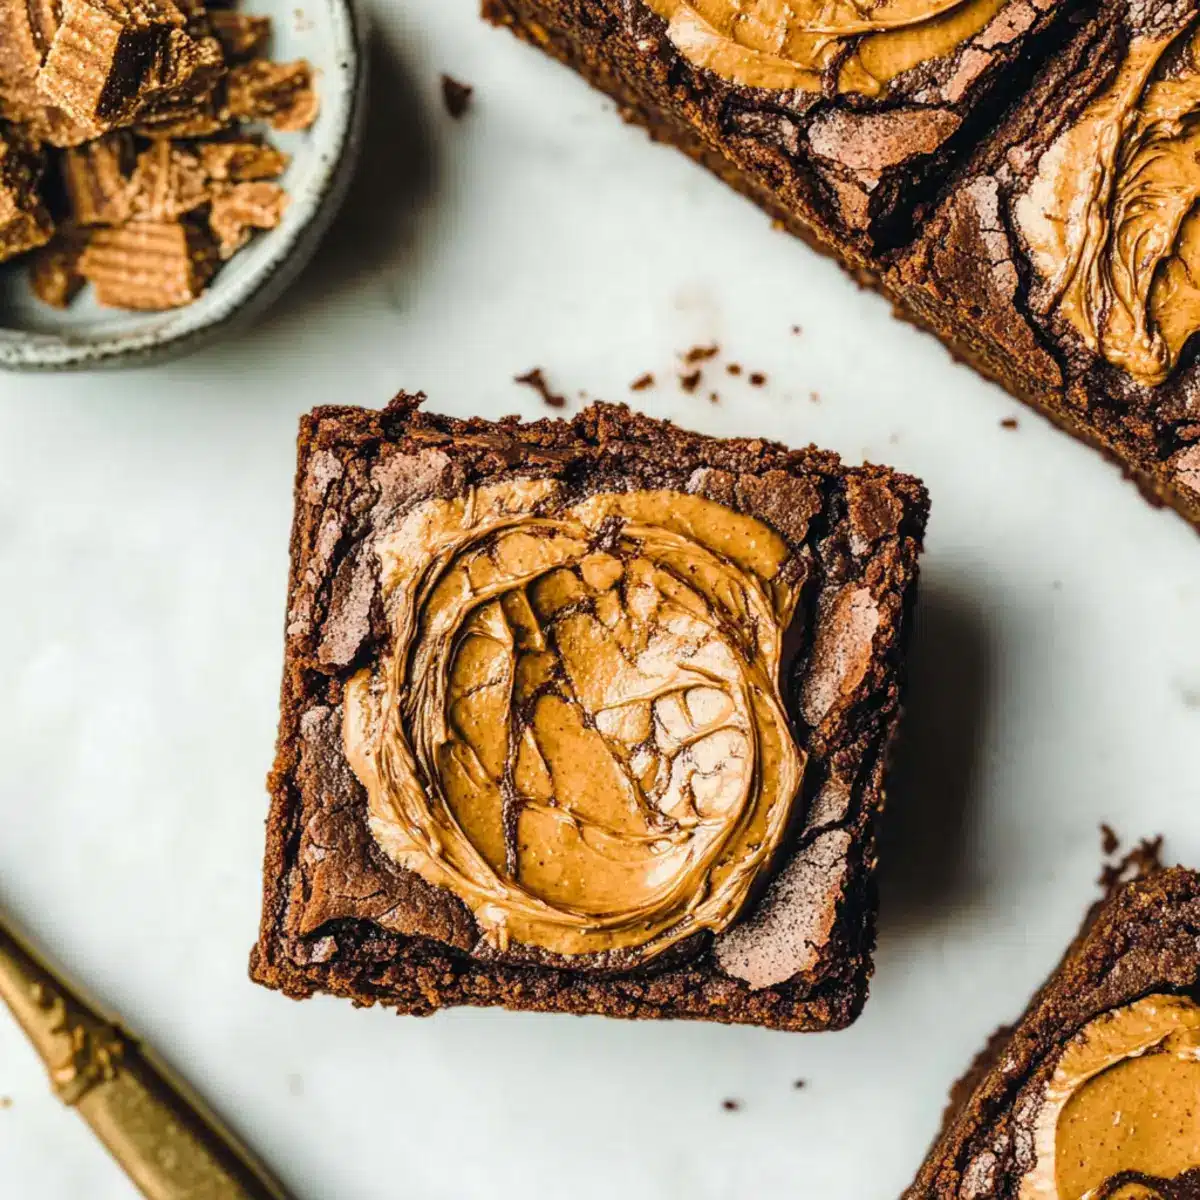
• Crushed Biscoff Cookies (approx. 10 cookies) – Adds texture and enhances the overall Biscoff flavor; can be replaced with additional cookie butter.
• Cookie Butter (90 g / ¾ cup) – Introduces a creamy swirl and enriched flavor; can replace with more crushed Biscoff cookies.
With these ingredients at hand, you’re just a few steps away from creating fudgy, gooey Biscoff brownies that will have everyone coming back for more!
Step‑by‑Step Instructions for Gooey Biscoff Brownies
Step 1: Melt Chocolate & Butter
Begin by combining 115 g of butter and 200 g of semi-sweet or dark chocolate in a heatproof bowl. Place it over a pot of simmering water to create a double boiler or microwave in short bursts until melted. Stir until the mixture is smooth and shiny, then let it cool slightly before moving on to the next step.
Step 2: Whisk Eggs and Sugar
In a separate large mixing bowl, whisk together 4 large eggs, 250 g of granulated sugar, and a splash of vanilla extract until the mixture is pale and fluffy, about 2-3 minutes. You want it to become aerated and frothy, which will help create a nice texture in your Biscoff brownies.
Step 3: Combine Mixtures
Pour the slightly cooled chocolate and butter mixture into the egg mixture. Stir gently until everything is well combined, ensuring there are no chocolate streaks left behind. The consistency should be thick and glossy, setting the stage perfectly for the fudgy goodness of the brownies.
Step 4: Fold in Dry Ingredients
Next, sift in 90 g of all-purpose flour, 30 g of cocoa powder, and ½ teaspoon of salt into the combined mixture. Use a spatula to gently fold these dry ingredients into the batter until just combined. Be careful not to over-mix, as this can make your brownies denser.
Step 5: Add Cookies
Now, take approximately 10 crushed Biscoff cookies and fold them gradually into the brownie batter. This introduces delightful texture and Biscoff flavor to your gooey brownies. Ensure that the cookie pieces are evenly distributed throughout the batter for a consistent bite.
Step 6: Prepare Baking Pan
Line an 8-inch square baking pan with parchment paper for easy removal later. Pour the thick batter into the prepared pan, using a spatula to smooth the top evenly. This will create a lovely even surface for your brownies to bake on, ensuring they cook thoroughly.
Step 7: Swirl & Top
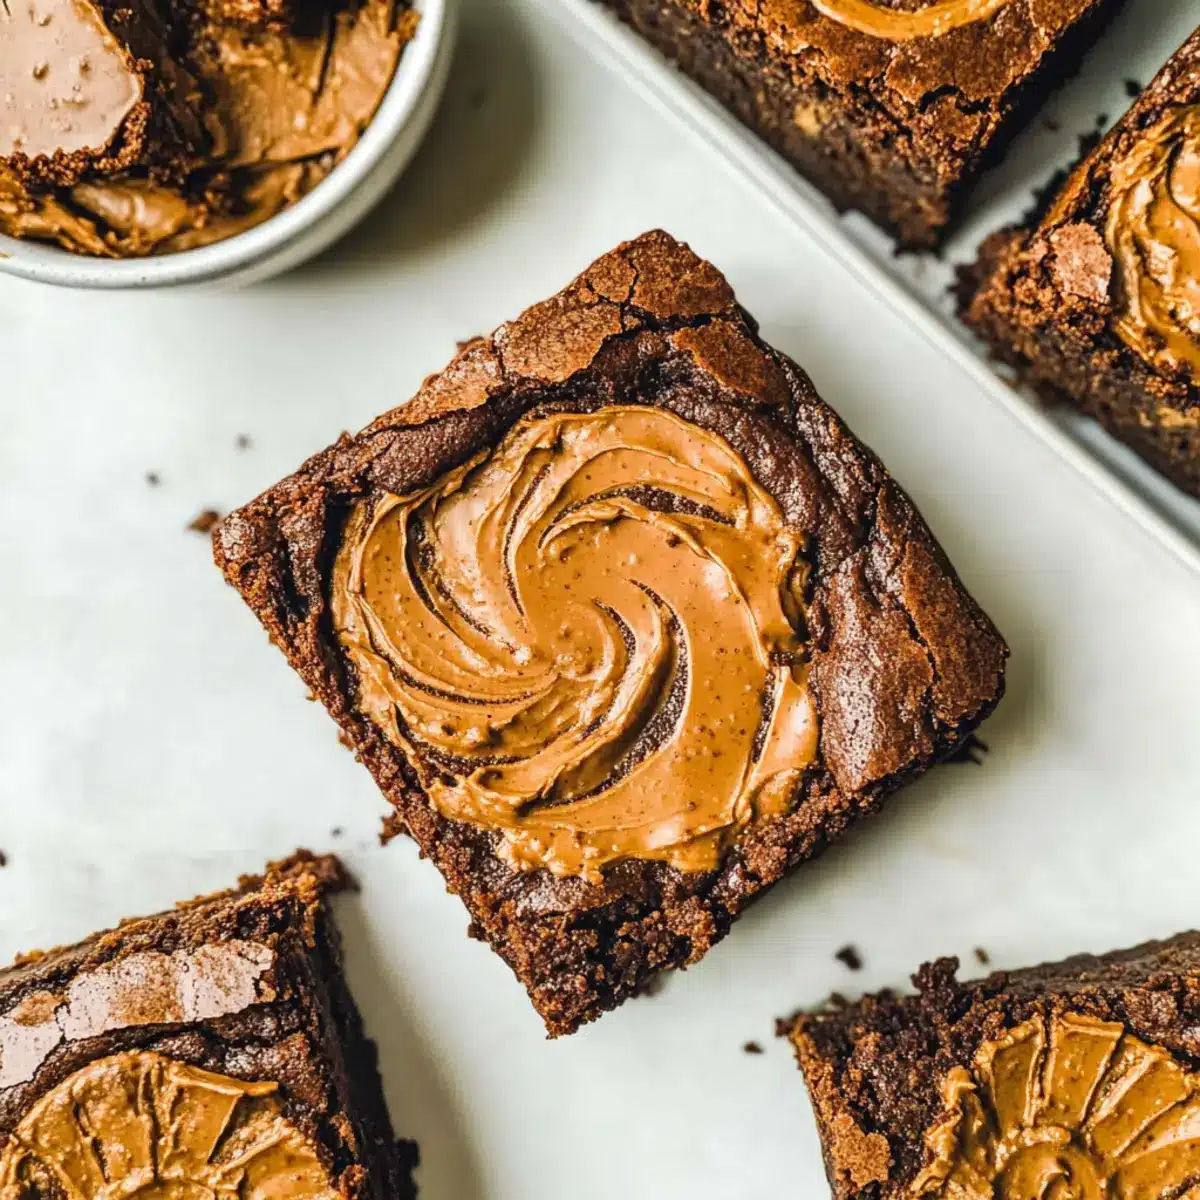
Spoon about 90 g of cookie butter on top of the brownie batter in dollops, then take a knife and gently swirl it into the batter. Optional: Press additional crushed Biscoff cookies into the surface to enhance the texture. This step creates enticing swirls of cookie butter in your Biscoff brownies.
Step 8: Bake
Preheat your oven to 350°F (180°C) and place the pan in the oven. Bake for 30-35 minutes, checking for doneness towards the end. The edges should look set, while the center remains soft and slightly underbaked—perfect for that gooey brownie texture.
Step 9: Cool & Serve
Once baked, remove the brownies from the oven and let them cool completely in the pan on a wire rack. For best results, chill in the fridge for 1 hour before slicing into squares. This cooling time helps improve the texture and allows the flavors to meld beautifully in your Biscoff brownies.
What to Serve with Gooey Biscoff Brownies
Create a memorable dining experience that perfectly complements the rich chocolate and caramelized flavors of your brownies.
-
Vanilla Ice Cream: A classic pairing that adds creamy, cold contrast to warm, fudgy brownies. The simple addition melts into the grooves, making each bite heavenly.
-
Fresh Berries: Strawberries or raspberries bring a fruity zing, balancing the sweetness of the brownies with a tart freshness. They also add vibrant colors to your dessert spread.
-
Chocolate Ganache: Drizzle warm ganache over your brownies for an extra layer of indulgence that enhances the chocolate flavor. It’s a luxurious upgrade that chocoholics will adore!
-
Espresso or Coffee: A rich cup of coffee or a smooth, bold espresso brings out the chocolate and spices in the brownies, creating a beautiful flavor harmony. The warmth also highlights the gooey center!
-
Whipped Cream: Light and airy, a dollop of whipped cream complements the dense brownies while adding a touch of sweetness. Consider a flavored whipped cream, like vanilla or hazelnut, for a twist.
-
Nutty Caramel Sauce: Drizzle homemade or store-bought caramel sauce infused with crunchy nuts over the brownies. This adds a delightful texture and a rich, complex flavor.
-
Dark Chocolate Mousse: Serve alongside a rich and velvety dark chocolate mousse for a sophisticated dessert experience. The lightness of the mousse contrasts beautifully with the fudginess of the brownies.
-
Chai Tea: This spiced tea warms the palate and provides a comforting beverage choice that matches the cozy flavors of the Biscoff brownies, creating a delightful after-dinner treat.
Each of these accompaniments transforms your Biscoff brownies into a celebration of flavor and texture!
Expert Tips for Biscoff Brownies
Avoid Overbaking: Check your brownies a few minutes before the recommended time; the edges should be set while the center remains slightly gooey for that perfect Biscoff brownie texture.
Cool Completely: Letting your brownies cool completely in the pan helps maintain a moist interior, preventing them from drying out. Be patient—it’s worth the wait!
Resist the Urge to Cut Early: Chilling the brownies for at least an hour after baking will make slicing much easier and yield cleaner edges.
Storage Savvy: Keep any leftovers in an airtight container at room temperature for up to a week, or freeze for future indulgence.
Get Creative: Don’t hesitate to mix in a handful of chopped nuts or extra chocolate chunks if you desire a twist on your Biscoff brownies!
Make Ahead Options
These gooey Biscoff brownies are perfect for making ahead, saving you time on busy days! You can prepare the brownie batter up to 24 hours in advance by mixing all the ingredients as usual, then storing it in an airtight container in the refrigerator. Additionally, you can crush the Biscoff cookies and swirl the cookie butter in the batter ahead of time, just make sure to refrigerate it to keep everything fresh. When ready to bake, simply pour the chilled batter into the prepared pan and bake as directed. This method not only allows for effortless baking but also maintains the delicious quality of your Biscoff brownies, ensuring each bite is just as delightful!
How to Store and Freeze Biscoff Brownies
Room Temperature: Keep the brownies in an airtight container at room temperature for up to 1 week to maintain their fudgy goodness.
Fridge: For longer storage, place the brownies in the fridge for up to 2 weeks. Allow them to come to room temperature before enjoying for the best taste.
Freezer: Wrap the brownies individually in plastic wrap and place them in an airtight container. They can be frozen for up to 3 months, allowing for a quick dessert fix anytime.
Reheating: If frozen, thaw the brownies in the fridge overnight. For a warm treat, microwave in 10-second intervals until heated through, enhancing the gooey texture.
Biscoff Brownies Variations & Substitutions
Feel free to explore your creativity and make these brownies uniquely yours—there’s a world of delicious possibilities waiting!
- Dairy-Free: Substitute regular butter with plant-based butter to enjoy a dairy-free version without sacrificing flavor.
- Gluten-Free: Use a gluten-free flour blend instead of all-purpose flour for a delightful gluten-free treat that’s sure to please everyone.
- Nutty Add-In: Fold in chopped walnuts or pecans for an irresistible crunch that elevates the brownie experience. The nutty texture complements the Biscoff beautifully!
- Different Chocolate: Feel free to swap semi-sweet for dark chocolate if you prefer a deeper taste or compromise with milk chocolate for a sweeter version.
- Extra Swirl: Add a layer of caramel or Nutella in addition to the cookie butter for an explosive mix of flavors that’ll have your taste buds dancing.
- Spiced Up: Sprinkle in a dash of cinnamon or a pinch of sea salt before baking for a warm flavor boost that plays perfectly with the Biscoff.
- Chunky Bites: Toss in chocolate chunks or white chocolate chips for extra richness, making each bite a little surprise of melted goodness.
- Decadent Layering: Consider making a Biscoff cheesecake swirl on top for a truly decadent dessert experience. If you love layers of flavor, check out my delightful Santa Hat Brownies for more inspiration!
With these variations, you’re sure to create a stunning batch of Biscoff brownies that everyone will be raving about!
Biscoff Brownies Recipe FAQs
How do I choose the right chocolate for Biscoff brownies?
Absolutely! For the best flavor, I recommend using semi-sweet or dark chocolate. Milk chocolate can make the brownies overly sweet, while dark chocolate enhances the overall depth of flavor. Ensure you pick high-quality chocolate—after all, it’s a key player in this delicious dessert!
How should I store leftovers of my Biscoff brownies?
Keep the brownies in an airtight container at room temperature for up to 1 week. This helps maintain their fudgy goodness. If you’d like to store them longer, you can place them in the fridge for up to 2 weeks, allowing them to come to room temperature before serving for the best taste.
Can I freeze Biscoff brownies, and if so, how?
Very much! To freeze your Biscoff brownies, individually wrap them in plastic wrap and place them in an airtight container or a zip-top freezer bag. They can last in the freezer for up to 3 months. When you’re ready to enjoy them, simply thaw in the fridge overnight, and then microwave in 10-second intervals for a warm and gooey treat!
What should I do if my brownies are too gooey in the center?
If you find your brownies too gooey in the center, it likely means they weren’t baked long enough. Always check for doneness a few minutes before the time ends; the edges should be set, and the center slightly underbaked for that classic gooey texture. If necessary, you can pop them back in the oven for an additional 3-5 minutes, but keep a close watch to avoid overbaking.
Are these brownies suitable for those with allergies?
While these Biscoff brownies are a delightful treat, they contain eggs and butter, which are common allergens. If you need a dairy-free version, substitute with plant-based butter and consider using flax eggs instead of regular eggs. However, always check the ingredient labels on the cookie butter and Biscoff cookies, as they may contain allergens like nuts or gluten.
How can I enhance the flavor of my Biscoff brownies?
Get creative! You can substitute crushed Biscoff cookies for additional cookie butter for an even richer flavor. Adding a handful of chopped nuts, like walnuts or pecans, or even extra chocolate chunks can create delightful textures and enhance the decadent taste of your brownies!
Gooey Biscoff Brownies for Ultimate Indulgence at Home
Ingredients
Equipment
Method
- Melt Chocolate & Butter: Combine butter and chocolate in a heatproof bowl over simmering water or microwave until melted. Stir until smooth and let cool slightly.
- Whisk Eggs and Sugar: In a mixing bowl, whisk together eggs, granulated sugar, and vanilla extract until pale and fluffy (about 2-3 minutes).
- Combine Mixtures: Pour the cooled chocolate and butter mixture into the egg mixture and stir gently until well combined.
- Fold in Dry Ingredients: Sift in flour, cocoa powder, and salt into the mixture and fold gently until just combined.
- Add Cookies: Fold in crushed Biscoff cookies until evenly distributed.
- Prepare Baking Pan: Line an 8-inch square pan with parchment paper and pour in brownie batter.
- Swirl & Top: Spoon cookie butter on top and swirl into the batter; optionally add more crushed Biscoff cookies.
- Bake: Preheat oven to 350°F (180°C) and bake for 30-35 minutes, until edges are set.
- Cool & Serve: Let cool in the pan then refrigerate for an hour before slicing.
Leave a Reply