
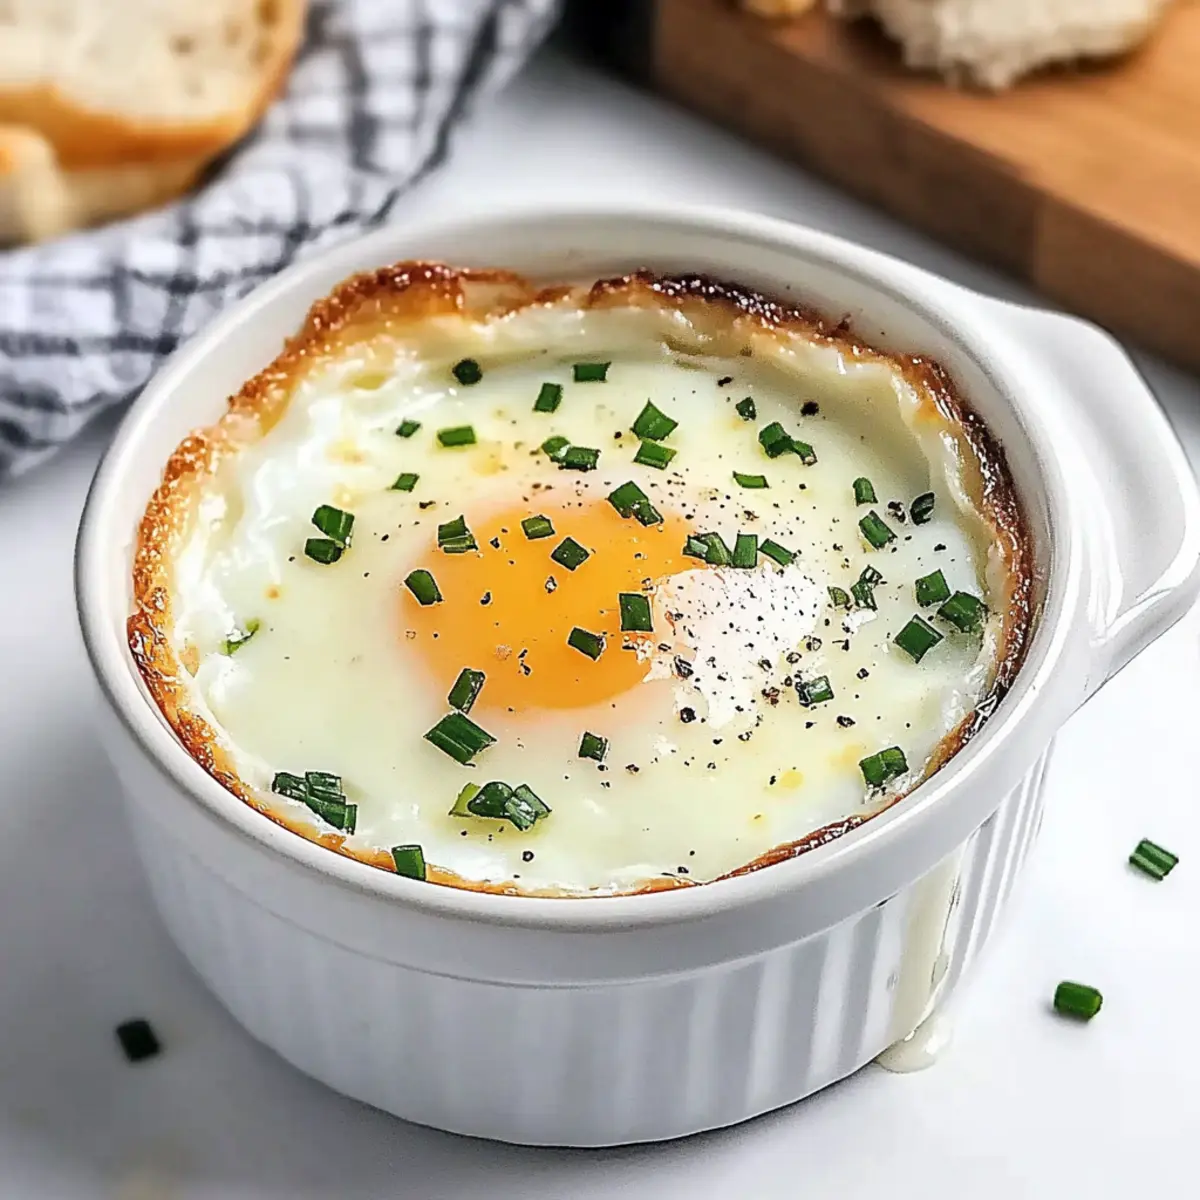
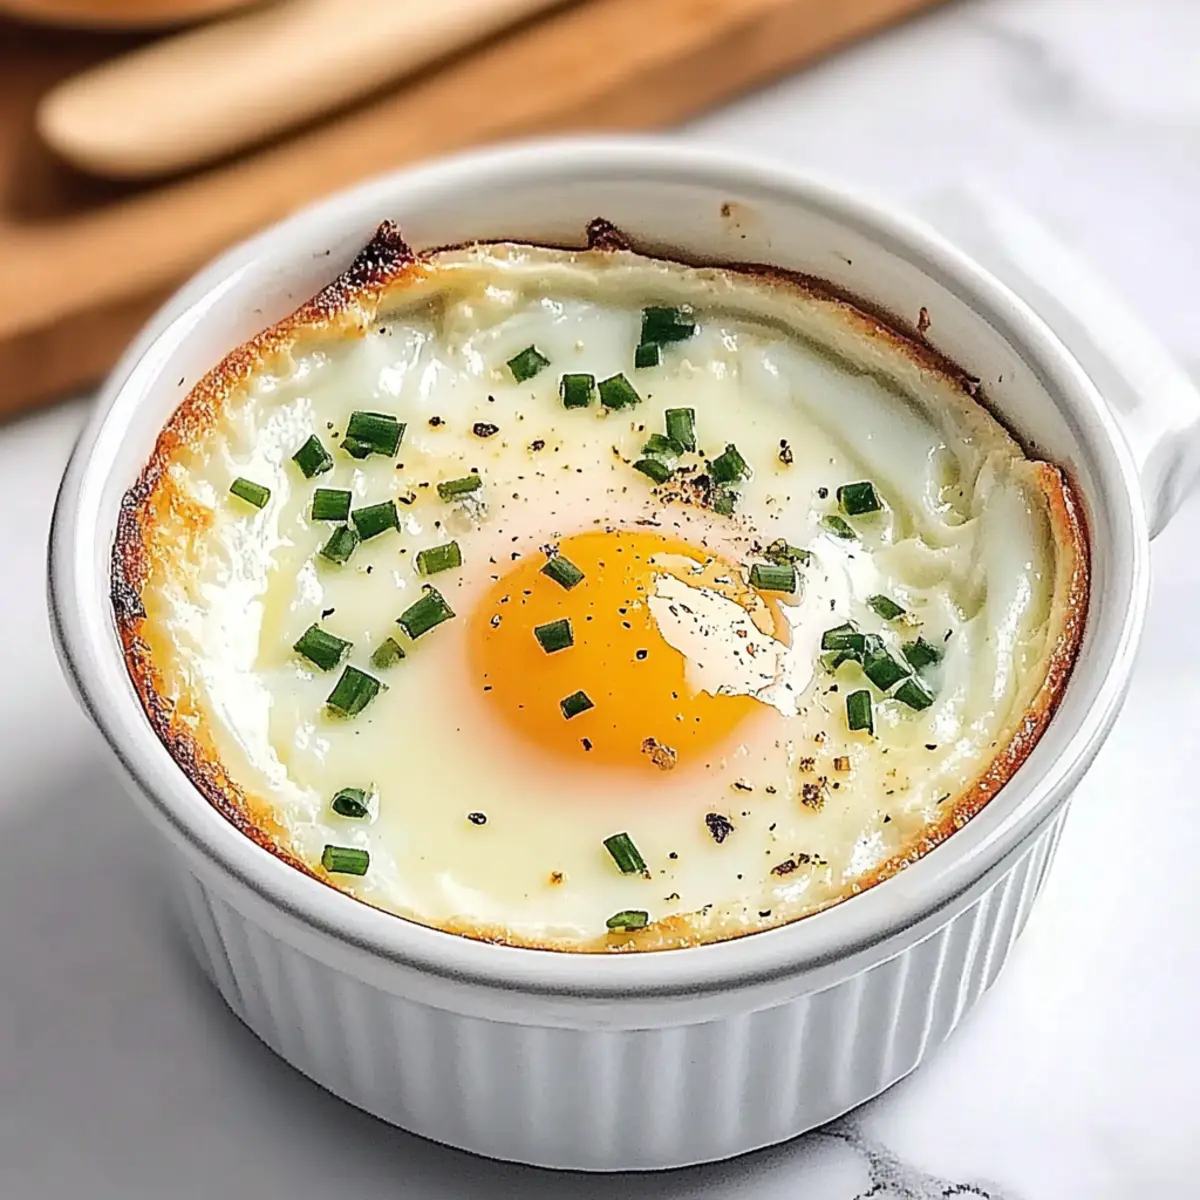
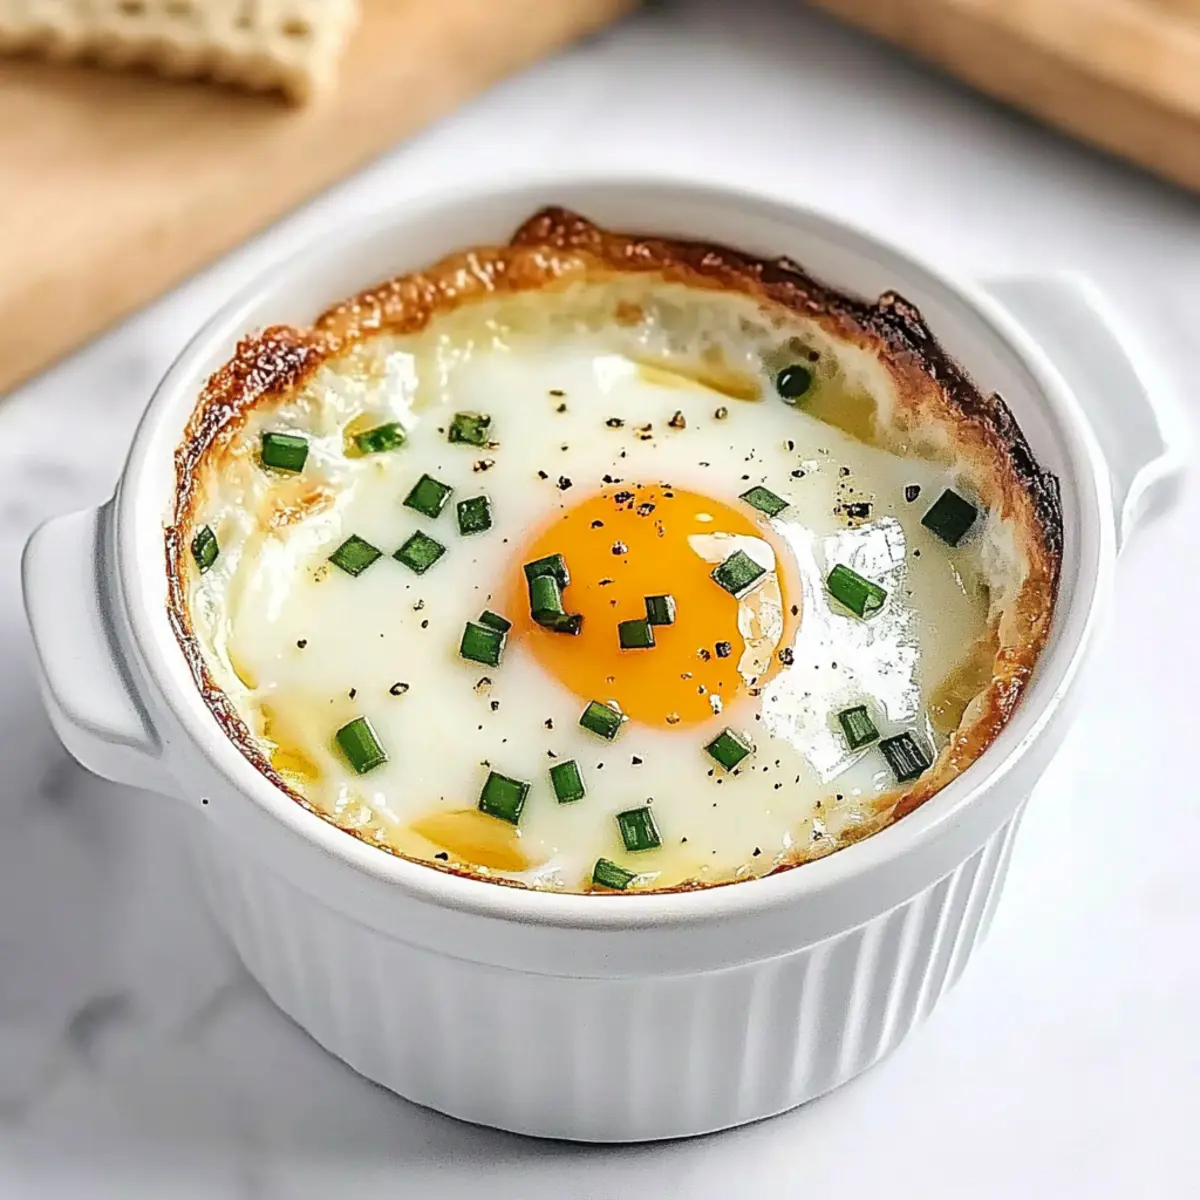
There’s something distinctly charming about the aroma of Shirred Eggs wafting through my kitchen, each delicate ramekin hinting at a brunch that feels both cozy and upscale. This dish pairs the creamy texture of baked eggs with rich, runny yolks, delighting your taste buds in just 15 minutes! Not only are these Elegant Shirred Eggs quick to whip up, but they also cater to various dietary preferences with easy dairy-free alternatives. Imagine serving this gorgeous meal that looks like you spent hours in the kitchen while secretly appreciating how simple it truly is. Perfect for impressing guests or enjoying a solo treat on a leisurely morning, won’t you join me in embracing this delicious twist on a brunch classic?
Why are Shirred Eggs so special?
Elegant Presentation: Serve these Shirred Eggs in individual ramekins for an eye-catching brunch centerpiece.
Quick Prep: With just 15 minutes to prepare, this dish fits perfectly into busy mornings or impromptu gatherings.
Versatile Customization: Easily adapt the recipe for dietary needs, whether adding spinach for nutrition or swapping out Parmesan for a dairy-free alternative.
Crowd-Pleasing Flavor: The rich, creamy texture combined with perfectly runny yolks ensures satisfaction for everyone at the table.
Comfort Meets Glamour: Enjoy a blend of comfort food and elegance, making each bite feel like a treat. Whether you’re pairing with Air-Fryer Breakfast Potatoes or savoring solo, these eggs are sure to elevate your brunch game!
Shirred Eggs Ingredients
Discover the essential components for creating delightful Shirred Eggs!
For the Base
• Unsalted Butter – Adds richness and prevents sticking; substitute with vegan butter for a dairy-free option.
• Heavy Cream – Provides a creamy texture essential for the dish; replace with high-fat oat milk or coconut vegan cashew cream for a dairy-free version.
• Large Eggs – The star ingredient providing protein and texture; opt for fresh, high-quality eggs for the best flavor.
• Salt – Enhances overall flavor; adjust according to personal taste preferences.
• Black Pepper – Adds depth and a bit of spice; freshly ground is recommended for best flavor.
For the Garnish
• Fresh Chives – Offers a fresh, onion-like flavor and brightens the dish; scallions can be used as an alternative.
• Grated Parmesan Cheese – Introduces a savory richness; nutritional yeast works well as a dairy-free substitute.
These ingredients come together to create an irresistible dish of Shirred Eggs—perfect for elevating your next brunch gathering!
Step‑by‑Step Instructions for Shirred Eggs
Step 1: Preheat the Oven
Begin by preheating your oven to 375°F (190°C). This temperature ensures that your Shirred Eggs will cook evenly and reach that delightful creamy texture. Meanwhile, gather your ramekin and butter to prepare for the next steps.
Step 2: Grease the Ramekin
Lightly grease a 6-ounce ramekin with unsalted butter. Make sure the entire interior is coated to prevent sticking, ensuring your Shirred Eggs slide out easily after baking. Alternatively, you can use vegan butter for a dairy-free option.
Step 3: Add the Cream
Pour a thin layer of heavy cream into the greased ramekin, spreading it evenly across the bottom. This creamy base is essential for the luxurious texture of your Shirred Eggs. If you’re going dairy-free, go ahead and substitute with high-fat oat milk or coconut vegan cashew cream.
Step 4: Crack the Egg
Carefully crack one large egg right on top of the layer of cream, aiming to keep the yolk intact. This will create the beautiful presentation of the Shirred Eggs. Ensure that the egg lands gently in the ramekin to maintain a lovely shape.
Step 5: Season the Egg
Sprinkle a pinch of salt and freshly ground black pepper over the egg to enhance its flavors. This seasoning is crucial for elevating the taste of your Shirred Eggs, so don’t be shy—adjust to your personal preference!
Step 6: Add Garnishes
Generously sprinkle chopped fresh chives and grated Parmesan cheese on top of the egg. These garnishes add uplifting flavor and visual appeal to your dish. For a dairy-free option, sprinkle nutritional yeast in place of Parmesan for a similar savory kick.
Step 7: Bake the Eggs
Place the ramekin on a baking sheet; this will catch any spills while baking. Slide it into the preheated oven and bake for 12-15 minutes. Watch closely until the egg whites are set but the yolks remain lovely and runny for that perfect Shirred Eggs texture.
Step 8: Cool and Serve
Once baked, carefully remove the ramekin from the oven and let it cool for a couple of minutes. This brief cooling period helps to set the dish and makes handling easier. Serve your Shirred Eggs warm, ideally with toasted bread for dipping into that rich, runny yolk.

How to Store and Freeze Shirred Eggs
Fridge: Store leftover Shirred Eggs in an airtight container for up to 2 days. While the texture may change, they can still be enjoyed warm or cold.
Freezer: Freezing is not recommended for Shirred Eggs as the creamy texture and runny yolk may not hold up well. It’s best to enjoy them freshly baked.
Reheating: To reheat, place the ramekin in a preheated oven at 350°F (175°C) for about 10 minutes, or until heated through. Avoid microwave reheating, as it may compromise texture.
Expert Tips for Shirred Eggs
• Use Quality Ingredients: Always opt for fresh, high-quality eggs for the best flavor in your Shirred Eggs. Fresh ingredients elevate the dish significantly.
• Avoid Overbaking: Keep a close eye as your eggs bake. Removing them from the oven when the whites are set but yolks remain runny is key to perfection.
• Dairy-Free Alternatives: If you’re looking for a dairy-free option, substitute heavy cream with high-fat oat milk or coconut cashew cream to maintain that creamy texture.
• Experiment with Flavors: Don’t hesitate to customize your Shirred Eggs! Adding veggies like spinach or using different cheeses can enhance taste and nutrition.
• Quick Meal Prep: For easy mornings, prepare the ramekins with butter and cream beforehand, but crack the eggs just before baking to keep them fresh.
What to Serve with Elegant Shirred Eggs
Elevate your brunch experience by pairing these delightful Shirred Eggs with complementary dishes that enhance their rich, creamy flavor.
-
Air-Fryer Breakfast Potatoes: These crispy, seasoned potatoes add a satisfying crunch to your brunch spread, balancing the creaminess of the eggs perfectly. Their savory taste will have everyone reaching for more.
-
Fresh Spinach Salad: A light salad with a zesty vinaigrette introduces freshness, making it a great counterpart to the rich Shirred Eggs. It’s a lovely way to add color and nutrients to your meal.
-
Toasted Sourdough Bread: Serve warm, crusty sourdough alongside for a delightful dipping experience. It’s the ideal vessel for enjoying the luscious, runny yolks against the creamy base.
-
Roasted Cherry Tomatoes: These sweet, caramelized gems bring a juicy burst of flavor to your plate. Their natural sweetness paired with the eggs creates a delicious contrast that brightens every bite.
-
Smoky Bacon or Turkey Bacon: A side of crispy bacon adds a savory, crunchy element that beautifully compliments the silky texture of the Shirred Eggs. This classic pairing will make your brunch feel indulgent.
-
Herb-Infused Olive Oil: Drizzle this vibrant oil over your Shirred Eggs for an aromatic touch. The herby flavors elevate the dish, making it feel gourmet and satisfying.
-
Sparkling Water with Citrus: Refreshing and light, this drink choice cleanses the palate between bites, letting the flavors of the eggs shine through uncluttered.
-
Chocolate Croissant: For a touch of sweetness, serve a flaky, buttery chocolate croissant. The richness of the chocolate paired with your elegant Shirred Eggs is a brunch moment to savor.
Make Ahead Options
Shirred Eggs are perfect for meal prep enthusiasts looking to save time during busy mornings! You can prepare the ramekins by greasing them and adding the cream up to 24 hours in advance. To maintain the quality, store the prepared ramekins covered in the refrigerator, but leave cracking the eggs until you’re ready to bake. This ensures freshness for the yolks. When you’re ready to serve, simply crack the eggs into the prepared ramekins, season, and bake them for 12-15 minutes until the whites are set and the yolks are still runny, allowing you to enjoy a delicious, elegant brunch with minimal effort!
Shirred Eggs Variations & Substitutions
Feel free to let your culinary creativity shine while making Shirred Eggs—it’s time to personalize this classic dish!
- Dairy-Free: Substitute heavy cream with high-fat oat milk or coconut vegan cashew cream for a delicious, creamy option.
- Cheese Swap: Try replacing Parmesan with feta or goat cheese for a unique tangy flavor that adds an exciting twist.
- Veggie Boost: Add diced tomatoes, spinach, or roasted red peppers to amp up the nutrition and vibrant color.
- Spicy Kick: For those who love a bit of heat, sprinkle red pepper flakes or a dash of hot sauce before baking.
- Herb Infusion: Experiment with different herbs like dill or basil to infuse fresh, aromatic flavors into your dish.
- Texture Variation: Top with crispy breadcrumbs or crushed nuts for added crunch that beautifully contrasts the creamy custard.
- Nut-Free: If you’re avoiding nuts, stick to plant-based butters or cream for dairy and nut-free variations.
- Savory Additions: Incorporate cooked bacon, sausage, or smoked salmon for a hearty, protein-packed brunch option.
With these enticing variations, your perfectly baked Shirred Eggs can easily cater to every palate and preference, making brunch a delightful affair!
Shirred Eggs Recipe FAQs
What type of eggs should I use for Shirred Eggs?
Absolutely! For the best flavor and texture, opt for fresh, high-quality large eggs. You can usually identify fresh eggs by checking for firm yolks and a bright, clean shell. Look for eggs from local farms or trusted brands that prioritize quality.
How should I store leftover Shirred Eggs?
Store any leftover Shirred Eggs in an airtight container in the fridge for up to 2 days. Although the texture may alter slightly, you can still enjoy them warm or cold. It’s best to reheat them in the oven at 350°F (175°C) for about 10 minutes for a more enjoyable experience.
Can I freeze Shirred Eggs?
Not really! Freezing Shirred Eggs is not recommended because the creamy texture and runny yolk won’t hold up well once thawed. For the best taste and experience, it’s ideal to prepare and enjoy them fresh.
What if my egg whites aren’t cooking properly?
Very! If you find that the egg whites aren’t setting properly, you might be underbaking them. Make sure your oven is preheated to 375°F (190°C) and check them regularly. If the whites remain translucent, give them another minute or two in the oven. Just be careful not to overbake, or you may lose that beautiful runny yolk.
How can I adapt this recipe for dietary restrictions?
The more the merrier! You can easily tailor Shirred Eggs to meet various dietary needs. For a dairy-free version, substitute heavy cream with high-fat oat milk or coconut vegan cashew cream. You can swap grated Parmesan cheese with nutritional yeast or omit it altogether while adding flavor-packed vegetables like spinach or tomatoes for added nutrition. Feel free to get creative with your favorite herbs and spices, too!
Savor Shirred Eggs: The Elegant Brunch You’ll Love
Ingredients
Equipment
Method
- Preheat your oven to 375°F (190°C).
- Lightly grease a 6-ounce ramekin with unsalted butter.
- Pour a thin layer of heavy cream into the greased ramekin.
- Carefully crack one large egg right on top of the layer of cream.
- Sprinkle a pinch of salt and freshly ground black pepper over the egg.
- Generously sprinkle chopped fresh chives and grated Parmesan cheese on top.
- Place the ramekin on a baking sheet and bake for 12-15 minutes.
- Remove the ramekin from the oven and let it cool for a couple of minutes before serving.
Leave a Reply