
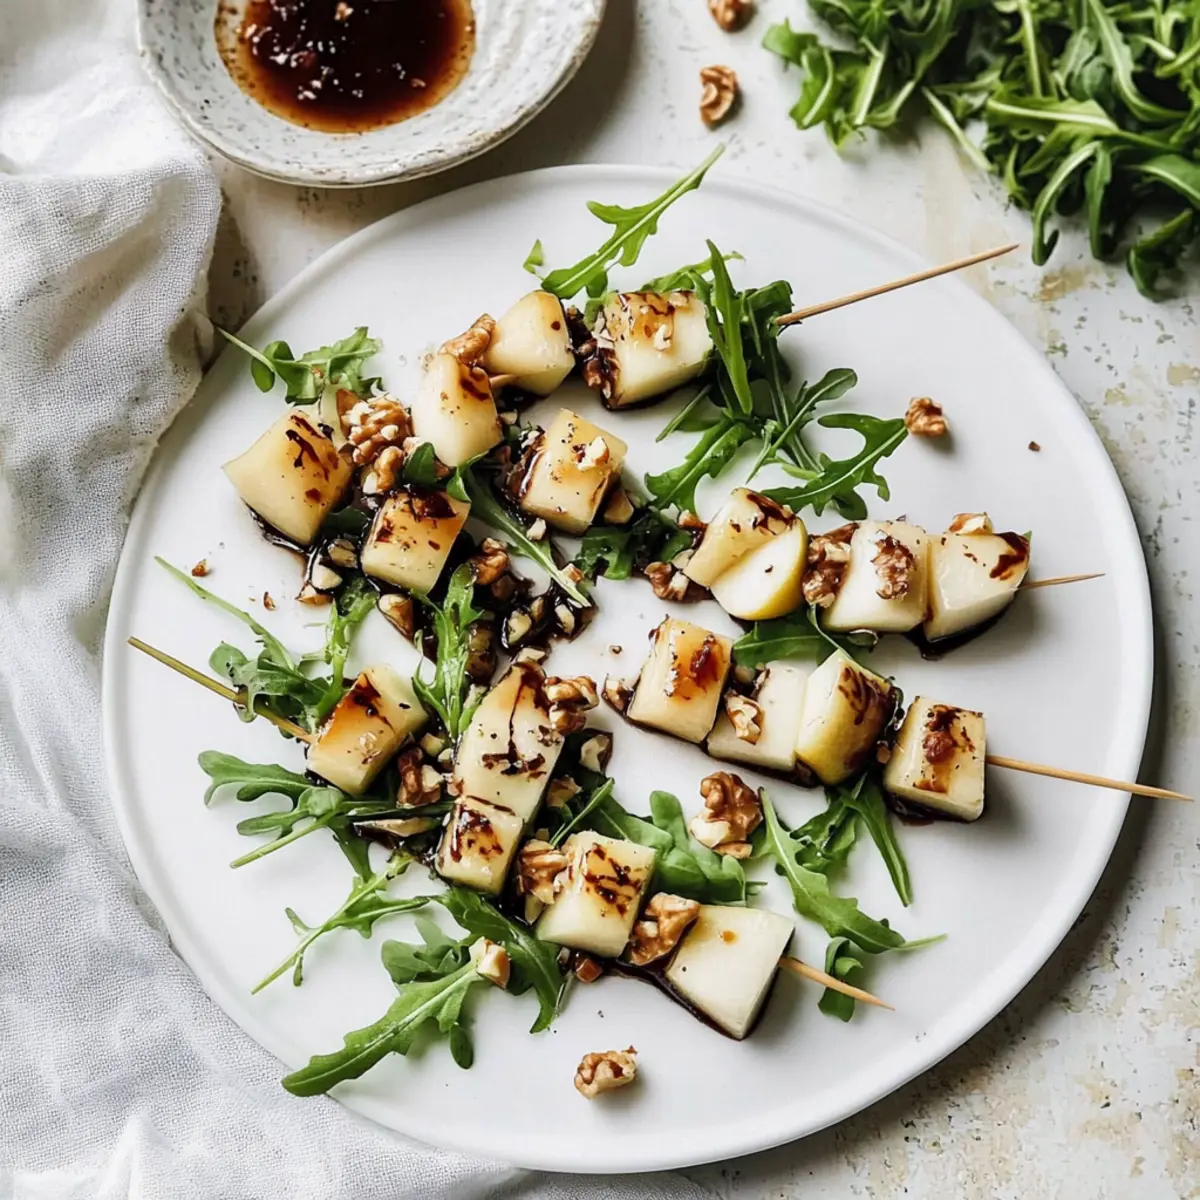
The aroma of ripe pears makes its way through the kitchen, and suddenly, I’m transported to a sunny picnic filled with laughter and delicious bites. Today, I’m excited to share my Quick Pear and Brie Cheese Skewers with Balsamic Drizzle—a crowd-pleasing appetizer that’s both effortless and elegant. In just 20 minutes, you can create these delightful Pear & Brie Cheese Salad Skewers, perfect for parties or an easy snack on a busy night. With only five ingredients and a balance of sweet, creamy, and crunchy textures, everyone will be coming back for more. Plus, they’re gluten-free and vegetarian-friendly, making them a versatile choice for any gathering. Are you ready to elevate your appetizer game and impress your guests? Let’s dive into this delicious recipe!
Why Are These Skewers a Must-Try?
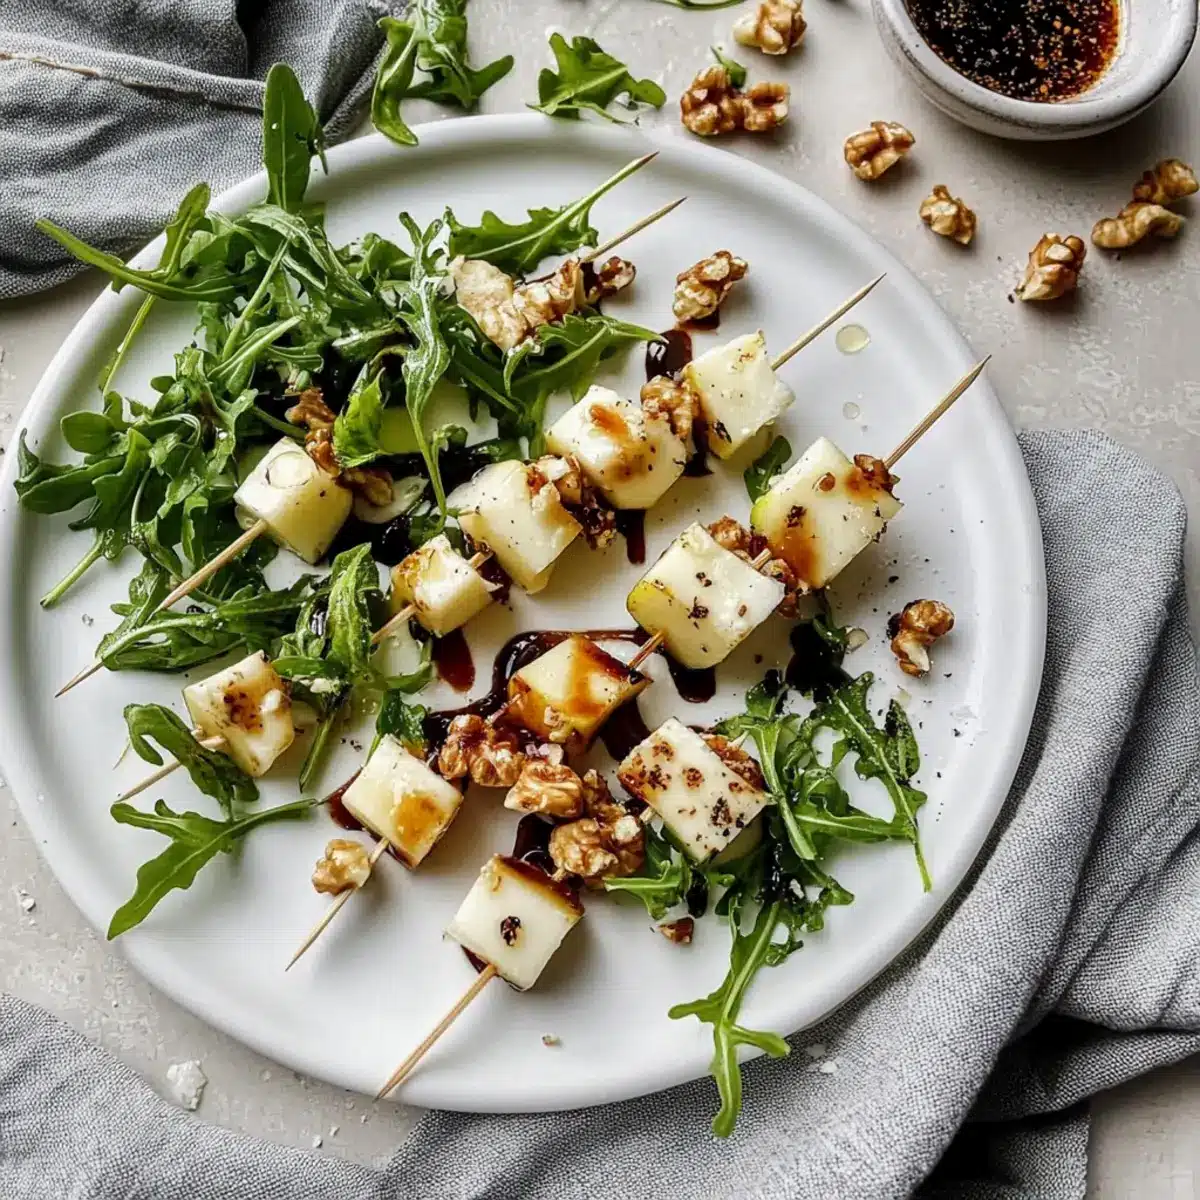
Simplicity shines through with only five ingredients, making this recipe quick and stress-free. Versatile in flavor, these skewers can easily adapt to your favorite cheese—try them with blue cheese or camembert for a twist! Textural heaven awaits with creamy brie, crunchy walnuts, and juicy pears all combined into one bite. Perfect for parties, they are a hit among guests, just like my Cranberry Brie Tart. Whether as a starter or light snack, these skewers promise to impress with minimal effort. Plus, they are gluten-free and vegetarian-friendly, catering to all dietary needs! Every bite is a reminder of gourmet dining made easy.
Pear & Brie Cheese Salad Skewers Ingredients
For the Skewers
• Pears – Provide sweetness and juiciness; Bosc or Bartlett pears are great choices.
• Brie Cheese – Adds creamy richness; feel free to swap for blue cheese or camembert if you’re feeling adventurous.
• Baby Arugula – Offers peppery freshness and a burst of color; baby spinach can be used for a milder flavor.
• Walnuts (chopped) – Introduces crunch and nutty depth; toasting enhances their flavor beautifully.
• Balsamic Glaze – Adds a sweet-tangy finishing touch; if unavailable, balsamic vinegar can do the trick.
These Pear & Brie Cheese Salad Skewers are a simple yet impressive appetizer that will elevate any gathering!
Step‑by‑Step Instructions for Pear & Brie Cheese Salad Skewers
Step 1: Prepare the Pears
Begin by selecting ripe yet firm Bosc or Bartlett pears. Slice the pears into quarters, removing the seeds and stem for a clean finish. Then, cut each quarter into ½-inch cubes, ensuring they maintain their shape. This step is crucial as the juicy pears provide the sweetest contrast to the creamy brie in your Pear & Brie Cheese Salad Skewers.
Step 2: Cut the Brie Cheese
Next, take the brie cheese and cut it into ½-inch cubes, keeping the rind intact for easier handling. The rind adds extra flavor and helps hold the cubes together during assembly. As the base of your skewers, brie melts beautifully in your mouth, creating a delightful creamy texture that balances the other ingredients.
Step 3: Assemble the Skewers
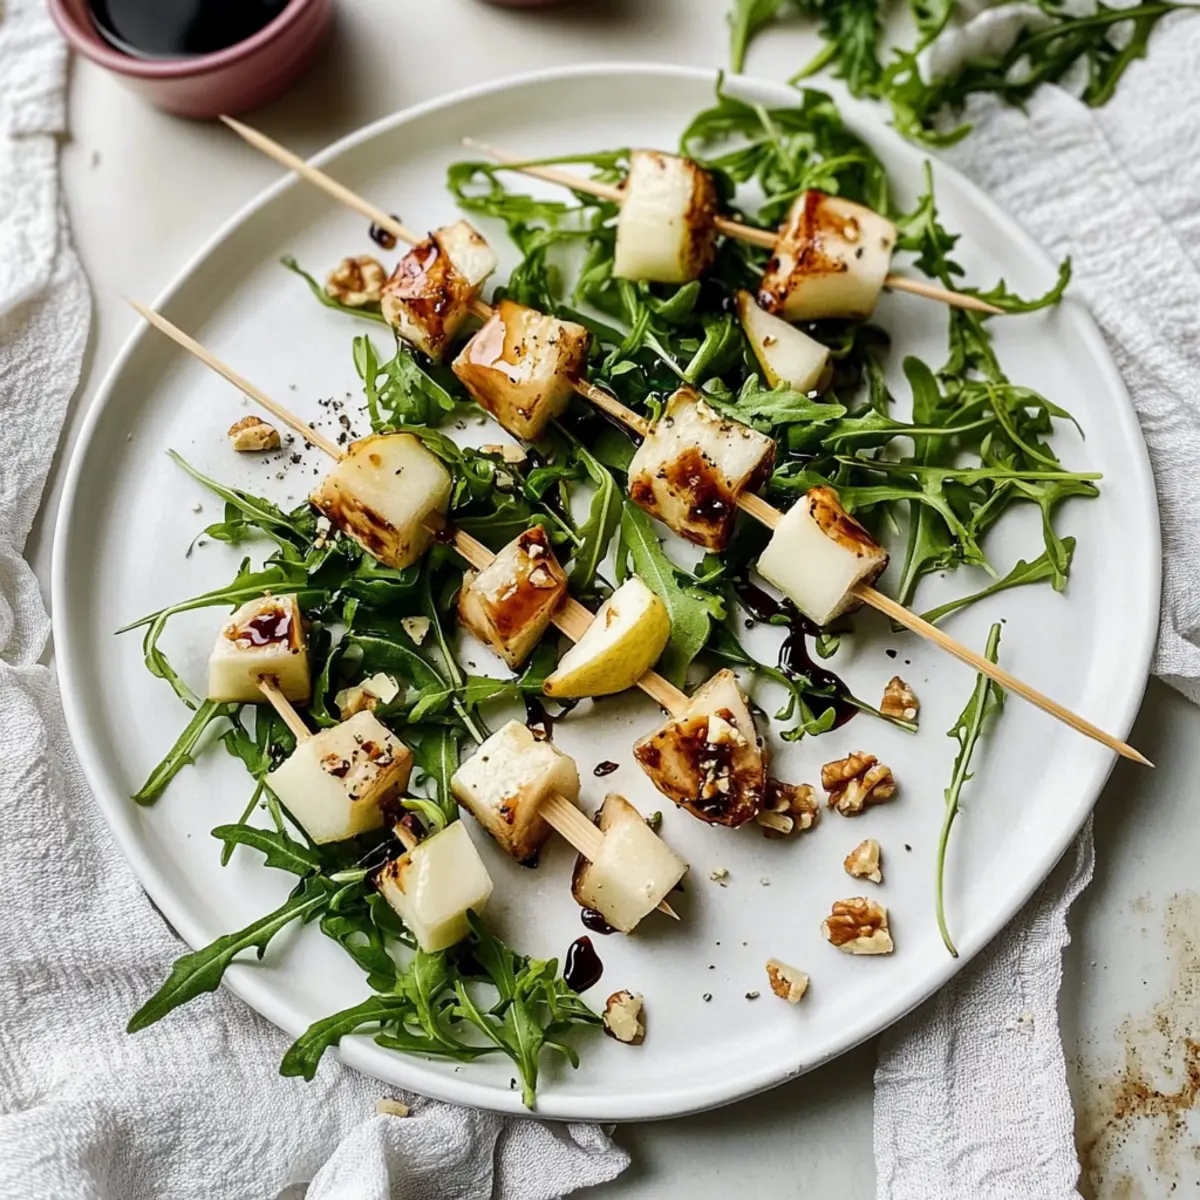
Using 4-inch skewers, thread one piece of pear onto the skewer first, followed by a small handful of baby arugula (about 5-6 leaves), and finish with a cube of brie. Repeat this process until you’ve used up all of your ingredients. Make sure to leave some space at the ends of each skewer for easy handling. These colorful Pear & Brie Cheese Salad Skewers are sure to catch your guests’ attention!
Step 4: Add Walnuts & Drizzle
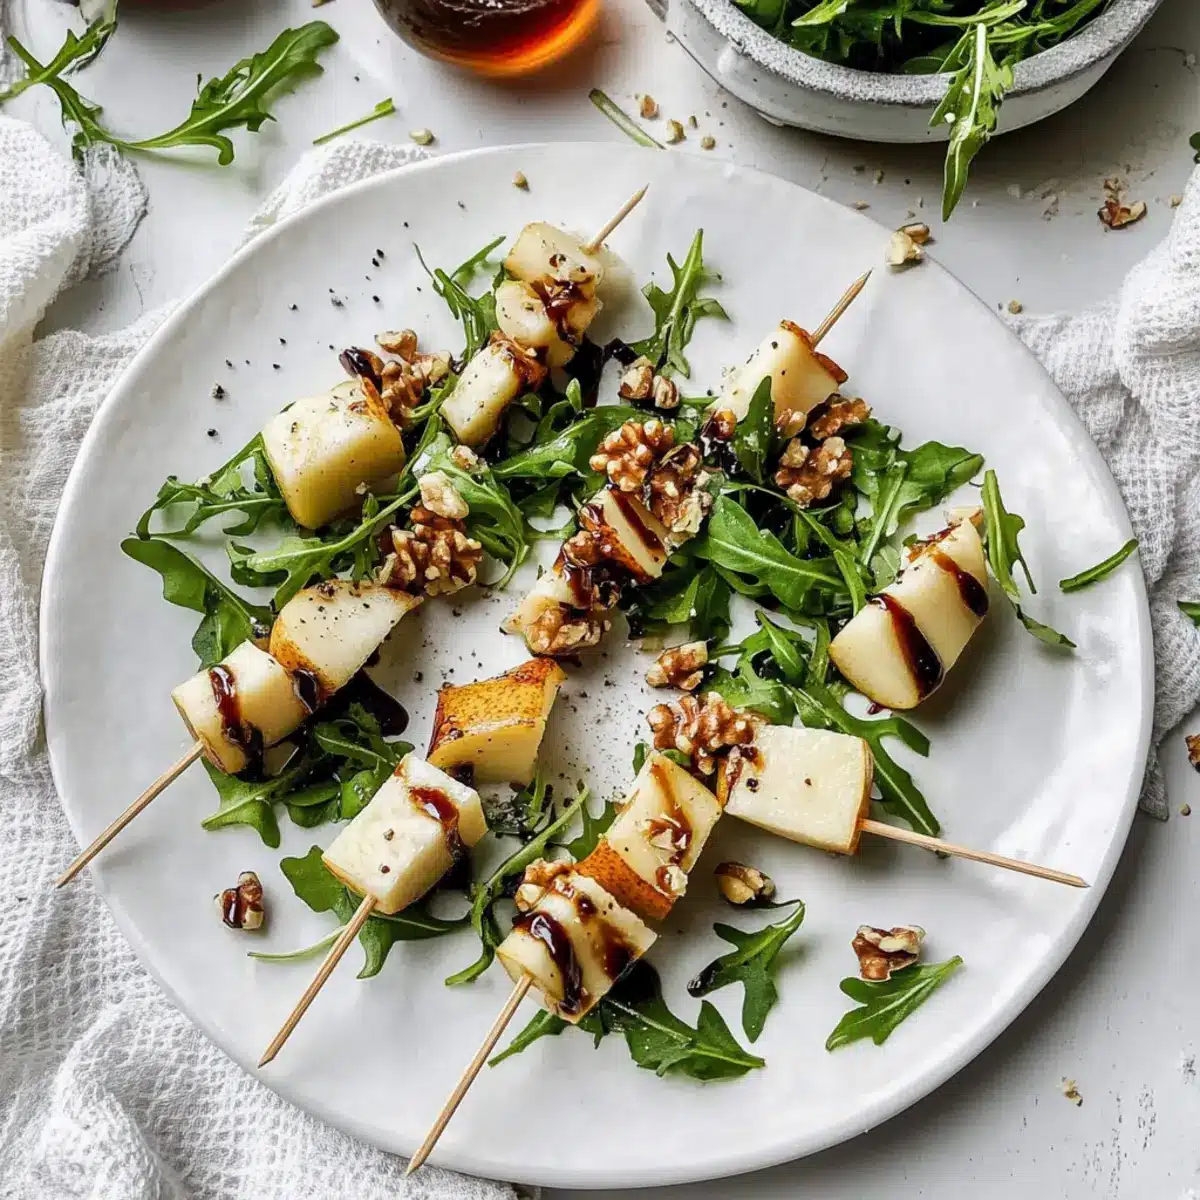
Before serving your assembled skewers, gently press chopped walnuts onto the tops of the brie cubes for a delightful crunch. The nuts add an earthy depth that complements the flavors beautifully. Drizzle the skewers with balsamic glaze just prior to serving, allowing the sweet-tangy notes to enhance each bite and bring your Pear & Brie Cheese Salad Skewers to life.
Pear & Brie Cheese Salad Skewers Variations
Get ready to sprinkle some creativity into your cooking! These variations will elevate your Pear & Brie Cheese Salad Skewers even further!
-
Fruit Swap: Use apples or figs instead of pears to introduce a new flavor twist. Each fruit brings its own unique sweetness!
-
Cheese Adventure: Try blue cheese or camembert in place of brie for a bolder taste experience. You might just discover a new favorite combo!
-
Nutty Flair: Swap walnuts for pecans or almonds for a different crunch. Toasting them can amplify their natural flavors beautifully.
-
Herb Boost: Add fresh herbs, such as basil or mint, to the arugula for an aromatic enhancement. This fresh touch can brighten your skewers!
-
Spice it Up: Drizzle with a hint of hot honey or sprinkle red pepper flakes for a touch of heat. It’s a fantastic way to contrast the sweet and creamy elements.
-
Roasted Variation: Lightly roast your skewers in the oven to warm the cheese and caramelize the fruit. Just ensure to monitor closely to avoid burning the wooden skewers!
-
Glaze Alternatives: If balsamic glaze isn’t at hand, consider using a honey mustard or raspberry vinaigrette for a sweet and tangy complement.
As you play with these variations, you may also consider pairing them with my delightful Cobb Salad Bliss or the vibrant Spring Roll Salad for a well-rounded meal! Enjoy the journey of exploring different flavors!
Make Ahead Options
These Pear & Brie Cheese Salad Skewers are a fantastic choice for meal prep, saving you time during busy weeknights or when hosting. You can prepare the pear and brie cubes up to 24 hours in advance—just make sure to toss the pear cubes in a little lemon juice to prevent browning. Assemble the skewers completely but store them without the walnuts and balsamic glaze, covered in the refrigerator for up to 3 days. When you’re ready to serve, simply press the chopped walnuts onto the brie and drizzle with balsamic glaze for that fresh, vibrant taste. This way, you’ll enjoy just as delicious skewers with minimal last-minute effort!
Expert Tips for Pear & Brie Cheese Salad Skewers
-
Choose Ripe Pears: Selecting ripe pears is key. Look for firm ones that yield slightly when pressed but aren’t overly soft to ensure structural integrity in your skewers.
-
Brie Rind Reminder: Keep the rind on the brie cheese while cutting; it aids in handling and adds flavor. This little detail makes assembling your Pear & Brie Cheese Salad Skewers a breeze.
-
Nut Toasting Tip: Toasting your walnuts can elevate their flavor significantly! Just a few minutes in a dry skillet makes a world of difference, enhancing the crunch and nuttiness.
-
Assembly Timing: To prevent browning, assemble your skewers within two hours of serving. Store covered in the fridge until ready to impress your guests.
-
Skewer Quantity Insight: If hosting a larger gathering, aim for about 16 skewers per pear. This helps in planning ahead and ensuring everyone gets to enjoy these delightful bites!
-
Flavor Experimentation: Don’t hesitate to experiment with different cheeses based on preference. Blue cheese or camembert can add an exciting twist to your Pear & Brie Cheese Salad Skewers!
How to Store and Freeze Pear & Brie Cheese Salad Skewers
Fridge: Keep assembled skewers in an airtight container in the fridge for up to 2 days. This helps maintain freshness while preventing browning of the pears.
Freezer: Freezing is not recommended for these skewers, as the texture of the brie and pears may suffer. It’s best to enjoy them fresh!
Serving Preparation: For best flavor, top with walnuts and drizzle with balsamic glaze just before serving. This final touch ensures a delightful crunch and tangy sweetness.
What to Serve with Quick Pear and Brie Cheese Skewers?
Elevate your appetizer spread with delightful pairings that complement the sweet and savory notes of these skewers.
- Creamy Mashed Potatoes: The buttery richness of mashed potatoes balances beautifully with the tangy brie, offering a comforting texture contrast.
- Crisp Green Salad: A light, fresh salad with a citrus vinaigrette provides a bright counterpoint to the richness of the skewers and refreshes the palate.
- Honey-Glazed Carrots: Sweet, tender carrots roasted with honey bring an inviting warmth and a hint of sweetness that harmonizes with the pears.
- Charcuterie Board: Pairing with a variety of cured meats and fresh fruits creates a diverse grazing experience, enhancing the gourmet feel of your gathering.
- Garlic Bread: Enjoy warm, toasty garlic bread on the side; its crunchy edges bring an enjoyable texture that complements the skewers’ creaminess.
- Sparkling White Wine: A chilled glass of bubbly will cut through the richness, making every bite taste lighter and more refreshing while adding a celebratory touch.
- Chocolate-Covered Strawberries: For dessert, these sweet treats make a delightful follow-up to your skewers, offering a fresh and fruity contrast to the meal.
- Stout Beer: Rich and dark stout beer pairs well, enhancing the flavors of the brie while providing a robust backbone to the tasting experience.
- Apple Crisp: A warm apple crisp with a scoop of vanilla ice cream delivers cozy sweetness, completing the menu with a comforting dessert that mirrors the skewers’ flavors.
Pear & Brie Cheese Salad Skewers Recipe FAQs
How do I know which pears are ripe enough to use?
Absolutely! When selecting pears, look for Bosc or Bartlett varieties that yield slightly when pressed—but aren’t overly soft. This firmness ensures they maintain their structure on the skewers while providing the sweet juiciness needed for your Pear & Brie Cheese Salad Skewers.
How can I store any leftover skewers?
Very good question! Store your assembled skewers in an airtight container in the fridge for up to 2 days. This method preserves freshness and helps prevent the pears from browning. I often keep them covered to maintain their lovely presentation and taste.
Can I freeze Pear & Brie Cheese Salad Skewers?
Freezing isn’t recommended for these delicious skewers, as the texture of both the brie cheese and pears may suffer upon thawing. It’s best to enjoy them fresh—so gather your friends and dive into these delightful bites soon after preparation!
What do I do if my pears are browning before serving?
To avoid browning, I suggest assembling the skewers no more than 2 hours before serving. If you’re preparing early, consider lightly coating the pear pieces with lemon juice to slow the browning process without altering the flavor.
Are there any dietary considerations I should know about?
Absolutely! These Pear & Brie Cheese Salad Skewers are vegetarian and gluten-free. However, always check the labeling on the balsamic glaze and cheese, as some brands may contain gluten or animal-derived ingredients. If you’re uncertain, substitutes like balsamic vinegar or a non-dairy cheese can keep your appetizer inclusive.
Delicious Pear & Brie Cheese Salad Skewers for Easy Entertaining
Ingredients
Equipment
Method
- Prepare the Pears: Slice the pears into quarters, removing the seeds and stem, then cut into ½-inch cubes.
- Cut the Brie Cheese: Cut brie cheese into ½-inch cubes, keeping the rind intact.
- Assemble the Skewers: Thread pear, arugula, and brie onto skewers until ingredients are used.
- Add Walnuts & Drizzle: Press walnuts onto brie and drizzle with balsamic glaze before serving.
Leave a Reply