
As I was rummaging through my pantry, I stumbled upon a bag of desiccated coconut and an open jar of raspberry jelly crystals, sparking a wave of nostalgia. Suddenly, I was transported back to childhood days, where a little slice of joy came in the form of homemade Raspberry Ruffle Bars. This delightful no-bake treat, made with just five simple ingredients, is perfect for anyone seeking a quick and satisfying dessert without the fuss of baking. Not only do these bars make for an impressive addition to any gathering, but they also offer a gluten-free alternative, ensuring everyone at your table can enjoy a sweet moment together. Ready to indulge in a creamy and fruity delight that will make your taste buds dance? Let’s dive into how to whip up these tempting Raspberry Ruffle Bars!
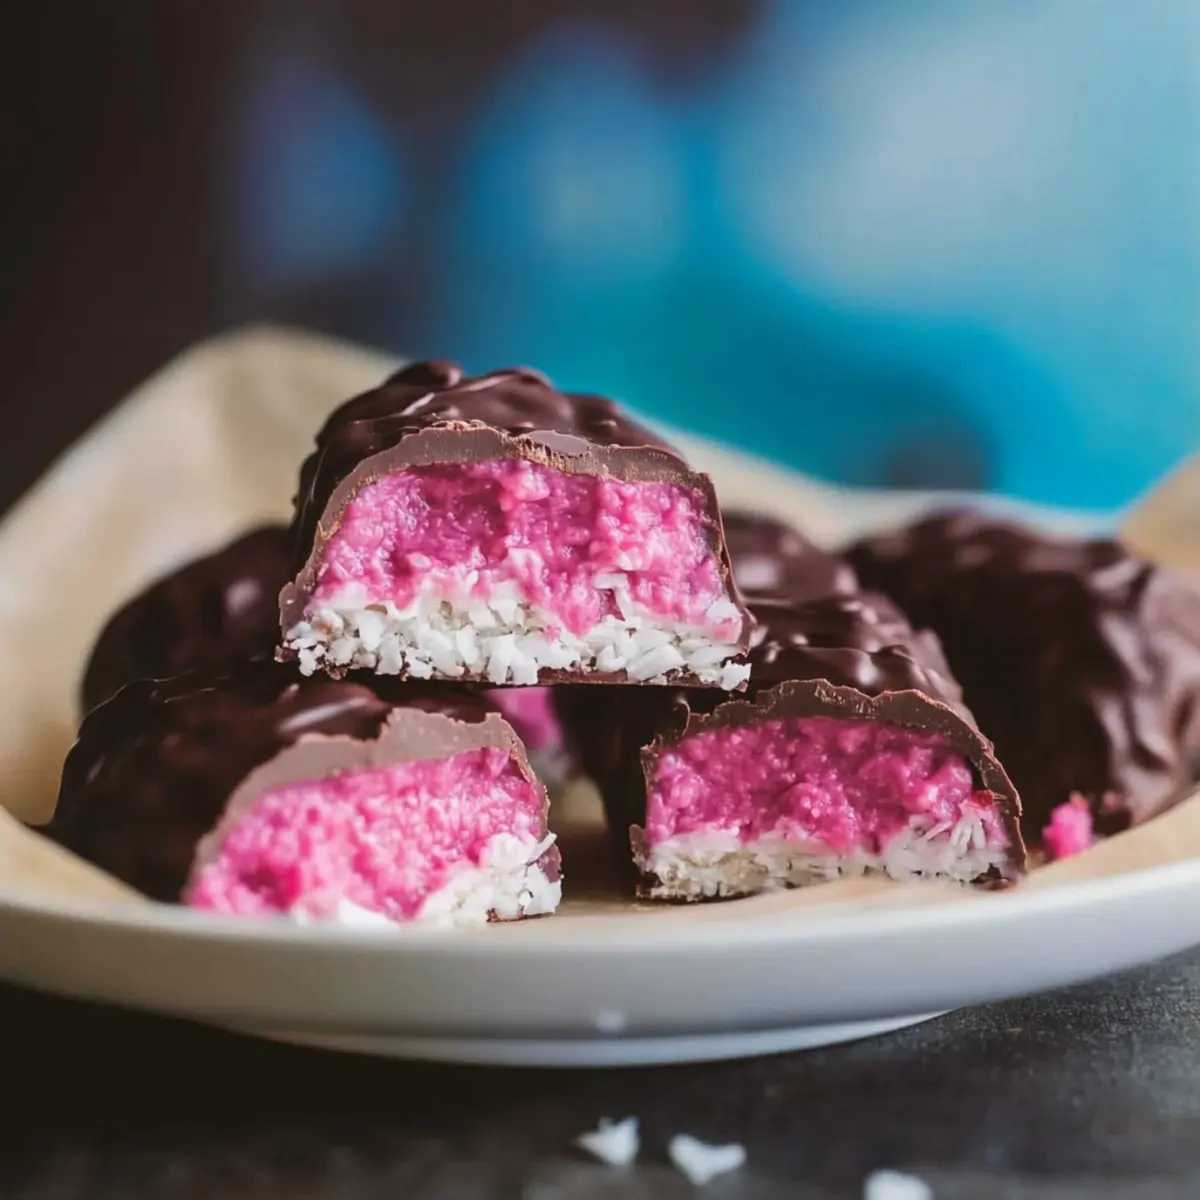
Why Are Raspberry Ruffle Bars a Must-Try?
Nostalgic Flavor: These bars evoke childhood memories with their sweet, coconut goodness and vibrant raspberry kick.
No-Bake Convenience: Say goodbye to baking chaos; simply mix, freeze, and enjoy!
Easy Ingredients: With just five simple ingredients, you can create a delightful treat that’s sure to impress family and friends.
Versatile Options: Channel your creativity by substituting with different jelly flavors or shaping them into fun truffles! Don’t forget to check out my Raspberry Pistachio Cake for another delicious dessert option!
Crowd Pleaser: Perfect for parties, these bars are a sweet delight that will have everyone asking for seconds.
Raspberry Ruffle Bars Ingredients
Dive into the delicious realm of Raspberry Ruffle Bars with these five essential ingredients!
For the Base
• Desiccated Coconut – Provides the main texture and flavor base; shredded coconut can work too, just ensure the consistency is similar.
• Condensed Milk – Acts as a binding agent, adding sweetness and creaminess; substitute with sweetened coconut cream for a dairy-free alternative.
• Icing Sugar – Sweetens the mixture and helps achieve the perfect texture; if unavailable, powdered sugar can be a great substitute.
• Raspberry Jelly Crystals – Imparts a vibrant raspberry flavor and color; try other fruit-flavored jelly crystals for a fun twist.
For the Coating
• Milk Chocolate & Dark Chocolate – Provides richness and sweetness when coating your bars; opt for 100% dark chocolate for a less sweet, intense flavor experience in your Raspberry Ruffle Bars.
Step‑by‑Step Instructions for Raspberry Ruffle Bars
Step 1: Mix Ingredients
In a large mixing bowl, combine desiccated coconut, condensed milk, icing sugar, and raspberry jelly crystals. Mix until the color is uniform and all ingredients are well incorporated, creating a sticky mixture. This should take about 3-5 minutes. You’ll want a mixture that holds together when pressed.
Step 2: Transfer Mixture
Line a 20cm square tin with parchment paper for easy removal. Spoon the mixture into the lined tin and press it down firmly with the back of a spatula or your hands. Ensure the mixture is evenly distributed and smooth on top, creating a solid base for your Raspberry Ruffle Bars.
Step 3: Freeze
Place the tin in the freezer to set for at least 2 hours. This step is crucial, as the mixture must be firm and no longer sticky for the next stages. You’ll know it’s ready when it holds its shape and has a slight firmness to the touch.
Step 4: Melt Chocolate
While the mixture sets, break the milk and dark chocolate into a heatproof bowl. Melt over a simmering pot of water, stirring gently until smooth and glossy. This should take about 5-7 minutes. Be careful not to overheat the chocolate; remove from heat once fully melted to prevent burning.
Step 5: Cut Bars
Remove the frozen coconut mixture from the tin using the parchment paper. Place it on a cutting board and cut it into bars or rectangles of your desired size. A sharp knife will help you achieve clean edges, making your Raspberry Ruffle Bars look more appealing.
Step 6: Coat with Chocolate
Using two forks, dip each bar into the melted chocolate, ensuring they are fully coated. Lift them out and gently tap the forks against the bowl to let excess chocolate drip off. This technique helps avoid messy fingers and creates an even, glossy finish on your Raspberry Ruffle Bars.
Step 7: Set Bars
Place the coated bars on a sheet of parchment paper to set at room temperature. Allow the chocolate to harden completely, which should take about 30 minutes. For quicker setting, you can place them in the fridge for 10-15 minutes, ensuring your Raspberry Ruffle Bars are perfectly ready to enjoy.
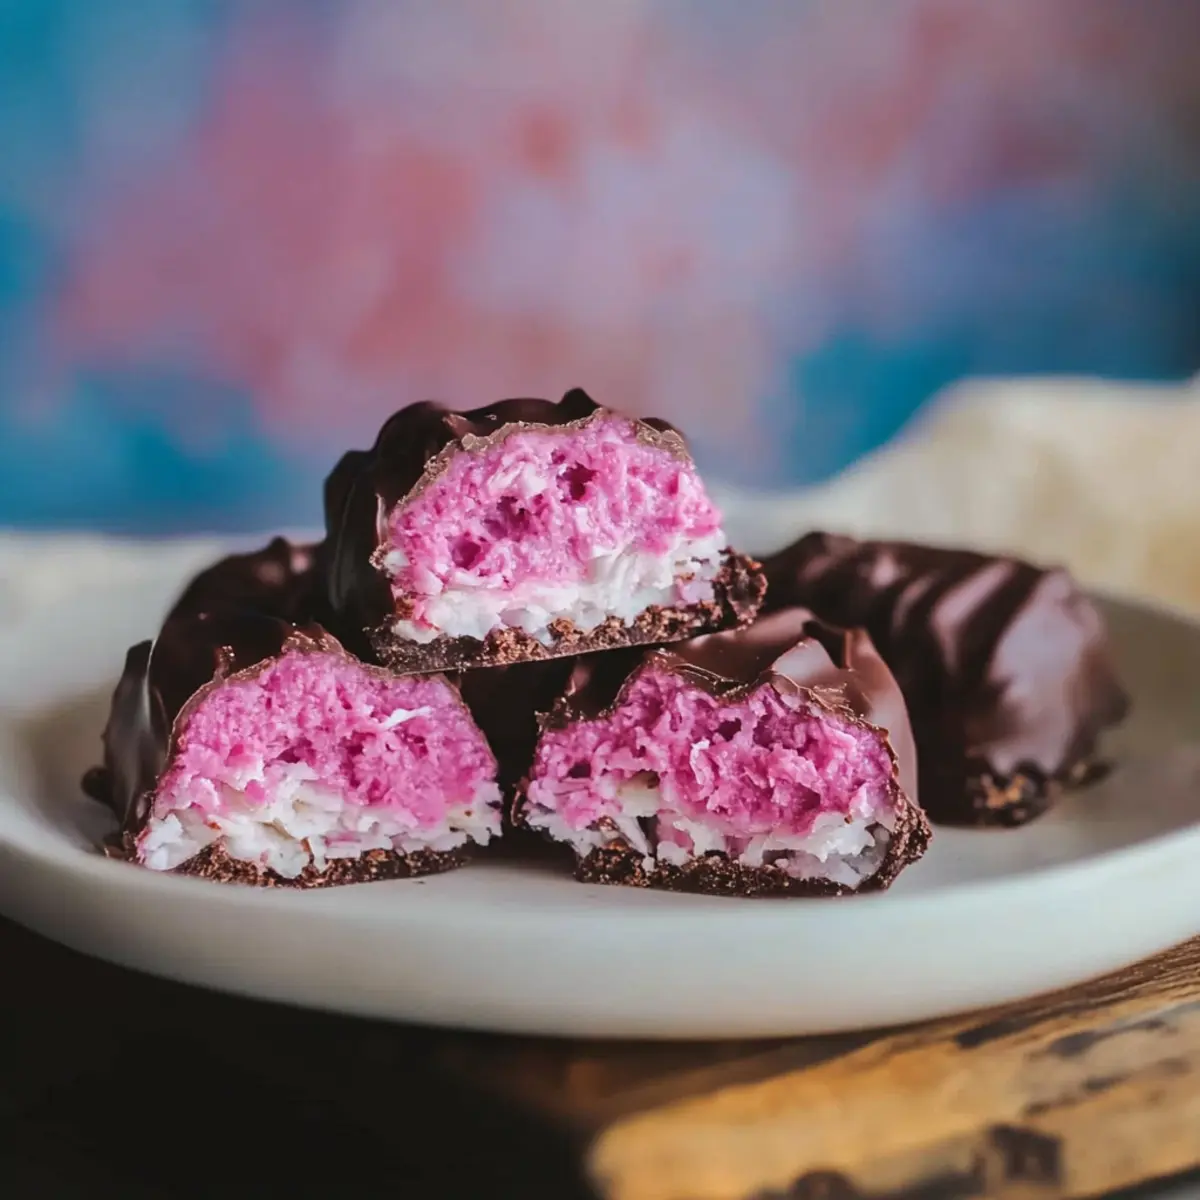
What to Serve with Homemade Raspberry Ruffle Bars?
The perfect companion to your delightful bars can elevate dessert time into something truly special.
- Fresh Berries: Juicy raspberries or strawberries offer a refreshing contrast to the sweetness of the bars, enhancing the fruity flavor.
- Whipped Cream: Light and airy whipped cream adds a creamy element that balances the richness of the chocolate coating, making every bite even more indulgent.
- Coffee or Tea: A warm cup of coffee or a fragrant herbal tea provides a lovely contrast to the chilled bars, making for a comforting end to your meal.
- Vanilla Ice Cream: Creamy vanilla ice cream serves as a luscious base that melts into the chocolate, creating a delightful combination of flavors and textures.
- Chocolate Dipped Fruit: Match the flavors by serving fresh fruit dipped in chocolate; the added crunch complements the chewy bars perfectly.
- Almonds or Hazelnuts: These nuts add a crunchy texture and a nutty flavor, providing a delightful contrast to the sweet, chewy bar.
- Mint Leaves: Fresh mint leaves can freshen the palate, offering a burst of flavor and a pop of color that brightens up the dessert table.
- Milkshake: A rich raspberry milkshake can amplify the raspberry goodness, creating a nostalgic experience that takes you back to fun childhood moments.
- Dark Chocolate Fondue: Dip pieces of your Ruffle Bars into dark chocolate for an indulgent treat that’s sure to impress your guests.
- Fruit Salad: A vibrant fruit salad adds freshness to your dessert spread and can include seasonal fruits for a burst of color.
Raspberry Ruffle Bars Variations
Feel free to sprinkle your own creativity into these Raspberry Ruffle Bars for a delightful twist!
-
Dairy-Free: Substitute condensed milk with sweetened coconut cream for a creamy texture without the dairy.
-
Other Fruit Flavors: Swap raspberry jelly crystals for orange or strawberry to create a different fruity experience. Each bite brings a unique burst of flavor!
-
Truffle Transformation: Roll the coconut mixture into bite-sized balls instead of bars for fun truffles that are perfect for sharing at parties.
-
Texture Twist: Add finely chopped nuts or dried fruit to the base mixture for an exciting crunch and extra flavors. They’ll add little surprises in every bite!
-
Chocolate Variety: Try a mix of white chocolate and dark chocolate for an indulgent coating that balances sweetness and richness beautifully.
-
Gluten-Free: Use gluten-free jelly crystals to ensure everyone can enjoy this treat without worries, keeping it family-friendly!
If you’re looking for more ideas, don’t forget to check out my tempting Raspberry Pistachio Cake for another delicious dessert option.
- Zesty Surprise: Add a hint of lemon or lime zest to the mixture for a zesty kick that complements the raspberry flavor wonderfully!
Embrace these variations to make this nostalgic treat uniquely yours!
Make Ahead Options
These Homemade Raspberry Ruffle Bars are absolutely perfect for meal prep! You can prepare the base mixture up to 24 hours in advance by following the initial steps of mixing the ingredients and pressing them into the tin. Simply cover and refrigerate it for freshness. When you’re ready to serve, take it out, let it come to room temperature if necessary, then proceed to freeze it for at least 2 hours until firm. For the chocolate coating, melt the chocolate right before assembling the bars to ensure a smooth finish. This make-ahead method keeps your delicious Raspberry Ruffle Bars just as appealing and delightful for those busy weeknights or last-minute gatherings!
Expert Tips for Raspberry Ruffle Bars
-
Proper Mixing: Ensure all ingredients are combined thoroughly to achieve a uniform texture. This helps each bar have that delightful Raspberry Ruffle flavor.
-
Freezing is Key: Don’t skimp on freezing time; letting the mixture set for a full 2 hours allows for easy cutting and coating later on.
-
Chocolate Coating: Use two forks for dipping; this allows for easier handling and reduces the mess during the chocolate coating process.
-
Variations Galore: Feel free to experiment with different jelly crystals, like strawberry or orange, to create unique flavors in your Raspberry Ruffle Bars!
-
Storage Wisdom: Keep your bars in an airtight container to maintain freshness and prevent the chocolate from becoming too soft.
How to Store and Freeze Raspberry Ruffle Bars
Room Temperature: Store your Raspberry Ruffle Bars in an airtight container at room temperature for up to 1 week; this keeps the chocolate coating firm and delicious.
Fridge: For longer freshness, place the bars in the refrigerator, where they can stay good for up to 2 weeks; the cool environment helps maintain the chocolate’s texture.
Freezer: If you want to save them for later, freeze the individual bars wrapped in parchment paper and stored in a container for up to 3 months; thaw in the fridge before enjoying.
Reheating: There’s no need to reheat these no-bake bars; simply enjoy them chilled or at room temperature for the best taste and texture experience.
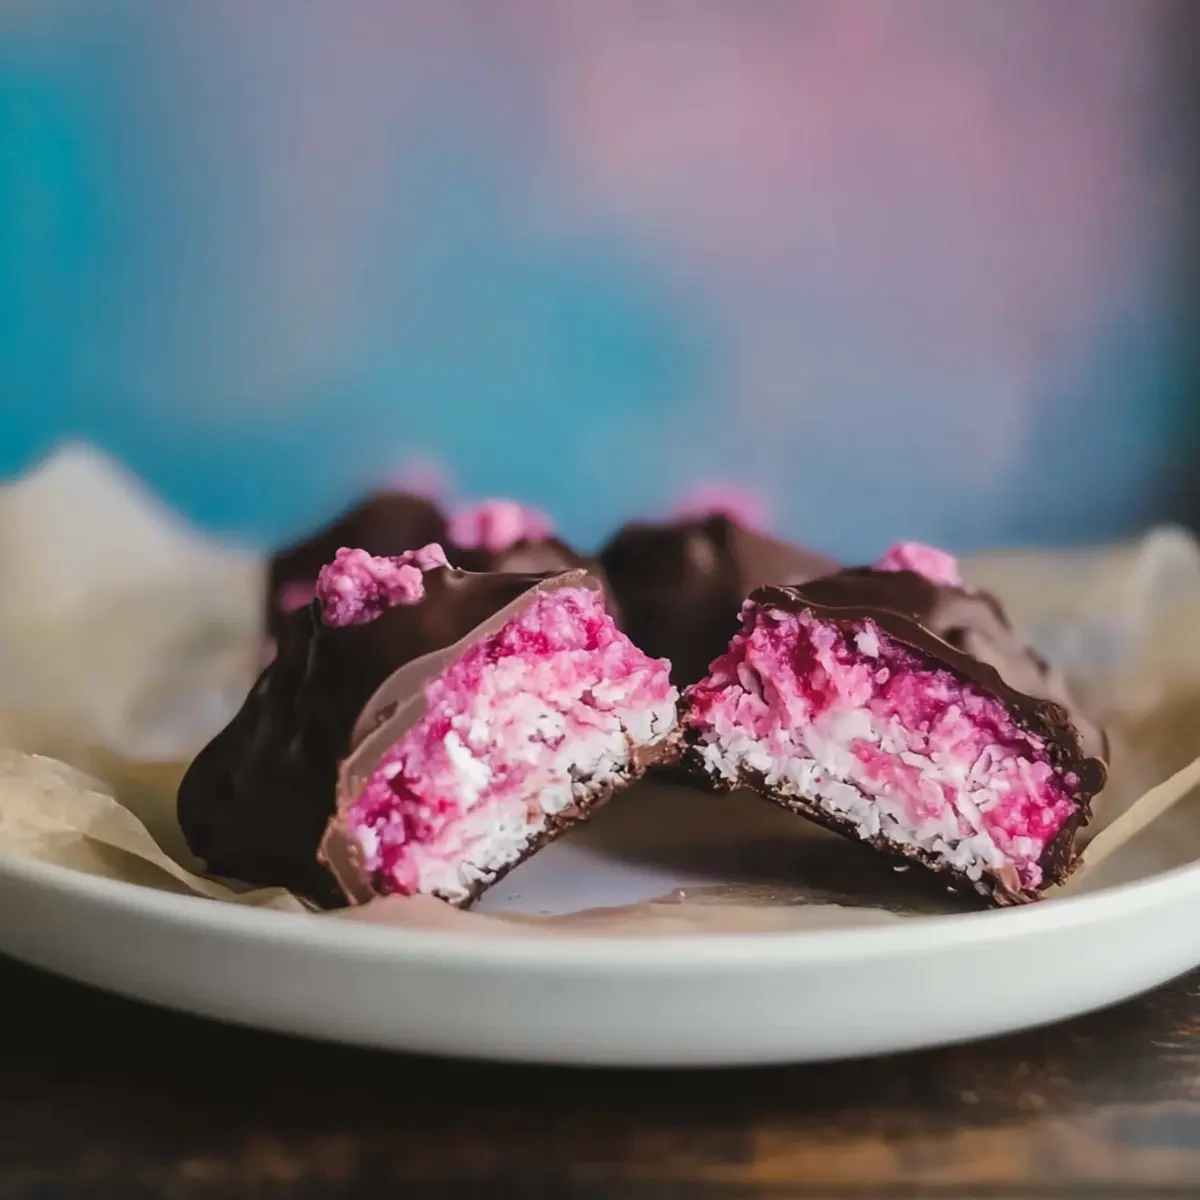
Raspberry Ruffle Bars Recipe FAQs
How do I select the best desiccated coconut for the bars?
Absolutely! When choosing desiccated coconut, look for a snow-white color and a fine texture. Ensure there are no dark spots, which can indicate spoilage. Fresh desiccated coconut should smell sweet and nutty; avoid any that has a rancid or off odor. It’s perfect for bringing that delightful chewiness to your Raspberry Ruffle Bars.
What is the best way to store Raspberry Ruffle Bars?
You can store your Raspberry Ruffle Bars in an airtight container at room temperature for up to a week. To keep the chocolate shell firm and improve shelf life, I recommend refrigerating them, where they can last up to two weeks. Make sure they are well-sealed to prevent them from drying out or absorbing any odors from the fridge.
Can I freeze Raspberry Ruffle Bars?
Very! To freeze, wrap each bar individually in parchment paper, then place them in a freezer-safe container. They can be stored in the freezer for up to 3 months. When you’re ready to enjoy, simply transfer them to the fridge and allow them to thaw overnight for the best texture and flavor. This way, you can always have this sweet treat on hand!
What should I do if my mixture is too sticky?
If your mixture feels overly sticky when you’re prepping your Raspberry Ruffle Bars, don’t worry! This can happen if the coconut is too moist. To fix this, simply add a bit more desiccated coconut or icing sugar, a tablespoon at a time, mixing well after each addition. Keep adjusting until the mixture holds together without sticking too much to your hands.
Are Raspberry Ruffle Bars suitable for gluten-free diets?
Absolutely! Raspberry Ruffle Bars are naturally gluten-free, especially if you use gluten-free jelly crystals. It’s a delightful treat that everyone can enjoy, including those with gluten sensitivities. Always double-check that your ingredients, especially the jelly crystals, are labeled gluten-free to ensure there are no hidden gluten sources.
Can I substitute the jelly crystals in this recipe?
Definitely! The beauty of Raspberry Ruffle Bars is their versatility. You can swap out raspberry jelly crystals for other flavors, such as strawberry, orange, or even a tropical mango flavor! This allows you to customize the bars according to your taste buds and keep them exciting with every batch.
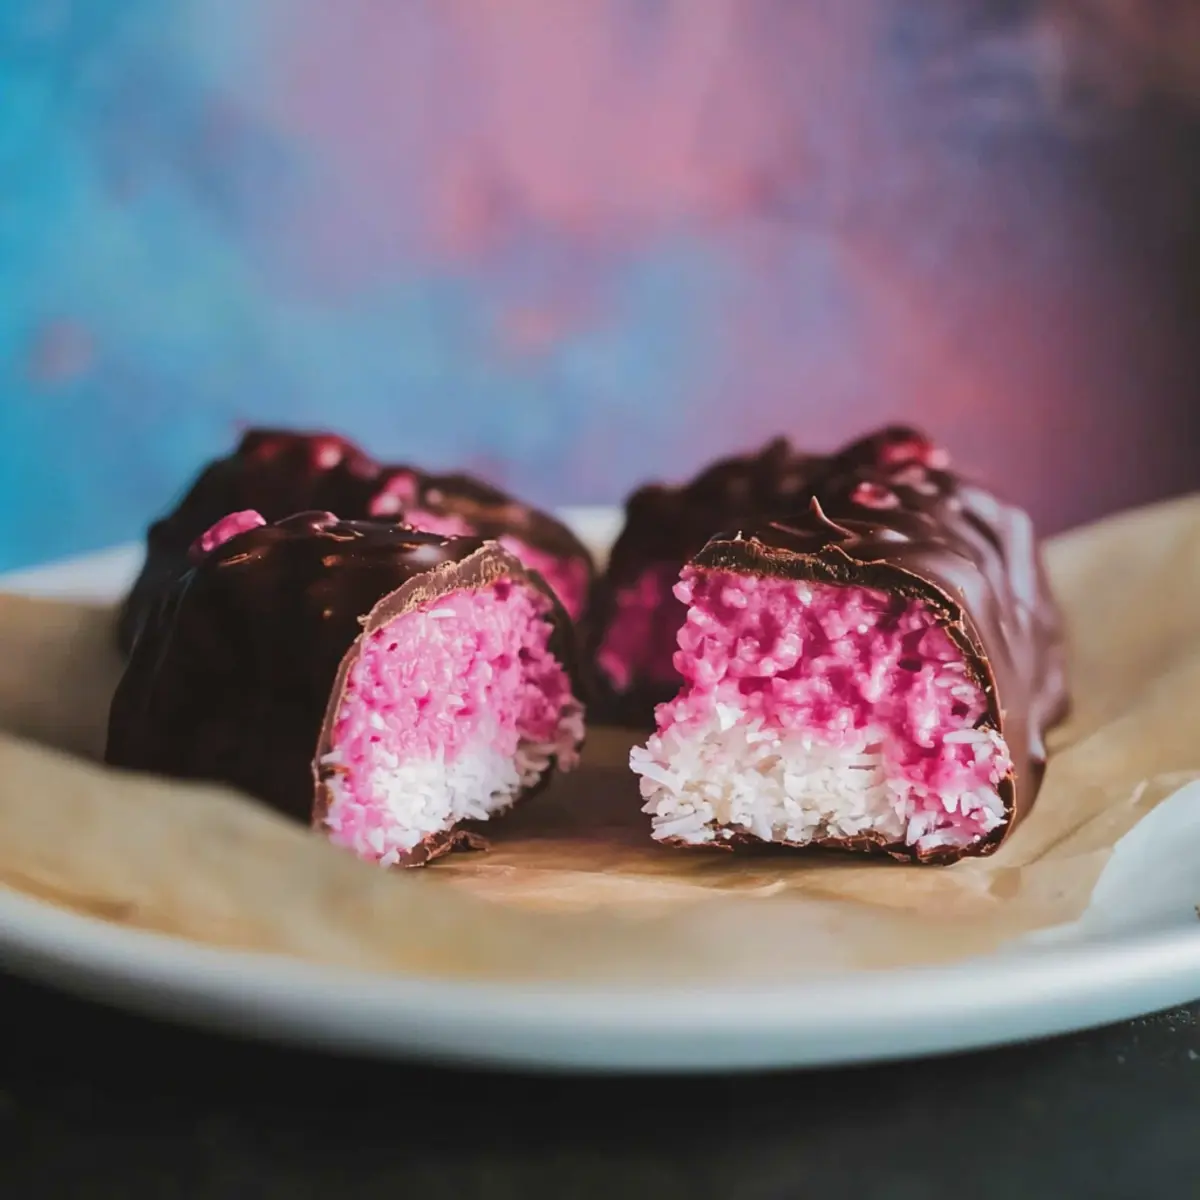
Easy Raspberry Ruffle Bars: No-Bake Bliss in Every Bite
Ingredients
Equipment
Method
- In a large mixing bowl, combine desiccated coconut, condensed milk, icing sugar, and raspberry jelly crystals. Mix until well incorporated, creating a sticky mixture.
- Line a 20cm square tin with parchment paper and spoon the mixture into the lined tin, pressing down firmly to create a solid base.
- Place the tin in the freezer to set for at least 2 hours.
- Melt the milk and dark chocolate in a heatproof bowl over a simmering pot of water, stirring until smooth.
- Remove the frozen mixture from the tin using the parchment paper and cut it into bars or rectangles.
- Dip each bar into the melted chocolate using two forks, ensuring they are fully coated.
- Place the coated bars on parchment paper to set at room temperature for about 30 minutes.
Leave a Reply