
As I pulled the golden-brown Garlic Butter Baked Chicken Thighs from the oven, the irresistible aroma wafted through my kitchen, instantly melting away the day’s stress. This dish perfectly marries crispy, juicy chicken with the rich, savory essence of garlic and butter, making it the ideal choice for a busy weeknight dinner or a cozy family gathering. What I love most about this recipe is its simplicity; it’s ready in just 45 minutes, so you can whip up something special without spending hours in the kitchen. Plus, it’s naturally gluten-free, making it a great option for everyone at your table. Are you ready to elevate your dinner game with these mouthwatering baked chicken thighs? Let’s dive into the details!
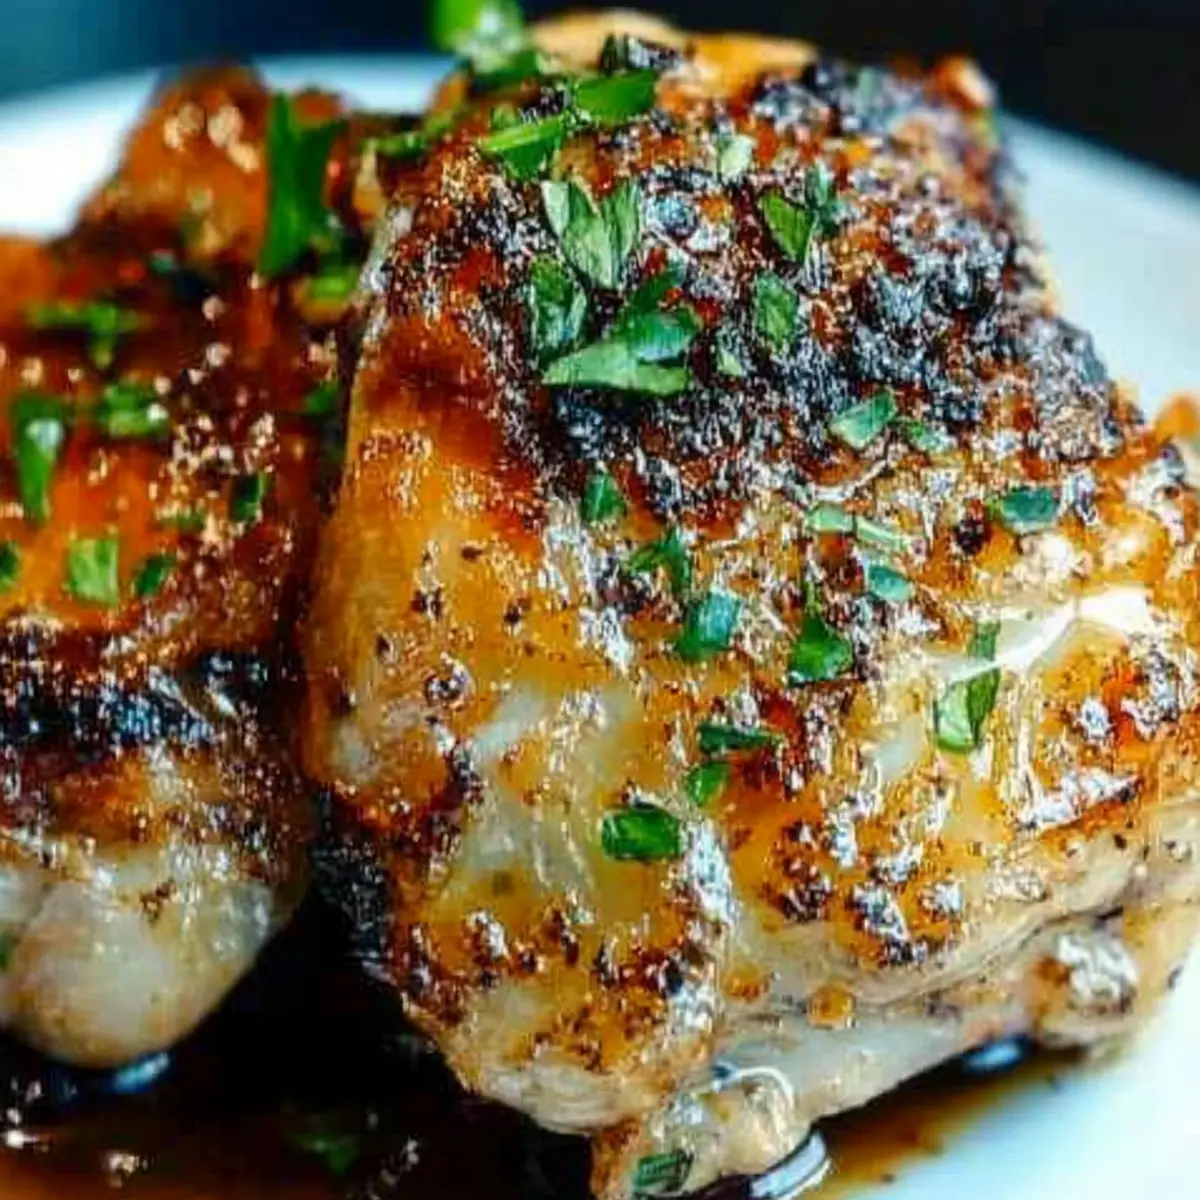
Why Choose Garlic Butter Baked Chicken Thighs?
Irresistible Aroma: As these thighs bake, expect your kitchen to fill with the mouthwatering scent of garlic and butter, setting the mood for a delightful meal.
Versatile Dish: Pair them with creamy mashed potatoes or serve alongside a fresh salad like Asian Chicken Cranberry for a complete feast.
Crispy Yet Juicy: The perfect cooking technique ensures a crispy exterior while locking in moisture for a lipsmacking juicy bite.
Family Friendly: Ideal for everyone, this dish is a hit with both kids and adults, making it the ultimate go-to weeknight dinner!
Quick Preparation: Ready in just 45 minutes, you can enjoy a homemade meal without sacrificing your precious time.
Gluten-Free Goodness: Naturally gluten-free, these chicken thighs are a worry-free addition to accommodate dietary needs while still being incredibly flavorful.
Baked Chicken Thighs Ingredients
For the Chicken
• Chicken Thighs – Bone-in and skin-on provide rich flavor and help keep the meat juicy. Boneless, skinless thighs can be substituted but will require quicker baking.
• Salt and Black Pepper – Essential for enhancing flavor; adjust according to your taste preferences.
For the Cooking
• Olive Oil – Used for searing to achieve that irresistible crispy skin; be generous to prevent sticking.
• Butter – Unsalted is best for controlling saltiness; it adds a luxurious richness to the dish.
For the Flavor
• Garlic – Freshly crushed garlic cloves impart a robust flavor; skip the pre-minced forms to avoid bitterness.
• Fresh Parsley – A delightful garnish that adds a pop of color and freshness to your baked chicken thighs.
Step‑by‑Step Instructions for Garlic Butter Baked Chicken Thighs
Step 1: Preheat the Oven
Begin by preheating your oven to 400°F (200°C). Position the oven rack to the center, ensuring even heat distribution for the baking process. This temperature will help the chicken thighs crisp up beautifully while keeping the meat juicy and flavorful during cooking.
Step 2: Prepare Chicken
While the oven heats, take the bone-in, skin-on chicken thighs and pat them dry thoroughly with paper towels. This step is crucial for achieving crispy skin. Generously season both sides with salt and freshly ground black pepper, allowing the flavors to settle into the meat.
Step 3: Sear Chicken
Heat a 10-inch cast iron skillet over medium-high heat and add a drizzle of olive oil. Once the oil shimmers, carefully place the chicken thighs skin-side down in the skillet. Sear for about 5 minutes, or until the skin turns a rich golden brown and crispy. Flip the thighs, allowing the other side to sear briefly.
Step 4: Add Flavor
If you notice excess fat in the skillet after searing, spoon some out carefully. Now, add unsalted butter to the skillet. Let it melt, then add crushed garlic; sauté for about 30 seconds, stirring frequently until it’s fragrant. This garlic butter sauce will infuse your chicken with delicious flavor.
Step 5: Bake
Now it’s time to transfer your skillet to the preheated oven. Bake the chicken thighs for about 30 minutes, or until they reach an internal temperature of 165°F (74°C). Keep an eye on the skin; if it darkens too quickly, loosely cover the dish with foil to prevent burning.
Step 6: Finish
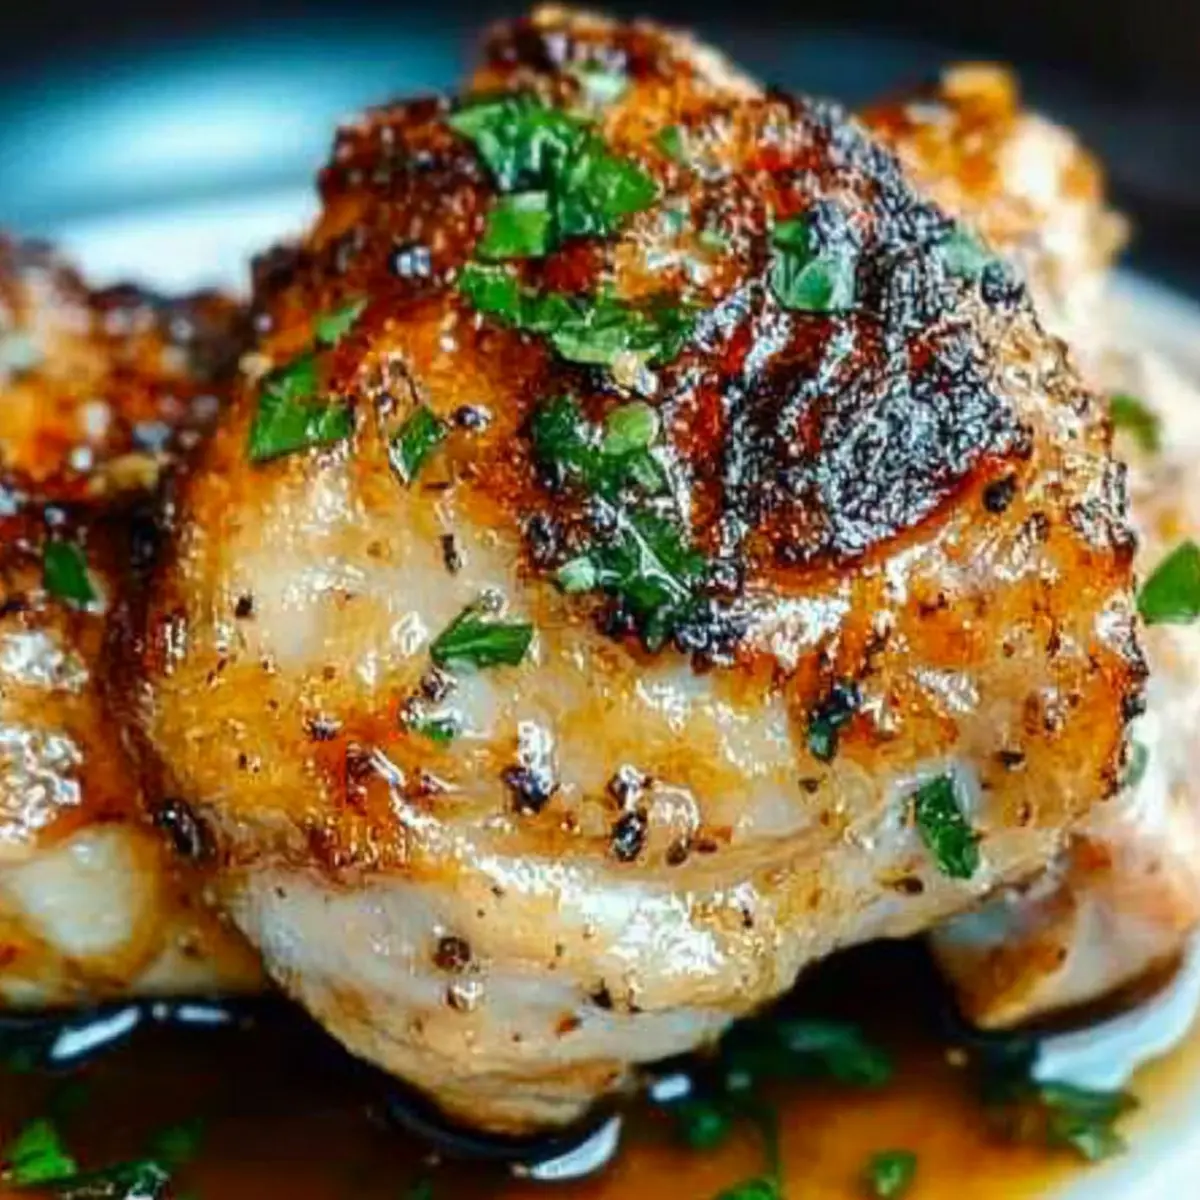
After baking, remove the chicken thighs from the oven and spoon the garlic butter sauce generously over them. Let the thighs rest for about 5 minutes; this allows the juices to redistribute for maximum juiciness. Finally, garnish with freshly chopped parsley before serving to bring in a splash of color.
How to Store and Freeze Baked Chicken Thighs
Fridge: Store cooled baked chicken thighs in an airtight container for up to 4 days. This helps lock in moisture and flavor.
Freezer: If you want to preserve them longer, freeze the thighs in a freezer-safe bag or container for up to 3 months. Label the date for reference.
Thawing: To enjoy your frozen baked chicken thighs, thaw them overnight in the fridge before reheating for the best texture.
Reheating: For optimal crispiness, reheat in a 350°F oven for about 15–20 minutes. Avoid microwaving to keep the skin crispy and delicious.
Expert Tips for Baked Chicken Thighs
-
Dry Before Seasoning: Ensure chicken thighs are thoroughly dried with paper towels before seasoning to achieve that coveted crispy skin.
-
Resting Time: Allow the chicken to rest after baking for about 5 minutes. This helps redistribute the juices, making each bite incredibly juicy.
-
Use a Meat Thermometer: For perfect doneness, use a meat thermometer. Chicken thighs should reach an internal temperature of 165°F for safe eating.
-
Sear for Crispiness: Searing the chicken on high heat before baking is key. Avoid overcrowding in the skillet, as this can result in steaming instead of crisping.
-
Reheating Tips: To maintain the crispiness of your baked chicken thighs, avoid the microwave. Instead, reheat them in the oven for optimal texture.
Variations for Baked Chicken Thighs
Discover delightful twists to make these baked chicken thighs your own and tantalize your family’s taste buds!
-
Boneless Version: Swap to boneless, skinless thighs for a quicker cook time—just reduce the baking by about 10 minutes. Enjoy the same juicy flavors with a tender bite!
-
Herb-Infused: Add dried or fresh herbs like thyme or rosemary to the garlic butter for a fragrant twist. The earthy aroma will make each bite feel like a garden party!
-
Zesty Lemon: A splash of fresh lemon juice in the garlic butter enhances brightness and cuts through the richness. This is a wonderful way to uplift the flavors and bring a citrusy freshness!
-
Spicy Kick: For a heat boost, sprinkle crushed red pepper flakes or add diced jalapeños to the garlic butter. It’s perfect for those who like a little sizzle in their meals!
-
Smoky Flavor: Incorporate smoked paprika into the seasoning for a subtle hint of smokiness. This touch adds depth and keeps the chicken beautifully juicy!
-
Creamy Sauce: After baking, deglaze the skillet with a splash of cream for a luxurious sauce. This creamy garlic butter sauce will elevate your dish to a new level of decadence!
-
Mediterranean Twist: Incorporate olives and sun-dried tomatoes to the garlic butter for a Mediterranean flair. This variation beautifully complements an accompanying Greek salad like Greek Lemon Chicken.
-
Sweet Elements: Add a drizzle of honey to the garlic butter for a sweet contrast. It caramelizes beautifully during baking and creates a delightful flavor profile that kids will love!
Make Ahead Options
These Garlic Butter Baked Chicken Thighs are perfect for meal prep, saving you valuable time on busy weeknights! You can season and sear the chicken thighs up to 24 hours in advance; just keep them covered in the refrigerator to maintain freshness. Additionally, you can prepare the garlic butter sauce and refrigerate it separately for up to 3 days—this ensures all the flavors meld beautifully. When you’re ready to enjoy, simply bake the marinated chicken in the skillet for about 30 minutes, reheat the garlic butter sauce as it cooks, and drizzle it on just before serving. This way, you’ll achieve that mouthwatering, juicy flavor with minimal effort!
What to Serve with Garlic Butter Baked Chicken Thighs
Transform your meal into a cozy feast that’s sure to please your family and friends!
-
Creamy Mashed Potatoes: Silky smooth potatoes absorb the savory garlic butter, bringing comfort and richness to every bite.
-
Parmesan Green Beans: The slight crunch of fresh green beans coated in Parmesan adds a refreshing contrast to the juicy chicken.
-
Garlic Bread: Enhance those garlic flavors with crusty, buttery bread. It’s perfect for sopping up any leftover sauce!
-
Simple Caesar Salad: Crisp romaine and creamy dressing provide a refreshing palate cleanser against the rich chicken.
-
Roasted Brussels Sprouts: Crispy Brussels sprouts drizzled with balsamic glaze bring a delightful touch of sweetness to balance the savory chicken.
-
Herbed Quinoa: Light and fluffy quinoa speckled with fresh herbs complements the chicken nicely while adding a nutritious boost.
-
Chilled White Wine: A glass of chilled Sauvignon Blanc or Chardonnay is the perfect partner, accentuating the dish’s flavors beautifully.
-
Apple Crisp: Finish with a warm bowl of apple crisp; its sweet and tangy notes will make for a perfect end to your meal.
Garlic Butter Baked Chicken Thighs Recipe FAQs
How do I choose ripe and flavorful chicken thighs?
When selecting chicken thighs, look for pieces that have a rosy pink color with no dark spots or blemishes that indicate spoilage. Avoid any that seem slimy or have an unusual odor. Bone-in and skin-on thighs tend to provide more flavor and moisture, so they are often the best choice for this recipe.
What’s the best way to store baked chicken thighs?
To keep your baked chicken thighs fresh, store them in an airtight container in the refrigerator for up to 4 days. If you plan to keep them longer, you can freeze them. Just ensure they cool completely before storing to prevent ice crystals from forming.
Can I freeze baked chicken thighs?
Absolutely! Freeze your cooled baked chicken thighs in a freezer-safe bag or container for up to 3 months. Don’t forget to label the bag with the date. When you’re ready to enjoy them, simply thaw them overnight in the refrigerator before reheating.
What should I do if my chicken thighs didn’t turn out crispy?
If your chicken thighs didn’t crisp up as expected, it might be due to excess moisture. Always pat the thighs dry thoroughly before seasoning and ensure the skillet is hot enough when you sear them. If needed, you can broil the thighs for a few minutes at the end of cooking to add extra crispiness.
Are Garlic Butter Baked Chicken Thighs suitable for people with allergies?
While this recipe is gluten-free, be cautious if you or someone in your household has dairy allergies, as it uses unsalted butter. You can substitute with dairy-free butter or even olive oil. Always check ingredient labels to ensure they meet your dietary needs.
How do I reheat baked chicken thighs to ensure they stay crispy?
For the best results when reheating, avoid the microwave, as it can make the skin soggy. Instead, place the chicken thighs in a 350°F oven for about 15-20 minutes. This will help maintain that delicious crispiness while warming the meat through.
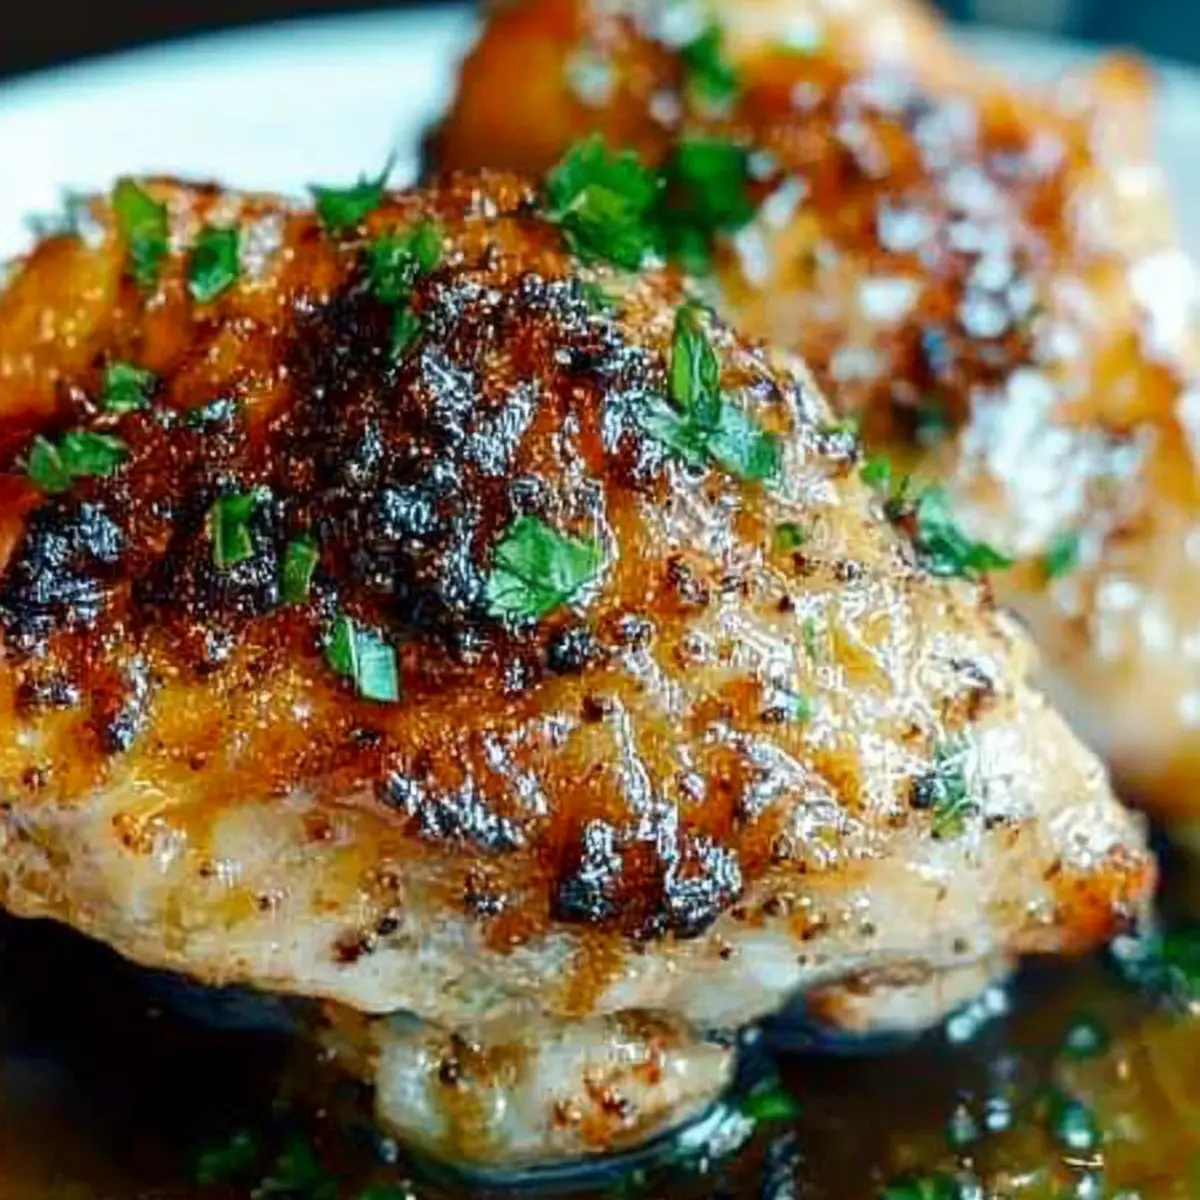
Crispy Baked Chicken Thighs with Garlic Butter Bliss
Ingredients
Equipment
Method
- Preheat your oven to 400°F (200°C) with the oven rack in the center.
- Pat the chicken thighs dry with paper towels and season with salt and pepper.
- Heat olive oil in a skillet over medium-high heat, then sear chicken thighs skin-side down for about 5 minutes.
- Remove excess fat if necessary, add butter and garlic, sautéing until fragrant.
- Transfer the skillet to the oven and bake for about 30 minutes until the chicken reaches an internal temperature of 165°F (74°C).
- Remove from oven, spoon garlic butter sauce over the chicken, and let it rest for 5 minutes before garnishing with parsley.
Leave a Reply