
The kitchen was filled with the sweet, comforting aroma of roasting vegetables, and I couldn’t help but remember those family gatherings that revolved around delicious food and shared laughter. Today, I’m excited to share my secret for creating irresistibly velvety melting sweet potatoes—a dish that effortlessly pairs with any meal. With just a handful of simple ingredients, you can whip up this gluten-free and dairy-free delight that not only gratifies your cravings but also serves as a heartwarming side for festive occasions. One of the best parts? These glorious sweet potatoes can be made ahead of time, allowing you to savor the moment rather than rush around the kitchen. Are you ready to bring warmth and joy to your table with this creamy, caramelized treat? Let’s dive in!
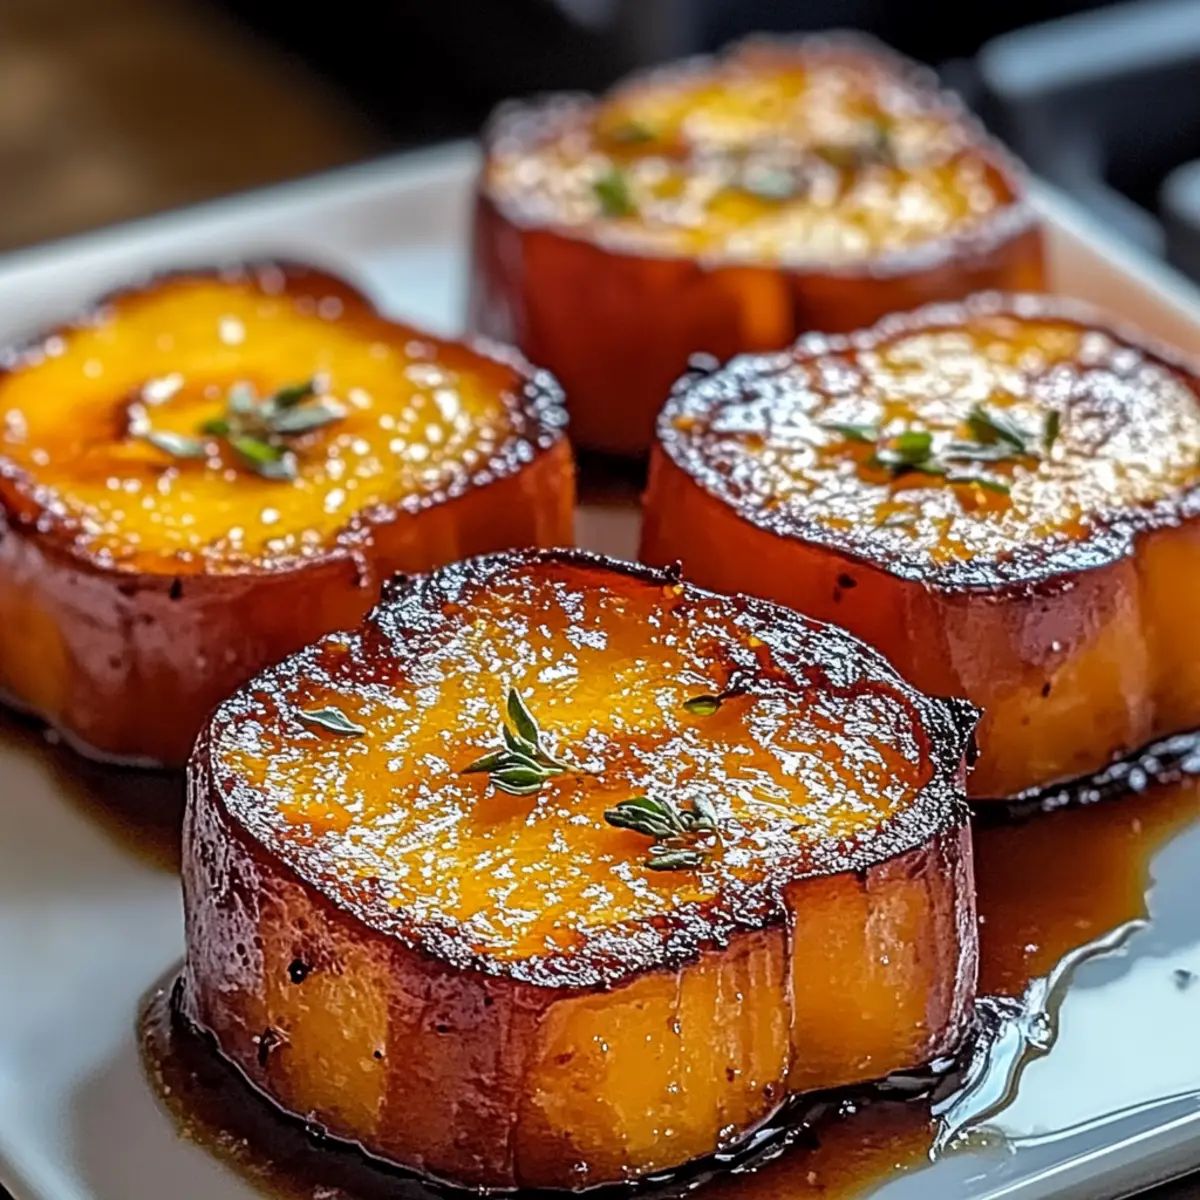
Why are Melting Sweet Potatoes a must-try?
Comforting, Creamy Delight: Melting sweet potatoes deliver the ultimate comfort food experience, with their velvety texture and rich flavor enveloping your taste buds in bliss.
Health-Conscious Choice: Gluten-free and dairy-free, they cater to various dietary needs while still being indulgent.
Effortless Preparation: With a few simple steps, you can create an impressive side dish that requires minimal effort—ideal for busy evenings or festive gatherings.
Versatile Pairing: These sweet potatoes harmonize beautifully with a range of main dishes, from roasted chicken to grilled salmon, making them the perfect addition to any meal.
Make-Ahead Magic: Prepare them in advance and easily store leftovers, allowing you to relax and enjoy your company without sacrificing flavor. If you love satisfying and delectable sides like these, consider trying the Flourless Sweet Potato or Duchess Potatoes Luxurious for even more fantastic options!
Melting Sweet Potatoes Ingredients
For the Sweet Potatoes
• Sweet Potatoes – These are the star of the dish, providing natural sweetness and a creamy texture. You can substitute with butternut squash if desired.
• Olive Oil – Used for drizzling, it helps achieve a golden crust on your sweet potatoes; avocado oil is a great alternative.
• Salt – Enhances the flavor; feel free to adjust to your taste preference.
• Pepper – Adds a hint of spice, which you can also adjust to personal taste.
• Butter – Optional for a rich finish; swap with plant-based butter to keep this dish dairy-free.
• Maple Syrup – Adds sweetness and promotes caramelization; honey or agave syrup can serve as alternatives.
• Smoked Paprika or Chili Powder – An optional flavor enhancer, giving your melting sweet potatoes a delicious, smoky twist.
For Garnishing
• Toasted Nuts – Optional, but they add wonderful crunch (think pecans or walnuts) on top for an inviting finish.
Step‑by‑Step Instructions for Irresistibly Velvety Melting Sweet Potatoes
Step 1: Preheat the Oven
Begin by preheating your oven to 325°F (163°C). This gentle temperature is ideal for slowly roasting the sweet potatoes, allowing them to become tender and creamy throughout. While the oven warms up, you can prepare your sweet potatoes for the next step, setting the stage for that delightful melting texture.
Step 2: Prepare the Sweet Potatoes
Carefully peel the sweet potatoes and slice them into 1-inch thick rounds for even cooking. This uniformity ensures that each piece will cook at the same rate, resulting in perfectly melting sweet potatoes. Remember to use a sharp knife and a sturdy cutting board for safety as you work through this step.
Step 3: Arrange and Season
On a large baking sheet, arrange the sweet potato slices in a single layer, ensuring they don’t overlap. Drizzle them generously with olive oil, then sprinkle with salt and pepper to taste. Toss the slices gently until all are coated evenly, and the olive oil glistens on their surfaces, preparing for that delicious bake.
Step 4: Bake Until Tender
Place the seasoned sweet potato slices in the oven and bake for 45 minutes. At the halfway mark, flip the slices for even cooking and browning. You’ll know they are ready when a fork easily slides into their flesh, revealing that characteristic soft interior of melting sweet potatoes.
Step 5: Create a Creamy Interior
Once fully baked, remove the sweet potato slices from the oven. Gently press down on each one with a fork or a spatula to create a delightful creamy interior, being cautious not to crush them completely. This pressure allows the natural sugars to release, enhancing the sweetness of your melting sweet potatoes.
Step 6: Add Richness and Sweetness
Top each baked slice with a pat of butter and a drizzle of maple syrup, adding an extra layer of richness. This step is essential for enhancing the overall flavor of your sweet potatoes. Return the baking sheet to the oven and bake for an additional 15 minutes, watching for crispy, caramelized edges that complete this delectable dish.
Step 7: Garnish Before Serving
If desired, finish your melting sweet potatoes with a sprinkling of toasted nuts, such as pecans or walnuts, right before serving. This optional step adds a wonderful crunchy texture that beautifully contrasts with the creamy sweetness. Serve them warm and enjoy the heartwarming aroma that fills your kitchen!
Make Ahead Options
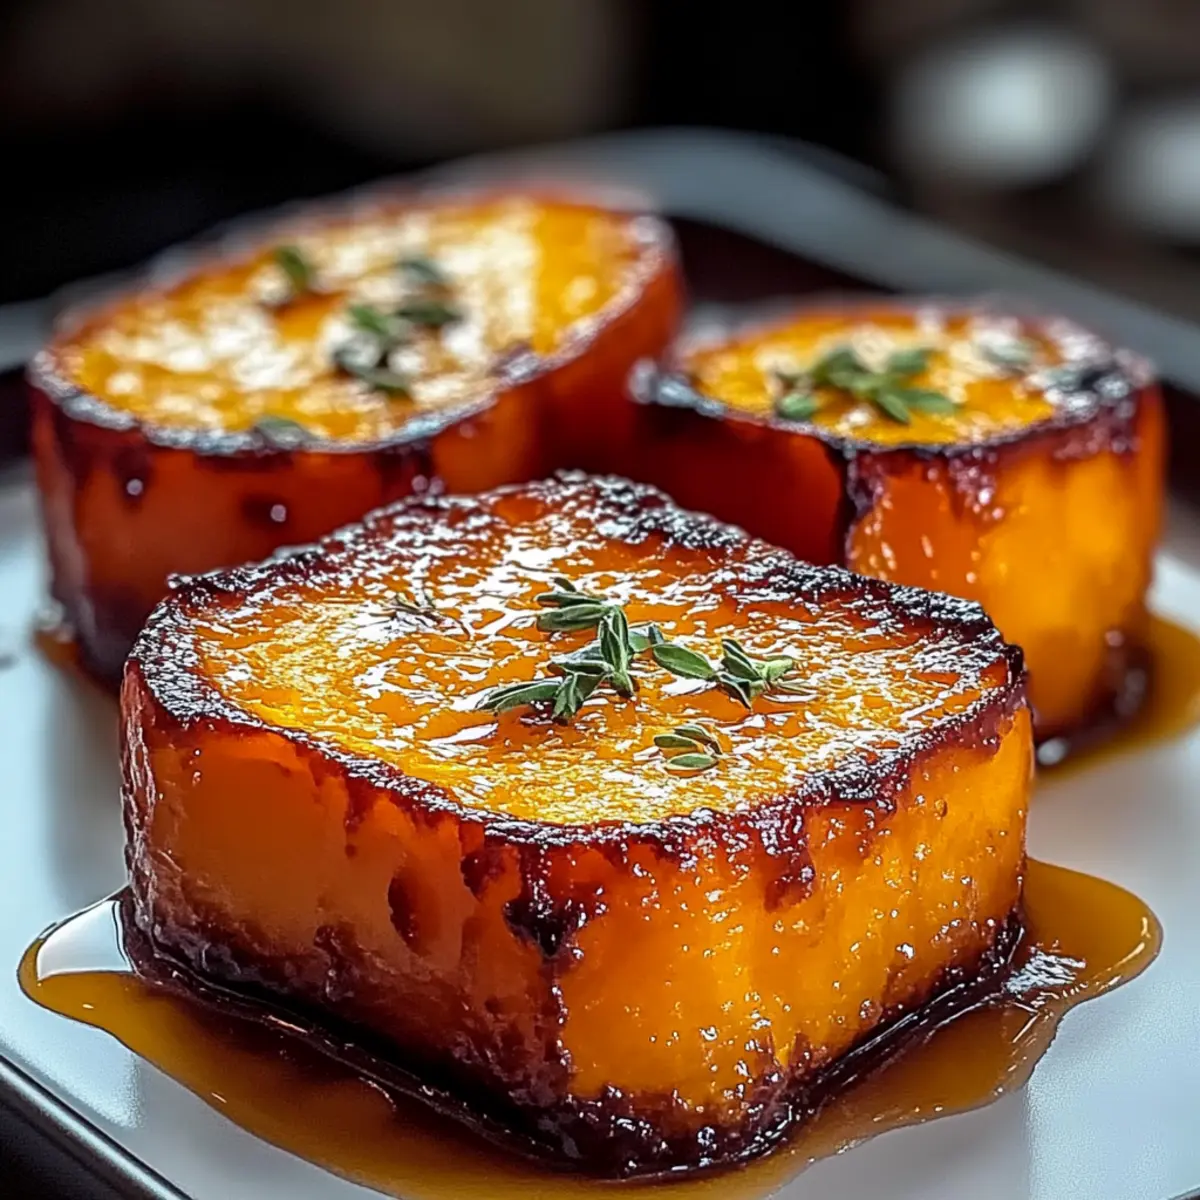
These irresistibly velvety melting sweet potatoes are a meal prep dream! You can prepare the sweet potatoes by peeling and slicing them, then store them in water in the refrigerator for up to 24 hours to prevent browning. Alternatively, you can season the slices and refrigerate them on a baking sheet for up to 3 days, allowing you to quickly pop them in the oven when it’s time to serve. When you’re ready to enjoy this comforting side dish, simply follow the baking instructions as usual, and you’ll have sweet potatoes that are just as flavorful and creamy as if made fresh that day. This prep-ahead strategy really saves time, making busy weeknights feel a touch more manageable!
Expert Tips for Perfect Melting Sweet Potatoes
-
Slice Uniformly: Ensure even cooking by slicing sweet potatoes into 1-inch rounds. Inconsistent sizes can lead to uneven baking.
-
Low and Slow: Bake at 325°F (163°C) to allow the sugars to caramelize beautifully. Rushing the cook time can cause tough texture.
-
Gentle Pressing: When creating the creamy interior, be careful to press gently. Too much force may result in mushy sweet potatoes instead of the desired melting effect.
-
Maple Syrup Magic: Don’t skip the maple syrup; it’s crucial for achieving that sweet, caramelized flavor that enhances your melting sweet potatoes.
-
Experiment with Spices: Feel free to add smoked paprika or chili powder for a flavorful kick, giving your melting sweet potatoes an extra layer of deliciousness.
What to Serve with Irresistibly Velvety Melting Sweet Potatoes
Enhance your dining experience with delightful accompaniments that complement the creamy texture and sweet flavors of this dish.
-
Roasted Chicken: Juicy, herb-seasoned chicken pairs beautifully, creating a comforting plate that warms the heart and soul.
-
Grilled Salmon: The rich, buttery flavor of grilled salmon contrasts with the sweet potatoes, making for an indulgent combination.
-
Sautéed Kale: A vibrant, slightly bitter sautéed kale adds a fresh element, enhancing the overall balance between sweet and savory.
-
Honey-Glazed Carrots: The natural sweetness of these carrots echoes the melting sweet potatoes, while their crisp texture offers a delightful contrast.
-
Maple-Glazed Brussels Sprouts: These crispy sprouts bring a caramelized depth that beautifully complements the sweet, velvety offering on your plate.
-
Fresh Mixed Greens Salad: A light and refreshing salad with citrus vinaigrette cuts through the richness, delighting your palate with each bite.
-
Crispy Pork Tenderloin: This savory option introduces a satisfying crunch and depth that elevates the entire meal experience.
-
Chilled White Wine: Pair with a crisp Sauvignon Blanc or Chardonnay for a refreshing sip that harmonizes with the sweet flavors and creamy textures.
Melting Sweet Potatoes Customization Ideas
Feel free to let your creativity shine and make these irresistibly velvety melting sweet potatoes your own!
- Dairy-Free: Replace traditional butter with plant-based butter for a silky finish that keeps the dish dairy-free.
- Spice It Up: Add a sprinkle of cayenne pepper or red pepper flakes for a gentle kick, complementing the sweetness beautifully.
- Herb Infused: Toss in chopped fresh herbs like rosemary or thyme before baking for a delightful freshness that elevates the flavor.
- Maple Variations: Swap maple syrup with honey for a different sweet note, or try agave syrup for a vegan alternative.
- Nutty Crunch: Top with crushed hazelnuts or almonds instead of pecans for a different nutty flavor and crunch.
- Savory Twist: Add a pinch of garlic powder or onion powder for a savory flavor contrast that balances the sweetness.
- Flavor Boosters: Mix in some smoked paprika or chili powder to give your sweet potatoes a smoky, spicy twist.
- Squash Swap: Use butternut squash instead of sweet potatoes for a different texture and beautiful golden color.
If you’re looking for more delicious ideas to accompany your meal, consider trying the Warm Green Potatoes or the inviting flavors of Sweet Potato Egg!
How to Store and Freeze Melting Sweet Potatoes
-
Room Temperature: Allow leftover melting sweet potatoes to cool completely, then cover loosely and store at room temperature for up to 1 day.
-
Fridge: Store any uneaten sweet potatoes in an airtight container in the fridge for up to 4 days. Reheat gently in the oven to keep their creamy texture.
-
Freezer: For longer storage, freeze baked sweet potatoes in a single layer on a baking sheet until solid, then transfer to a freezer-safe bag. They can be frozen for up to 3 months.
-
Reheating: To reheat frozen sweet potatoes, let them thaw in the fridge overnight, and then bake at 350°F (175°C) for about 15 minutes, ensuring they’re heated through without drying out.
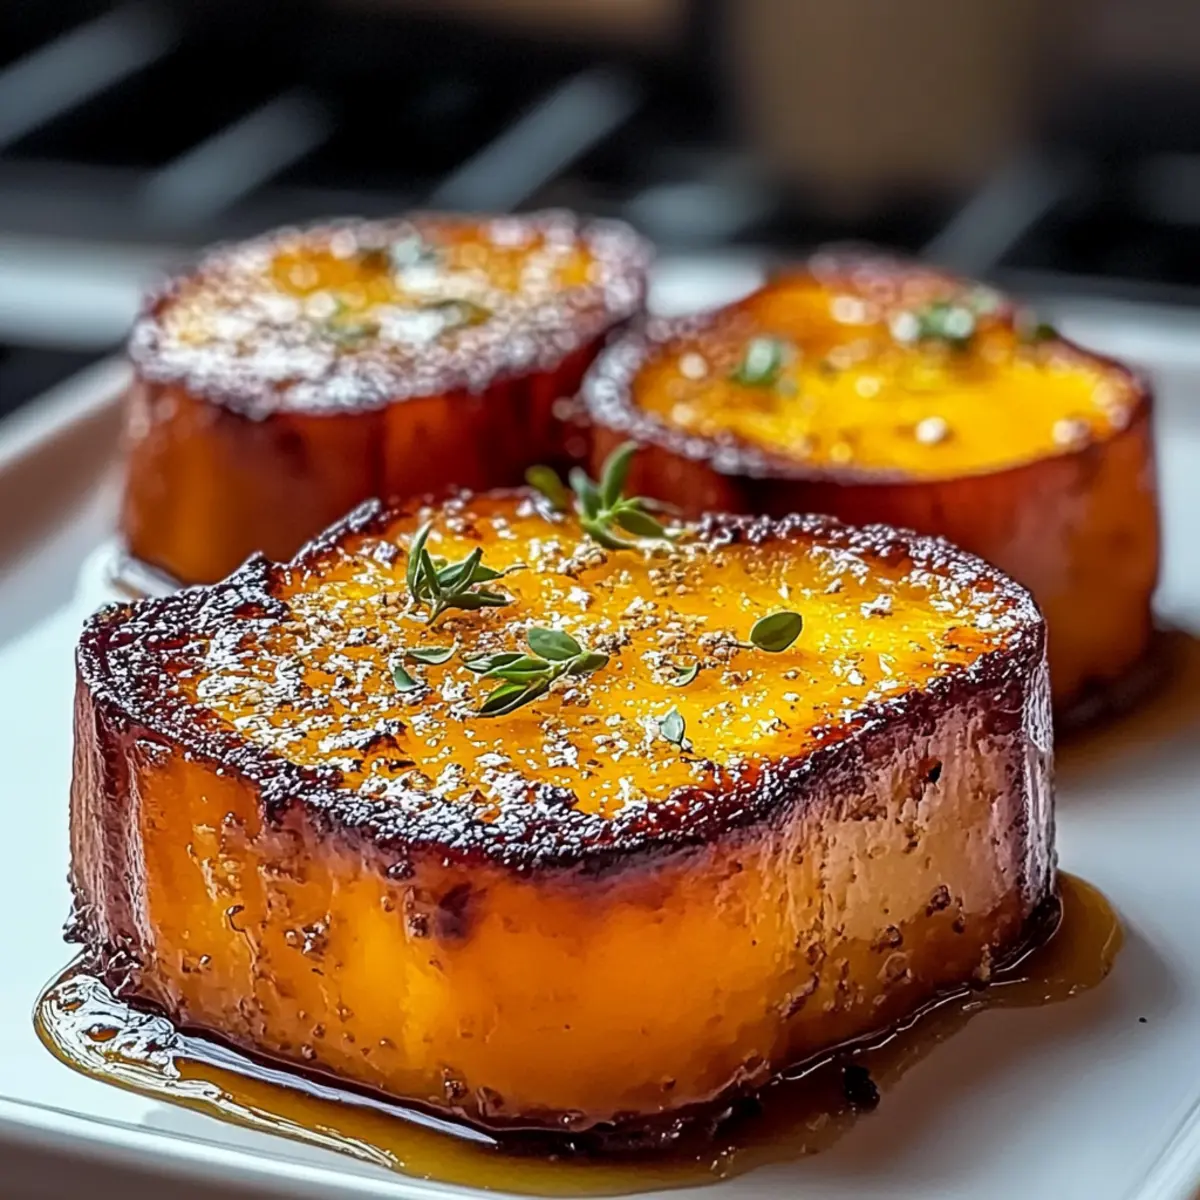
Melting Sweet Potatoes Recipe FAQs
What type of sweet potatoes should I use?
Absolutely! For the best results, choose firm, unblemished sweet potatoes. Look for ones that are vibrant in color and free from dark spots or blemishes. The natural sweetness and creamy texture will shine through in your melting sweet potatoes. You can also substitute with butternut squash if you’re in the mood for a change!
How should I store the leftovers?
You can store uneaten melting sweet potatoes in an airtight container in the fridge for up to 4 days. Just make sure they cool completely before sealing to maintain their creamy texture. When you’re ready to enjoy them again, gently reheat at 350°F (175°C) for about 15-20 minutes to bring back the deliciousness!
Can I freeze melting sweet potatoes?
Yes, absolutely! For longer-term storage, freeze your baked sweet potatoes. Start by placing them in a single layer on a baking sheet and freeze until solid. Once frozen, transfer them to a freezer-safe bag and enjoy them for up to 3 months. When you’re ready to eat, let them thaw overnight in the fridge, and then reheat as mentioned before.
What if my sweet potatoes don’t get that melting texture?
Sometimes it can be tricky to achieve that perfect melt. First, make sure you slice your sweet potatoes into even 1-inch rounds for consistent cooking. Low and slow baking at 325°F (163°C) is key; rushing it can lead to a tougher texture. If they’re still not melting enough, gently press down with a fork once baked, and let them cook a bit longer until they’re tender.
Are melting sweet potatoes safe for my dietary needs?
Definitely! These creamy treats are gluten-free and can easily be made dairy-free by using plant-based butter instead of regular butter. Always check the labels on your ingredients if you have allergies. They also make a great side option for those following a gluten-free diet.
How long can I prep these sweet potatoes in advance?
If you want to make your cooking experience even easier, you can slice and store the sweet potatoes in cold water in the refrigerator for up to 3 days before baking. Just remember to pat them dry before drizzling with oil and seasonings. This way, you’ll have less prep time on the day you plan to serve them!
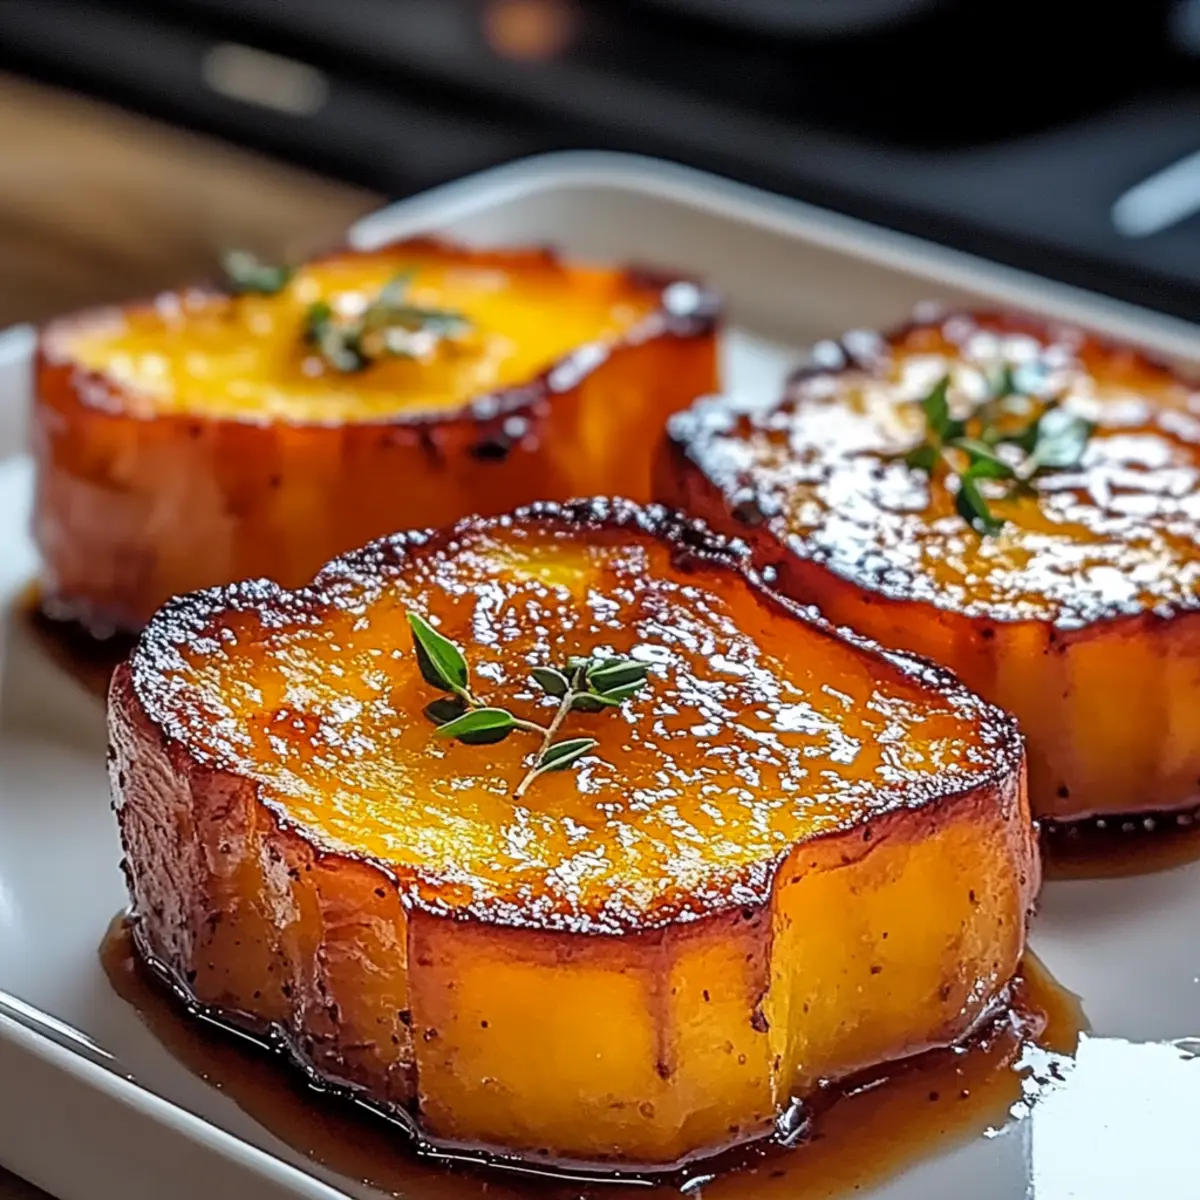
Melting Sweet Potatoes for Irresistible Comfort Every Time
Ingredients
Equipment
Method
- Preheat your oven to 325°F (163°C).
- Peel the sweet potatoes and slice them into 1-inch thick rounds.
- Arrange the sweet potato slices on a baking sheet in a single layer, drizzle with olive oil, and sprinkle with salt and pepper. Toss to coat.
- Bake the sweet potato slices for 45 minutes, flipping halfway through.
- Once baked, gently press each slice to create a creamy interior.
- Top each slice with butter and maple syrup, then bake for an additional 15 minutes.
- Garnish with toasted nuts if desired, then serve warm.
Leave a Reply