
As I stood in my kitchen, the vibrant hues of dragon fruit caught my eye, sparking the idea for a stunning dessert. This no-bake Dragon Fruit Cheesecake is a dazzling treat that not only looks impressive but also boasts a luscious, creamy texture that will leave your taste buds dancing. The best part? It’s a quick and easy recipe that can be whipped up in no time, making it perfect for those last-minute gatherings or when you simply want to indulge without the hassle. Every slice is a delightful surprise, as the bright pink and purple layers create a feast for the eyes, while being vegetarian-friendly ensures that everyone can enjoy this tropical twist on a classic. Curious how to bring this vibrant masterpiece to your table? Let’s dive into the recipe!
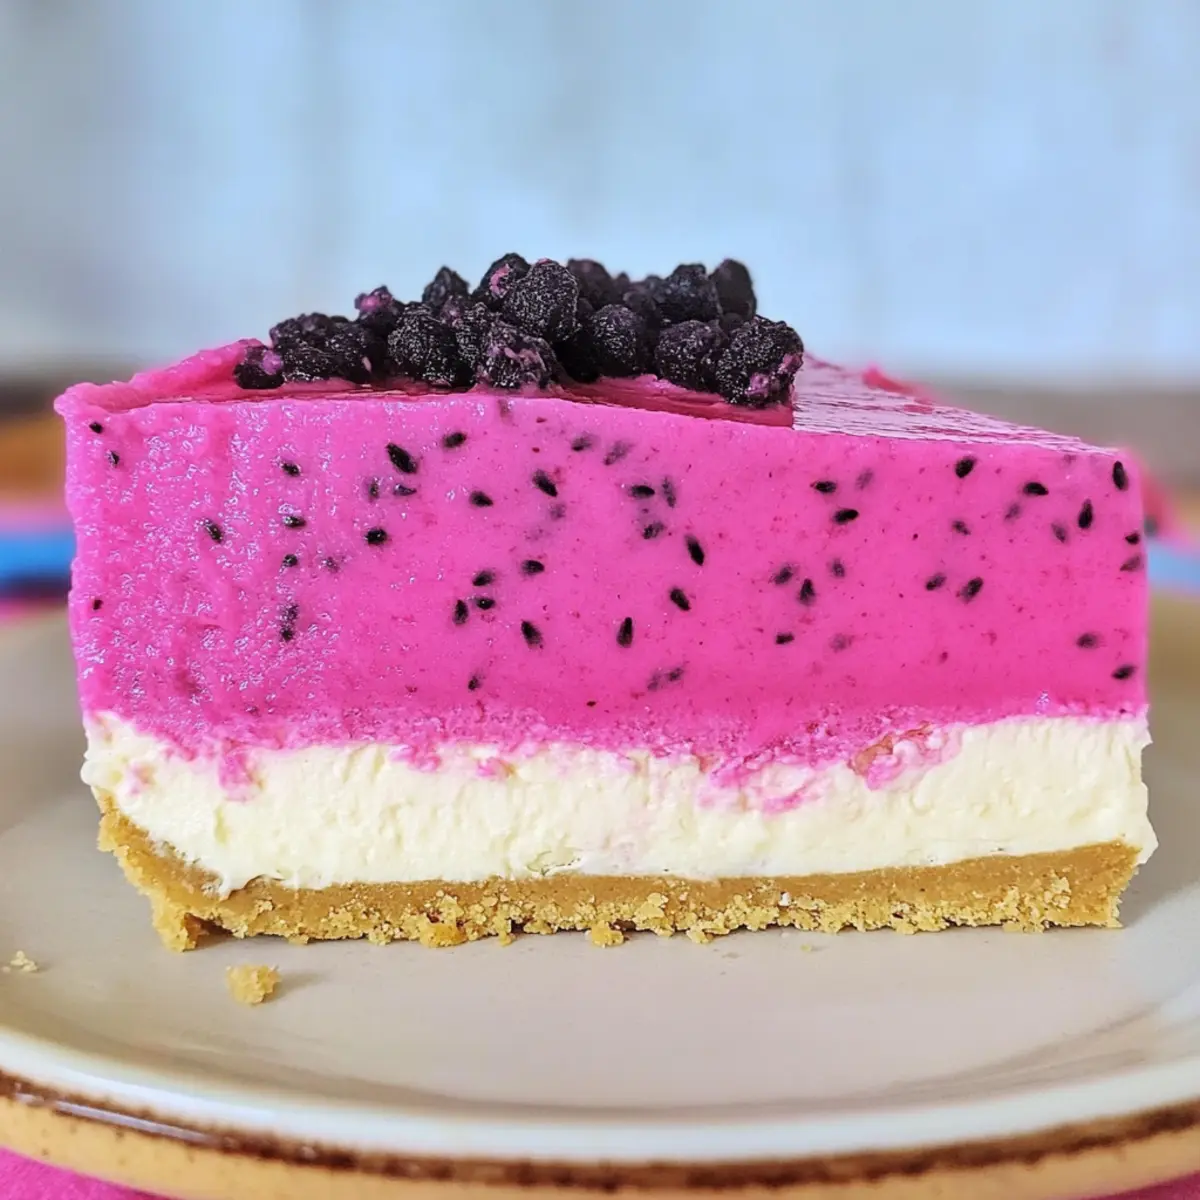
Why is Dragon Fruit Cheesecake a Must-Try?
Visually Stunning: This cheesecake’s vibrant pink and purple layers are guaranteed to impress your guests at any gathering or celebration.
No-Bake Delight: Quick and easy to make, this dessert requires no baking, making it perfect for those spontaneous cravings or last-minute gatherings.
Luscious Texture: The creamy filling combined with a crumbly crust provides a delightful mouthfeel that will keep everyone coming back for seconds.
Crowd-Pleaser: Vegetarian-friendly and visually appealing, it’s a dessert that everyone can enjoy—perfect for parties and get-togethers.
Tropical Twist: Infusing traditional cheesecake with exotic dragon fruit introduces a fresh flavor that transforms your dessert experience.
Serve it up chilled, and elevate your presentation with fresh dragon fruit slices or edible flowers for that extra flair!
Dragon Fruit Cheesecake Ingredients
For the Crust
• Graham Crackers – Provides the crust structure; use gluten-free graham crackers for a gluten-free version.
• Sugar – Sweetens the crust and filling; adjust for desired sweetness.
• Butter – Binds the crust together; can substitute with margarine for a dairy-free option.
For the Filling
• Cream Cheese – Creates a rich and creamy filling; use vegan cream cheese for a plant-based version.
• Heavy Cream – Adds lightness and fluffiness; coconut cream can be a dairy-free substitute.
• Vanilla Extract – Enhances flavor; you can use pure vanilla or vanilla bean paste.
• KNOX Unflavored Gelatin – Stabilizes the cheesecake; use agar-agar for a vegetarian alternative.
• Water – Used to dissolve gelatin.
For the Color
• Neon Pink and Purple Food Coloring Gels – Achieves vibrant colors; optional but recommended for appearance.
For the Fruit
• Frozen Dragon Fruit – Adds flavor and aesthetic; opt for pink pitaya for appealing color, and be sure to thaw before use.
This Dragon Fruit Cheesecake not only promises a burst of color but also offers a delightful experience for your taste buds!
Step‑by‑Step Instructions for Dragon Fruit Cheesecake
Step 1: Prepare the Crust
Start by preheating your oven to 350°F (175°C). In a food processor, blend graham crackers until they become fine crumbs. Combine these crumbs with sugar and melted butter in a bowl, mixing until fully combined. Press this mixture firmly into the bottom of a lined springform pan to create a solid crust, and then freeze for about 20 minutes to set.
Step 2: Whip Cream
While the crust is setting, pour heavy cream into a stand mixer bowl. Whip the cream on medium-high speed with one tablespoon of sugar until you achieve stiff peaks, about 3-5 minutes. Once formed, transfer the whipped cream to the refrigerator to keep it cool while you prepare the cheesecake filling.
Step 3: Mix Filling
In the same mixer bowl, beat the softened cream cheese with the remaining sugar and vanilla extract until smooth and creamy, about 2-3 minutes. Ensure there are no lumps for a velvety filling. Gently fold in the whipped cream into this mixture, taking care not to deflate the air you just incorporated, until well combined.
Step 4: Prepare Gelatin
In a small saucepan, dissolve the KNOX unflavored gelatin in water according to the packet instructions, usually about 5 minutes. Heat gently until completely dissolved—avoid boiling. Blend this melted gelatin into the cream cheese mixture until fully integrated, ensuring stability for your Dragon Fruit Cheesecake.
Step 5: Layering
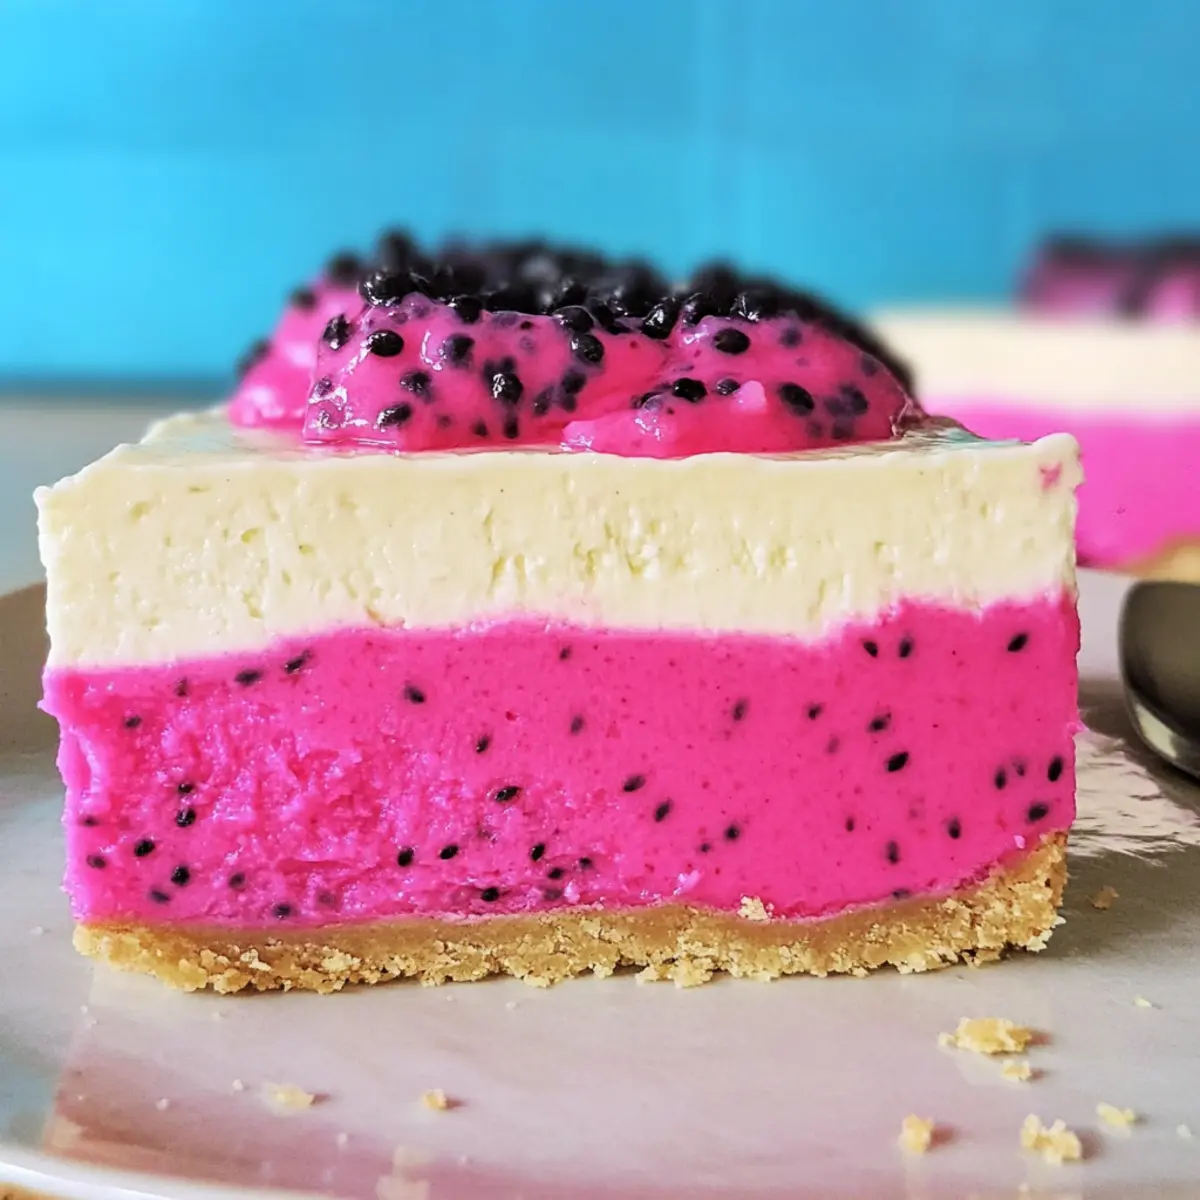
Pour half of the creamy cheesecake mixture into the chilled crust, smoothing it evenly. Return this layer to the freezer for about 30 minutes until slightly firm. Meanwhile, blend the thawed dragon fruit with the remaining cheesecake batter, adding food coloring for vibrant hues. Once the first layer is set, pour the dragon fruit mixture over it and freeze overnight for best results.
Step 6: Serve
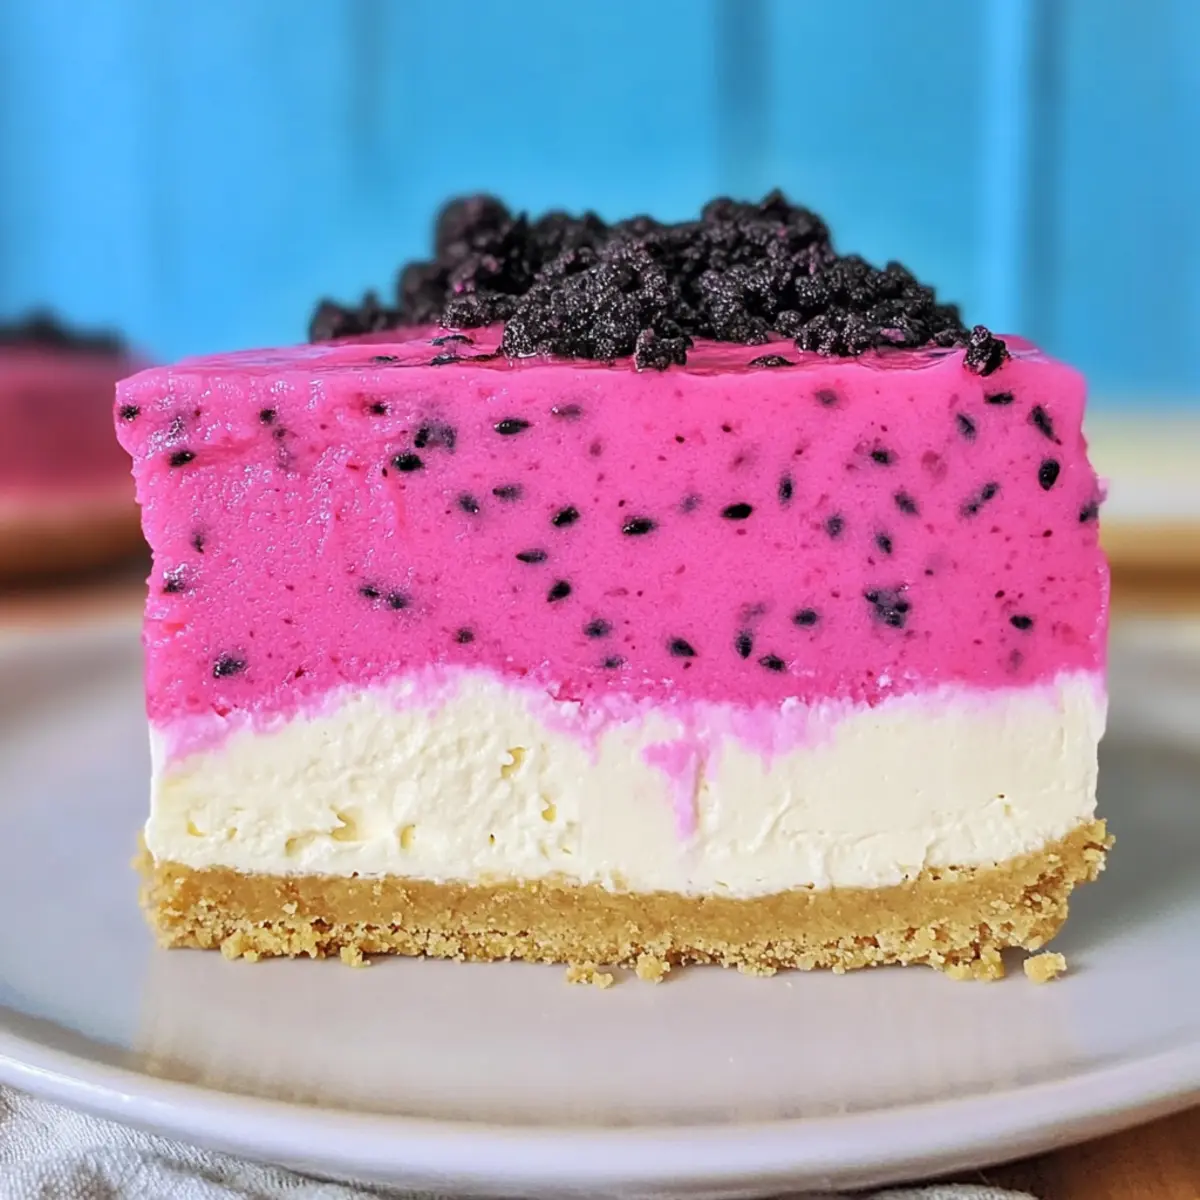
When ready to serve your stunning Dragon Fruit Cheesecake, carefully remove it from the freezer. Release it from the springform pan and slice it using a serrated knife for clean cuts. Let it thaw at room temperature for about 10 minutes before serving, and enjoy the delicious contrast of creamy and fruity layers.
Expert Tips for Dragon Fruit Cheesecake
Room Temperature Cream Cheese: Ensure your cream cheese is at room temperature for easy mixing, resulting in a smooth filling without lumps.
Softly Whip Cream: Don’t over-whip the heavy cream; stop when stiff peaks form to maintain that light, airy texture in your cheesecake.
Chill Between Layers: Always freeze each layer for about 30 minutes before adding the next. This helps prevent them from mixing and enhances the vibrant separation.
Proper Slicing: Use a serrated knife to cut the cheesecake smoothly, ensuring clean slices that showcase the beautiful layers of your Dragon Fruit Cheesecake.
Thawing Time: Allow the cheesecake to thaw slightly at room temperature for easier slicing and a creamier texture when serving.
Dragon Fruit Cheesecake Variations
Feel free to explore these delightful variations that will elevate your cheesecake experience and cater to different preferences!
-
Gluten-Free Crust: Substitute graham crackers with gluten-free alternatives made from almond flour or oats for a gluten-free version that still has that satisfying crunch.
-
Dairy-Free Delight: Use vegan cream cheese and coconut cream instead of traditional dairy products for a fully plant-based cheesecake that doesn’t skimp on flavor.
-
Fruity Toppings: Top the cheesecake with fresh slices of kiwi, strawberries, or pomegranate seeds for a burst of refreshing flavor and added visual appeal.
-
Flavor Infusion: Add a teaspoon of almond or coconut extract to the filling for a delightful flavor twist that complements the dragon fruit beautifully.
-
Chocolate Drizzle: Make it extra decadent by drizzling melted dark chocolate or a rich chocolate ganache over the top before serving. This adds depth and an irresistible allure!
-
Spicy Kick: Incorporate a pinch of cayenne pepper or chili powder into the filling for an unexpected, tantalizing heat that contrasts with the sweetness.
-
Layered Cheesecake: Alternate layers with mango or passion fruit puree to create a stunning ombre effect, enhancing the tropical experience with each slice.
For more indulgent options, don’t miss my refreshing Mini Lemon Cheesecakes or for a festive treat, try the Christmas Fruit Cake with Brandy. These desserts offer flavorful variations that will impress family and friends alike!
What to Serve with Dragon Fruit Cheesecake
Elevate your dining experience with delightful pairings that complement every luscious slice of this vibrant dessert.
- Fresh Berries: Their tartness offers a sweet contrast to the creamy cheesecake, enhancing its fruity flavor. A colorful fruit medley can brighten your table.
- Coconut Sorbet: This refreshing treat mirrors the tropical vibes of dragon fruit while adding a cold, icy texture that’s simply divine alongside the cheesecake.
- Mint-infused Whipped Cream: A dollop of minty whipped cream adds a refreshing twist, enhancing the dessert’s appeal and leaving a cooling, satisfying taste.
- Tropical Fruit Salad: With peaches, pineapple, and kiwi, this vibrant salad brings a burst of freshness and complements the exotic flavors of the cheesecake beautifully.
- Green Tea: The earthy notes of green tea balance the rich sweetness of the cheesecake, creating a soothing blend of flavors with each bite.
- Chai Latte: Warm spices in chai bring a comforting contrast, making each slice feel cozy while offering an aromatic experience that’s simply irresistible.
- Lemon Sorbet: The zesty tartness cuts through the richness of the cheesecake, elevating your dessert experience to new heights.
- Almond Biscotti: Crunchy and sweet, this treat pairs nicely with creamy cheesecake, offering a delightful texture contrast in each bite.
- Chocolate Drizzle: A drizzle of dark chocolate syrup on top not only enhances flavor but also adds a gourmet touch that will impress your guests.
- Edible Flowers: Garnishing with edible flowers brings a stunning visual appeal, making every plate look like a work of art while delighting the senses.
Make Ahead Options
These vibrant Dragon Fruit Cheesecakes are a wonderful choice for busy home cooks looking to save time! You can prepare the crust and filling up to 24 hours in advance, allowing you to focus on other tasks or simply relax. To do this, prepare the crust and set it in the freezer as directed. For the filling, whip the cream cheese and incorporate the whipped cream and gelatin mixture. Layer the filling and dragon fruit mixture, then freeze the cheesecake overnight. When ready to serve, simply thaw the cheesecake for about 10 minutes at room temperature, slice, and savor the same delightful flavors as a freshly made dessert!
How to Store and Freeze Dragon Fruit Cheesecake
Fridge: Keep the cheesecake covered in an airtight container in the fridge for up to 3 days to retain its freshness and flavor.
Freezer: Wrap individual slices in plastic wrap or aluminum foil, then place them in a freezer-safe container. This way, they can be frozen for up to 2 months without losing quality.
Thawing: When ready to enjoy, thaw the cheesecake overnight in the fridge for the best texture, or let it sit at room temperature for about 15-20 minutes.
Reheating: No reheating needed! Simply slice and serve chilled for a refreshing treat that’s visually stunning, perfect for a casual dessert.
Dragon Fruit Cheesecake Recipe FAQs
How do I select ripe dragon fruit?
When choosing dragon fruit, look for fruits that are vibrant in color, typically bright pink or yellow. The skin should feel firm but slightly delicate, and any dark spots can indicate overripeness. If it’s too soft, it may be overripe, so aim for a balance—medium firmness is ideal!
How should I store leftover Dragon Fruit Cheesecake?
To store leftover cheesecake, cover it tightly with plastic wrap or place it in an airtight container. It can be kept in the fridge for 3 to 4 days, but I recommend enjoying it within the first few days for the best texture and flavor.
Can I freeze Dragon Fruit Cheesecake?
Absolutely! To freeze your cheesecake, slice it into portions first. Wrap each slice individually in plastic wrap, then place them in a freezer-safe container. It will remain fresh for up to 3 months. When you’re ready to enjoy, simply thaw slices in the refrigerator overnight.
What if my cheesecake isn’t setting properly?
If your cheesecake isn’t setting, it may be due to not using enough gelatin. Be sure to follow the instructions for dissolving it correctly and ensure it’s well mixed into the filling. If you notice a watery texture, it’s best to refreeze it to allow it to stabilize properly before serving.
Are there any dietary considerations for Dragon Fruit Cheesecake?
This cheesecake is vegetarian-friendly, but if you have dietary restrictions, you can easily customize it. Substitute cream cheese with a vegan option for a dairy-free alternative, and make sure to use a vegetarian gelling agent like agar-agar instead of gelatin. Always check ingredient labels for potential allergens like nuts or gluten in graham crackers.
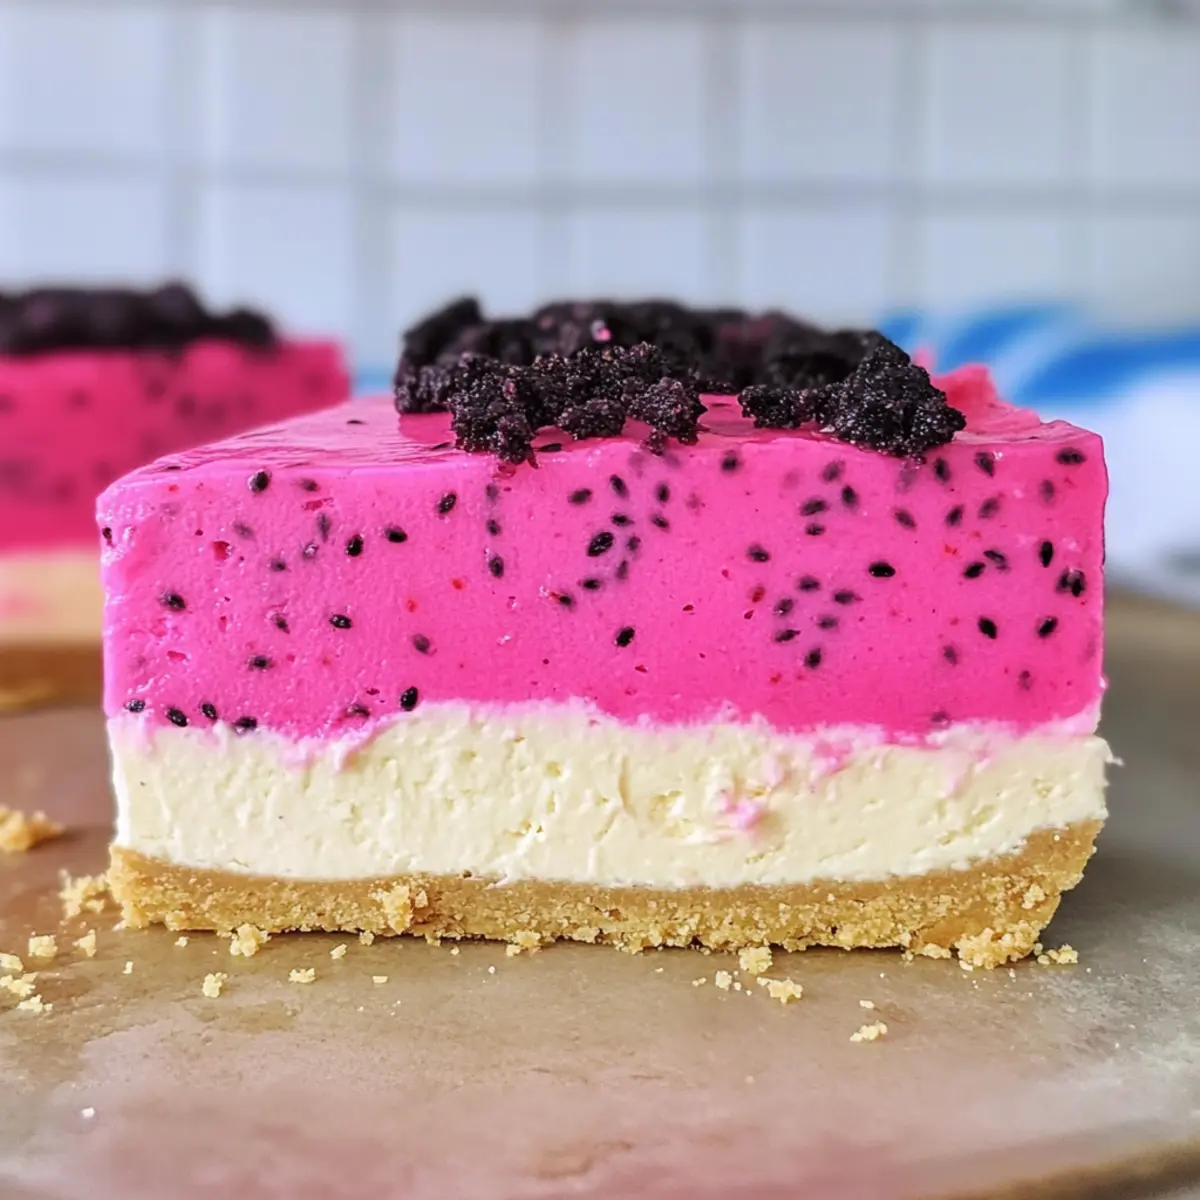
Colorful Dragon Fruit Cheesecake for a Fun Dessert Treat
Ingredients
Equipment
Method
- Preheat your oven to 350°F (175°C). Blend graham crackers in a food processor until fine crumbs. Mix with sugar and melted butter to form a crust. Press firmly into a lined springform pan and freeze for 20 minutes.
- Whip heavy cream on medium-high speed with one tablespoon of sugar until stiff peaks form, about 3-5 minutes. Keep cool in the refrigerator.
- Beat softened cream cheese with remaining sugar and vanilla extract until smooth, about 2-3 minutes. Fold in whipped cream until well combined.
- Dissolve the KNOX gelatin in water according to instructions, heat gently until fully dissolved. Blend into cream cheese mixture for stability.
- Pour half of the cheesecake mixture into the crust, smoothing evenly. Freeze for 30 minutes until slightly firm. Blend thawed dragon fruit with remaining mixture and food coloring. Pour over first layer and freeze overnight.
- Remove from the freezer, carefully release from springform pan, slice with a serrated knife. Let thaw at room temperature for 10 minutes before serving.
Leave a Reply