
If there’s a moment that can transform a summer day into a delightful memory, it’s the first scoop of homemade honeycomb ice cream. This no-churn, easy-to-make treat combines creamy goodness with the delightful crunch of honeycomb, creating a dessert that’s not just indulgent but also customizable. As someone who cherishes home-cooked creations, I love how this recipe allows you to bring a touch of magic to any gathering without much fuss. With just a handful of ingredients, you can whip up this quick dessert that’s bound to impress your friends and family. Are you ready to discover the joy of making your own Honeycomb Ice Cream? Let’s dive in!
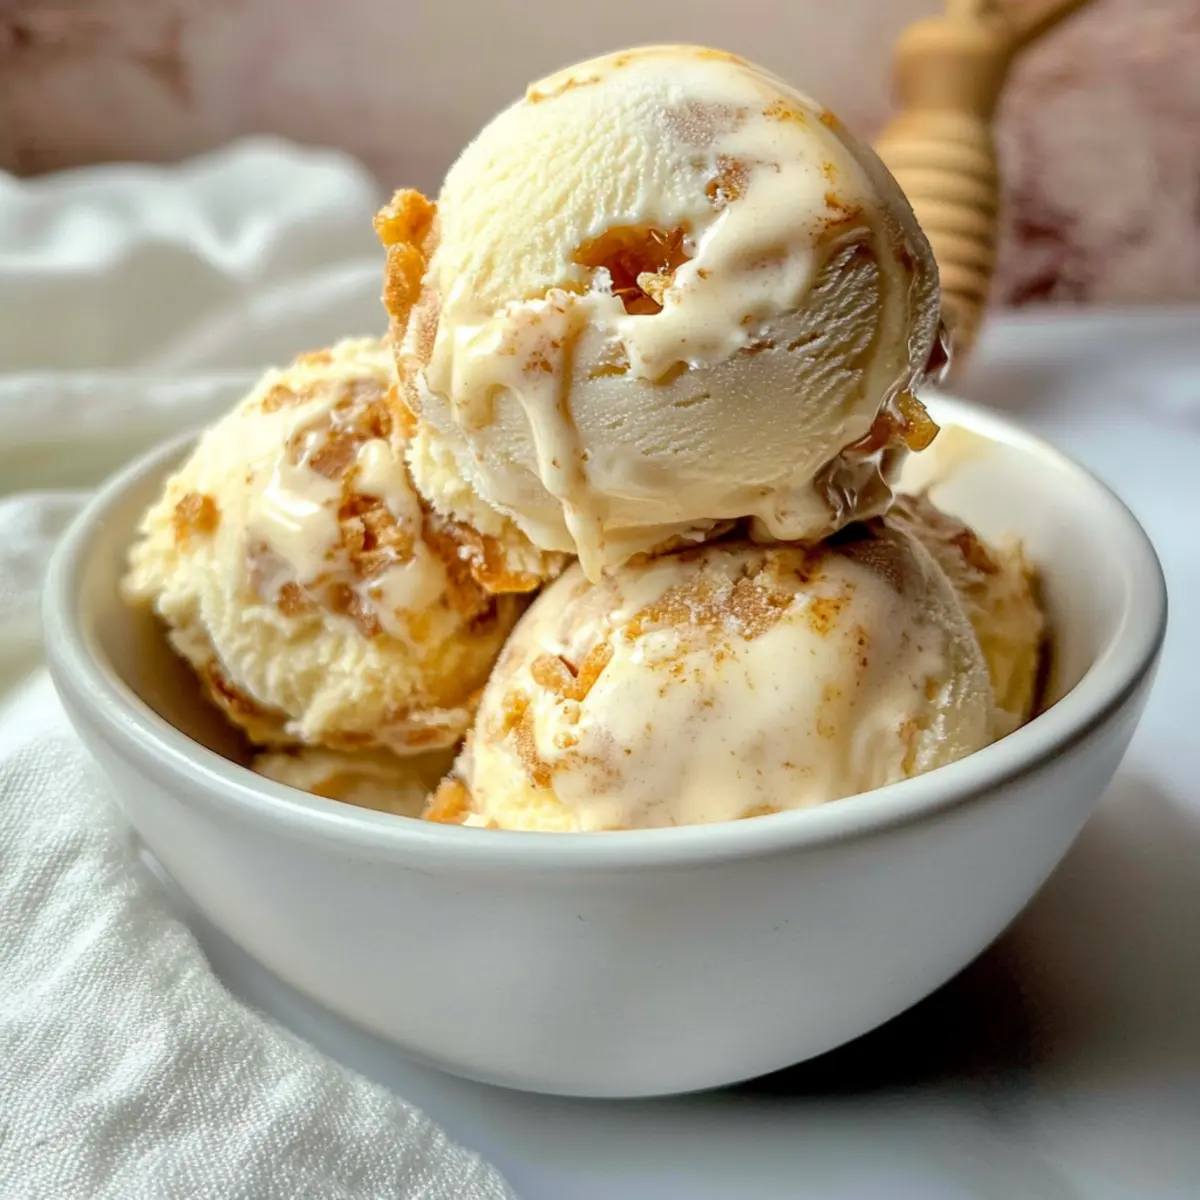
Why is Homemade Honeycomb Ice Cream Special?
Customization: With this no-churn recipe, you can easily swap ingredients to suit your taste. Whether it’s chocolate chunks or nuts, the flavor combinations are endless!
Quick & Simple: You’ll love how quickly this dessert comes together, making it perfect for last-minute gatherings. No ice cream maker needed—just mix and freeze!
Decadent Texture: The creamy base combined with crunchy honeycomb creates a unique, satisfying experience that will have everyone coming back for seconds.
Crowd-Pleaser: Believe me, this dessert is a fantastic way to impress guests. Serve it alongside a drizzle of chocolate sauce for an extra touch of indulgence.
Versatile Recipes: Try this Honey Ice Cream for a different flavor adventure or pair it with a warm slice of Lemon Blueberry Cream for a delightful contrast.
Honeycomb Ice Cream Ingredients
• To make this delightful Honeycomb Ice Cream, gather the following key ingredients for a creamy and crunchy experience!
For the Honeycomb
- Golden Syrup – This adds sweetness and a buttery flavor; feel free to substitute with runny honey or maple syrup for a twist.
- Caster Sugar – Essential for the honeycomb base; avoid brown sugar as it has higher moisture content.
- Bicarbonate of Soda – Creates that airy and light texture; don’t skip this!
For the Ice Cream
- Double Cream – Vital for a rich texture; single cream won’t whip adequately, so stick with double.
- Condensed Milk – This sweet magic is what makes the ice cream creamy and luscious.
Now, with these ingredients combined, you’ll be on your way to making your very own homemade honeycomb ice cream that’s sure to please!
Step‑by‑Step Instructions for Honeycomb Ice Cream
Step 1: Prepare the Honeycomb
In a large pan, gently heat 200g of golden syrup over medium heat until it begins to simmer. Add 200g of caster sugar, swirling continuously to melt without burning. Allow the mixture to boil for about 3 minutes, and keep an eye on the bubbling; it should turn slightly golden and thicker.
Step 2: Create the Froth
After the 3-minute mark, quickly stir in 1 teaspoon of bicarbonate of soda. Be prepared for the mixture to froth up dramatically; this reaction creates the airy texture of your honeycomb. Once the froth stabilizes, pour the mixture into a prepared tin, ensuring even distribution, and let it set undisturbed for at least 1 hour.
Step 3: Line the Loaf Tin
As your honeycomb cools, take a loaf tin and line it with cling film, leaving some overhang for easy removal later. Make sure to smooth out any wrinkles in the cling film for hassle-free ice cream transfer. Prepare your workspace to create a sweet base for your Honeycomb Ice Cream!
Step 4: Whisk the Double Cream
In a large bowl, whisk 500ml of double cream with an electric mixer until soft peaks start to form. At this point, the cream should be thickened but not over-whipped. This process takes about 3-4 minutes; keep an eye on the texture—it should hold its shape yet still be smooth.
Step 5: Combine with Condensed Milk
Once the double cream reaches the right consistency, gently fold in 397g of condensed milk. Use a spatula to combine them smoothly without deflating the whipped cream. The mixture should turn luscious and creamy, indicating that you’re getting closer to your decadent Honeycomb Ice Cream!
Step 6: Fold in the Honeycomb
Carefully chop your set honeycomb into bite-sized pieces. Gently fold these honeycomb chunks into the creamy mixture until they are well-distributed. The folds should be light, ensuring the airy texture of the ice cream is retained, enhancing the delightful crunch in your finished product.
Step 7: Freeze the Mixture
Transfer the honeycomb ice cream mixture into the prepared loaf tin, smoothing the top with your spatula for an even finish. Cover the surface tightly with cling film to prevent ice crystals from forming. Freeze for a minimum of 6 hours, or until it is fully set and firm to the touch.
Step 8: Serve and Enjoy
When ready to serve your homemade Honeycomb Ice Cream, remove it from the freezer and let it sit at room temperature for about 5 minutes. This slight softening makes scooping easy. Unwrap it from the cling film, slice, and indulge in the creamy, crunchy delight of your creation!
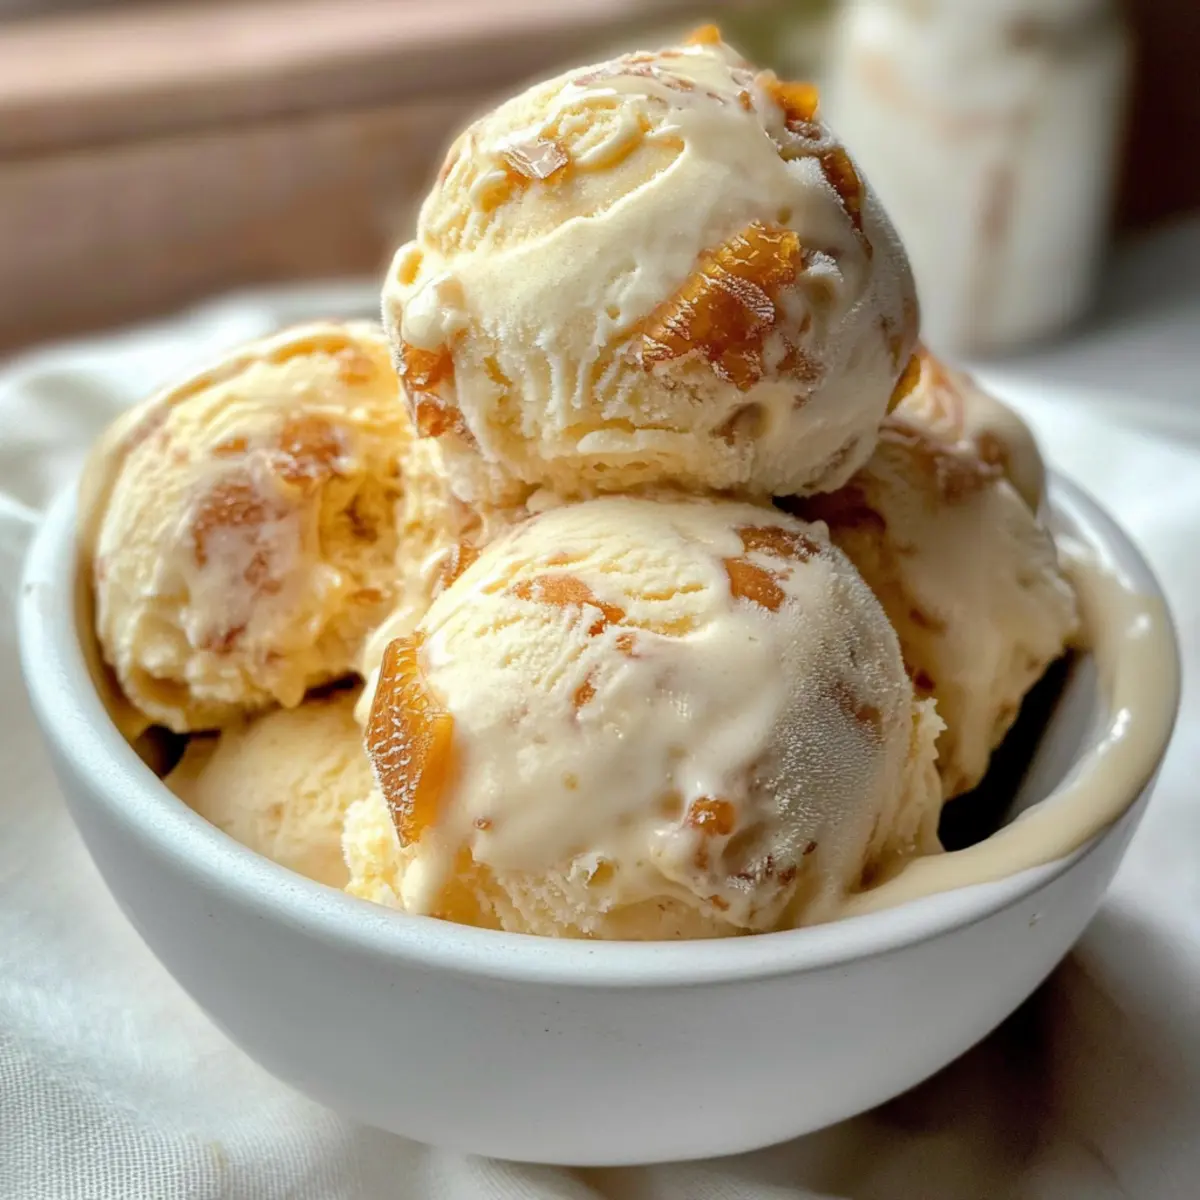
What to Serve with No-Churn Homemade Honeycomb Ice Cream
Treat your senses to a delightful experience as you complement the smooth, creamy sweetness of this dessert with the perfect pairings.
- Crispy Waffle Cones: Elevate your ice cream experience with crunchy waffle cones that add an extra dimension to each bite.
- Warm Brownies: The fudgy richness of brownies makes a heavenly match, contrasting beautifully with the icy honeycomb delight.
- Fresh Berries: Sweet and tart berries, like raspberries or strawberries, offer a refreshing burst of flavor that balances the creaminess.
- Chocolate Sauce: An indulgent drizzle of rich chocolate sauce creates a luxurious touch, enhancing the sweet and crunchy elements.
- Chopped Nuts: Sprinkle some toasted almonds or hazelnuts for added crunch, creating a delightful texture contrast with the soft ice cream.
- Mint Leaves: Fresh mint adds a pop of color and a refreshing herbaceous note that lightens the richness of the ice cream.
- Coffee: A cup of robust coffee complements the sweet flavors, creating a comforting pairing that’s perfect for warm evenings.
- Caramel Sauce: The buttery sweetness of caramel sauce wraps around the creamy ice cream, making each bite an irresistible treat.
Each pairing brings its own unique flavor and texture, perfect for crafting an unforgettable dessert experience.
Expert Tips for Honeycomb Ice Cream
• Timing is Everything: Ensure to boil the honeycomb mixture for exactly 3 minutes; using a timer helps achieve the desired airy texture for your honeycomb.
• Softening the Ice Cream: Remove the honeycomb ice cream from the freezer 5 minutes before serving. This will allow it to soften just enough for easier scooping and enhance your dessert experience.
• Cleaning Made Easy: If you have trouble cleaning the pan after making the honeycomb, soak it immediately in hot water with detergent. This will help loosen any stuck residue and save you time.
• Customize Wisely: To truly make this honeycomb ice cream your own, feel free to explore flavor variations by adding your favorite mix-ins or swirls; just maintain the core ingredients for creaminess.
• Storage Tips: Store any leftover honeycomb ice cream in an airtight container in the freezer for up to 2 months. Keeping it well-sealed will preserve flavor and texture.
Honeycomb Ice Cream Variations
Feel free to personalize this luscious dessert with delightful twists that excite your taste buds and spark your creativity!
-
Crunchy Chocolate Bars: Swap homemade honeycomb for crushed chocolate bars like Crunchie for a simpler, yet indulgent version. The chocolate adds a new layer of gooey sweetness that melds beautifully with creamy ice cream.
-
Nutty Add-ins: For a delightful crunch, fold in toasted almonds or hazelnuts. This nutty addition enhances the flavor profile, making each bite a delightful medley of textures and tastes.
-
Vegan Upgrade: Make this treat vegan-friendly by using coconut cream and dairy-free condensed milk. The coconut essence will lend a tropical flair that’s wonderfully satisfying.
-
Fruity Swirls: Introduce vibrant fruit flavors by adding a swirl of raspberry or strawberry puree. This touch of tartness beautifully complements the honey sweetness and adds a refreshing twist.
-
Decadent Chocolate Varieties: Experiment with different types of chocolate—dark, milk, or white—for a layered effect in your ice cream. Each chocolate type brings its own beloved character to this delightful treat.
-
Spicy Heat: Add a dash of cayenne or chili powder for those who crave a spicy kick. This surprising warmth will contrast intriguingly with the sweet honeycomb flavor.
-
Maple Infusion: Substitute golden syrup with pure maple syrup for an autumn-inspired twist. This variation introduces a distinct flavor that offers a delightful depth to your ice cream.
For even more delightful treats, you might enjoy making Marshmallow Ice Cream or trying out a refreshing batch of Garlic Tomato Soup, which can beautifully balance the sweetness of your honeycomb concoction.
Make Ahead Options
Making homemade honeycomb ice cream is a fantastic choice for meal prep, allowing you to enjoy this creamy treat whenever the craving hits! You can prepare the honeycomb up to 24 hours in advance; just store it in an airtight container at room temperature to maintain its crunch. Additionally, the ice cream mixture can be made and stored in the loaf tin, covered tightly with cling film, in the freezer for up to 3 days before serving. When you’re ready to indulge, simply let the ice cream sit at room temperature for about 5 minutes to soften, slice, and enjoy the same delightful result as if you made it fresh! This approach saves loads of time on busy days while ensuring that your honeycomb ice cream is just as delicious.
How to Store and Freeze Honeycomb Ice Cream
Fridge: Store your honeycomb ice cream in the fridge for up to 3 days if you plan to consume it soon. For best texture, serve it straight from the freezer.
Freezer: Keep your honeycomb ice cream in an airtight container in the freezer, where it will stay delicious for up to 2 months. Cover the surface with cling film to prevent ice crystals.
Reheating: If the ice cream is too hard to scoop, leave it at room temperature for about 5 minutes before serving. This allows the honeycomb ice cream to soften just enough for easy scooping.
Wrapping: Always ensure the ice cream is tightly sealed in its container to maintain its creamy texture and avoid absorbing other odors from the freezer.
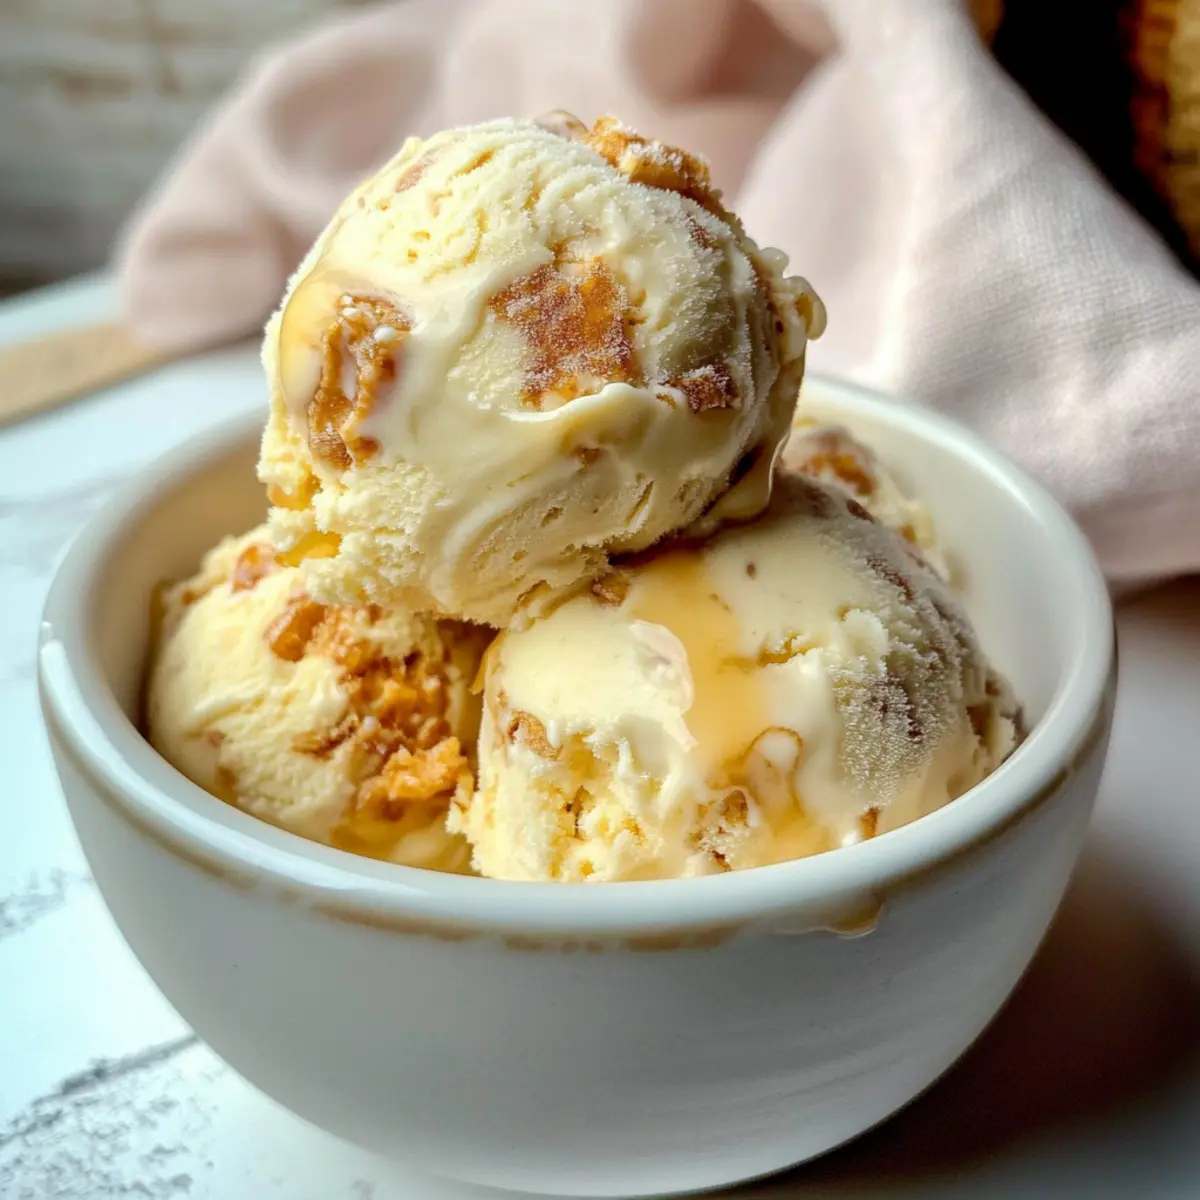
Honeycomb Ice Cream Recipe FAQs
How do I select the right ingredients for the honeycomb?
Absolutely! For the honeycomb, ensure your golden syrup is fresh and smooth, as it’s the key to flavor and texture. Look for caster sugar that’s fine and granulated for optimal melting. When choosing double cream, go for a product with a high fat content (36% or more) to achieve that luxurious creaminess—and absolutely avoid single cream for this recipe!
How should I store my leftover honeycomb ice cream?
To keep your honeycomb ice cream in prime condition, store it in an airtight container in the freezer for up to 2 months. A neat trick is to cover the surface with cling film before sealing the lid—this prevents ice crystals from forming and keeps your treat as creamy as possible. If you only plan to eat it within a few days, you can keep it in the fridge for up to 3 days, but for the best texture, I recommend serving it straight from the freezer.
Can I freeze the honeycomb?
Very! To freeze the homemade honeycomb, break it into small, bite-sized pieces and place them in an airtight container, separating layers with parchment paper. It’ll stay good in the freezer for up to 3 months. When you’re ready to use it, you can simply fold the frozen honeycomb into your ice cream mixture. Just remember to allow it to thaw a bit before adding for better incorporation.
What if my honeycomb doesn’t set properly?
If your honeycomb hasn’t set after an hour, it’s likely that the sugar wasn’t boiled for long enough. You can remedy this by reheating the mixture gently while stirring—bring it back to a boil for an additional minute, then pour back into the tin and let it set again. If it’s too crumbly, next time ensure your temperatures are correct and monitor the boiling time closely to prevent undercooking.
Can I make this recipe allergy-friendly?
Definitely! For a gluten-free option, make sure your sugar and any added ingredients like chocolate or nuts are certified gluten-free. To make it dairy-free, you can substitute the double cream with a coconut cream or another nondairy whipped topping and use a dairy-free condensed milk alternative. Your honeycomb can also be made with substitutes like maple syrup if needed.
What are some creative variations I can try?
The more the merrier! Mix things up by adding different flavors, like crushed chocolate bars (Crunchie works well!), swirls of fruit puree, or even incorporating some crushed nuts or cookie crumbs. You can also keep the honeycomb crunchy or drizzle your favorite chocolate sauce over the top before serving to elevate flavor and presentation—there are so many delightful possibilities to explore!
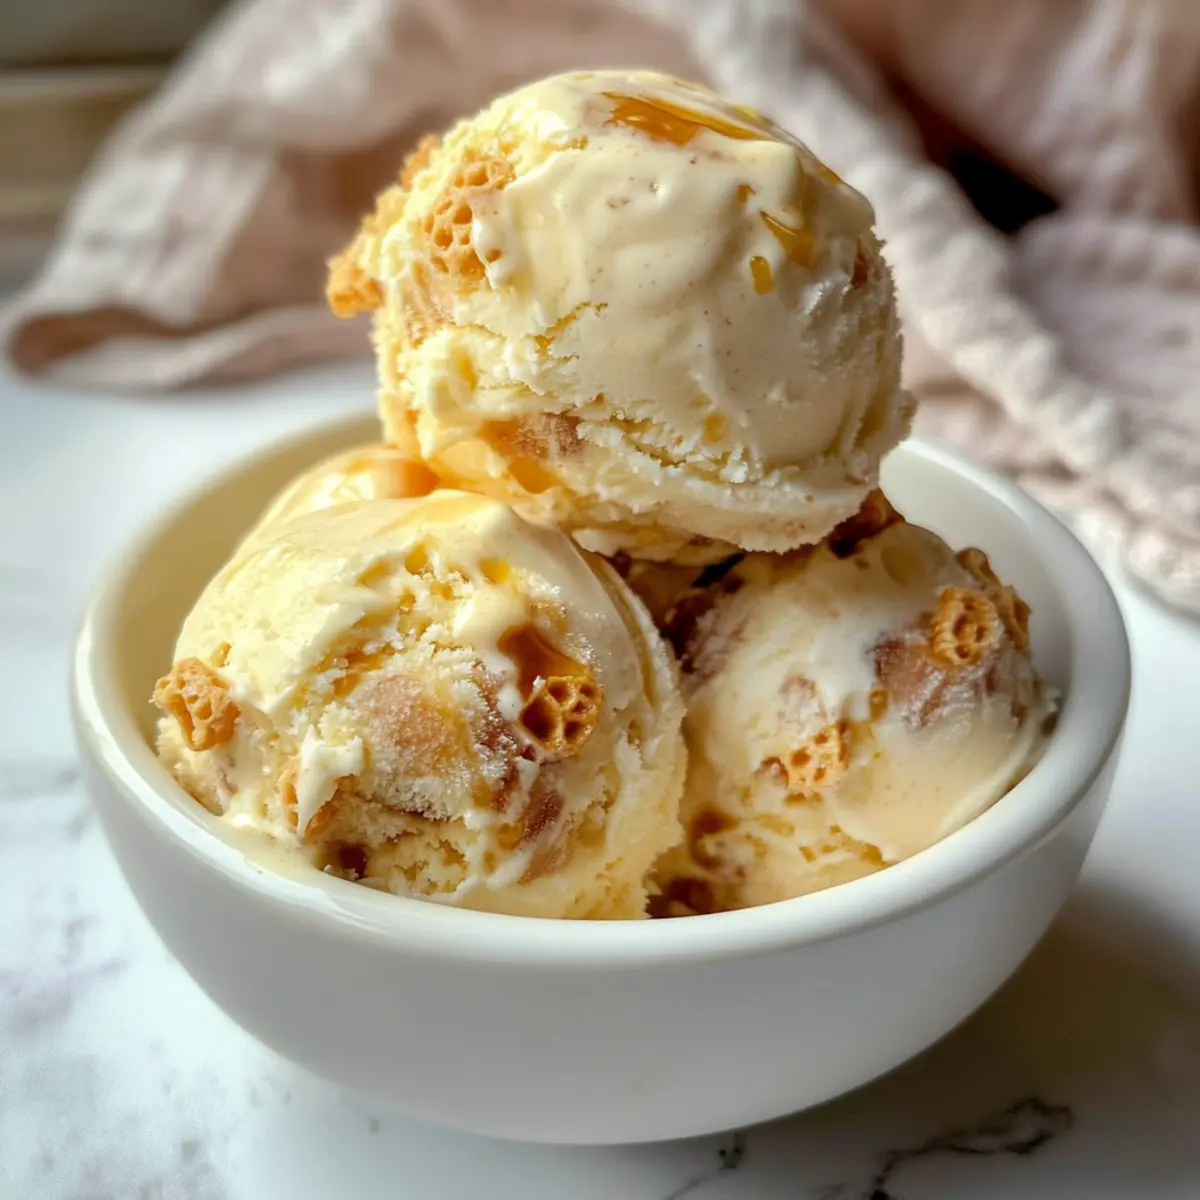
Silky Honeycomb Ice Cream That’s No-Churn and Delicious!
Ingredients
Equipment
Method
- In a large pan, gently heat 200g of golden syrup over medium heat until simmering. Add 200g of caster sugar and swirl to melt without burning. Boil for about 3 minutes until it turns slightly golden and thicker.
- Quickly stir in 1 teaspoon of bicarbonate of soda; the mixture will froth. Pour into a tin and let it set for at least 1 hour.
- Line a loaf tin with cling film, ensuring smooth overhang for easy removal.
- Whisk 500ml of double cream in a large bowl until soft peaks form, about 3-4 minutes.
- Gently fold in 397g of condensed milk until smooth and creamy.
- Chop the set honeycomb into bite-sized pieces and fold gently into the creamy mixture.
- Transfer the mixture into the loaf tin, smoothing the top. Cover tightly with cling film and freeze for a minimum of 6 hours.
- Let the ice cream sit at room temperature for 5 minutes before serving. Unwrap, slice, and enjoy!
Leave a Reply