
Standing in my kitchen, I found myself tangled in thoughts of summer nights, ice cream cones, and the sweet crunch of honeycomb. Nothing quite compares to the joy of whipping up a batch of Homemade Honeycomb Ice Cream, which strikes the perfect balance between creamy and crunchy. What’s even better? This no-churn recipe is a breeze to make with just five simple ingredients, making it a lifesaver for those last-minute dessert cravings. Imagine surprising your friends with this indulgent treat that’s not only delicious but also quick to prepare—ideal for spontaneous gatherings. Plus, it’s incredibly versatile, allowing you to customize it with vegan options or use store-bought honeycomb for added convenience. Are you ready to dive into a world of sweet, nostalgic flavors?
Why Make Homemade Honeycomb Ice Cream?
Simplicity at its Finest: This no-churn recipe takes just five ingredients to create a delicious dessert that anyone can whip up in no time.
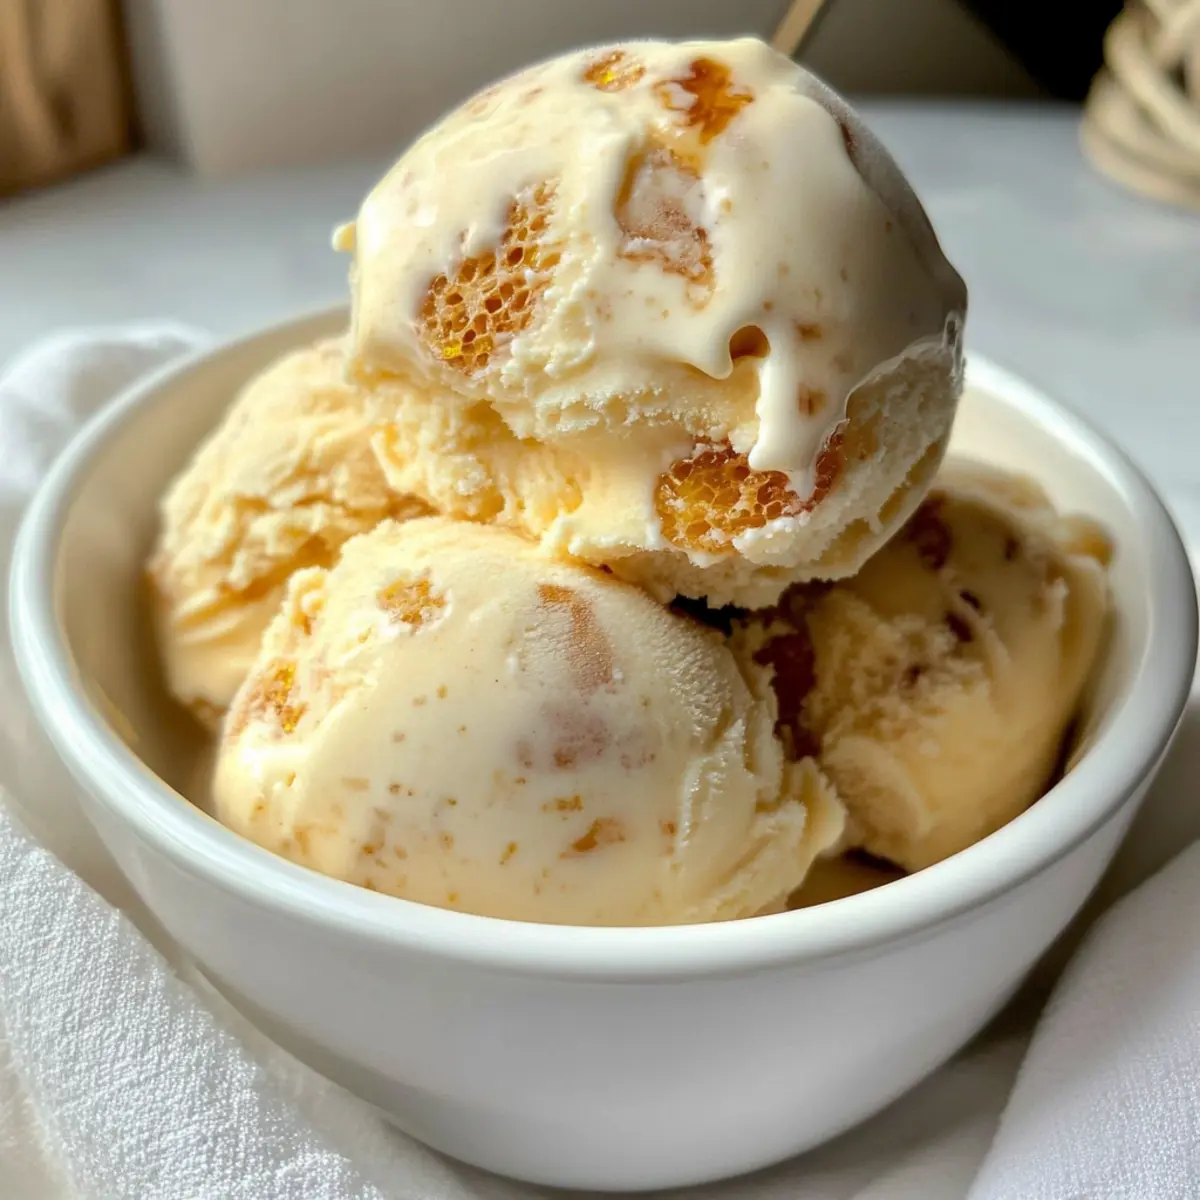
Irresistible Texture: The creamy base perfectly complements the crispy, airy honeycomb bits for a delightful crunch in every bite.
Endless Customization: Feel free to switch things up—try using vegan alternatives or top with your favorites like nuts or chocolate sauce for added flair.
Perfect for Sharing: Whether it’s a dinner party or a casual get-together, this ice cream makes for an impressive dish that’s sure to impress your guests.
Nostalgic Flavor: Reminiscent of summer nights and childhood treats, this honeycomb ice cream captures that sweet, nostalgic essence while modernizing it for today.
Don’t forget to serve alongside rich chocolate brownies or to create stunning sundaes—the possibilities are endless!
Honeycomb Ice Cream Ingredients
For the Honeycomb
- Golden Syrup – Adds sweetness and buttery flavor to the honeycomb; consider using runny honey or maple syrup for a floral twist.
- Caster Sugar – Key for creating the perfect structure in the honeycomb; do not substitute with brown sugar for best results.
- Bicarbonate of Soda – Reacts with sugar to create that light and bubbly honeycomb texture; no substitutions recommended.
For the Ice Cream Base
- Heavy Cream (Double Cream) – Provides richness and a creamy consistency; substitute with vegan whippable cream for a non-dairy option.
- Condensed Milk – Contributes essential sweetness and body to this no-churn honeycomb ice cream; consider a vegan condensed milk if needed.
Enjoy the delightful journey of bringing this sweet, nostalgic Honeycomb Ice Cream to life!
Step‑by‑Step Instructions for Honeycomb Ice Cream
Step 1: Prepare Honeycomb
In a large pan, gently heat 200g of golden syrup over medium heat until it starts to bubble. Add 200g of caster sugar and allow the mixture to boil for 3 minutes, swirling the pan occasionally. You’ll notice the mixture turn to a golden color; this means it’s ready for the next step.
Step 2: Add Bicarbonate
Remove the pan from heat and quickly stir in 1 teaspoon of bicarbonate of soda. The mixture will bubble up vigorously, creating that signature honeycomb texture. Carefully pour the bubbling mixture into a lined tin and let it set undisturbed for about 1 hour until completely hardened.
Step 3: Chop Honeycomb
Once the honeycomb has cooled and set, break it into small chunks using your hands or a knife. Aim for bite-sized pieces, ensuring they will be easy to mix into your ice cream base. Set the honeycomb aside while you prepare the ice cream.
Step 4: Make Ice Cream Base
In a large mixing bowl, whip 600ml of heavy cream until you reach soft peaks, indicating a fluffy consistency. Next, gently fold in 397g of sweetened condensed milk until fully incorporated and thickened. This mixture will create the creamy foundation for your homemade honeycomb ice cream.
Step 5: Combine Ingredients
With a spatula, gently fold in the chopped honeycomb pieces to your cream mixture, ensuring an even distribution throughout. Be careful not to overmix; you want to keep that airy texture intact. Once combined, transfer the mixture into a lined loaf tin, smoothing the top for a tidy finish.
Step 6: Freeze the Ice Cream
Cover the loaf tin with plastic wrap or a lid, then place it in the freezer. Allow the honeycomb ice cream to freeze for at least 6 hours, or until it becomes solid. To ensure the best texture, avoid opening the freezer door during this time.
Step 7: Serve
Before serving your delightful honeycomb ice cream, take it out of the freezer and let it sit for about 5 minutes. This will make scooping much easier. Use an ice cream scoop to serve up generous portions, and enjoy the creamy, crunchy goodness that is sure to impress!
How to Store and Freeze Honeycomb Ice Cream
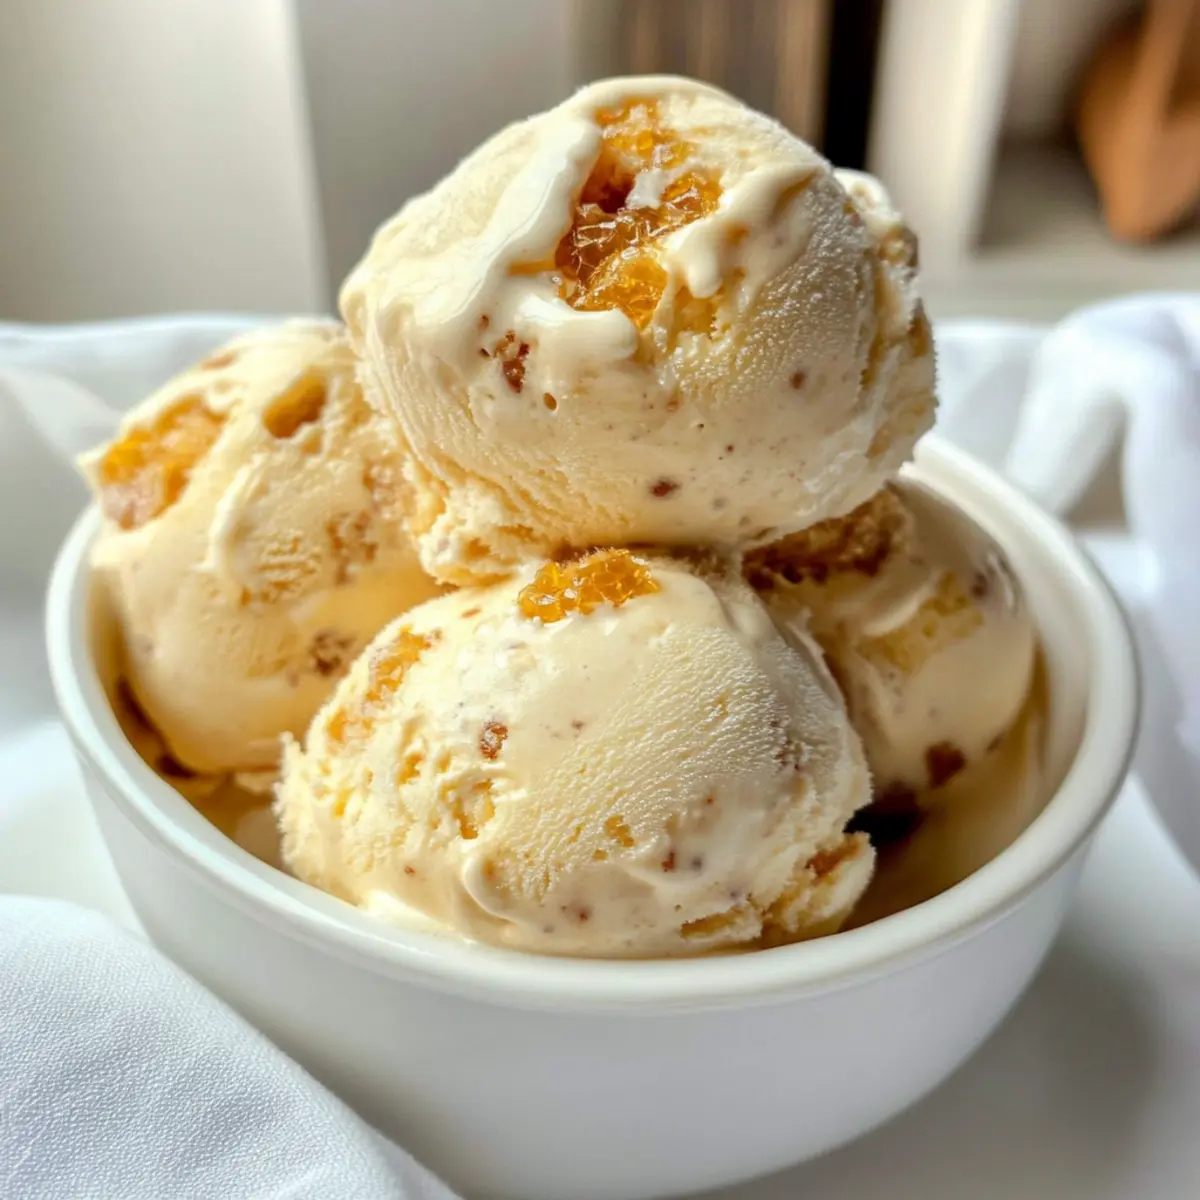
Fridge: If you plan to enjoy your honeycomb ice cream within a few days, store it in an airtight container in the fridge for up to 3 days, although it’s best fresh from the freezer.
Freezer: For longer storage, keep your honeycomb ice cream in an airtight container in the freezer for up to 2 months. Ensure the container is well-sealed to prevent icy crystals.
Reheating: When you’re ready to serve, remove the ice cream from the freezer and let it sit at room temperature for about 5 minutes. This will make scooping easier, allowing you to enjoy its creamy texture right away.
Serving Suggestion: For the best experience, serve your honeycomb ice cream immediately after scooping. The crispy honeycomb mixed with the smooth base creates a delightful balance that is truly irresistible!
What to Serve with Homemade Honeycomb Ice Cream?
Elevate your dessert experience with delightful pairings that bring out the sweetness and crunch of this creamy treat.
- Rich Chocolate Brownies: These chewy delights provide a rich contrast to the lightness of the ice cream, making each bite a satisfied melt-in-your-mouth experience.
- Fresh Berries Medley: Juicy strawberries, raspberries, and blueberries bring a refreshing tartness that cuts through the sweetness, balancing every scoop beautifully.
- Graham Cracker Crust: Adding this crunchy texture creates a fun dessert twist, reminiscent of classic ice cream sundaes, combining the best of both worlds.
- Toasted Nuts: Almonds or hazelnuts enhance the nutty flavor of honeycomb, offering a satisfying crunch that complements the smoothness of the ice cream perfectly.
- Caramel Drizzle: A warm caramel sauce adds a deliciously sweet layer that enriches the entire dessert—a true match made in heaven!
- Coffee or Espresso: This bold beverage sharpens the honey’s sweetness while its warm bitterness contrasts deliciously with the creamy ice cream.
- Chocolate Shavings: Sprinkles of dark chocolate create an elegant finish, enhancing visual appeal and adding a delightful richness with every scoop.
Indulge in these pairings for a complete sensory delight that celebrates the creamy, crunchy goodness of homemade honeycomb ice cream!
Honeycomb Ice Cream Variations & Substitutions
Feel free to play and personalize your ice cream experience with these tasty twists and swaps!
-
Store-bought Honeycomb: Use crushed Crunchie bars for a quick and convenient alternative without sacrificing flavor.
Crushed candy provides that delightful crunch and sweetness, saving you time without compromising on taste. -
Nutty Addition: Stir in toasted almonds or hazelnuts for an extra layer of flavor and texture.
These nuts add a delightful warmth and can be toasted lightly to bring out their natural oils, enriching your ice cream. -
Fruit-Infused: Add a raspberry or strawberry swirl to incorporate fruity notes into your creamy base.
Just fold in some fruit puree before adding the honeycomb for a refreshing contrast that celebrates summer’s bounty. -
Vegan Option: Swap heavy cream with vegan whippable cream and use plant-based condensed milk to cater to dietary preferences.
This variation is just as luscious, allowing everyone to indulge in this sweet treat guilt-free. -
Chocolate Chunk Version: Mix in dark chocolate chunks to enhance the richness while balancing the honey’s sweetness.
The deep flavor of dark chocolate beautifully complements the honeycomb’s sugary crunch, creating a luxurious experience. -
Spicy Kick: For those who love a bit of heat, sprinkle a dash of cayenne or chili powder into the ice cream mix.
This surprising twist adds an exciting layer of complexity, transforming your dessert into a conversation starter! -
Creamy Delight: Swap condensed milk with sweetened condensed coconut milk for a tropical twist.
This creamy substitution imparts a subtle coconut flavor, transporting you to an exotic escape with every spoonful. -
Caramel Finish: Drizzle a ribbon of salted caramel over the top before freezing for an indulgent touch.
This rich addition enhances the dessert, creating a delightful contrast of sweet meets salty, perfect for a special occasion.
Feel free to explore these ideas or combine them to create your signature version of honeycomb ice cream! And don’t forget to try serving it alongside rich chocolate brownies or even a scoop in a brownie sundae for a truly decadent dessert.
Make Ahead Options
You can prepare your Homemade Honeycomb Ice Cream in advance, making it an ideal option for busy weeknights or spontaneous gatherings. First, you can make the honeycomb itself up to 24 hours ahead of time; just store it in an airtight container to maintain its crunch. Additionally, you can whip the cream and fold in the condensed milk up to 3 days in advance—simply keep it covered in the fridge until you’re ready to combine with the honeycomb. When you’re ready to serve, gently fold in your chunks of honeycomb and transfer the mixture to your loaf tin. Freeze for at least 6 hours until solid, and you’ll have a delightful treat that’s just as delicious as if made fresh!
Expert Tips for Honeycomb Ice Cream
- Perfect Timing: Ensure to boil the honeycomb mixture for exactly 3 minutes; even a moment less can affect the structure and crunch of the honeycomb.
- Stay Cool: After freezing, let the ice cream sit at room temperature for 5 minutes before scooping. This prevents it from being too hard to serve.
- Proper Storage: Store your honeycomb ice cream in an airtight container to maintain its texture and avoid ice crystals; consume within 2 months for the best quality.
- Chop Carefully: When breaking the honeycomb, aim for bite-sized pieces to ensure a balanced mix in your ice cream. Too large and they can dominate each scoop.
- Watch for Cleanliness: Line your tin thoroughly to prevent sticking; a well-lined pan ensures easy removal of the ice cream and cleanup later.
Honeycomb Ice Cream Recipe FAQs
How do I know if my ingredients are ripe or good to use?
For this recipe, ingredient freshness is key! Ensure your heavy cream is fresh; it should be well within its expiration date and smell pleasant. Check the condensed milk for any signs of spoilage, like an off odor or changes in color. Properly sourced golden syrup should have a smooth, syrupy consistency without crystallization or separation.
How should I store the honeycomb ice cream?
Store your honeycomb ice cream in an airtight container in the freezer for up to 2 months. Make sure it’s well-sealed to prevent ice crystals. If it’s close to being consumed, you can keep it in the fridge for up to 3 days, but the creamy texture is best enjoyed freshly frozen.
Can I freeze honeycomb pieces separately? How?
Absolutely! To freeze honeycomb pieces separately, ensure they are cool and broken into bite-sized chunks. Spread them out in a single layer on a baking sheet and freeze them for about 1 hour. Once frozen, transfer the pieces to an airtight container or a zip-lock bag. They’ll keep well for up to 3 months in the freezer. When making your ice cream, you can add them directly from the freezer for immediate crunchiness!
What are some common troubleshooting tips for honeycomb ice cream?
If your honeycomb doesn’t have the desired texture, ensure you boiled the mixture for a full 3 minutes to achieve that airy crispness. If your ice cream turns icy, it might be stored incorrectly or left in the freezer for too long—always check that it’s in an airtight container to prevent freezer burn. Overmixing when adding honeycomb could lead to a lost airy texture, so gently fold them in to maintain the right consistency.
Are there any dietary considerations for this recipe?
Yes! If you have allergies, be cautious with the ingredients. The recipe contains dairy (heavy cream and condensed milk) and sugar, so it may not be suitable for lactose-intolerant individuals or those with specific dietary restrictions. Fortunately, you can substitute heavy cream with vegan whippable cream and use a plant-based condensed milk to cater to vegan diets. Always check labels for any hidden allergens present in store-bought versions of honeycomb.
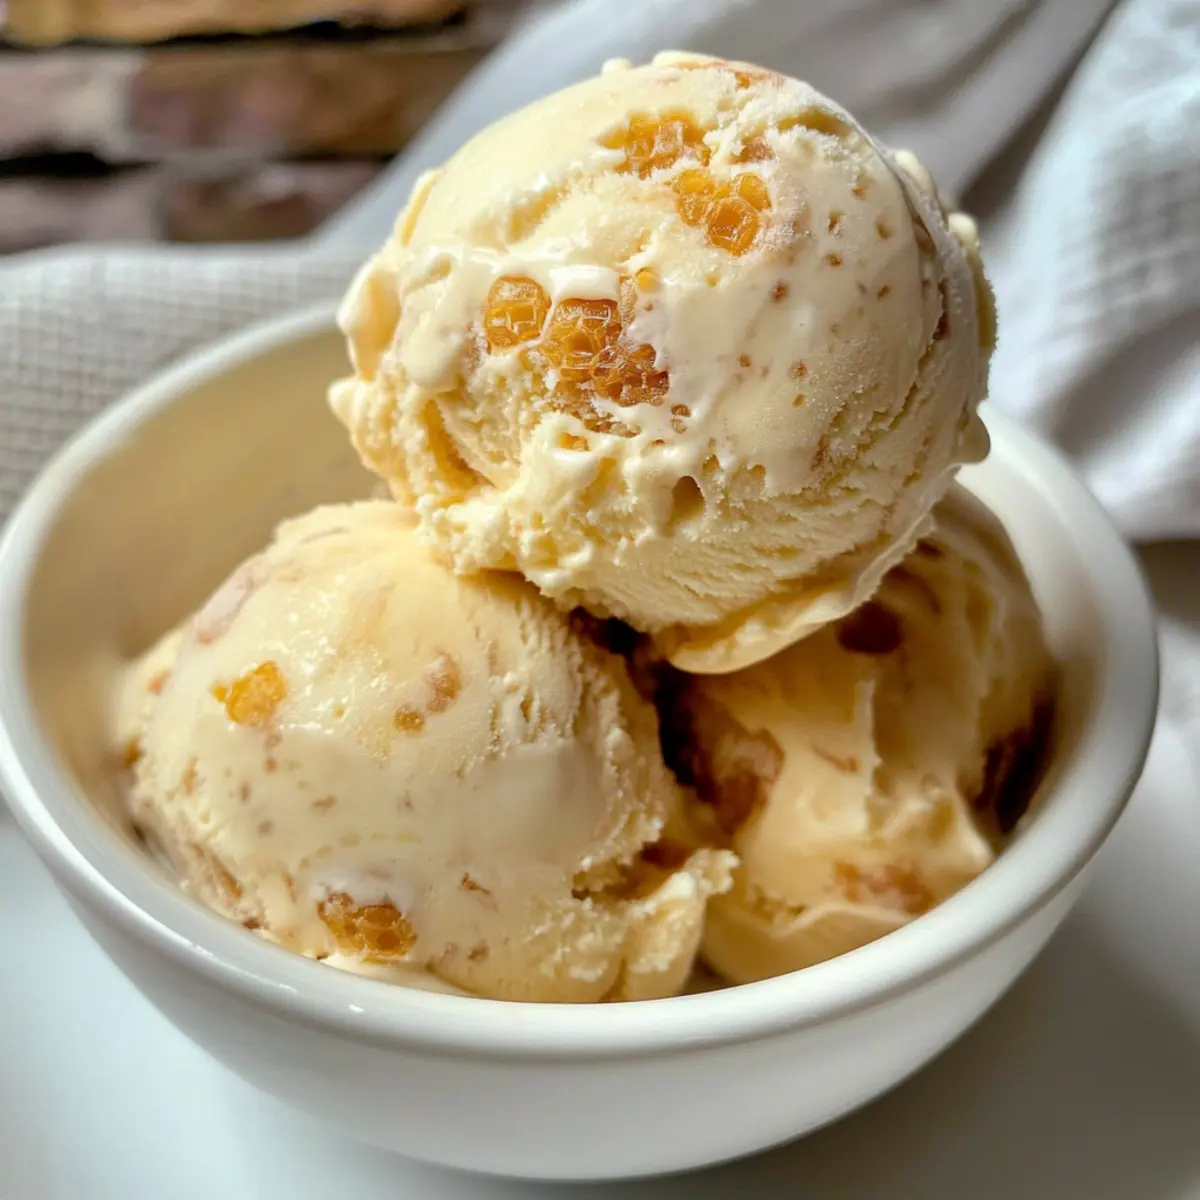
Creamy Homemade Honeycomb Ice Cream You’ll Love to Share
Ingredients
Equipment
Method
- In a large pan, gently heat 200g of golden syrup over medium heat until it starts to bubble. Add 200g of caster sugar and allow the mixture to boil for 3 minutes, swirling the pan occasionally.
- Remove the pan from heat and quickly stir in 1 teaspoon of bicarbonate of soda. The mixture will bubble up vigorously. Pour into a lined tin and let it set undisturbed for about 1 hour.
- Once the honeycomb has cooled and set, break it into small chunks. Aim for bite-sized pieces and set aside.
- In a large mixing bowl, whip 600ml of heavy cream until you reach soft peaks. Gently fold in 397g of sweetened condensed milk until fully incorporated.
- Gently fold in the chopped honeycomb pieces to your cream mixture, ensuring even distribution. Transfer to a lined loaf tin.
- Cover with plastic wrap or a lid and freeze for at least 6 hours, or until solid.
- Let it sit for about 5 minutes before serving for easier scooping. Serve and enjoy!
Leave a Reply