
As I rummaged through my pantry one rainy afternoon, I stumbled upon a forgotten treasure: an open bag of oats and a jar of creamy almond butter. This led me to create the perfect solution for my sweet tooth—4-Ingredient Gluten-Free Chocolate Oat Cookies! These delightful cookies are not only a breeze to whip up, but they also offer a satisfying chewy texture to rival any store-bought treat. With just four simple ingredients, you can indulge guilt-free, making them perfect for those busy days when time is tight yet cravings run high. Plus, they’re naturally gluten-free! I can’t wait for you to dive into this recipe—what mix-ins will you choose to elevate your cookies?
Why Are These Cookies So Irresistible?
Simplicity, with just four ingredients, these cookies are a quick and easy treat anyone can master. Chewy Texture complements the rich chocolate flavor, making them just as satisfying as your favorite store-bought snack. Versatile Mixing Options let you customize each batch—try adding dark chocolate chips or nuts! Healthy Indulgence packed with fiber and protein from oats and nut butter, these cookies satisfy sweet cravings without guilt. Best of all, you can enjoy them warm from the oven or store them for later—perfect for those cozy evenings at home!
Chocolate Oat Cookie Ingredients
For the Cookies
• Oats – The star of the show, providing the chewy base for your delicious cookies; quick oats work well for a finer texture.
• Nut Butter – A creamy binder that adds richness; almond butter or peanut butter are great choices for flavor and texture.
• Honey or Maple Syrup – A natural sweetener that brings moisture to the cookies; agave nectar works as a vegan-friendly substitute.
• Cocoa Powder – Adds that deep, rich chocolate flavor; make sure to opt for unsweetened cocoa for the best taste.
Optional Mix-ins
• Chocolate Chips – For an extra chocolatey punch; semi-sweet or dark chocolate chips are a delightful addition.
• Chopped Nuts – Introduce a crunchy texture; walnuts or pecans complement the chewy cookies beautifully.
• Dried Fruit – For a sweet burst of flavor; dried cranberries or raisins can brighten each bite.
These chocolate oat cookies are a wonderful treat that’s easy to prepare anytime you crave something sweet!
Step‑by‑Step Instructions for 4-Ingredient Gluten-Free Chocolate Oat Cookies
Step 1: Preheat Your Oven
Begin by preheating your oven to 350°F (175°C). This ensures that your cookies bake evenly, providing a perfectly chewy texture. While the oven heats, gather your mixing bowl and baking sheet lined with parchment paper, ready for the delicious chaos that’s about to unfold!
Step 2: Combine the Ingredients
In a large mixing bowl, add your oats, nut butter, honey (or maple syrup), and cocoa powder. Use a sturdy spatula to mix until all ingredients are fully combined and form a sticky dough. The mixture should hold together without crumbling apart. This step creates the perfect base for your chocolate oat cookies.
Step 3: Portion Out the Dough
Using a tablespoon, scoop out portions of the dough and roll them into balls with your hands. Place each ball onto the prepared baking sheet, ensuring there is enough space between them to spread during baking. You should have a delightful lineup of cookie dough awaiting its transformation in the oven.
Step 4: Flatten the Cookies
Take the back of a fork and gently flatten each ball slightly. This helps the cookies spread evenly and achieve a better texture while baking. Aim for a thickness of about half an inch, allowing them to puff up beautifully in the oven, enhancing that classic chewy texture everyone loves.
Step 5: Bake to Perfection
Transfer the baking sheet to your preheated oven and bake for 10-12 minutes. Watch for the edges to set and the cookies to become slightly puffed—they should still appear a bit soft in the center, as they will firm up while cooling. This is a crucial time to enjoy the rich aroma filling your kitchen!
Step 6: Cool Before Enjoying
Once baked, carefully remove the cookies from the oven. Let them cool on the baking sheet for about 5 minutes, allowing them to firm up slightly before transferring to a wire rack. This step is essential to achieving that perfect chewy center. Patience will reward you with delightful cookies ready for snacking!
Step 7: Store or Serve
Your 4-ingredient gluten-free chocolate oat cookies are now ready! If you can resist, allow them to cool fully on the wire rack for optimal texture. Store any extras in an airtight container at room temperature, or freeze them for later indulgences. Enjoy these sweet treats with a glass of milk or your favorite beverage!
What to Serve with 4-Ingredient Gluten-Free Chocolate Oat Cookies
Satisfy your sweet tooth with these delightful cookies, perfect for any occasion, whether it’s a cozy evening at home or a gathering with friends.
-
Fresh Berries: The sweetness and tartness of strawberries or raspberries provide a refreshing contrast to the rich chocolate cookies.
-
Creamy Yogurt: A dollop of Greek yogurt adds a protein boost and a tangy flavor that beautifully balances the cookies’ sweetness.
-
Nutty Granola: Sprinkle some crunchy granola on top of yogurt or enjoy it on the side for added texture and wholesome goodness.
-
Velvet Ice Cream: Serve with a scoop of vanilla or chocolate ice cream for an indulgent treat that melts in your mouth.
-
Chai Latte: The warm spices in chai create a comforting drink that pairs wonderfully with the cookies’ rich, chocolatey flavor.
-
Espresso: A shot of strong espresso brings out the deep cocoa notes and adds an energizing kick, perfect for coffee lovers.
-
Nut Butter Dip: Create a dip with your favorite nut butter mixed with a touch of honey for a creamy, dreamy accompaniment.
Enjoy these suggestions for a delightful and well-rounded experience to savor your chocolate oat cookies even more!
Make Ahead Options
These 4-Ingredient Gluten-Free Chocolate Oat Cookies are perfect for busy home cooks looking to save time! You can prepare the cookie dough up to 24 hours in advance by mixing all the ingredients and storing the dough in an airtight container in the refrigerator. When ready to bake, simply scoop out the dough, flatten, and proceed with the baking instructions as usual. To maintain quality, avoid refrigerating the formed cookies before baking as they may lose their shape. If you prefer, you can also bake the cookies in advance and store them in an airtight container at room temperature for up to 3 days, or freeze them for longer storage to enjoy these delightful treats whenever cravings strike!
Tips for the Best Chocolate Oat Cookies
-
Use Smooth Nut Butter: Ensure you’re using creamy nut butter for even mixing and better binding; chunky varieties may lead to cookies that fall apart.
-
Watch Your Baking Time: Keep a close eye on your cookies as they bake; over-baking can lead to hard cookies instead of the desired chewy texture.
-
Cool Thoroughly: Let the cookies cool completely on the wire rack; this step is key to achieving that perfect chewy center that pairs beautifully with the rich chocolate flavor.
-
Experiment with Mix-ins: Feel free to add chocolate chips, nuts, or dried fruits to your cookies; these mix-ins can elevate the flavor and texture, making your healthy chocolate oat cookies even more delightful.
-
Store Properly: Keep your cookies in an airtight container at room temperature to maintain their delicious freshness, or freeze them for longer storage and a quick treat later!
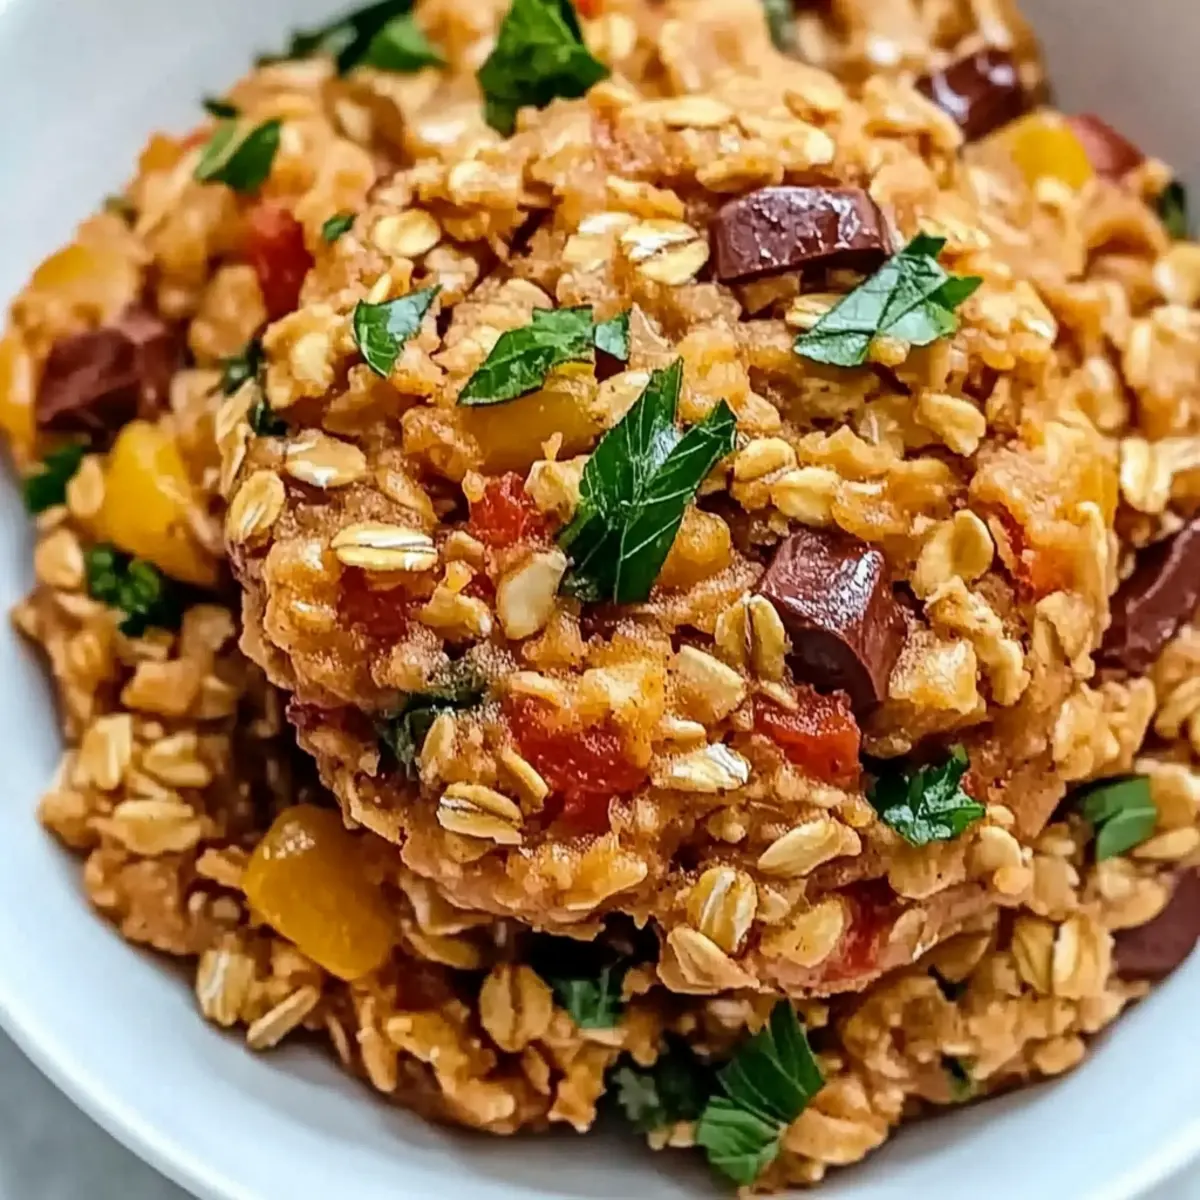
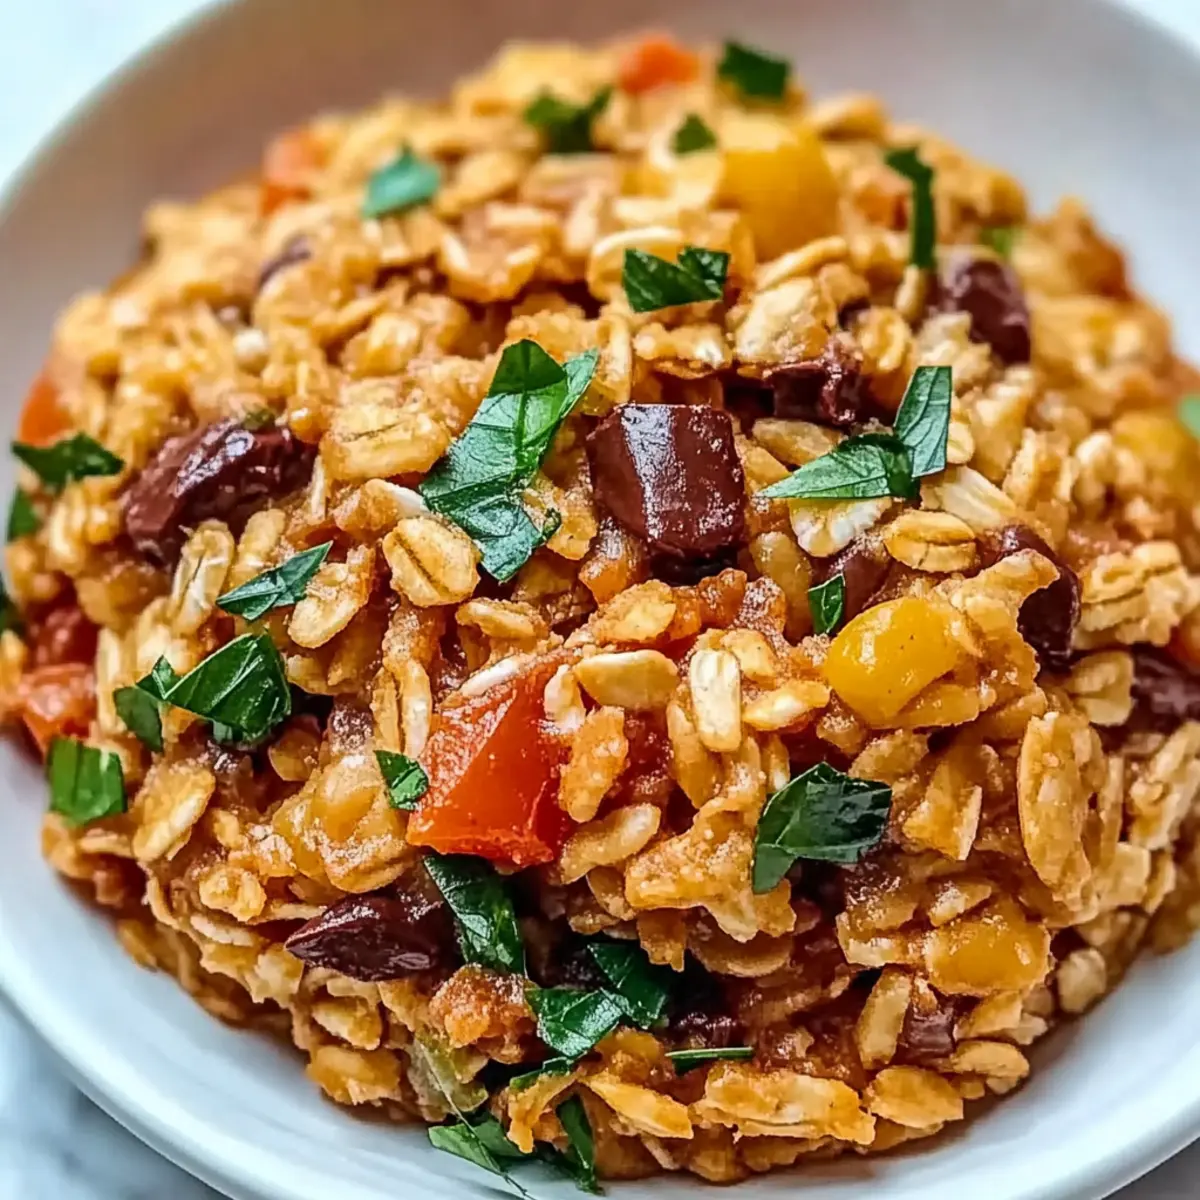
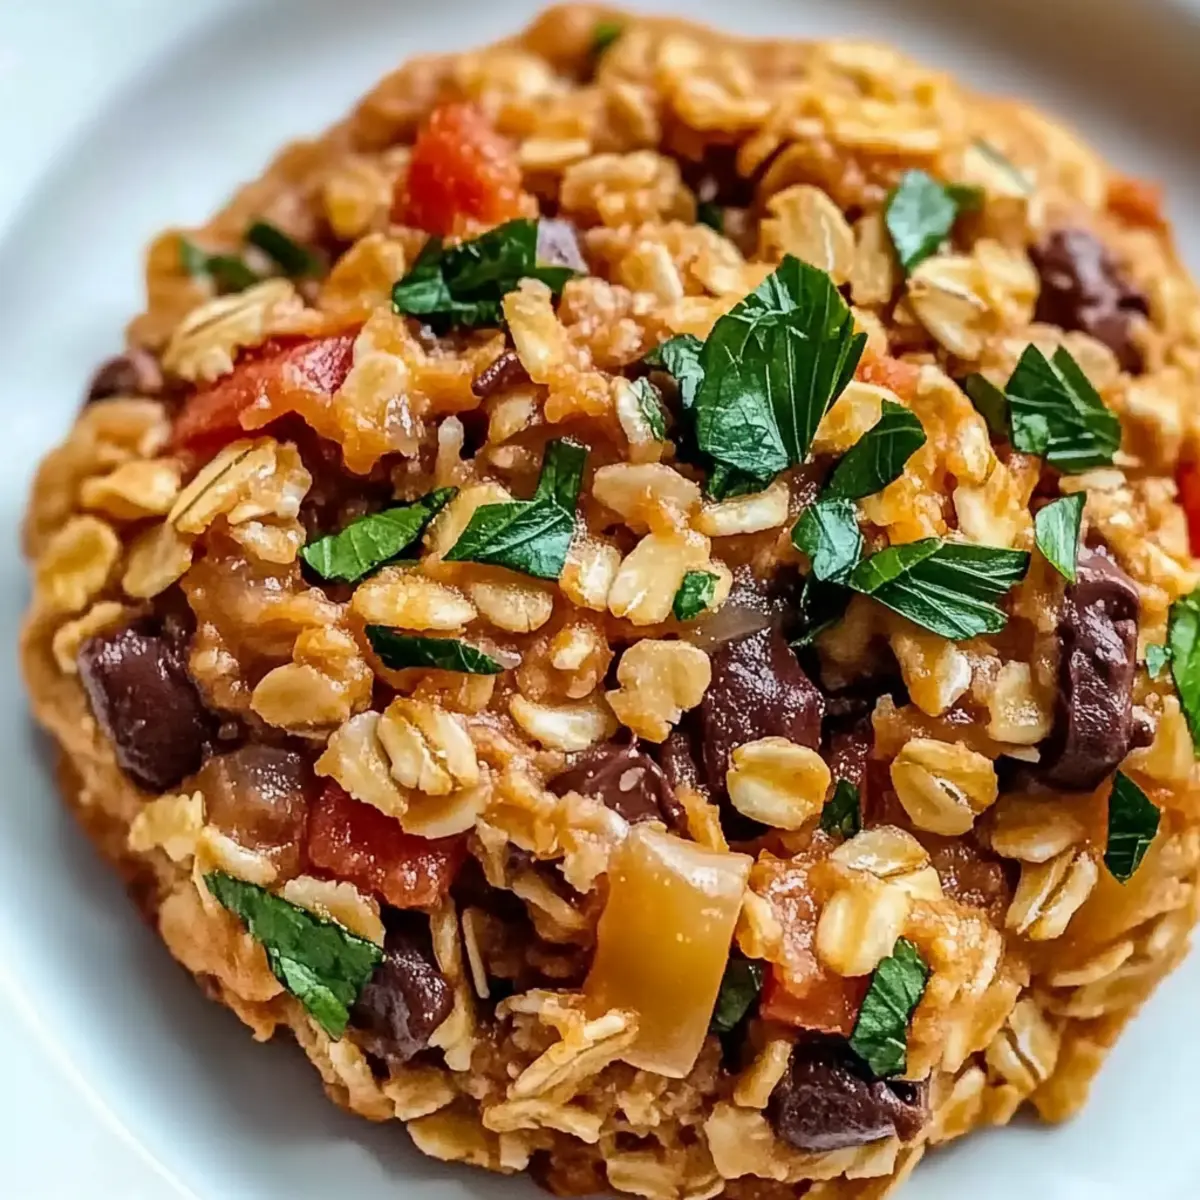
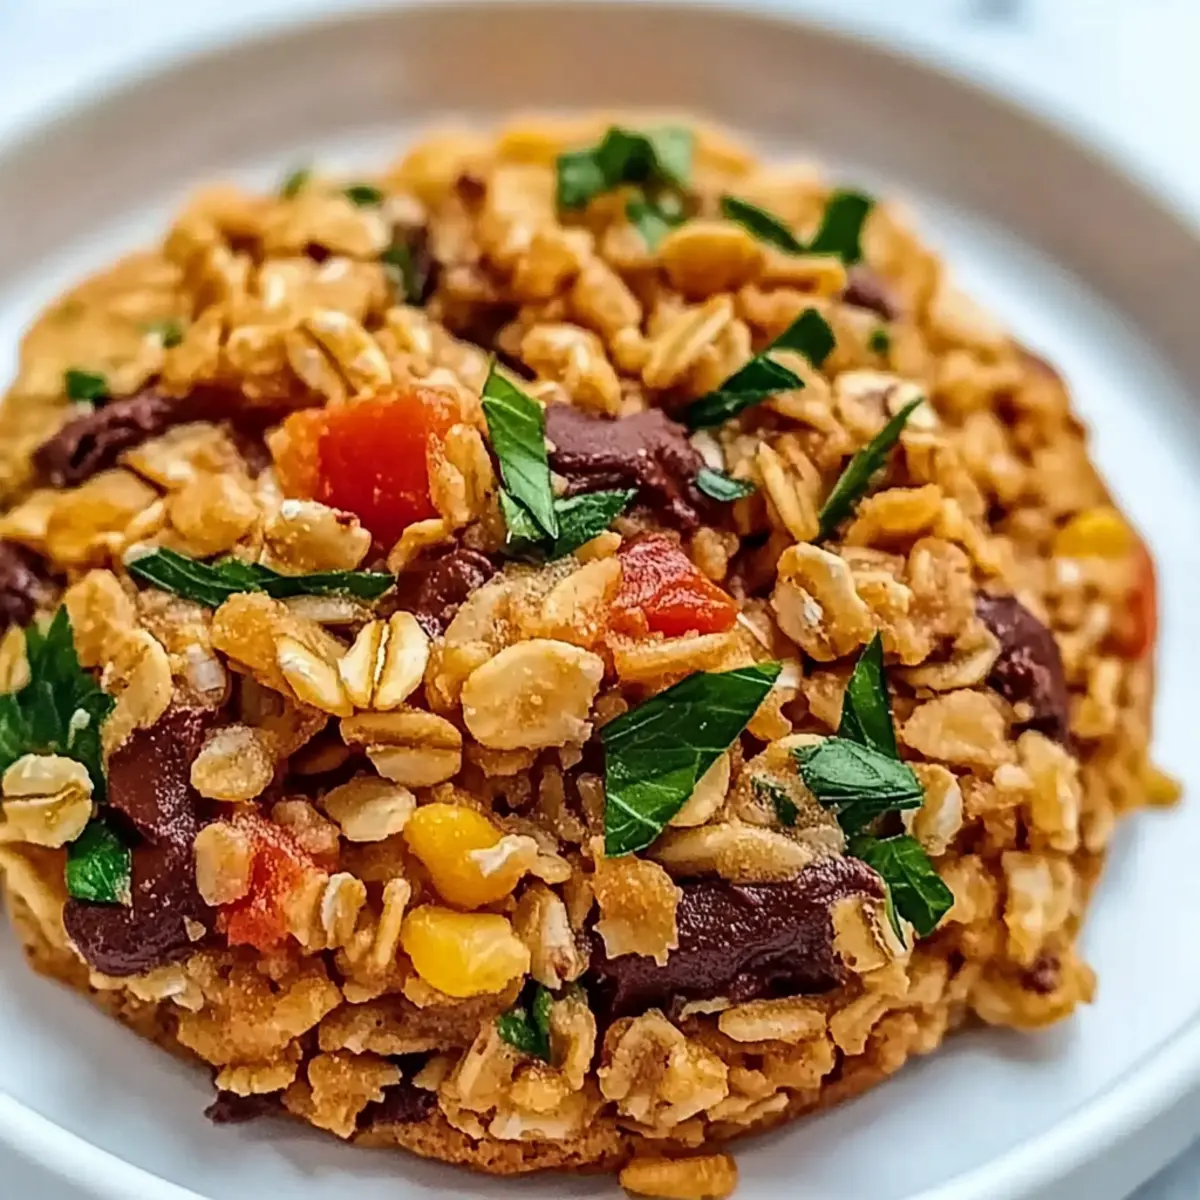
Healthy Mediterranean Rice and Beans Variations
Feel free to jazz up your healthy Mediterranean rice and beans with these exciting variations that will tickle your taste buds!
-
Spicy Kick: Add a pinch of red pepper flakes or diced jalapeños to spice things up. Enjoy a burst of heat framing the creamy goodness!
-
Herb Infusion: Incorporate fresh herbs like basil or parsley for a vibrant flavor twist. The fresh notes lift the dish, making every bite refreshing.
-
Citrus Zest: Brighten your meal with a splash of lemon juice or lime. The acidic tang enlivens the dish, balancing it beautifully with the savory beans.
-
Cheesy Delight: Stir in crumbled feta or shredded mozzarella for a creamier texture. The cheese will melt into the warm rice and beans, adding a rich layer of flavor that’s completely comforting.
-
Nutty Finish: Top with toasted pine nuts or slivered almonds for added crunch. This not only brings texture but also a delightful nutty flavor that rounds out each mouthful.
-
Vegetable Boost: Toss in diced bell peppers, zucchini, or baby spinach for extra nutrients. These colorful veggies enhance the dish’s vibrancy and nutritional profile, making it even more wholesome.
-
Quinoa Swap: Substitute half of the rice with quinoa for a protein-packed version. This change adds additional texture while maintaining the Mediterranean essence.
Pair your delightful Mediterranean rice and beans with a refreshing salad or even some crispy Brie Cranberry Bites to create a cozy meal that your family will love!
Storage Tips for Chocolate Oat Cookies
Room Temperature: Store cookies in an airtight container at room temperature for up to 1 week. This keeps them fresh and chewy, ready for snacking anytime.
Freezer: For longer storage, freeze the cookies in an airtight container or freezer bag for up to 2 months. They can be enjoyed later, just thaw for a few minutes before indulging.
Reheating: To enjoy warm cookies again, pop them in the microwave for about 10-15 seconds. This brings back that delightful chewy texture and warms up the rich chocolate flavors.
Tip: Make a double batch and freeze some; these chocolate oat cookies are perfect for a quick, healthy treat whenever cravings strike!
Chocolate Oat Cookies Recipe FAQs
How do I choose the best oats for this recipe?
When selecting oats, I recommend using quick oats for a finer texture, perfect for these cookies. Rolled oats work well, too, but if you prefer a denser bite, stick with the quick variety. Just ensure they are gluten-free oats if you’re keeping this recipe for gluten-sensitive diets!
What’s the best way to store my chocolate oat cookies?
Store your cookies in an airtight container at room temperature for up to 1 week—this keeps them fresh and chewy! If you want to keep them for longer, place them in a freezer-safe bag or container, as they can be frozen for up to 2 months. Just remember to let them thaw for about 10-15 minutes before enjoying!
Can I freeze chocolate oat cookies, and how should I do it?
Absolutely! To freeze, let the cookies cool completely, then lay them out on a baking sheet lined with parchment paper and freeze for about an hour. Once frozen, transfer the cookies to an airtight container or freezer bag, separating layers with parchment paper. This method prevents them from sticking together and keeps them in great shape for up to 3 months.
What should I do if my cookie dough is too dry?
If your dough seems crumbly, don’t fret! You can easily rescue it by adding a little more nut butter or a splash of honey or maple syrup. If it feels too sticky, simply incorporate a bit more oats. Aim for a slightly sticky but cohesive dough that holds together when rolled into balls.
Are these cookies suitable for people with nut allergies?
Yes, they can be! If you have nut allergies, substitute the nut butter with sunflower seed butter to keep these cookies both delicious and safe for everyone to enjoy. Just ensure it’s a smooth variety for the best texture, and feel free to adjust the sweetness to your liking.
What can I add to the cookies for extra flavor?
The more the merrier! You can add dark chocolate chips, chopped nuts, or dried fruits like cranberries for a delightful twist. Just fold your chosen mix-ins into the dough after combining your main ingredients for a fun and customized treat!
Healthy Mediterranean Rice and Beans for a Cozy Home Meal
Ingredients
Equipment
Method
- Preheat your oven to 350°F (175°C).
- In a large mixing bowl, combine oats, nut butter, honey (or maple syrup), and cocoa powder until mixed thoroughly.
- Scoop out portions of dough and roll them into balls, placing them on a lined baking sheet.
- Flatten each ball slightly with the back of a fork.
- Bake for 10-12 minutes until edges set; the center should be slightly soft.
- Cool on the baking sheet for 5 minutes before transferring to a wire rack.
- Store any extras in an airtight container or enjoy immediately.
Leave a Reply