
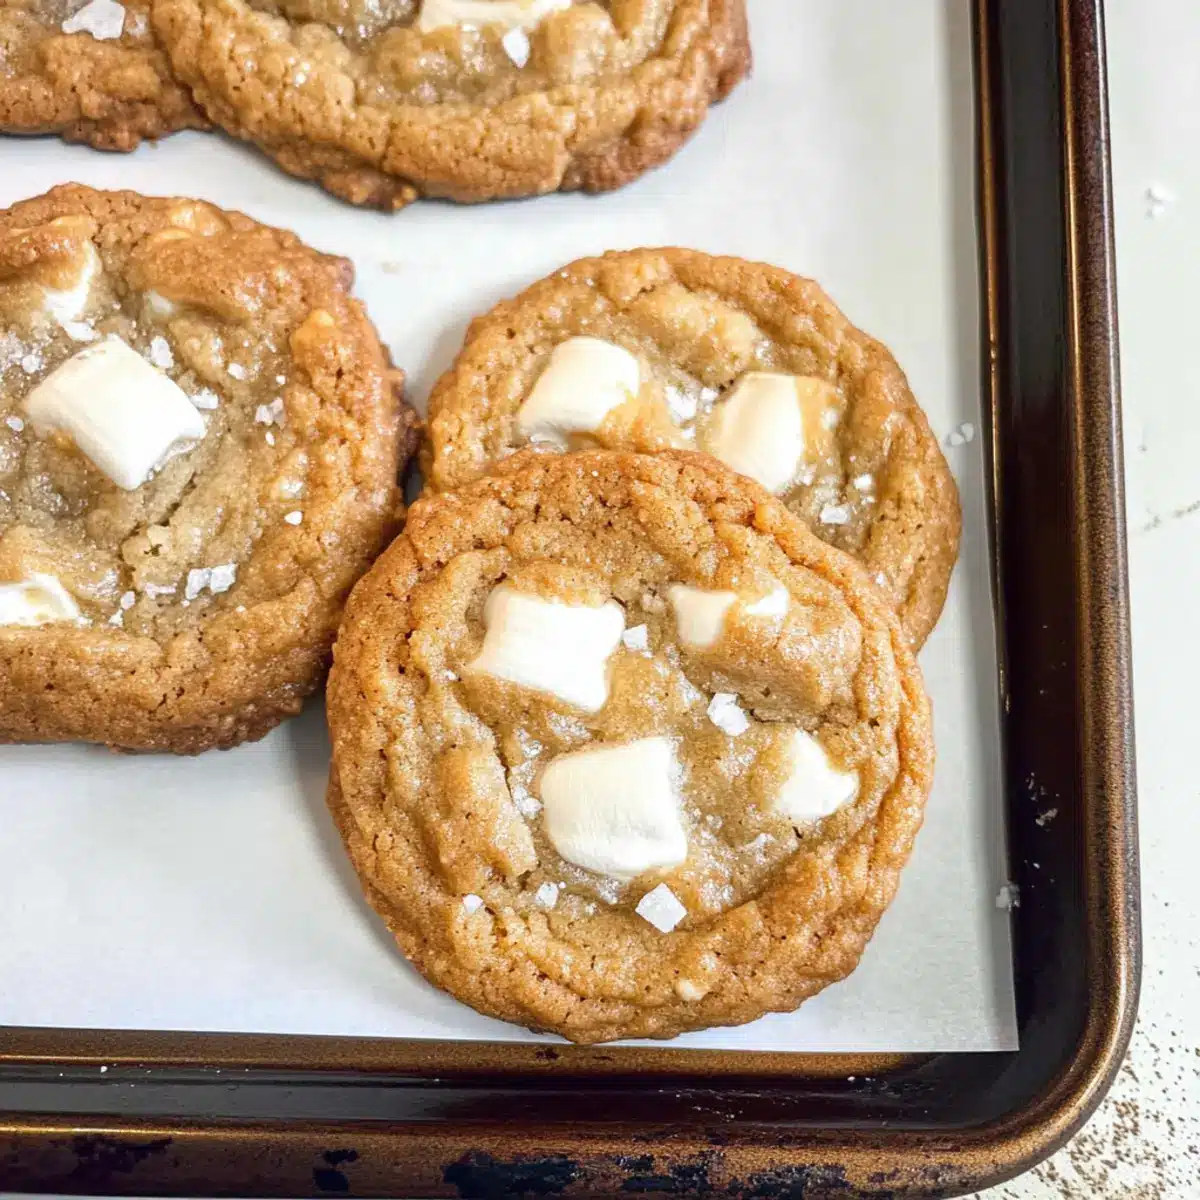
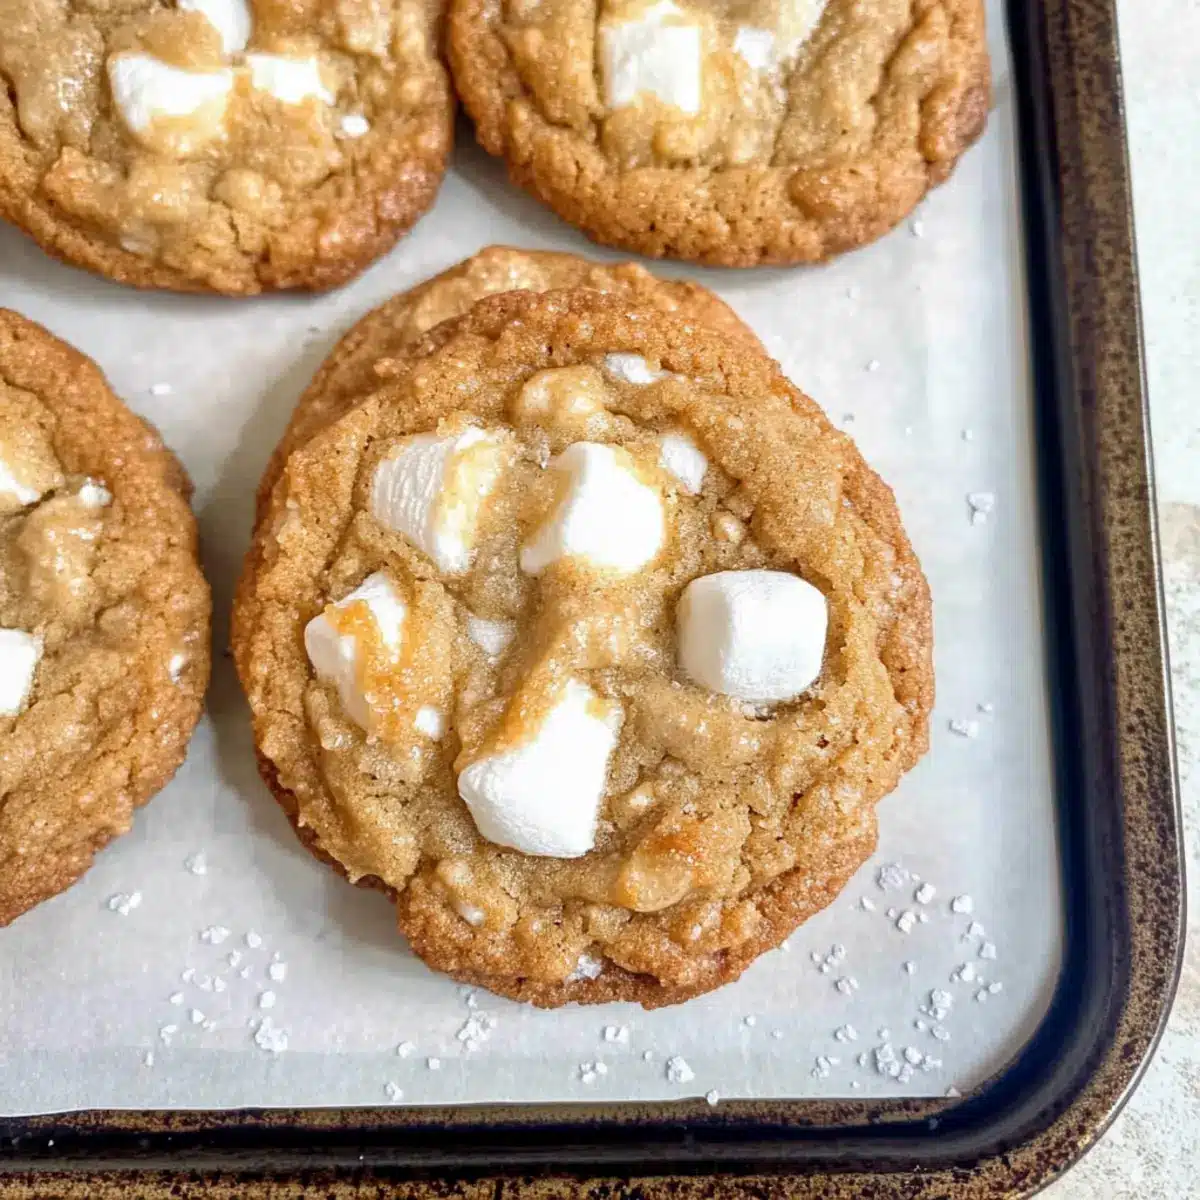
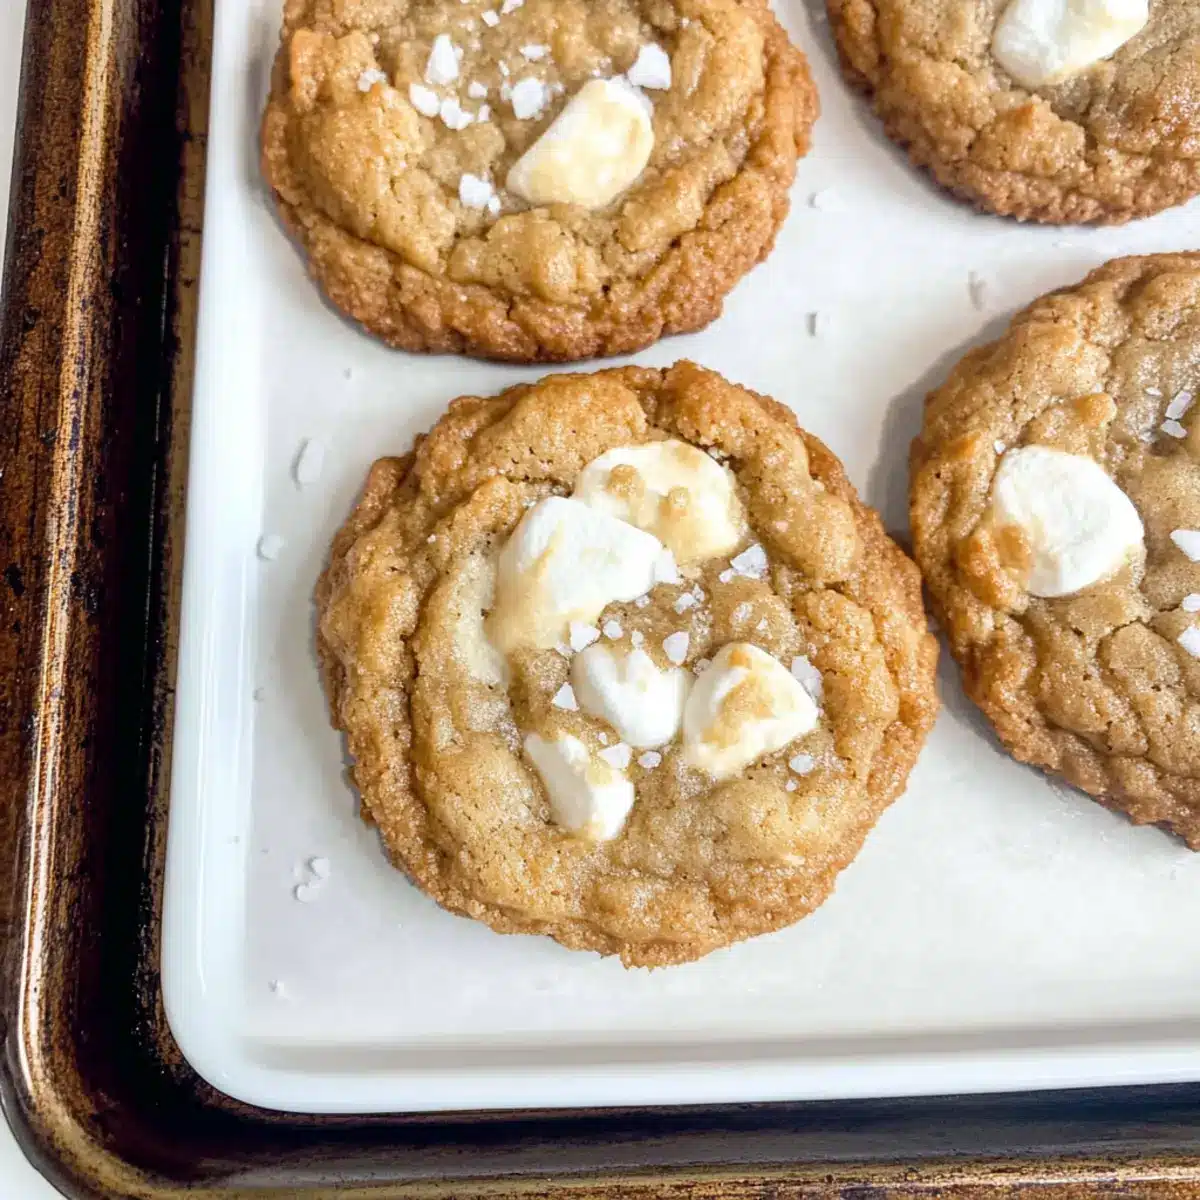
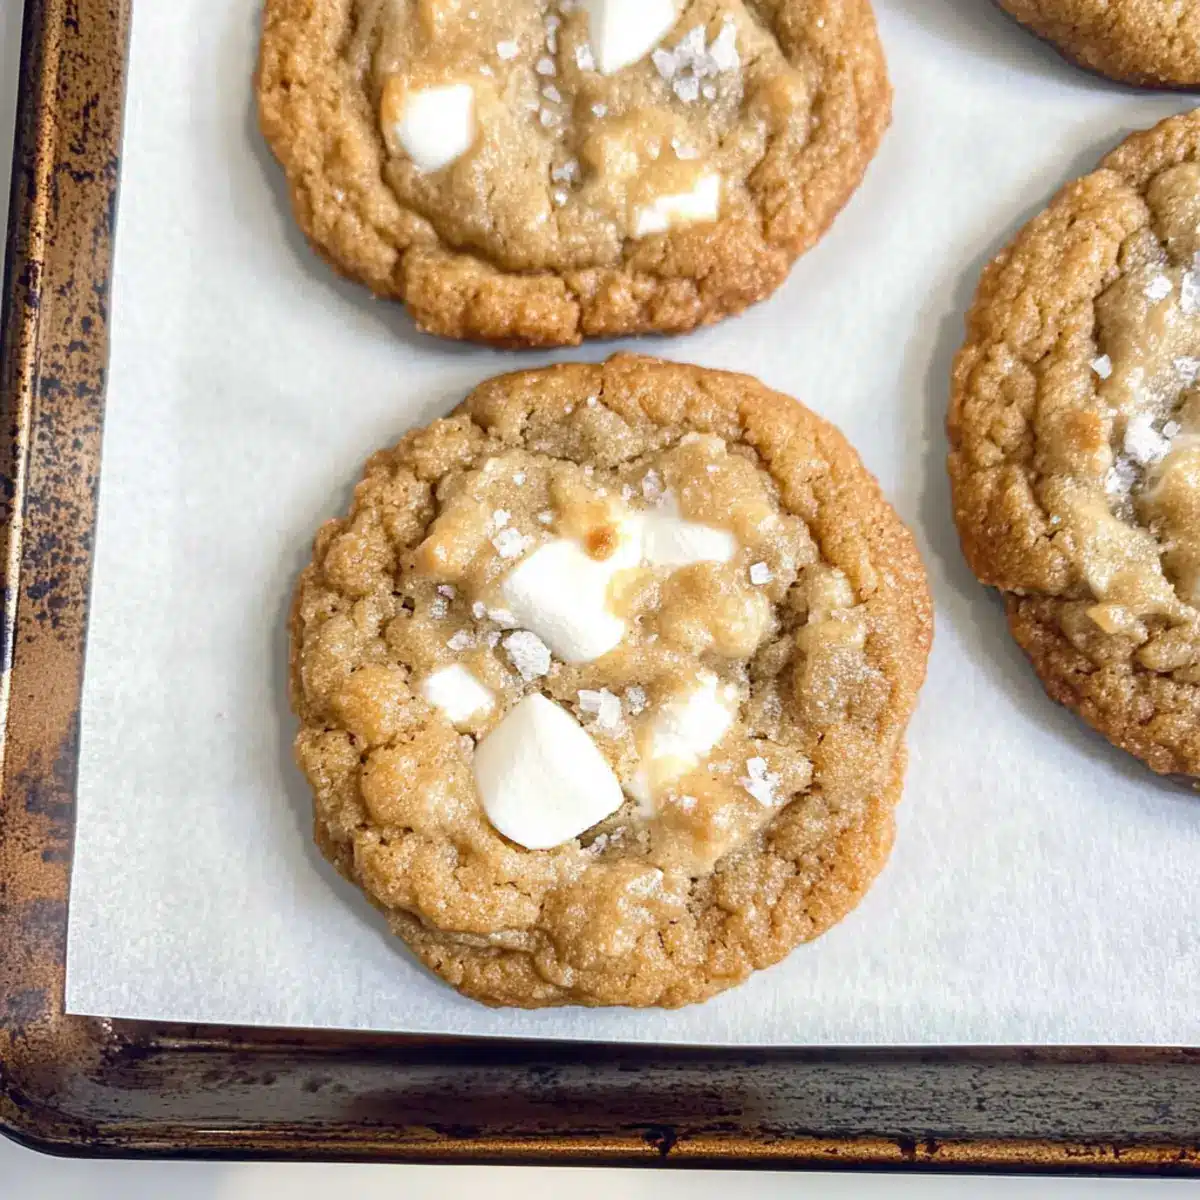
As I scooped the dough into my palms, a nostalgic wave washed over me—these don’t just resemble cookies; they capture the essence of carefree afternoons at Costco. These Brown Butter Marshmallow Crispy Cookies meld the nutty richness of brown butter with the satisfying crunch of Rice Krispies and the gooey sweetness of mini marshmallows. What’s even better? They’re a simple no-chill recipe that can be whipped up in no time, making them the perfect solution for those last-minute cravings or when friends drop by. Plus, with gluten-free variations possible, everyone can join in on the fun! Are you ready to sweeten your day with a cookie that makes every bite as delightful as the last?
Why Will You Love These Cookies?
Irresistible Flavor: The combination of brown butter and mini marshmallows creates a deliciously rich and sweet experience that’s hard to resist.
Quick & Easy: With no chilling required, these cookies can go from your kitchen to your mouth in no time—perfect for those sudden sweet cravings!
Customizable Options: Whether you prefer gooey marshmallows or crunchy chocolate chips, this recipe easily adapts to your taste. You can even try using gluten-free 1:1 flour for a delightful treat anyone can enjoy!
Crowd-Pleasing Delight: You’ll impress friends and family at your next gathering with these nostalgic near-copycat cookies that capture that beloved Costco flavor.
Lovely Texture: Experience the perfect balance of chewy and crunchy in each bite; it’s like having your favorite cookie meet a rice crisp treat! Ready to elevate your dessert game? Enjoy them with a glass of cold milk or alongside your morning coffee!
Marshmallow Crispy Cookies Ingredients
For the Dough
- Salted Butter – Brown it for a deeper, nuttier flavor; can be swapped with unsalted butter if desired.
- Brown Sugar – This adds a rich caramel sweetness; light or dark works just as well!
- Granulated Sugar – Balances the sweetness and contributes to a chewy texture.
- Egg – Helps bind everything together; make sure it’s at room temperature for the best results.
- Vanilla Extract – Enhances the flavor profile; consider using vanilla paste for extra depth.
- Baking Soda – A must for achieving that lift; check the freshness for optimal puffiness.
- Salt – Just a pinch balances out the sweetness perfectly.
- All-Purpose Flour – Provides structure to your cookies; swap for gluten-free 1:1 flour as needed.
For the Crunch
- Rice Krispie Cereal – Delivers the satisfying crunch; feel free to substitute with any crispy rice alternative.
- Mini Marshmallows – Infuse your cookies with chewy sweetness; chocolate chips can be a delicious alternative!
For the Topping
- Flaked Salt – This final touch balances the sweetness and adds an extra layer of flavor.
Indulge in these marshmallow crispy cookies that truly deliver chewy, buttery bliss in every delightful bite!
Step‑by‑Step Instructions for Marshmallow Crispy Cookies
Step 1: Preheat and Prepare
Begin by preheating your oven to 350°F (175°C). While it heats, line a baking sheet with parchment paper to prevent sticking and ensure easy cleanup. This step sets the stage for baking the delicious marshmallow crispy cookies that will soon fill your kitchen with enticing aromas.
Step 2: Brown the Butter
In a medium saucepan over medium heat, add the salted butter and allow it to melt slowly. Continue stirring until the butter turns golden brown and emits a nutty aroma, which should take about 5–7 minutes. Once browned, remove it from the heat and let it cool briefly; for quicker cooling, pop it into the fridge for a few minutes.
Step 3: Mix Sugars and Egg
In a mixing bowl, pour the cooled browned butter. Add both brown sugar and granulated sugar, mixing vigorously until smooth and creamy. Next, crack in the room-temperature egg and drizzle in the vanilla extract, blending these wet ingredients together until fully combined. This mixture will create a sweet base for your marshmallow crispy cookies.
Step 4: Combine Dry Ingredients
Gradually whisk together the baking soda, salt, and all-purpose flour in a separate bowl. Slowly add this dry mix to the wet ingredients in your mixing bowl, stirring gently until just combined. Be careful not to overmix, as we want those marshmallow crispy cookies to remain soft and chewy, rather than dense.
Step 5: Add Crunchy Elements
It’s time to fold in the Rice Krispies and mini marshmallows! Using a spatula, gently combine the crispy cereal and marshmallows with your dough until they are evenly distributed. This will give each cookie that perfect balance of crunch and chewiness, integral to the charm of marshmallow crispy cookies.
Step 6: Portion the Dough
Scoop out large mounds of dough, roughly 3 tablespoons each, and place them onto the prepared baking sheet, allowing enough space between each ball to accommodate spreading. This spacing is essential for those beautifully shaped cookies that won’t merge together while baking.
Step 7: Bake to Perfection
Slide the baking sheet into your preheated oven and bake for 10–13 minutes. Keep a close eye on them; you want the edges to turn light golden brown, while the centers remain soft and chewy. Avoid overbaking to preserve that lovely texture, essential to your marshmallow crispy cookies.
Step 8: Cool and Finish
Once baked, remove the cookies from the oven and let them cool on the baking sheet for about 5 minutes. This allows them to set before transferring them to a wire rack to cool completely. Just before serving, sprinkle with flaked salt for an extra burst of flavor, enhancing the sweetness of your delightful marshmallow crispy cookies.
How to Store and Freeze Marshmallow Crispy Cookies
Room Temperature: Store cookies in an airtight container for up to 3 days to keep them fresh and chewy; adding a slice of bread can help maintain moisture.
Fridge: If you prefer, you can refrigerate them for up to a week, but be aware that this may change the texture slightly, making them a bit firmer.
Freezer: For longer storage, freeze the baked cookies in an airtight container for 2-3 months. Thaw them at room temperature and enjoy the chewy, buttery goodness once again!
Dough Freezing: Prepare the cookie dough and freeze it in individual balls for up to 2-3 months, allowing for quick baking whenever you crave homemade marshmallow crispy cookies.
What to Serve with Brown Butter Marshmallow Crispy Cookies
Ready to elevate your cookie experience with delightful pairings that make each bite even more satisfying?
-
Cold Milk: This classic accompaniment balances the sweetness of the cookies, creating a nostalgic and comforting treat.
-
Coffee: A warm cup of coffee complements the buttery flavors, enhancing the chewy texture while providing a perfect afternoon pick-me-up.
-
Ice Cream Scoop: A scoop of vanilla or salted caramel ice cream alongside your cookies makes for a deliciously indulgent dessert that everyone will love.
-
Fresh Berries: The bright acidity of strawberries or raspberries brings a refreshing contrast to the richness of the cookies, adding texture and flavor.
-
Chocolate Sauce Drizzle: A light drizzle of chocolate sauce over your cookies creates an inviting presentation and boosts the flavor profile to new levels.
-
Caramel Sauce: For those with a sweet tooth, dipping the cookies in warm caramel adds a gooey, luxurious experience that’s hard to resist.
-
Nut Butter Spread: A thin layer of almond or peanut butter on the cookies enriches their flavor, adding a bit of protein and a satisfying creaminess.
-
Whipped Cream: Light and airy whipped cream on the side creates a sweet, fluffy addition that beautifully complements each chewy bite.
-
Sparkling Water: For a refreshing drink option, sparkling water with a hint of lemon keeps things light and enhances the sweetness of the cookies.
-
Chai Latte: The warm spices and creamy texture of a chai latte provide a wonderful contrast and create a cozy afternoon treat.
Make Ahead Options
These Brown Butter Marshmallow Crispy Cookies are perfect for meal prep, saving you time on busy days! You can prepare the cookie dough up to 3 days in advance—simply store it in an airtight container in the refrigerator to maintain freshness. If you’re looking to prep even further ahead, you can freeze the dough for up to 2-3 months; just scoop the dough balls onto a baking sheet, freeze until solid, then transfer to a freezer bag. When you’re ready to bake, there’s no need to thaw—just place the frozen dough directly on a baking sheet and add an extra minute or two to your baking time. By following these steps, your cookies will be just as delicious and ready to enjoy whenever you crave that chewy, buttery bliss!
Expert Tips for Marshmallow Crispy Cookies
-
Brown Butter Mastery: Ensure you continuously stir the butter as it browns to avoid burning. The nutty aroma is key to elevating your marshmallow crispy cookies.
-
Dough Consistency Check: If your dough feels too sticky, gradually add a bit more flour until it holds together well. This will prevent flat, spread-out cookies.
-
Watch the Bake Time: Keep an eye on your cookies during baking. They should be golden at the edges and just set in the center for that chewy texture.
-
Cooling Period: Don’t skip the cooling step! Letting the cookies settle on the baking sheet for a few minutes will help maintain their shape and prevent breakage.
-
Perfect Portioning: Use a large cookie scoop for uniform size. This ensures even baking, giving your marshmallow crispy cookies that appealing look and texture.
-
Flavor Variations: Feel free to swap in chocolate chips or add nuts for extra crunch. Personalization makes them uniquely yours and adds delightful surprises in every bite!
Marshmallow Crispy Cookies Variations & Substitutions
Feel free to explore these delightful twists that make your cookies uniquely yours and even more delicious!
- Gluten-Free: Use a gluten-free 1:1 flour blend and gluten-free Rice Krispies to keep these treats safe for everyone.
- Nutty Addition: Stir in chopped nuts like walnuts or pecans for a lovely crunch and added depth of flavor.
- Chocolate Lovers: Swap mini marshmallows for chocolate chips or chunks, adding a rich creamy texture. Perfect for chocolate fanatics!
- Peanut Butter Twist: Mix in a few tablespoons of creamy peanut butter for a nutty flavor that beautifully complements the cookie’s sweetness.
- Dairy-Free Version: Replace butter with coconut oil and use dairy-free chocolate chips for a treat that’s still indulgent but kinder to sensitive tummies.
- Flavor Infusions: Add a teaspoon of almond extract for a lovely nutty aroma that boosts the flavor profile.
- Extra Crunch: Try subbing in crispy cornflakes or granola for added texture and a delightful twist to the traditional Rice Krispies.
- Seasonal Spice: Incorporate a dash of cinnamon or pumpkin spice for a warm, cozy flavor that’s perfect during the fall or holiday season.
If you’re looking for more inspiration, you might enjoy trying similar recipes like these Cannoli Cookies Bring or Honey Garlic Tofu! Get creative and enjoy every bite!
Marshmallow Crispy Cookies Recipe FAQs
How do I choose the right butter for these cookies?
Absolutely! For this recipe, I recommend using salted butter to enhance the flavor, especially when browned. If you prefer unsalted butter, just be sure to add a pinch of salt to maintain the balance. When browning, look for a golden color and a nutty aroma—this richness elevates the overall flavor of your marshmallow crispy cookies!
What’s the best way to store these cookies?
You can keep your cookies fresh by storing them in an airtight container at room temperature for about 3 days. To maintain their soft, chewy texture, consider placing a slice of bread in the container—this helps keep the cookies moist. Alternatively, if you’d like them to last longer, refrigerate for up to a week, but be aware that this may make them a little firmer.
Can I freeze these cookies? How?
Yes! You can freeze your marshmallow crispy cookies in an airtight container for 2-3 months. First, ensure they are completely cool. Place parchment paper between layers if stacking to prevent sticking. When you’re ready to enjoy, simply thaw them at room temperature or pop them into a warm oven for a few minutes. The warmth will revive their chewy goodness!
What should I do if the dough is too sticky?
If you find your cookie dough is too sticky to handle, don’t worry! Just gradually add a bit more flour, approximately 1 tablespoon at a time, until it reaches a manageable consistency. This adjustment will help you shape perfect cookie balls and ensure they don’t spread too much during baking.
Are there any ingredient substitutions I can make for dietary restrictions?
Absolutely! For those needing gluten-free options, feel free to swap the all-purpose flour with a gluten-free 1:1 flour blend and use gluten-free Rice Krispies. If you’re concerned about sugar intake, you can replace brown sugar with coconut sugar or a sugar alternative, though this may affect the cookie’s texture and flavor slightly. Always consider your ingredients to ensure everyone can enjoy these delicious treats!
What can I do if my cookies spread too thin?
If your cookies spread thin while baking, it might be due to soft dough. You can chill the dough in the fridge for about 30-60 minutes before scooping and baking. This will help firm it up, preventing excessive spreading and resulting in that delightfully chewy texture you desire!
Marshmallow Crispy Cookies: Chewy, Buttery Bliss Awaits
Ingredients
Equipment
Method
- Preheat your oven to 350°F (175°C) and line a baking sheet with parchment paper.
- Melt the salted butter in a saucepan over medium heat until golden brown and nutty, about 5–7 minutes, then cool slightly.
- In a mixing bowl, combine the cooled browned butter with both sugars and mix until creamy. Add the egg and vanilla extract, blending together.
- In a separate bowl, whisk together baking soda, salt, and flour. Gradually mix into the wet ingredients, being careful not to overmix.
- Fold in the Rice Krispies and mini marshmallows until evenly distributed.
- Scoop large mounds of dough (about 3 tablespoons each) onto the prepared baking sheet, ensuring space in between.
- Bake for 10–13 minutes until the edges are light golden brown and centers remain soft.
- Cool on the baking sheet for 5 minutes before transferring to a wire rack. Sprinkle with flaked salt before serving.
Leave a Reply