
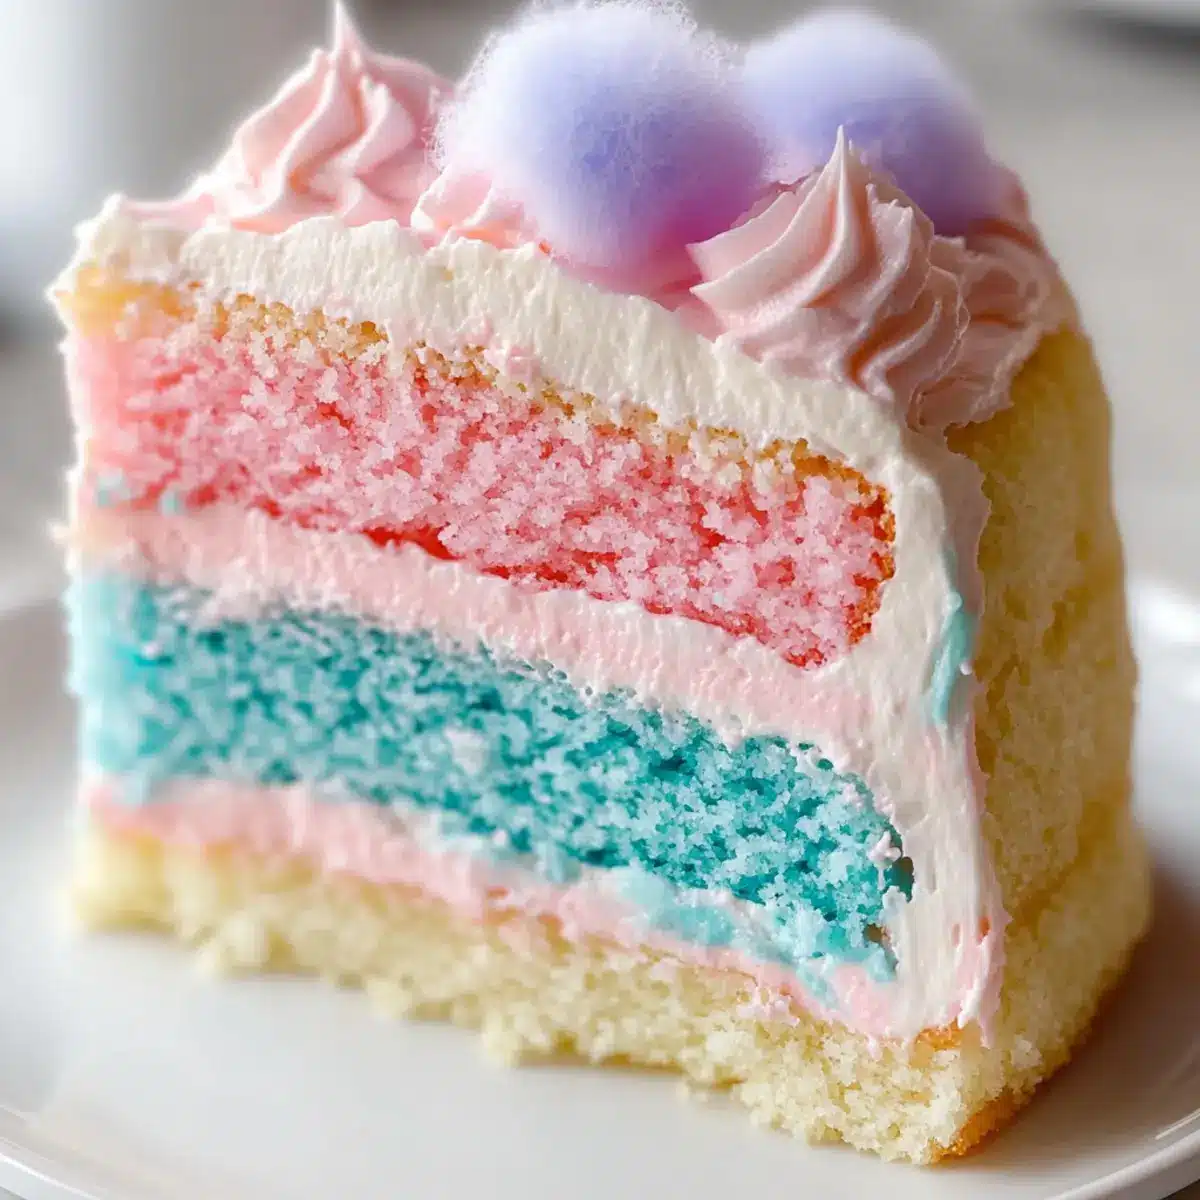
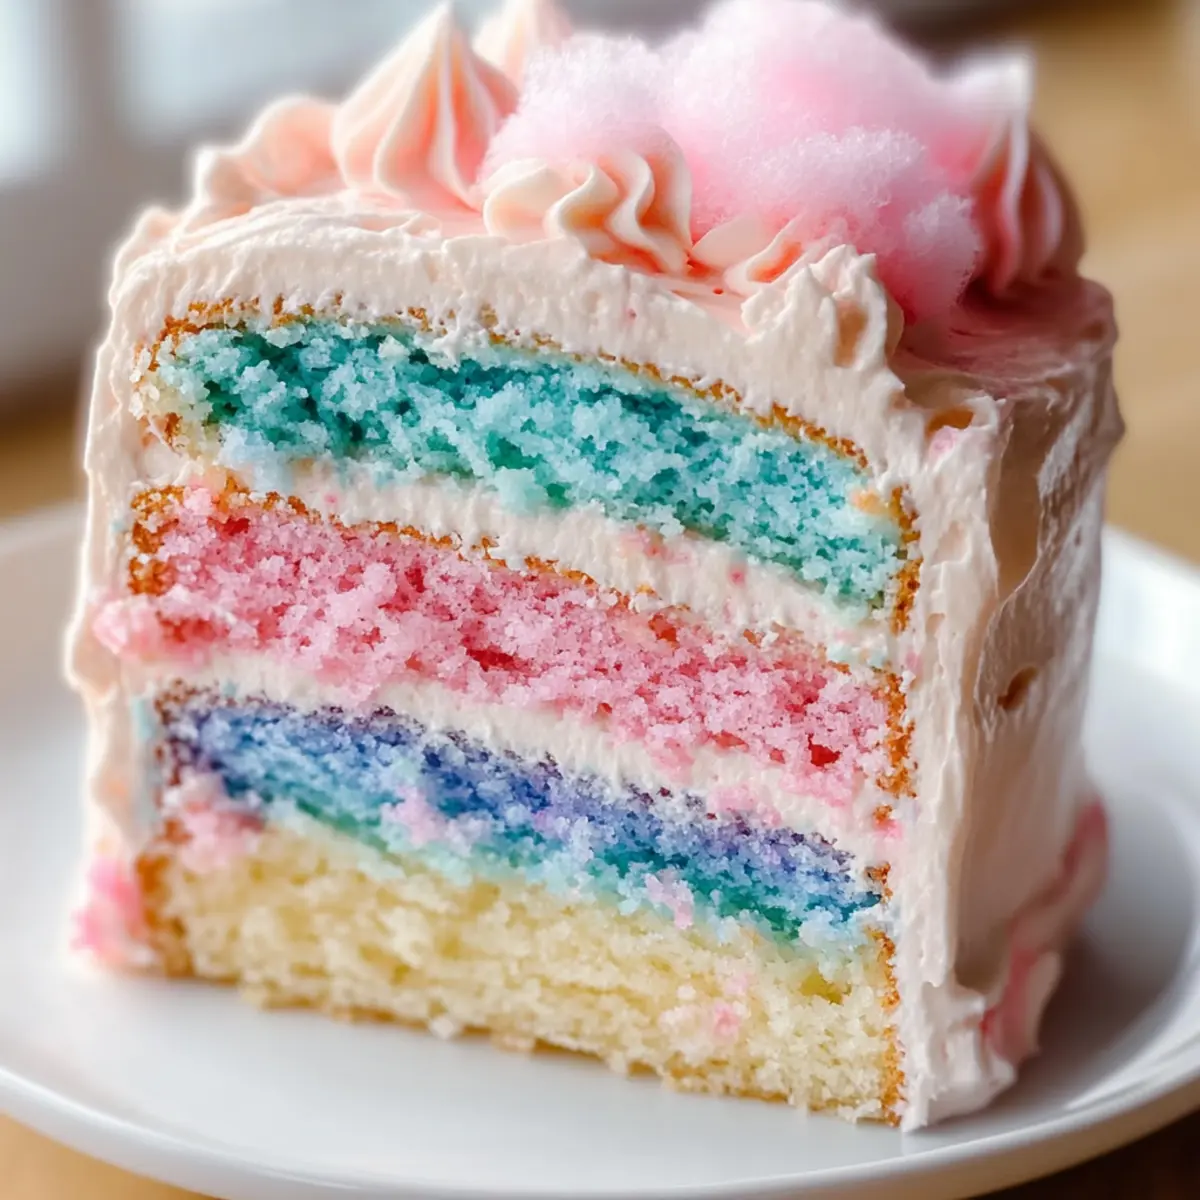
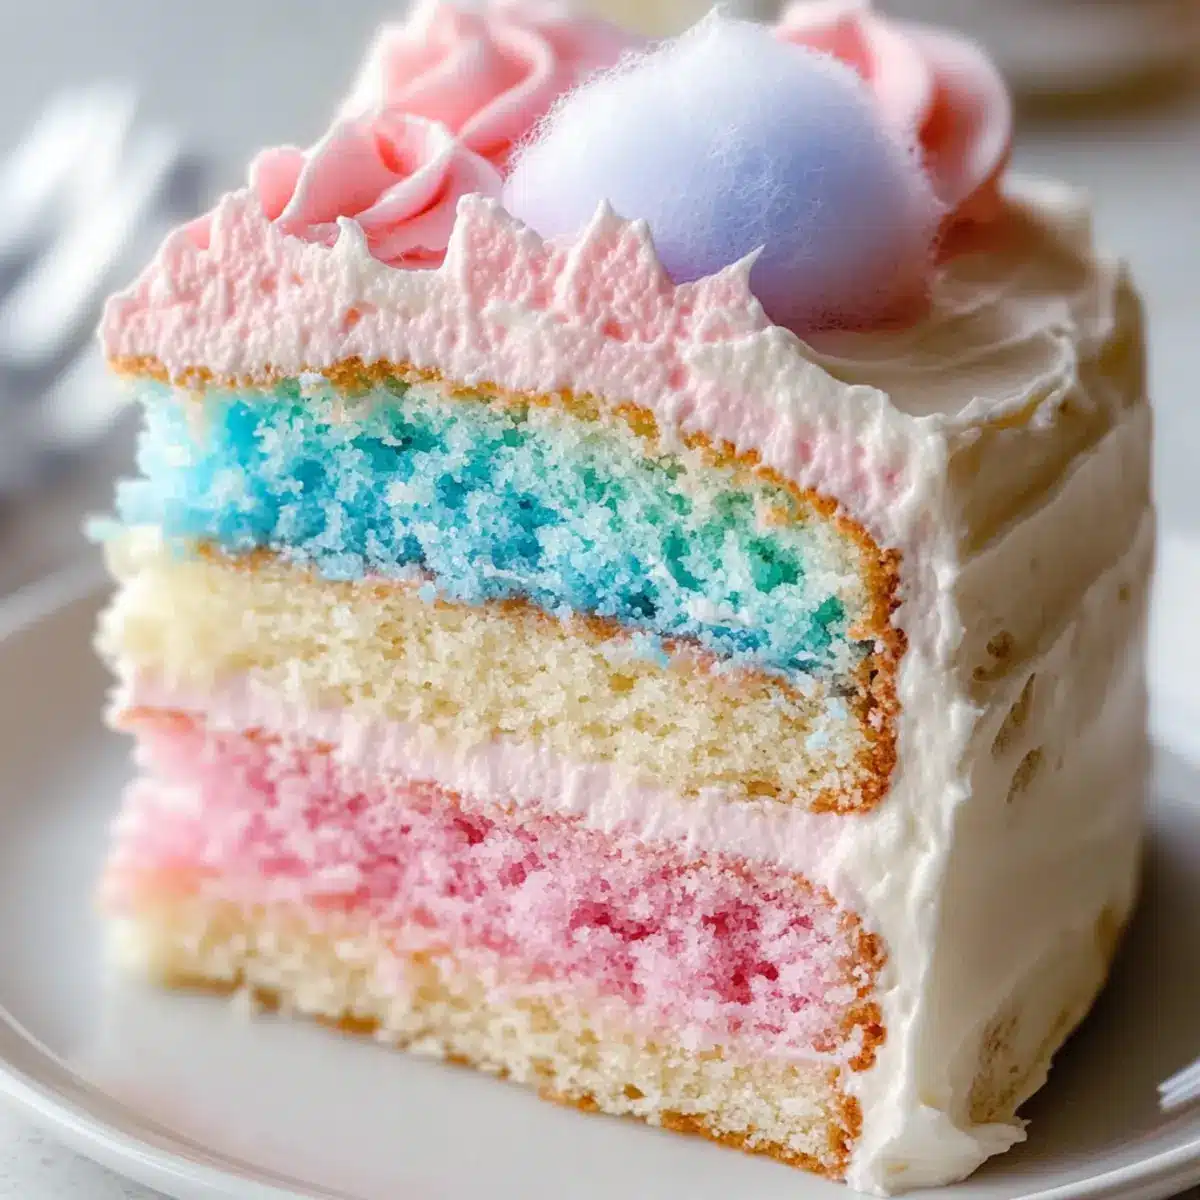
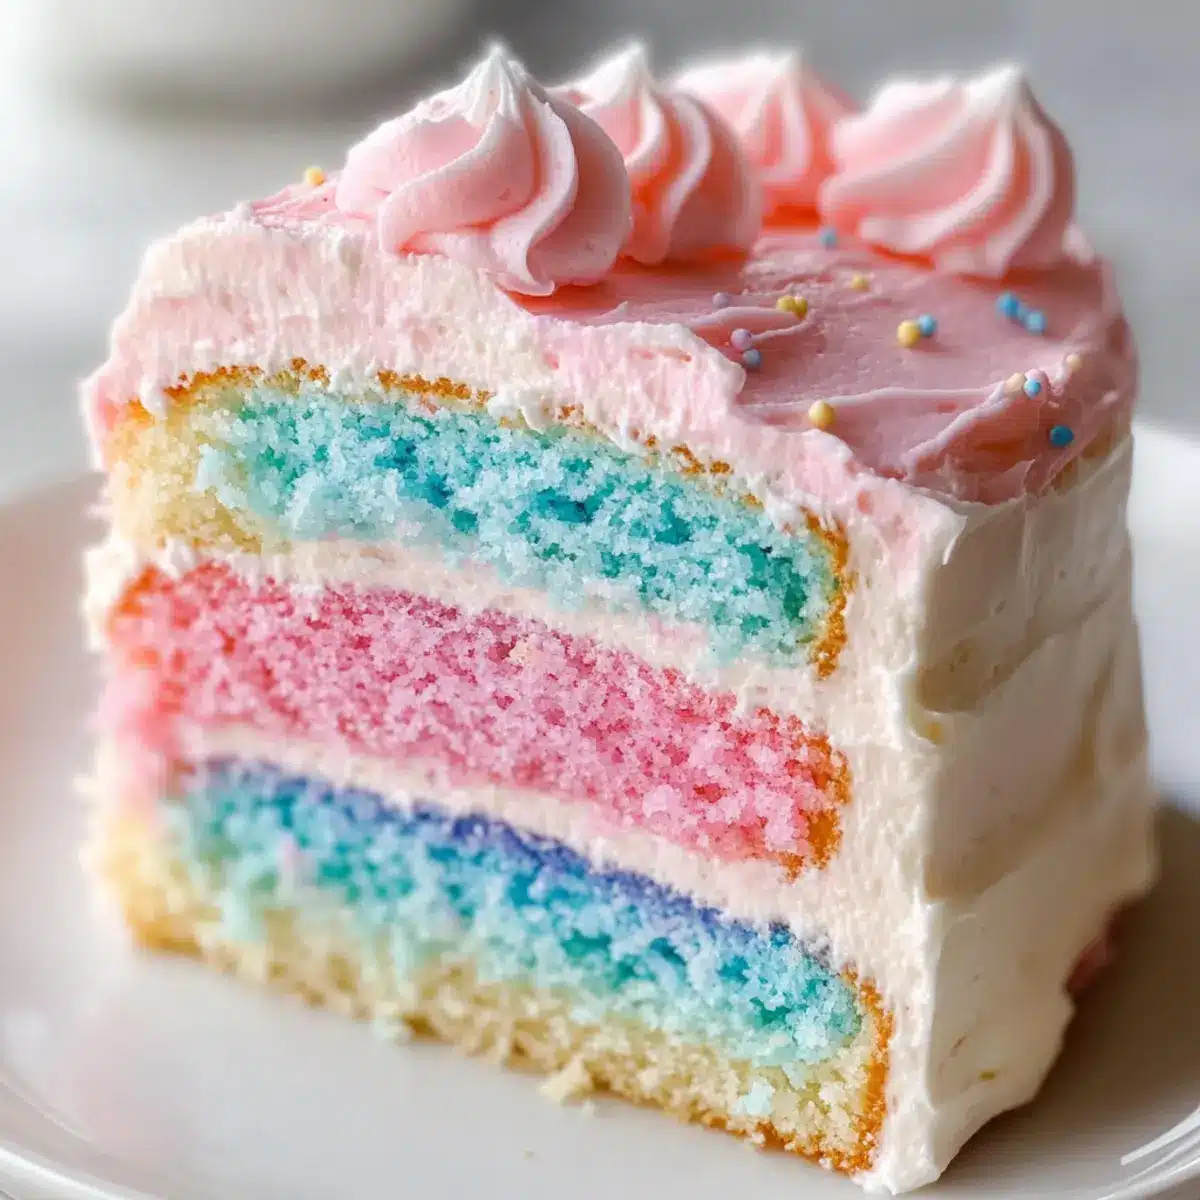
Every carnival visit left me with a sweet tooth that begged to be satisfied, and this Cotton Candy Cake Recipe captures that nostalgic magic in each delightful slice. Picture three fluffy layers of vanilla cake swirled with vibrant pink and blue buttercream, creating a show-stopping centerpiece for any celebration. Not only is this cake whimsical and fun, but it’s also surprisingly easy to whip up, making it perfect for birthdays and casual get-togethers alike. Each bite will transport you and your loved ones to a festive fairground, filling the air with giggles and joy. Are you ready to make sweet memories with this colorful concoction?
Why is this Cotton Candy Cake a Must-Try?
Nostalgic Joy: Every slice of this cake brings back memories of carefree days at the carnival, making it a nostalgic treat for kids and adults alike.
Visually Stunning: The vibrant pink and blue swirls of buttercream create a stunning centerpiece that will wow your guests at any celebration.
Easy to Make: With straightforward steps, you don’t need to be a pro baker to impress your loved ones. Even beginners can nail it!
Versatile Options: Looking to mix it up? Try variations like the Cotton Candy Drip Cake or Mini Cotton Candy Cupcakes, perfect for party favors!
Crowd-Pleaser: This cake is not just a dessert; it’s an experience that can elevate any celebration from ordinary to extraordinary.
Cotton Candy Cake Ingredients
• To create this magical Cotton Candy Cake, gather these delightful ingredients!
For the Cake Layers
- All-Purpose Flour – Provides structure and stability; substitute with gluten-free flour for a gluten-free option.
- Granulated Sugar – Sweetens both the cake and buttercream, giving a delightful sugary kick.
- Baking Powder – Essential for leavening, ensuring your cake rises beautifully.
- Salt – Balances sweetness and enhances all the flavors.
- Butter (softened) – Adds richness and moisture; feel free to substitute with vegan butter for a dairy-free delight.
- Milk – Keeps the cake moist; whole or almond milk works great.
- Vanilla Extract – Adds a warm aroma and enhances the sweetness; opt for pure vanilla whenever possible.
- Cotton Candy Extract – Infuses that beloved cotton candy flavor; adjust to your preference for maximum sweetness.
- Eggs (room temperature) – Provides structure and moisture, crucial for a tender cake.
For the Buttercream
- Powdered Sugar – Sweetens the buttercream and needs to be sifted to avoid lumps for a smooth finish.
- Heavy Cream – Adds creaminess to your buttercream; substitute with milk if necessary for a lighter option.
- Food Coloring (pink and blue) – Used to give the buttercream its vibrant, cotton candy-like hues.
For Decoration
- Cotton Candy – For a whimsical topping; add right before serving to maintain its fluffy texture.
- Sprinkles (optional) – For extra fun and added color on top of the cake.
- Edible Glitter (optional) – Enhances the visual appeal, making it extra festive!
- Optional Add-ins – Mini marshmallows, white chocolate chips, or pop rocks for an exciting burst of flavor and texture.
Use these ingredients to create a Cotton Candy Cake that will delight everyone and transport them to a carnival wonderland!
Step‑by‑Step Instructions for Cotton Candy Cake Recipe
Step 1: Preheat and Prepare
Begin by preheating your oven to 350°F (175°C). While the oven is warming up, grease and flour three 8-inch round cake pans to ensure your cotton candy cake layers release easily once baked. This step is crucial for achieving a beautiful finish, so take your time to coat the pans thoroughly.
Step 2: Mix Dry Ingredients
In a large mixing bowl, whisk together 2 cups of all-purpose flour, 1½ cups of granulated sugar, 1 tablespoon of baking powder, and ½ teaspoon of salt until well combined. This is the foundation of your cotton candy cake, so ensure there are no lumps. The mixture should be light and airy, reflecting the bubbly nature of cotton candy.
Step 3: Add Wet Ingredients
Next, incorporate the wet ingredients by adding ½ cup of softened butter, 1 cup of milk, 1 tablespoon of vanilla extract, and 1 tablespoon of cotton candy extract into the dry mixture. Using an electric mixer, blend the mixture on medium speed until it’s smooth and creamy, about 2-3 minutes. The batter should be thick yet pourable, with a delightful aroma wafting through your kitchen.
Step 4: Incorporate Eggs
Now, add 4 room-temperature eggs to the batter one at a time. Continue mixing on low speed to ensure each egg is fully incorporated before adding the next, taking about 5 minutes total. The batter should appear smooth and glossy when finished, contributing to the fluffy texture of your cotton candy cake layers.
Step 5: Bake the Cake Layers
Divide the batter evenly among the prepared cake pans and tap them gently on the counter to release any air bubbles. Place the pans in the preheated oven and bake for 25-30 minutes, or until a toothpick inserted into the center of each layer comes out clean. The cakes should have a light golden color when done, signaling they are perfectly baked.
Step 6: Cool the Cake Layers
Once baked, remove the cakes from the oven and let them cool in the pans for 10 minutes. After that, carefully transfer the cake layers to cooling racks to cool completely. Allowing them to cool thoroughly is crucial to prevent frosting from melting and ensures the cotton candy cake looks pristine when decorated.
Step 7: Prepare the Buttercream
While the cakes are cooling, prepare the buttercream. In a mixing bowl, beat together 1 cup of softened butter until fluffy. Gradually add 4 cups of sifted powdered sugar, alternating with ½ cup of heavy cream, mixing on low speed to catch any flying sugar. After fully combined, stir in 1 tablespoon of vanilla extract and 1 tablespoon of cotton candy extract.
Step 8: Color the Buttercream
Divide your buttercream evenly into two separate bowls. Add pink food coloring to one bowl and blue food coloring to the other, mixing until you achieve your desired shades. This vibrant duo will bring your cotton candy cake to life, reminiscent of a fun day at the fair.
Step 9: Assemble the Cake
Begin assembling the cotton candy cake by placing one layer on a serving plate. Spread a generous layer of pink buttercream over the top, then place the second layer on top. Repeat the process with blue buttercream for the next layer, creating an alternating pattern of colors for a visually stunning effect.
Step 10: Frost the Cake
Once assembled, cover the entire exterior of the cake with swirls of pink and blue buttercream using a spatula. Create a fun, whimsical look that mimics the fluffy texture of cotton candy. Optional: sprinkle your cake with fun sprinkles and edible glitter for an added festive touch that will charm all your guests.
Step 11: Add Final Touches
Finally, just before serving, top the cake with fluffy cotton candy, ensuring it maintains its whimsical appearance. This last step completes your cotton candy cake and adds a delightful surprise that will mesmerize both kids and adults at any celebration.
Cotton Candy Cake Recipe Variations
Feel free to let your creativity soar with these delightful twists on the classic cotton candy cake that will spark joy in every bite!
-
Gluten-Free: Use a gluten-free flour blend instead of all-purpose flour for a deliciously inclusive cake. Just remember to check how much leavening is recommended by the blend’s manufacturer!
-
Dairy-Free: Substitute vegan butter and almond milk for classic butter and milk to create a totally dairy-free treat. With the right flavors, no one will even miss the dairy!
-
Chocolate Delight: Swap in cocoa powder for part of the flour for a rich chocolate twist. The chocolatey base pairs wonderfully with the sweet cotton candy frosting.
-
Mini Cupcakes: Transform this recipe into fun-sized mini cotton candy cupcakes! Bake the same batter in a cupcake tin for adorable, portable bites of joy.
-
Rainbow Fun: Layer each cake with a different color of buttercream for a vibrant rainbow effect. You can use multiple flavors of cotton candy extracts or combine different colors for the frosting too!
-
Flavor Profiles: Experiment with other extracts like blueberry or even orange for a fruity take on cotton candy flavor. Innovative combinations can surprise and delight your taste buds!
-
Add Crunch: Toss in some mini marshmallows or pop rocks into the batter for a fun textural surprise in each bite. They’ll offer unexpected pops of flavor as you munch.
Feel excited to explore these variations, and don’t forget to pair your cotton candy cake with something refreshing like vanilla ice cream or even a scoop of lovely strawberry ice cream. For more inspiration, try creating fun treats like the Rainbow Cotton Candy Cake or indulge in the magical Chai Cake Brown. Happy baking!
Expert Tips for Cotton Candy Cake
-
Room Temperature Eggs: Ensure your eggs are at room temperature to promote even mixing, which creates a fluffy texture for your cotton candy cake layers.
-
Cool Completely: Always let your cake layers cool completely before frosting. This prevents the buttercream from melting and maintains that gorgeous, vibrant appearance.
-
Add Cotton Candy Last: To keep the cotton candy from becoming sticky and melting, place it on the cake just before serving. This retains its whimsical fluffiness.
-
Level with Care: Use a serrated knife to level the cake layers. This step ensures a stable and even cake structure, allowing for beautiful stacking and decoration.
-
Don’t Rush the Baking: Bake until a toothpick inserted into the center comes out clean. Overbaking can dry out your layers, compromising the lightness essential in this cotton candy cake recipe.
How to Store and Freeze Cotton Candy Cake
Fridge: Keep the cake covered in an airtight container to maintain moisture. It can be stored in the fridge for up to 5 days.
Freezer: Wrap individual slices in plastic wrap, then foil, to prevent freezer burn. Store for up to 3 months. Thaw in the fridge before serving.
Reheating: If you’d like to enjoy your cake warm, pop a slice in the microwave for 10-15 seconds. Avoid reheating with cotton candy on top, as it will melt and lose its texture.
What to Serve with Cotton Candy Cake?
Transform your sweet celebration into a delightful feast with these fantastic pairing ideas that elevate your Cotton Candy Cake experience.
- Cold Milk: A classic pairing! The refreshing taste of cold milk complements the sweetness of the cake, enhancing every delightful bite.
- Vanilla Ice Cream: This rich dessert pairs beautifully with cotton candy flavors, creating a creamy contrast that melts in your mouth.
- Strawberry Ice Cream: The fruity sweetness harmonizes perfectly with cotton candy, adding vibrant color and flavor to your dessert spread.
- Fruit Salad: A medley of fresh fruits like strawberries, blueberries, and kiwis adds a refreshing, tangy element, balancing the sugar from the cake.
- Rainbow Sherbet: The colorful, citrusy flavors offer a refreshing kick that complements the cake’s sweetness without overpowering it.
- Sparkling Lemonade: This fizzy drink adds a celebratory touch to your meal, making it ideal for birthdays or festive gatherings.
- Chocolate-Covered Pretzels: The salty crunch provides a delightful contrast to the sweet cake, creating a fun and satisfying textural experience.
- Cupcakes: Serve mini cotton candy cupcakes alongside the cake for a playful addition that kids adore, doubling the fun at your celebration.
- Cotton Candy Flavored Seltzer: A hint of nostalgia in a bubbly drink! This festive option keeps the fun going with its light, fizzy goodness.
- Festive Charcuterie Board: A selection of cheeses, crackers, and colorful berries works as a delightful savory-sweet balance alongside your Cotton Candy Cake.
Make Ahead Options
These Cotton Candy Cake layers are perfect for busy home cooks looking to save time during celebrations! You can easily prepare the cake layers up to 3 days in advance. Simply bake the layers, allow them to cool completely, then wrap each layer tightly in plastic wrap and refrigerate. For the buttercream, it can be made up to 24 hours ahead, just store it in an airtight container in the fridge. To maintain its fluffy texture, take the buttercream out to soften at room temperature for about 30 minutes before frosting. When you’re ready to serve, assemble your Cotton Candy Cake with the layers and colorful buttercream, adding cotton candy just before presenting it for the freshest look and flavor. Enjoy the time-saving benefits while still delighting your guests with a dazzling treat!
Cotton Candy Cake Recipe FAQs
What kind of flour should I use for this cake?
Absolutely! All-purpose flour is my go-to for this Cotton Candy Cake Recipe, as it provides the perfect structure and stability. If you’re looking for a gluten-free option, you can substitute it with a gluten-free flour blend. Just ensure it has xanthan gum for best results!
How should I store leftover Cotton Candy Cake?
To maintain the cake’s delightful moisture, store it in an airtight container in the fridge for up to 5 days. If you have leftover frosting, you can keep it separately as well! Just remember to avoid adding cotton candy until it’s time to serve to keep it fluffy and fresh.
Can I freeze the Cotton Candy Cake?
Yes, you can easily freeze this cake! Wrap individual slices tightly in plastic wrap, then foil, to protect them from freezer burn. You can store them for up to 3 months. When you’re ready to enjoy, simply thaw the slices in the fridge overnight and serve without the cotton candy on top to maintain texture.
What if my cake layers dome or crack?
Very good question! If you notice that your cake layers dome or crack while baking, it could be due to an overly hot oven or too much air incorporated into the batter. To prevent this, make sure your oven temperature is accurate and that you’re mixing at low speed once you add the eggs. If they do dome, use a serrated knife to level them before frosting!
Can I make this recipe nut-free?
Yes, indeed! This Cotton Candy Cake Recipe can easily accommodate nut allergies. Use whole milk or a nut-free alternative like oat milk, and ensure all other ingredients, such as baking powder and food coloring, are nut-free as well. Everyone can enjoy the sweetness without any worries!
Whimsical Cotton Candy Cake Recipe for Sweet Celebrations
Ingredients
Equipment
Method
- Preheat your oven to 350°F (175°C) and prepare the cake pans.
- In a bowl, whisk together flour, sugar, baking powder, and salt.
- Add butter, milk, vanilla extract, and cotton candy extract. Mix until smooth.
- Incorporate eggs one at a time, mixing well after each addition.
- Divide the batter into cake pans and bake for 25-30 minutes.
- Let cakes cool in the pans for 10 minutes, then transfer to racks.
- Prepare the buttercream by mixing butter, powdered sugar, and cream.
- Divide and color the buttercream with pink and blue food coloring.
- Assemble the cake, alternating layers of pink and blue buttercream.
- Frost the cake exterior with swirls of both colored buttercream.
- Top with cotton candy right before serving for a whimsical touch.
Leave a Reply