
The tantalizing aroma of Tex-Mex spices wafting through your kitchen can instantly transport you to a cozy taqueria. Let me introduce you to my Ultimate Crispy Baked Chicken and Cheese Chimichangas, a dish that not only delights the senses but transforms weeknight dinners into something special. These baked beauties deliver that beloved crunch with none of the greasy guilt of frying! With a gooey interior filled with savory chicken and melted cheese, they make for an uncomplicated yet satisfying meal. Need something quick? These chimichangas are your answer! Plus, you have the option to swap in ground beef for even more deliciousness. Ready to elevate your weeknight routine and impress your loved ones? Let’s get cooking!
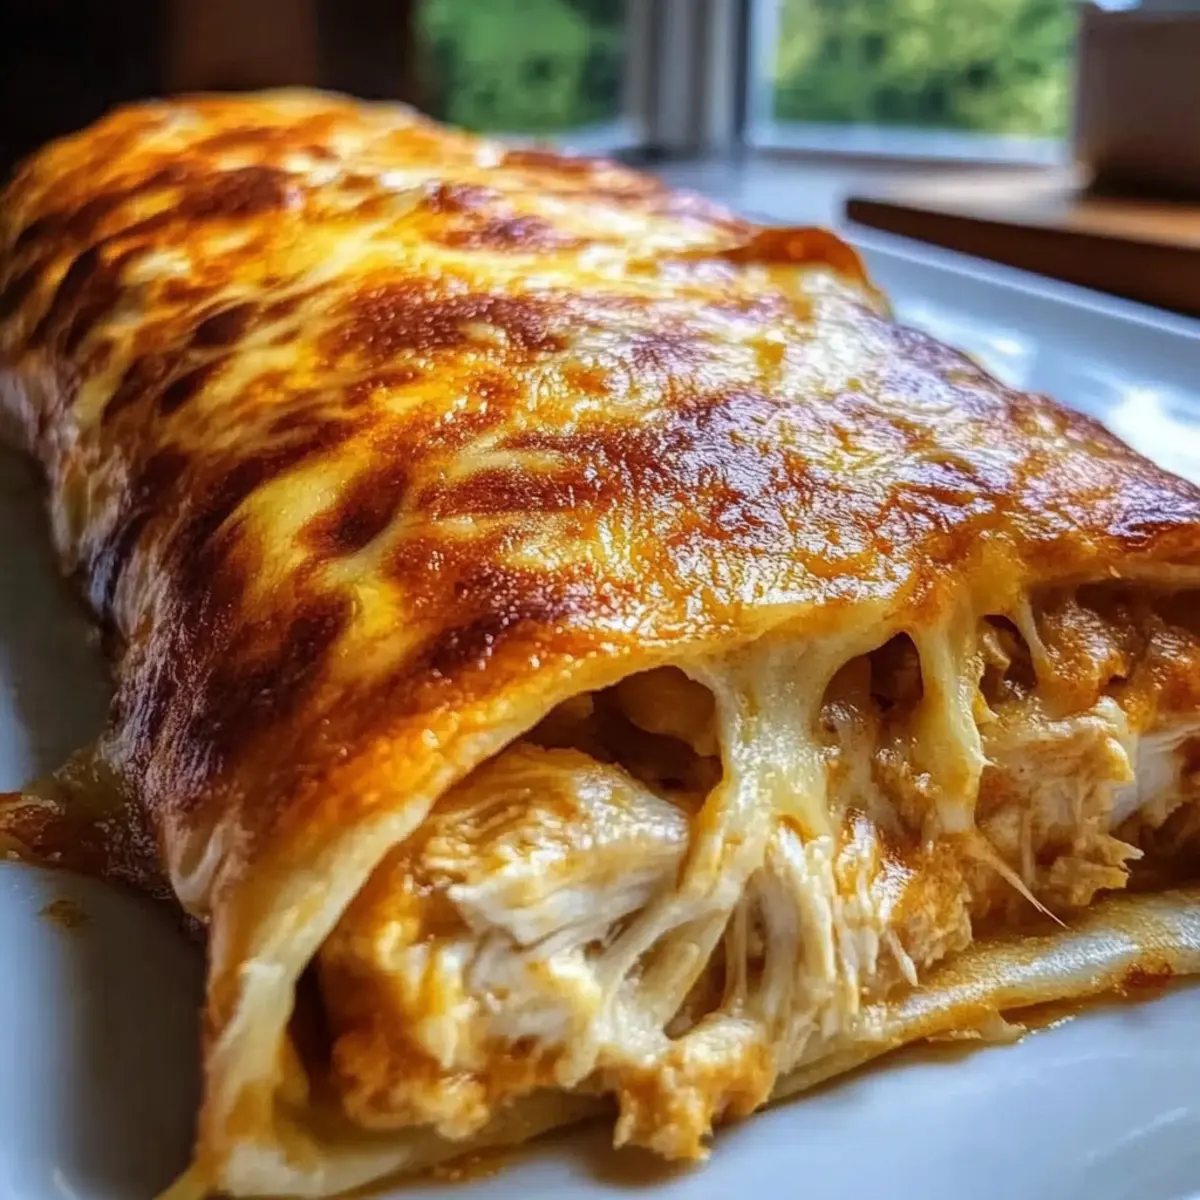
Why Are Crispy Chimichangas a Must-Try?
Unmatched Crunchiness: There’s nothing like the satisfying crunch of these baked chimichangas, making them a delightful alternative to traditional fried options.
Customizable Filling: With options to use shredded chicken or ground beef, you can adapt this recipe to suit any taste preference or occasion.
Quick Weeknight Dinner: Ready in about 30 minutes, these chimichangas are perfect for busy nights, ensuring you enjoy a hearty meal without the long wait.
Flavor Explosion: The combination of spices and gooey cheese creates a rich, savory taste that will leave you wanting more.
Crowd-Pleasing Appeal: Serve them at your next gathering, and watch as family and friends rave about these Tex-Mex wonders. For a delicious side to complement your chimichangas, consider my Honey Garlic Tofu or add some zing with Shrimp Balls Savory.
Effortless Preparation: With simple ingredients and straightforward steps, you’ll master these chimichangas in no time!
Crispy Chimichangas Ingredients
For the Filling
• Olive Oil – Adds moisture and aids in cooking the filling. Substitution: Can use vegetable oil if preferred.
• Yellow Onion – Provides sweetness and depth of flavor. Substitution: Shallots or green onions can be used.
• Garlic Cloves – Enhances flavor profile with aromatic qualities. Preparation Note: Fresh garlic is best; use powdered in a pinch.
• Cooked Shredded Chicken – Main source of protein and sustenance. Substitution: Pre-cooked rotisserie chicken can save time.
• Mild Red Enchilada Sauce – Adds moisture and spice to the filling. Notes: For a less spicy version, opt for a mild sauce.
• Chili Powder – Provides warmth and a hint of heat.
• Ground Cumin – Contributes earthy flavor and enhances the dish’s complexity.
• Dried Oregano – Adds a herbal touch characteristic of Tex-Mex cuisine.
• Salt and Black Pepper – Essential for seasoning and enhancing flavors.
• Monterey Jack Cheese – Melts beautifully, providing creamy texture and rich flavor. Substitution: Can use cheddar for stronger flavor or a vegan cheese substitute.
For the Wrap
• Large Flour Tortillas – Encases the filling, providing structure and texture. Note: Use fresh, pliable tortillas to avoid tearing.
• Cooking Spray – Ensures the tortillas crisp up in the oven without frying. Substitution: Melted butter can be brushed instead.
Try these crispy chimichangas tonight for a delightful weeknight dinner experience!
Step‑by‑Step Instructions for Crispy Chimichangas
Step 1: Sauté the Aromatics
In a large skillet, heat 1 tablespoon of olive oil over medium heat. Add 1 diced yellow onion and sauté for about 5 minutes, or until it turns translucent. Stir in 2 minced garlic cloves and cook for an additional minute until fragrant, letting those Tex-Mex aromas come alive in your kitchen.
Step 2: Prepare the Filling
Next, add 2 cups of cooked shredded chicken to the skillet along with ½ cup of mild red enchilada sauce, 1 teaspoon chili powder, 1 teaspoon ground cumin, and 1 teaspoon dried oregano. Cook for 5-7 minutes, stirring occasionally, until heated through and most of the liquid has evaporated. Season with salt and black pepper to taste, then remove from heat and cool slightly.
Step 3: Mix in the Cheese
Once the filling has cooled for a few minutes, gently stir in 1 cup of shredded Monterey Jack cheese until well combined. The cheese will melt slightly from the residual heat, creating a deliciously gooey mixture that makes these Crispy Chimichangas even more tempting to devour.
Step 4: Warm the Tortillas
To prepare your large flour tortillas, warm them in the microwave or a skillet for about 20-30 seconds until they are pliable. This step is essential to avoid tearing when rolling the tortillas around the flavorful filling, ensuring perfect chimichangas every time.
Step 5: Assemble the Chimichangas
Take each warmed tortilla and place about ½ cup of the chicken and cheese filling in the lower third. Fold the sides inward and roll them up tightly, securing with a toothpick if necessary. This method will help the filling stay snug and cozy as they bake to perfection.
Step 6: Preheat the Oven
While assembling the chimichangas, preheat your oven to 400°F (200°C) and prepare a baking sheet by lightly coating it with cooking spray. This ensures that the chimichangas have plenty of room to crisp up beautifully in the oven.
Step 7: Bake Until Golden
Place the assembled chimichangas seam-side down on the prepared baking sheet, and generously spray the tops with cooking spray to encourage a nice crisp finish. Bake for 15-20 minutes, flipping them halfway through, until they are golden brown and crunchy, creating that satisfying crunch we all love.
Step 8: Serve and Enjoy
Once your crispy chimichangas are baked to perfection, remove them from the oven and carefully take out any toothpicks. Serve the chimichangas hot, accompanied by your favorite salsa, sour cream, or guacamole for a delightful Tex-Mex experience that will impress your family or guests!
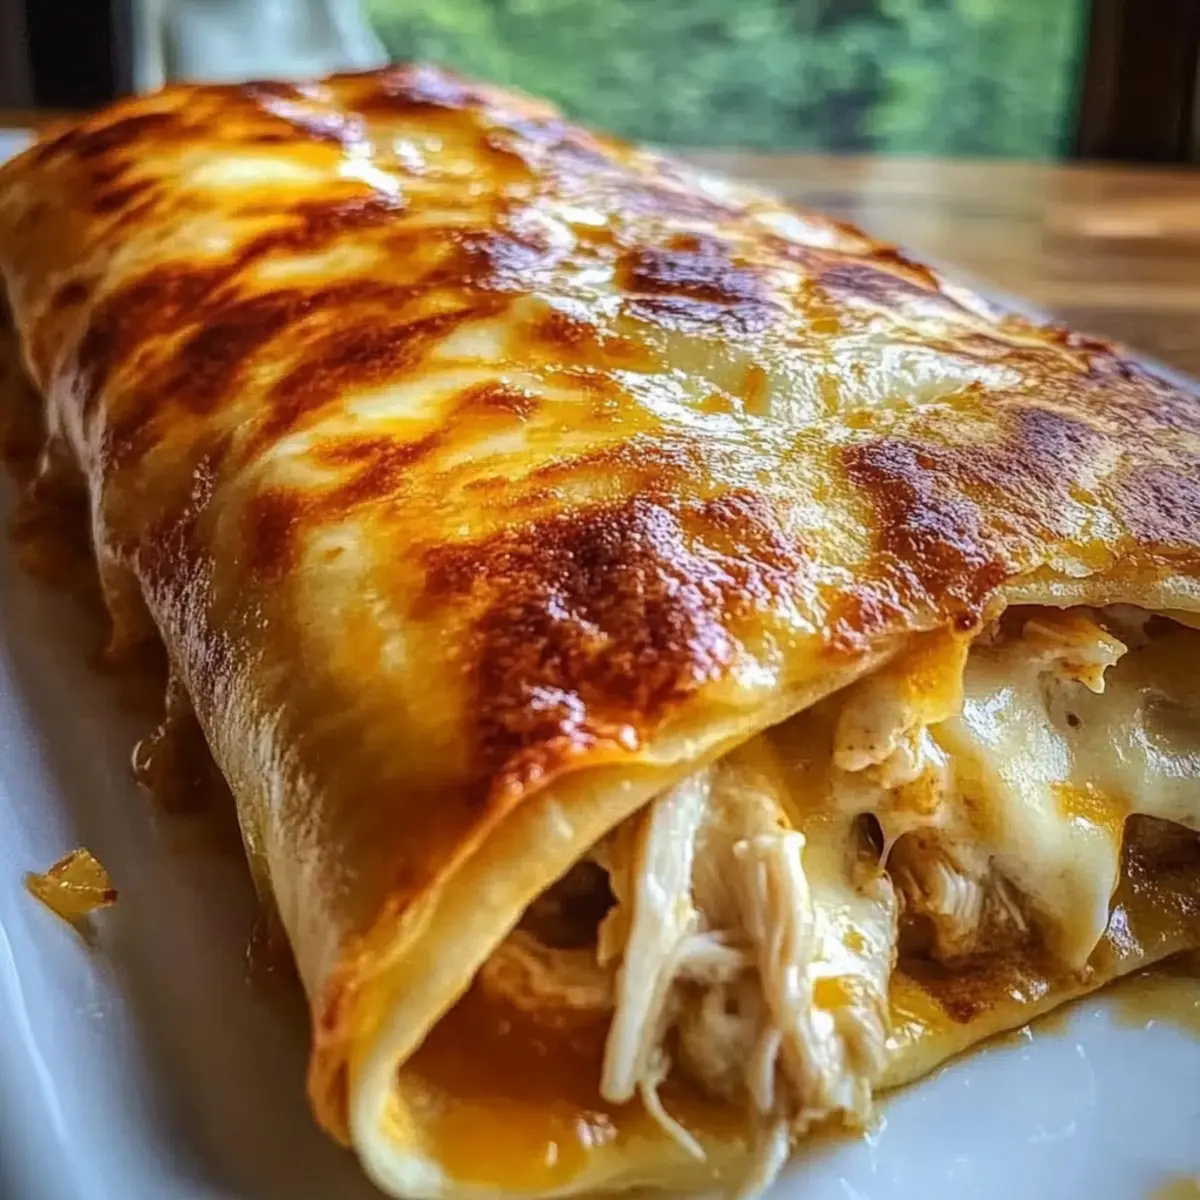
How to Store and Freeze Crispy Chimichangas
- Fridge: Store leftover crispy chimichangas in an airtight container for up to 4 days. This keeps them fresh and ready to reheat when you’re craving Tex-Mex comfort.
- Freezer: For longer storage, freeze these chimichangas individually in freezer-safe bags or containers for up to 2 months. This way, you can always have a quick meal on hand!
- Reheating: Reheat in an air fryer at 350°F for 5-7 minutes for a crispy texture, or in the oven at 375°F for 10 minutes. This method helps regain that delicious crunch!
- Wrapping Tips: If freezing, wrap each chimichanga tightly in plastic wrap before placing them in bags to prevent freezer burn and keep them flavorful.
Expert Tips for Crispy Chimichangas
- Warm Tortillas: Ensuring your tortillas are warm prevents tearing when rolling. Microwave them for 20-30 seconds to keep them pliable.
- Spray Generously: For optimal crispiness, generously spray the tops of the chimichangas with cooking spray or melted butter before baking.
- Watch Baking Time: Keep an eye on them! Bake until they are golden brown and crispy, usually 15-20 minutes. Overbaking can lead to dryness.
- Cooling Before Filling: Allow the filling to cool slightly before mixing in the cheese. This creates a better texture and prevents the cheese from melting prematurely.
- Storage Tips: Enjoy them fresh, but if storing, keep in an airtight container in the refrigerator for up to four days; reheat crisply in the air fryer or oven.
- Experiment with Fillings: Don’t hesitate to get creative! Try using ground beef or black beans as variations for your crispy chimichangas.
Make Ahead Options
These Ultimate Crispy Baked Chicken and Cheese Chimichangas are perfect for meal prep! You can prepare the filling (cooked shredded chicken, cheese, and seasonings) up to 24 hours in advance; simply store it in an airtight container in the refrigerator. Additionally, you can assemble the chimichangas ahead of time and keep them wrapped tightly in plastic wrap for up to 3 days. To maintain their crispy texture, do not spray or bake them until you are ready to enjoy. When you’re ready to serve, just preheat your oven, place them on a baking sheet, spray the tops with cooking spray, and bake for 15-20 minutes until golden. With this make-ahead strategy, you’ll have a delicious meal ready in no time!
What to Serve with Ultimate Crispy Baked Chicken and Cheese Chimichangas
A vibrant Tex-Mex feast awaits when you pair these scrumptious chimichangas with the perfect sides!
-
Cilantro Lime Rice: A refreshing, zesty complement that balances the richness of the chimichangas, enhancing every bite.
-
Guacamole: Creamy and smooth, this classic adds a cool touch, bringing a delightful contrast to the crunchy chimichangas.
-
Salsa Fresca: Bright and tangy, this fresh salsa brings a burst of flavor, making your meal feel like a festive celebration.
-
Refried Beans: Rich and hearty, they provide a velvety texture that rounds out the meal beautifully.
-
Mexican Street Corn: Grilled corn with a sprinkle of cheese and chili powder elevates your dinner with sweet and spicy notes.
-
Pico de Gallo: Fresh tomatoes, onions, and cilantro create a fragrant, crisp side, brightening the palate alongside your chimichangas.
-
Chili Con Queso: Warm, cheesy goodness that’s perfect for dipping and adds an extra layer of Tex-Mex delight to the table.
-
Margaritas: For a refreshing drink option, a chilled margarita captures the essence of Mexican dining, making it a festive treat.
-
Churros: Sweet, cinnamon-dusted churros are the perfect dessert to end your Tex-Mex evening on a high note.
-
Lemonade: An icy, sweet-tart lemonade quenches thirst and complements the spicy flavors of the chimichangas beautifully.
Crispy Chimichangas Variations & Substitutions
Feel free to make these delicious chimichangas uniquely yours with these fun and tasty twists!
-
Ground Beef: Swap shredded chicken for 1 pound of browned ground beef for a heartier chimichanga. The meatiness will surely satisfy any appetite!
-
Vegetarian Delight: For a vegetarian option, replace meat with black beans or a colorful mix of sautéed bell peppers and zucchini. They’ll add a lovely pop of flavor and texture.
-
Spicy Kick: Add extra chili powder, jalapeños, or your favorite hot sauce to the filling for a spicy version that warms the soul.
-
Cheese Variety: Experiment with different cheeses such as sharp cheddar for a bolder taste or a blend of pepper jack for an extra kick.
-
Herb Infusion: Toss in some fresh cilantro or parsley before rolling to introduce bright herbaceous notes that elevate the flavor profile beautifully.
-
Gluten-Free Option: Use gluten-free tortillas for a delicious gluten-free version that doesn’t compromise on the amazing crunch!
-
Crispy Corn Tortillas: For a different texture, use crispy corn tortillas instead. They will bring a delightful crunch that icy flour tortillas can’t match.
-
Air Fryer Shortcut: For a quick reheat option or to avoid baking, pop these chimichangas in the air fryer for about 10 minutes at 375°F. This can give you that just-baked crispiness in no time!
Feel free to mix and match these variations for endless delicious combinations! These chimichangas are perfect for a satisfying meal any night of the week, and why not pair them with something delightful like my Honey Garlic Tofu or serve alongside flavorful Shrimp Balls Savory for a feast to remember?
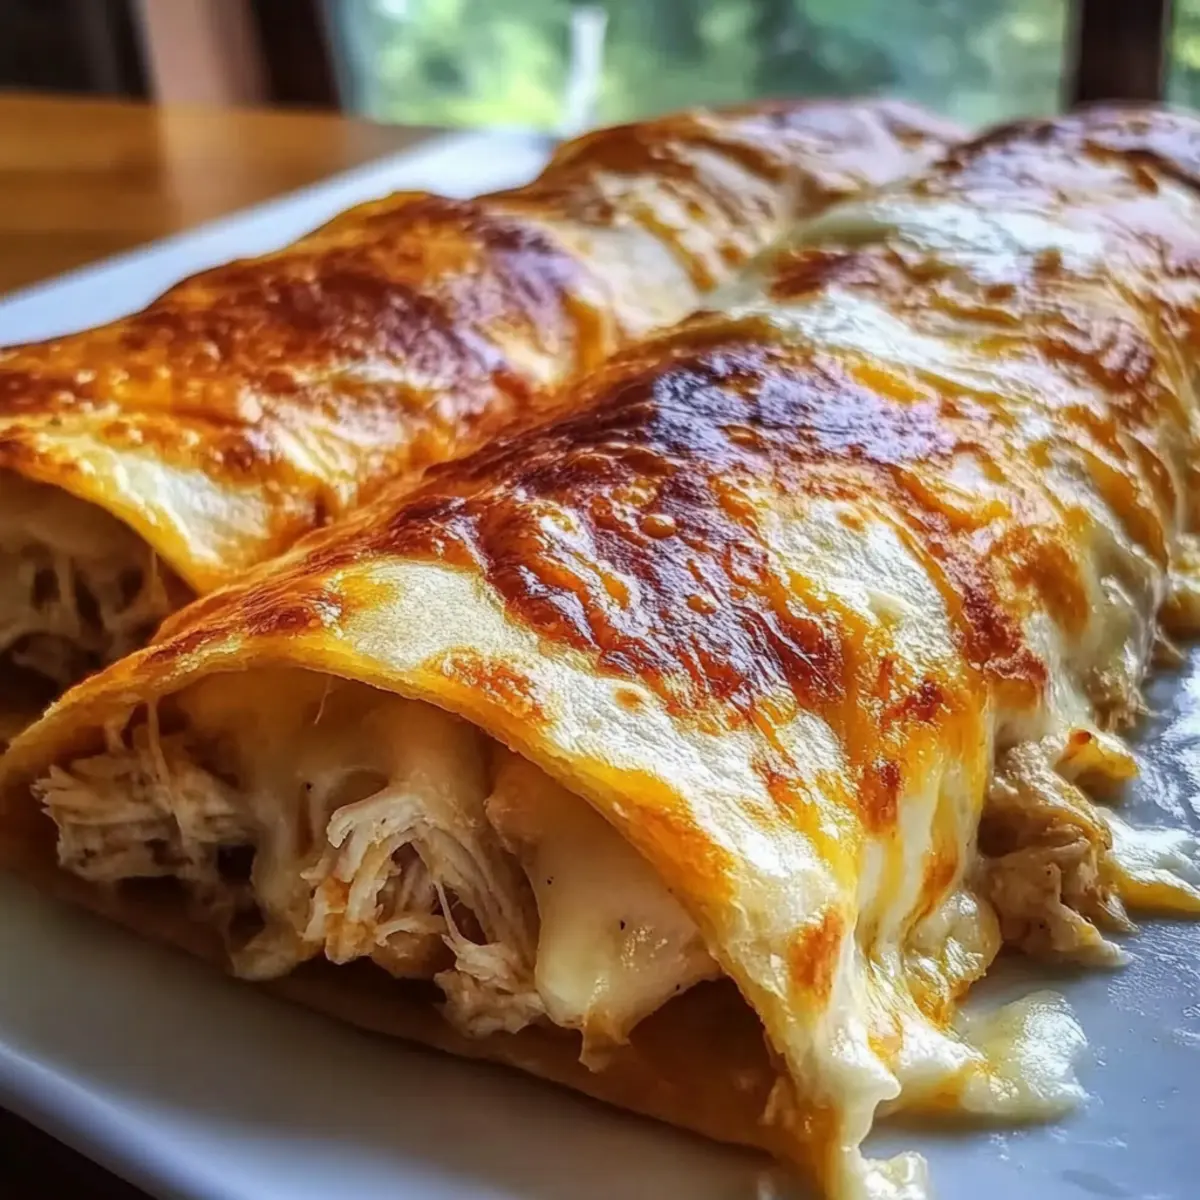
Ultimate Crispy Baked Chicken and Cheese Chimichangas Recipe FAQs
How do I choose the best chicken for chimichangas?
Absolutely! For the ultimate crispy chimichangas, I recommend using cooked shredded chicken, as it blends beautifully with the filling. If you’re in a pinch for time, pre-cooked rotisserie chicken works wonderfully, offering both flavor and convenience. Look for chicken that is juicy and tender, avoiding any pieces that appear dry or tough.
How should I store leftover chimichangas?
Very easy! Store your leftover crispy chimichangas in an airtight container in the refrigerator for up to 4 days. This way, you can enjoy them later without sacrificing flavor. Just be sure they’ve cooled to room temperature before sealing to keep them fresh.
Can I freeze chimichangas, and if so, how?
Absolutely! For long-term storage, you can freeze the chimichangas for up to 2 months. Wrap each cooled chimichanga tightly in plastic wrap to prevent freezer burn, then place them in freezer-safe bags or containers. When you’re ready to indulge, just bake them straight from the freezer, adding a few extra minutes to the baking time for the best results.
What if my chimichangas are soggy after baking?
If you find that your chimichangas are soggy, it could be due to excess moisture in the filling. To troubleshoot this, ensure the filling is heated through and any excess liquid is evaporated before assembly. Additionally, be generous with your cooking spray on the tops before baking to encourage that crispiness. If they come out soggy, reheating in an air fryer can help regain their crunch.
Can I make these chimichangas vegetarian?
Very much so! To accommodate a vegetarian diet, try substituting the shredded chicken with black beans or a colorful mix of sautéed vegetables like bell peppers and zucchini. This way, you’ll still enjoy the hearty texture and savory flavors, all while keeping it meat-free!
What is the best way to reheat chimichangas?
For the crispiest reheating experience, use an air fryer set at 350°F for about 5-7 minutes. If you don’t have an air fryer, you can also place them in the oven at 375°F for 10 minutes. Both methods will help restore that perfect crunch!
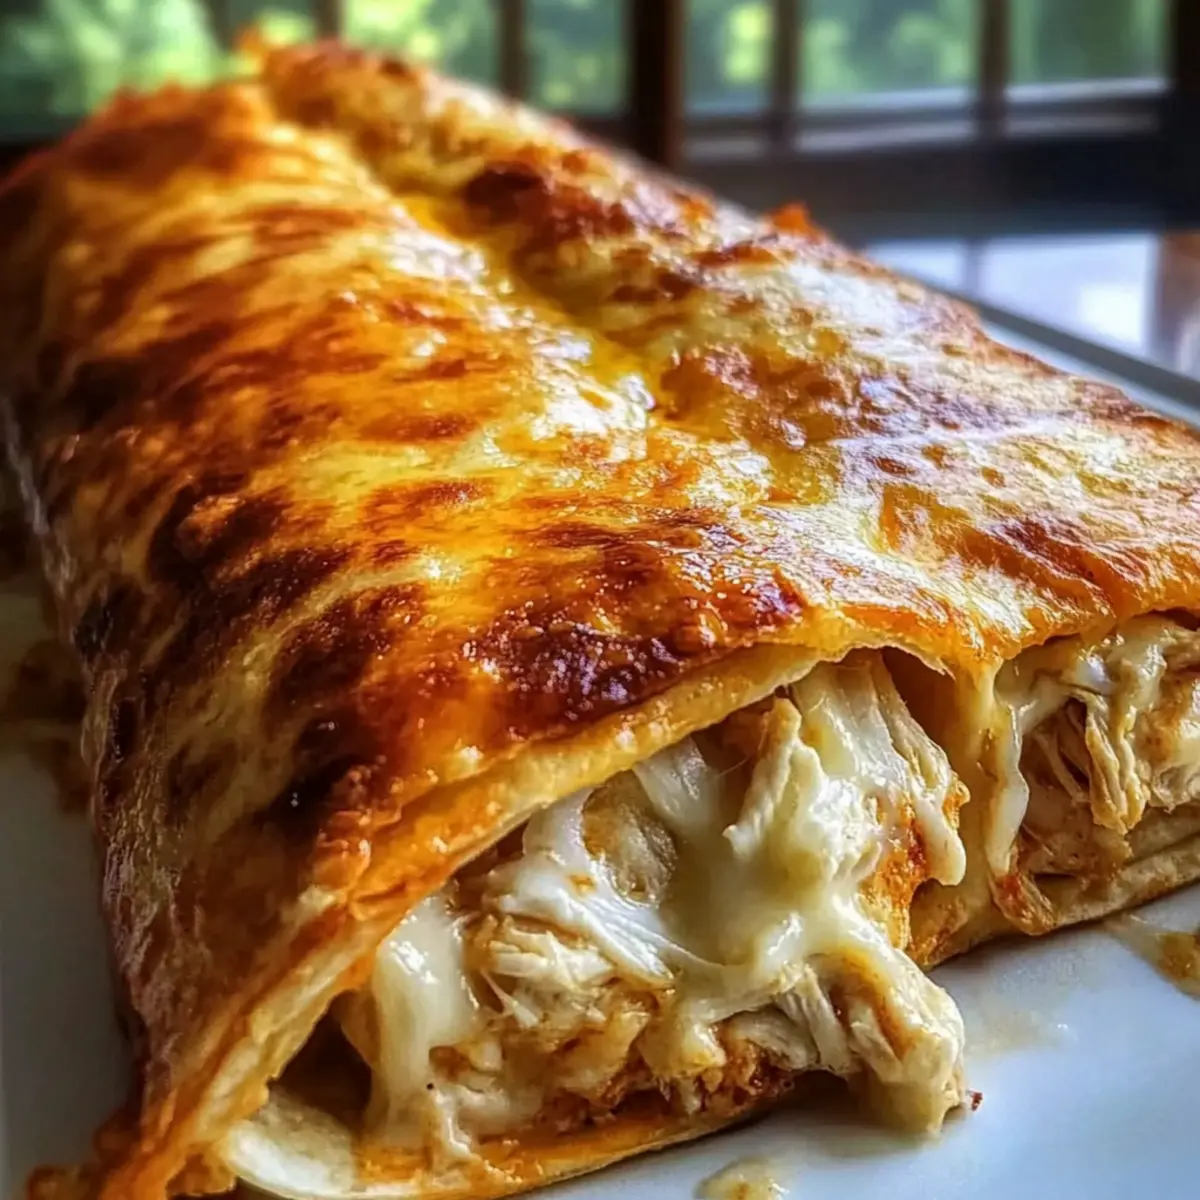
Crispy Chimichangas: Easy Tex-Mex Comfort in Every Bite
Ingredients
Equipment
Method
- In a large skillet, heat 1 tablespoon of olive oil over medium heat. Add 1 diced yellow onion and sauté for about 5 minutes, or until it turns translucent. Stir in 2 minced garlic cloves and cook for an additional minute until fragrant.
- Add 2 cups of cooked shredded chicken to the skillet along with ½ cup of mild red enchilada sauce, 1 teaspoon chili powder, 1 teaspoon ground cumin, and 1 teaspoon dried oregano. Cook for 5-7 minutes until heated through.
- Once the filling has cooled slightly, gently stir in 1 cup of shredded Monterey Jack cheese until well combined.
- Warm the large flour tortillas in the microwave or a skillet for 20-30 seconds until they are pliable.
- Take each warmed tortilla and place about ½ cup of the chicken and cheese filling in the lower third. Fold the sides inward and roll them up tightly.
- Preheat your oven to 400°F (200°C) and prepare a baking sheet by lightly coating it with cooking spray.
- Place the assembled chimichangas seam-side down on the prepared baking sheet. Spray the tops with cooking spray and bake for 15-20 minutes until golden brown.
- Remove from the oven, carefully take out any toothpicks, and serve hot with your favorite salsa, sour cream, or guacamole.
Leave a Reply