
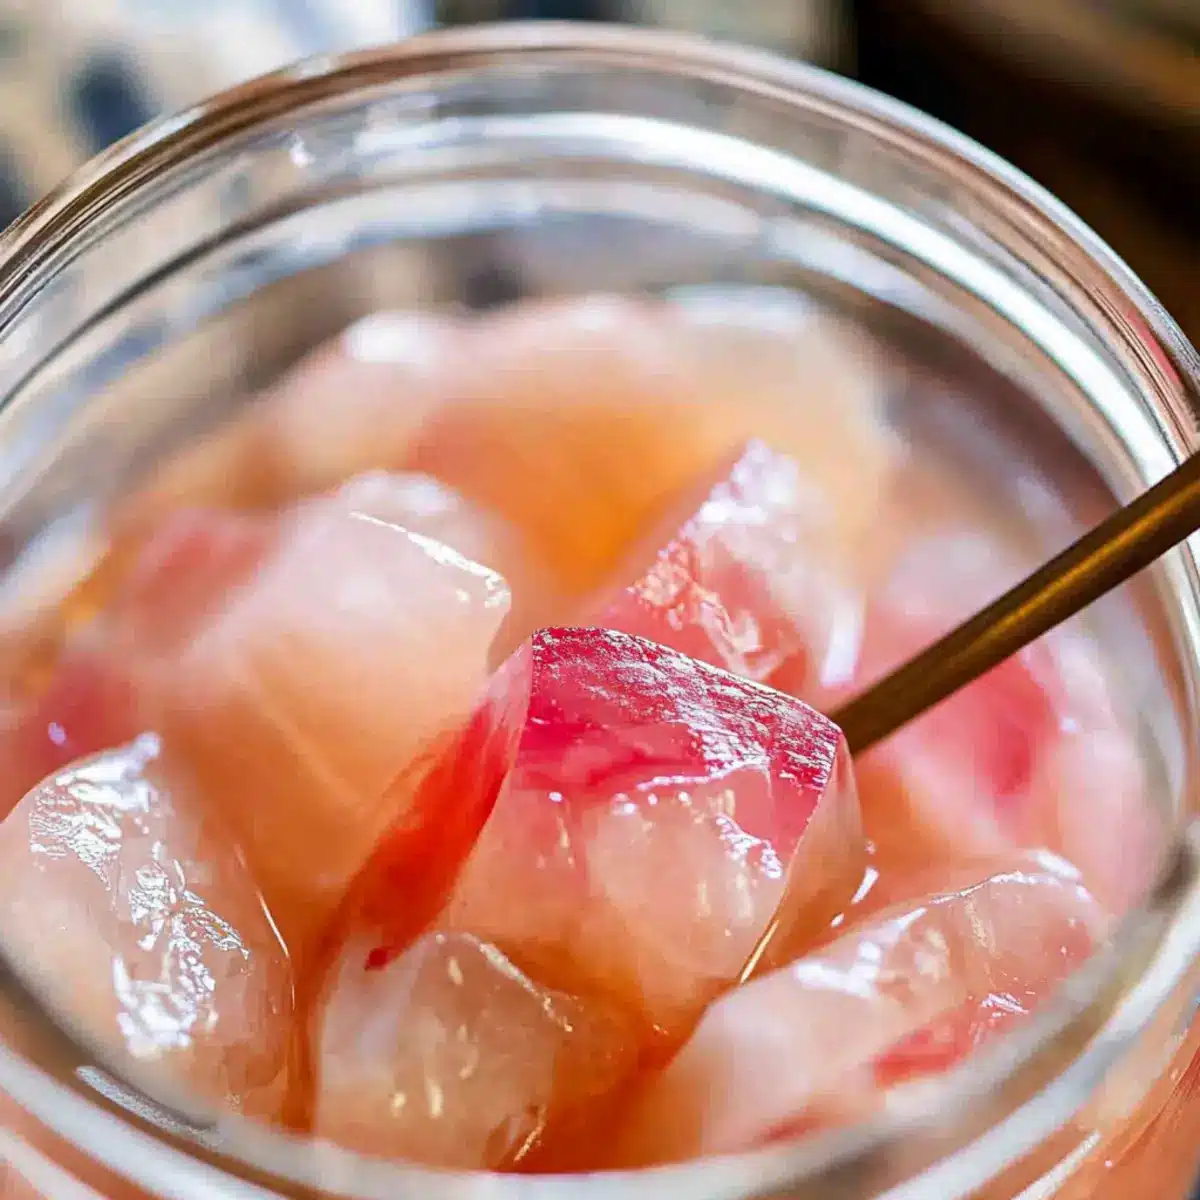
As the vibrant colors of my sushi platter came together, I realized something was missing—the tangy crunch of homemade Gari, or Japanese pickled ginger. This delightful condiment not only brightens up any sushi experience but also cleanses the palate with a perfect balance of sweetness and acidity. With just a few fresh ingredients, my Japanese Pickled Ginger Recipe allows you to skip preservatives while enjoying an authentic flavor right at home. It’s quick to prepare and incredibly versatile, making it a must-have for any home chef looking to elevate their meals. If you’re ready to add a refreshing twist to your culinary repertoire, let’s dive into this simple and satisfying recipe that will surely impress your family and friends. Who’s excited to try their hand at creating this beloved Japanese staple?
Why Make Japanese Pickled Ginger at Home?
Freshness, Authentic Flavor: Elevate your meals with homemade Gari, bursting with fresh ginger flavor that store-bought versions simply can’t match.
Quick and Easy: In just a few simple steps, you can create a delicious condiment that’s ready to enhance your sushi experience.
Healthy Alternative: Skip the preservatives! This vegan recipe gives you a guilt-free way to enjoy the zing of pickled ginger.
Versatile Usage: Beyond sushi, use this pink delight in rice bowls or salads for a zesty kick.
Crowd-Pleasing: Impress your family and friends with this unique ingredient that cleanses the palate and brightens any dish, especially when paired with delightful snacks like Brie Cranberry Bites.
Get ready to give your culinary game a boost with this vibrant and flavorful addition!
Japanese Pickled Ginger Ingredients
• Create your own vibrant Gari!
For the Ginger
- New Ginger Rhizomes – Freshness provides the best flavor and texture; look for firm, aromatic roots with bright crimson stems.
- Salt – Enhances the flavor and helps draw out moisture from the ginger for a perfect pickle.
For the Pickling Solution
- Rice Vinegar – Provides a mild acidity, essential for pickling, giving your Japanese pickled ginger recipe its characteristic tang.
- Sugar – Offers sweetness to balance the vinegar’s acidity; adjust to your taste preference for a sweeter or tangier profile.
- Kelp Dashi Powder – Adds umami depth to the flavor of your Gari; feel free to substitute with any preferred dashi powder for similar results.
With these fresh ingredients, you’re set to embark on a flavorful journey of making your own Japanese pickled ginger at home!
Step‑by‑Step Instructions for Japanese Pickled Ginger Recipe
Step 1: Prepare the Ginger
Begin by thoroughly scrubbing the new ginger rhizomes under cold running water to remove any dirt. Trim the stem, ensuring to leave the vibrant red parts attached as this adds color to your Japanese pickled ginger. Aim for firm, light-colored ginger, which indicates freshness and flavor.
Step 2: Slice the Ginger
Using a sharp slicer set at 0.5mm, slice the ginger thinly to achieve the desired delicate texture. These paper-thin slices will absorb the pickling solution effectively, enhancing the final flavor of your Gari. Aim for even slices to ensure consistent pickling and to avoid any tough texture.
Step 3: Parboil the Ginger
Bring a small pot of water to a gentle boil over medium heat. Add the sliced ginger and let them simmer for about 1-2 minutes. This quick parboil helps to soften the ginger and remove any bitterness. Once done, drain the ginger slices and spread them out on a tray to cool completely.
Step 4: Prepare the Pickling Solution
In a small saucepan over low heat, combine rice vinegar, sugar, salt, and kelp dashi powder. Stir the mixture occasionally for about 3-4 minutes until the sugar and salt are fully dissolved. Be careful not to let it boil; you’re looking for a smooth, sweet, and tangy solution that’ll perfectly pickle your ginger.
Step 5: Combine Ginger and Brine
Once the ginger has cooled completely, gently squeeze out any excess water and transfer the slices into a clean, airtight container. Pour the hot pickling solution over the ginger to ensure it’s fully submerged. This step is crucial for infusing the ginger with the sweet and tangy flavors typical of homemade Gari.
Step 6: Chill and Serve
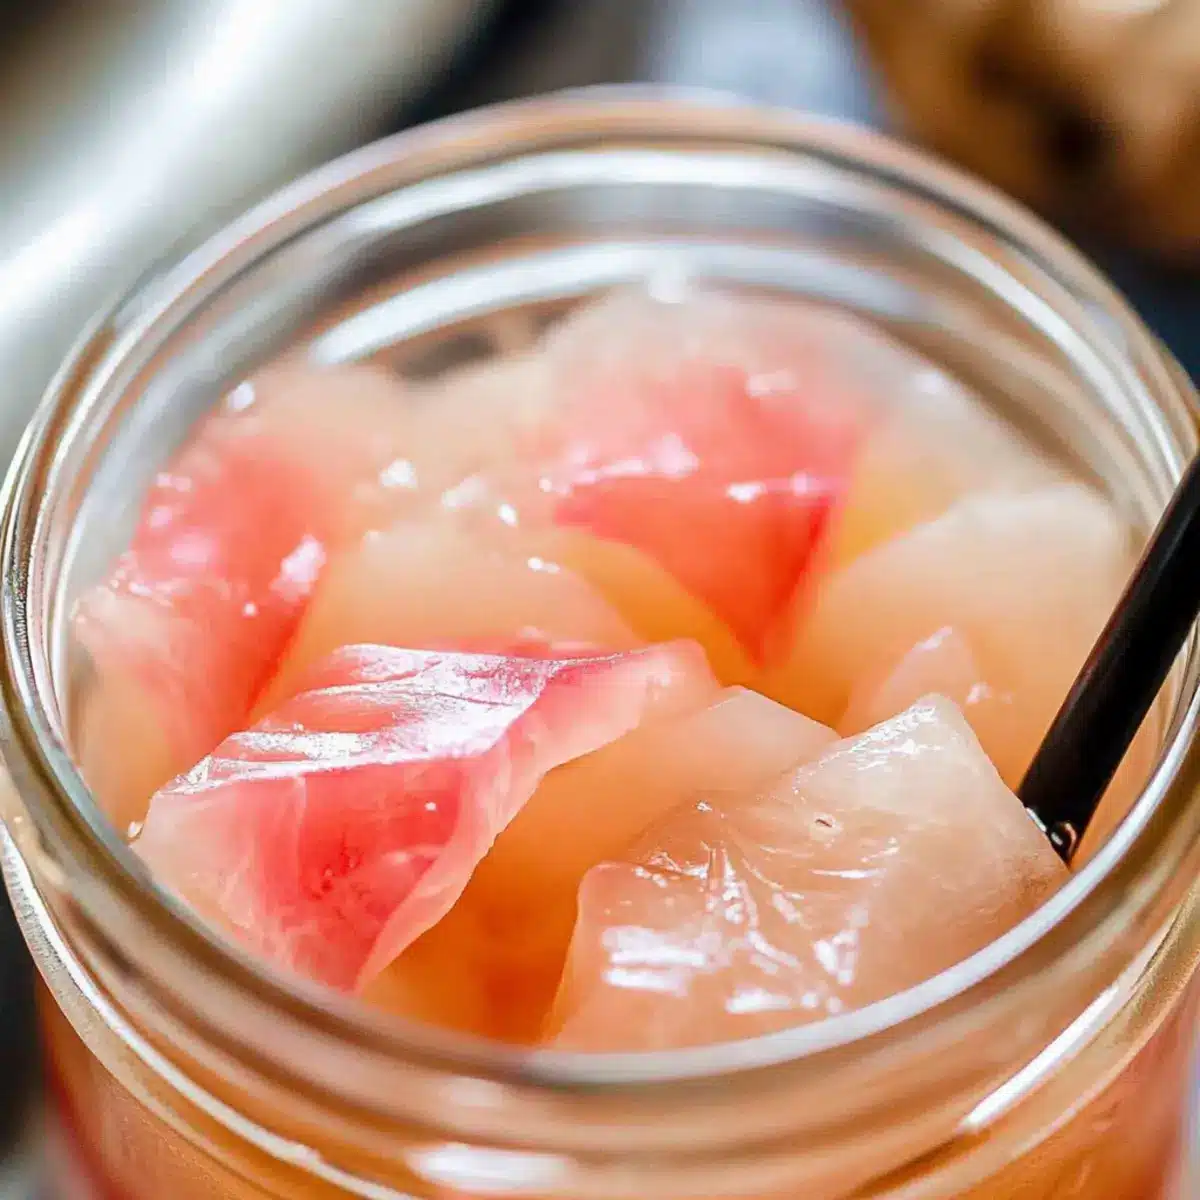
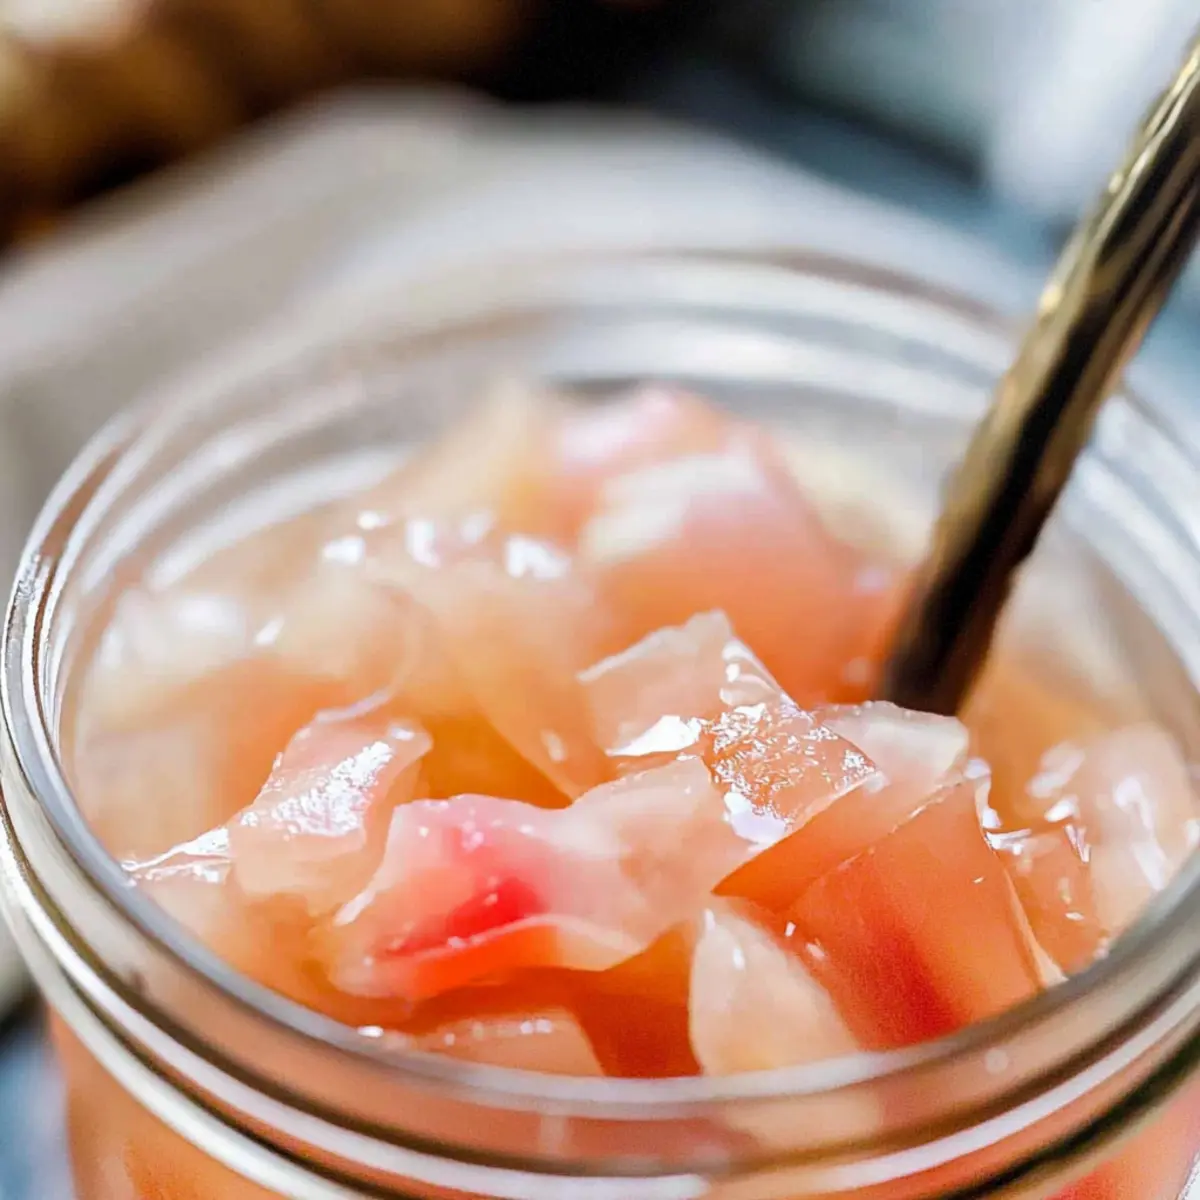
Allow the mixture to cool to room temperature before sealing the container. Refrigerate your Japanese pickled ginger for at least 3 hours, though overnight is best for the flavors to deepen. Once chilled, your Gari is ready to elevate your sushi experience or add a zesty kick to various dishes!

Japanese Pickled Ginger Recipe Variations
Feel free to unleash your creativity with these delightful twists on classic Gari!
-
Apple Cider Variation: Swap rice vinegar for apple cider vinegar to introduce a subtle, fruity tang. Perfect for those who love unique flavor profiles.
-
Sugar-Free Option: Use a natural sweetener like stevia or monk fruit to create a sugar-free version without losing that signature sweetness. It’s great for a healthier alternative!
-
Spicy Kick: Add chili flakes or a splash of Sriracha to your pickling solution for an exciting heat that pairs wonderfully with sushi. It’s a thrilling way to enhance the flavor!
-
Citrus Zing: Infuse your ginger with citrus zest—lemon or orange zest works beautifully—for a refreshing, aromatic twist. This complements the sweetness perfectly!
-
Sesame Flavor: Incorporate a sprinkle of toasted sesame seeds after pickling for added crunch and richness. This gives your Gari a delightful earthy profile.
-
Garlic Infusion: Add minced garlic to the pickling solution for an unexpected savory depth that plays well with the sweet and tangy notes. It’s an adventurous combination!
-
Herbal Notes: Introduce fresh herbs like mint or cilantro post-pickle for a vibrant flavor boost. It’s an unusual twist that brings freshness to your dishes.
If you’re looking for more ways to spice up your recipes, why not try serving your Gari with delightful snacks like Brie Cranberry Bites or use it as a zesty topping on rice bowls for a tangy delight!
Make Ahead Options
These Japanese Pickled Ginger recipes are perfect for meal prep enthusiasts! You can prepare the pickling solution and slice the ginger up to 24 hours in advance, ensuring that the flavors develop beautifully. Simply follow the first three steps to slice, parboil, and cool the ginger; then store it in an airtight container with the prepared pickling solution in the fridge. This allows the ginger to marinate and deepen in flavor, resulting in a delicious Gari that’s just as delightful days later. When you’re ready to serve, simply refrigerate for at least 3 hours (or overnight) before enjoying alongside sushi or in your favorite dishes.
Expert Tips for Japanese Pickled Ginger
-
Choose Fresh Ginger: Always select firm, light-colored new ginger rhizomes for the best flavor. Freshness is key to an excellent Japanese pickled ginger recipe.
-
Slice Thinly: Use a sharp slicer set to 0.5mm for uniform slices. This ensures even pickling and prevents tough textures in your Gari.
-
Don’t Skip the Parboil: Briefly boiling the ginger softens it and removes bitterness; don’t rush this step!
-
Monitor the Pickling Solution: Stir the vinegar, sugar, and salt until fully dissolved over low heat to achieve the right tangy balance without boiling.
-
Allow Time to Chill: For maximum flavor infusion, refrigerate for at least 3 hours or overnight before serving your delicious creation!
How to Store and Freeze Japanese Pickled Ginger
Fridge: Store your homemade Gari in an airtight container in the refrigerator, where it will remain fresh for up to a month. This keeps the flavors vibrant and delicious.
Freezer: For longer storage, you can freeze Gari in an airtight freezer-safe container or a resealable bag. It can last up to 6 months, but may lose some texture upon thawing.
Reheating: Simply thaw in the fridge overnight before use; there’s no need to reheat, as pickled ginger is meant to be enjoyed cold.
Room Temperature: Avoid leaving Gari out at room temperature for more than 2 hours to ensure it remains safe to eat and delicious!
What to Serve with Homemade Gari?
Discover the perfect side dishes that enhance the delightful flavors of your homemade pickled ginger experience.
- Sushi Rolls: The classic pairing with sushi complements the ginger’s sharpness, while the umami flavors create a harmony in every bite.
- Rice Bowls: Serve over fluffy rice with your choice of proteins and vegetables. The tangy Gari adds a refreshing crunch that elevates the entire dish.
- Green Salad: Fresh greens topped with a citrus vinaigrette create a vibrant contrast to the spicy ginger, making for a revitalizing meal.
- Edamame: These light, salted snacks pair beautifully with Gari, balancing the condiment’s bite with their smooth texture.
- Miso Soup: The warmth of this classic soup provides a comforting backdrop for Gari, enhancing both flavors in a simple yet delightful way.
- Cold Soba Noodles: A chilled bowl of soba paired with Gari gives a refreshing twist to a warm day, letting the ginger’s zing shine.
- Pickled Vegetables: Serve alongside an assortment of pickled vegetables, allowing Gari to shine as part of a robust, flavorful spread.
- Chilled White Wine: A crisp, chilled white wine can enhance the tartness of the Gari while offering refreshing notes to your meal.
- Matcha Desserts: Consider pairing with sweet matcha treats that create a delightful balance between savory and sweet, elevating your dining experience.
Japanese Pickled Ginger Recipe FAQs
How do I select fresh ginger for this recipe?
Absolutely! When choosing ginger, look for firm, light-colored rhizomes with bright crimson stems. The best ginger should be aromatic and free of any dark spots, which can indicate aging or mold.
How should I store homemade Gari, and how long will it last?
Certainly! Store your homemade Japanese pickled ginger in an airtight container in the refrigerator. It will stay fresh for up to a month. For the best flavor and texture, always seal it tightly after each use to maintain its crispness.
Can I freeze Gari for later use?
Yes, you can! To freeze Japanese pickled ginger, transfer it to an airtight freezer-safe container or a resealable bag. It can last up to 6 months in the freezer. When you’re ready to use it, just thaw in the refrigerator overnight; there’s no need to reheat.
What if my pickled ginger isn’t turning pink?
Very common! To achieve that signature pink color, make sure to include some of the red skin when slicing your ginger. If it’s still not pink, don’t worry—its flavor will still be delightful! So just enjoy your unique Gari!
Is this recipe safe for those with dietary restrictions?
Absolutely! This Japanese pickled ginger recipe is vegan, containing no artificial preservatives. However, always check for allergies to ginger, salt, or vinegar. It’s always a great idea to share with loved ones who have dietary restrictions!
Can I adjust the sweetness in my Gari?
Yes indeed! If you prefer a sweeter profile, simply increase the sugar amount when preparing the pickling solution. Alternatively, if a tangier taste is your goal, decrease the sugar to balance out the vinegar’s acidity. Adjust it to suit your palate!
Delicious Japanese Pickled Ginger Recipe for Sushi Lovers
Ingredients
Equipment
Method
- Thoroughly scrub the new ginger rhizomes under cold running water to remove dirt and trim the stem.
- Slice the ginger thinly using a sharp slicer set at 0.5mm.
- Bring a small pot of water to a gentle boil, add the sliced ginger, and let simmer for 1-2 minutes.
- In a saucepan over low heat, combine rice vinegar, sugar, salt, and kelp dashi powder, stirring until dissolved.
- Transfer the cooled ginger to a clean container and pour the hot pickling solution over it.
- Allow the mixture to cool to room temperature, then refrigerate for at least 3 hours before serving.
Leave a Reply