
The kitchen was filled with laughter as my friends and I discussed our favorite desserts, but I saw the surprised faces when I proclaimed my love for an Easy No-Bake Cheesecake. Who knew something so creamy and delightful could be made without breaking a sweat? This treat is a game-changer—you can whip it up in no time at all, making it the perfect centerpiece for any gathering or a simple Tuesday night indulgence. With just a handful of ingredients and minimal effort, you’ll create a dessert that tastes oh-so-gourmet. Plus, you can personalize it with your favorite toppings, whether it’s fresh fruit or decadent chocolate drizzle. Ready to impress those taste buds without turning on the oven? Let’s dive into this delightful recipe!
Why Is No-Bake Cheesecake So Popular?
Effortless Creation: The beauty of this dessert lies in its simplicity; no baking means easier prep and cleanup!
Creamy Perfection: Each slice boasts a rich, velvety texture that melts in your mouth, delivering a truly indulgent experience.
Customizable Delight: Switch up the toppings! From mini lemon cheesecakes to chocolate ganache, your flavor options are endless.
Time-Saving Treat: With just 15 minutes of active time, you can prepare a show-stopping dessert that’s ready to chill.
Crowd Favorite: Perfect for any occasion, this dessert is sure to impress everyone, from casual gatherings to special celebrations.
No-Bake Cheesecake Ingredients
-
For the Crust
• Graham Cracker Crumbs – Provides the base and texture for the crust; feel free to swap with gluten-free options for a healthier choice.
• Butter – Binds the graham cracker crumbs together and adds richness; you can substitute with coconut oil for a dairy-free touch. -
For the Cheesecake Filling
• Cream Cheese – The star of the show, giving the cheesecake its rich and creamy texture; opt for light cream cheese for a lighter treat.
• Granulated Sugar – Sweetens the filling; powdered sugar can be used for a smoother consistency.
• Vanilla Extract – Enhances flavor and sweetness; almond extract can be a delightful alternative for a different twist.
• Heavy Cream – Whipped into the filling to create lightness and airiness; coconut cream serves as a fantastic non-dairy alternative. -
Optional Topping
• Canned Pie Filling – Great for adding various flavors on top; swap for fresh fruit or a luscious chocolate sauce if preferred.
Enjoy making your easy no-bake cheesecake that promises creamy perfection with minimal effort!
Step‑by‑Step Instructions for Easy No-Bake Cheesecake
Step 1: Prepare the Crust
In a mixing bowl, combine graham cracker crumbs with melted butter until the mixture resembles wet sand. Press this mixture firmly into the base of an 8 or 9-inch glass pie plate, ensuring it’s even. The crust should hold its shape when pressed down. Once done, place the crust in the refrigerator for about 30 minutes to set and become firm.
Step 2: Make the Cheesecake Filling
In a separate mixing bowl, beat softened cream cheese using an electric mixer on medium speed until creamy and smooth. Gradually add granulated sugar and vanilla extract, mixing until fully incorporated. Scrape down the sides of the bowl to ensure an even mixture. The filling should have a thick, velvety consistency, perfect for your no-bake cheesecake.
Step 3: Whip the Cream
In another clean bowl, whip the heavy cream using an electric mixer on high speed until stiff peaks form, about 2-3 minutes. This step is crucial for achieving the light and airy texture of your no-bake cheesecake. Once whipped, gently fold the whipped cream into your cream cheese mixture using a spatula. Be careful not to deflate the whipped cream to keep the filling fluffy.
Step 4: Assemble the Cheesecake
Pour the creamy cheesecake filling into the prepared crust, smoothing the top with a spatula for an even appearance. Make sure every corner is filled, creating a luscious layer. Cover the pie plate with plastic wrap or aluminum foil and place it in the refrigerator to chill for at least 2 hours, or overnight for the best flavor and texture.
Step 5: Serve Your Cheesecake
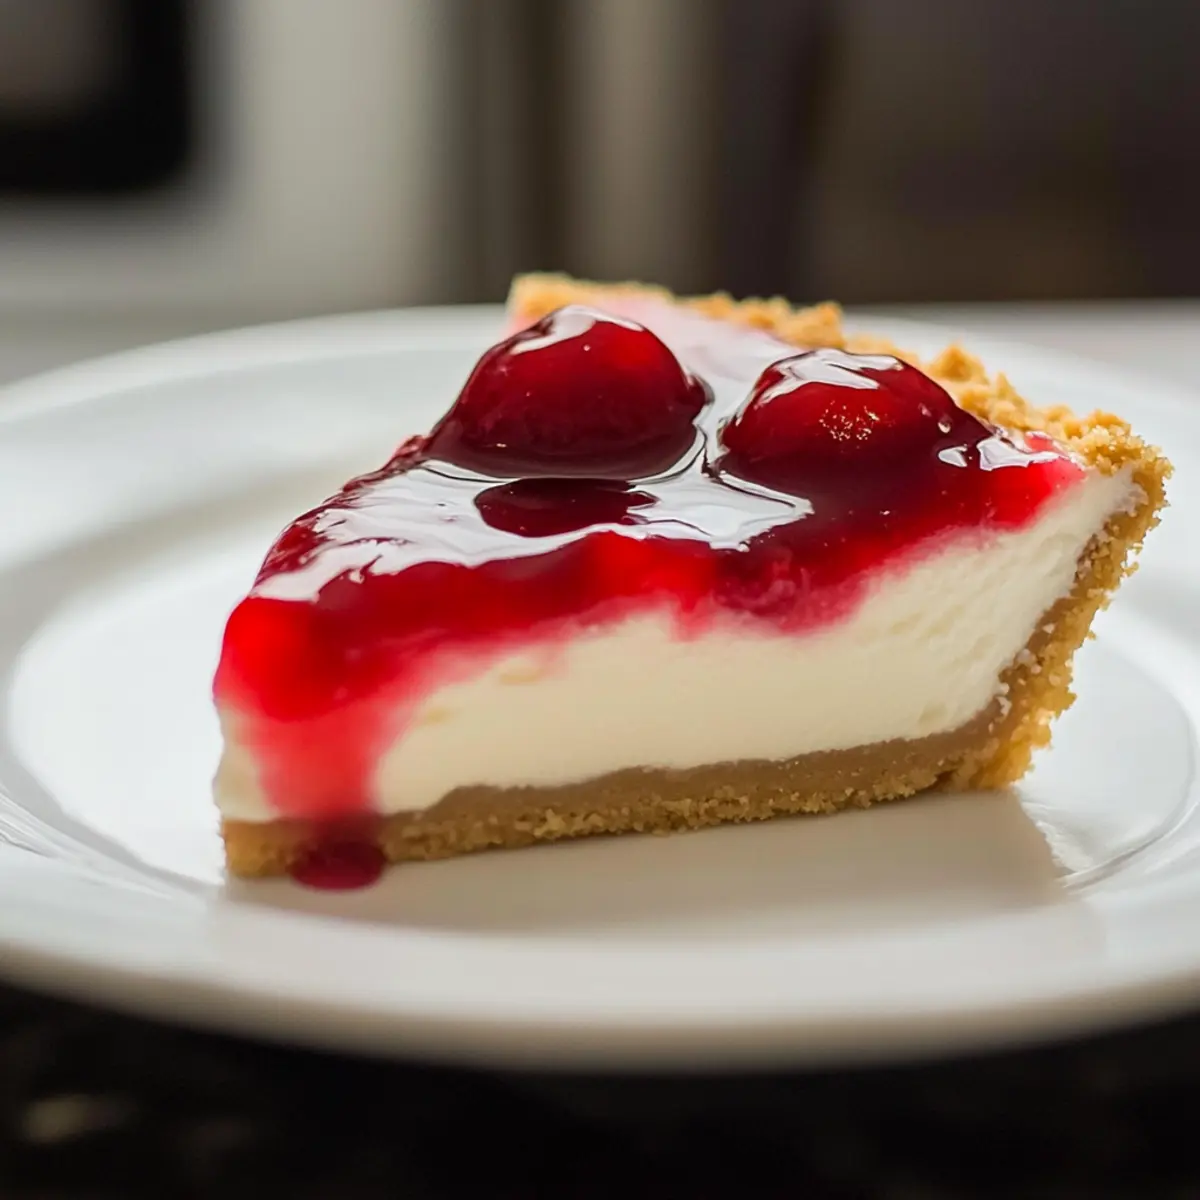
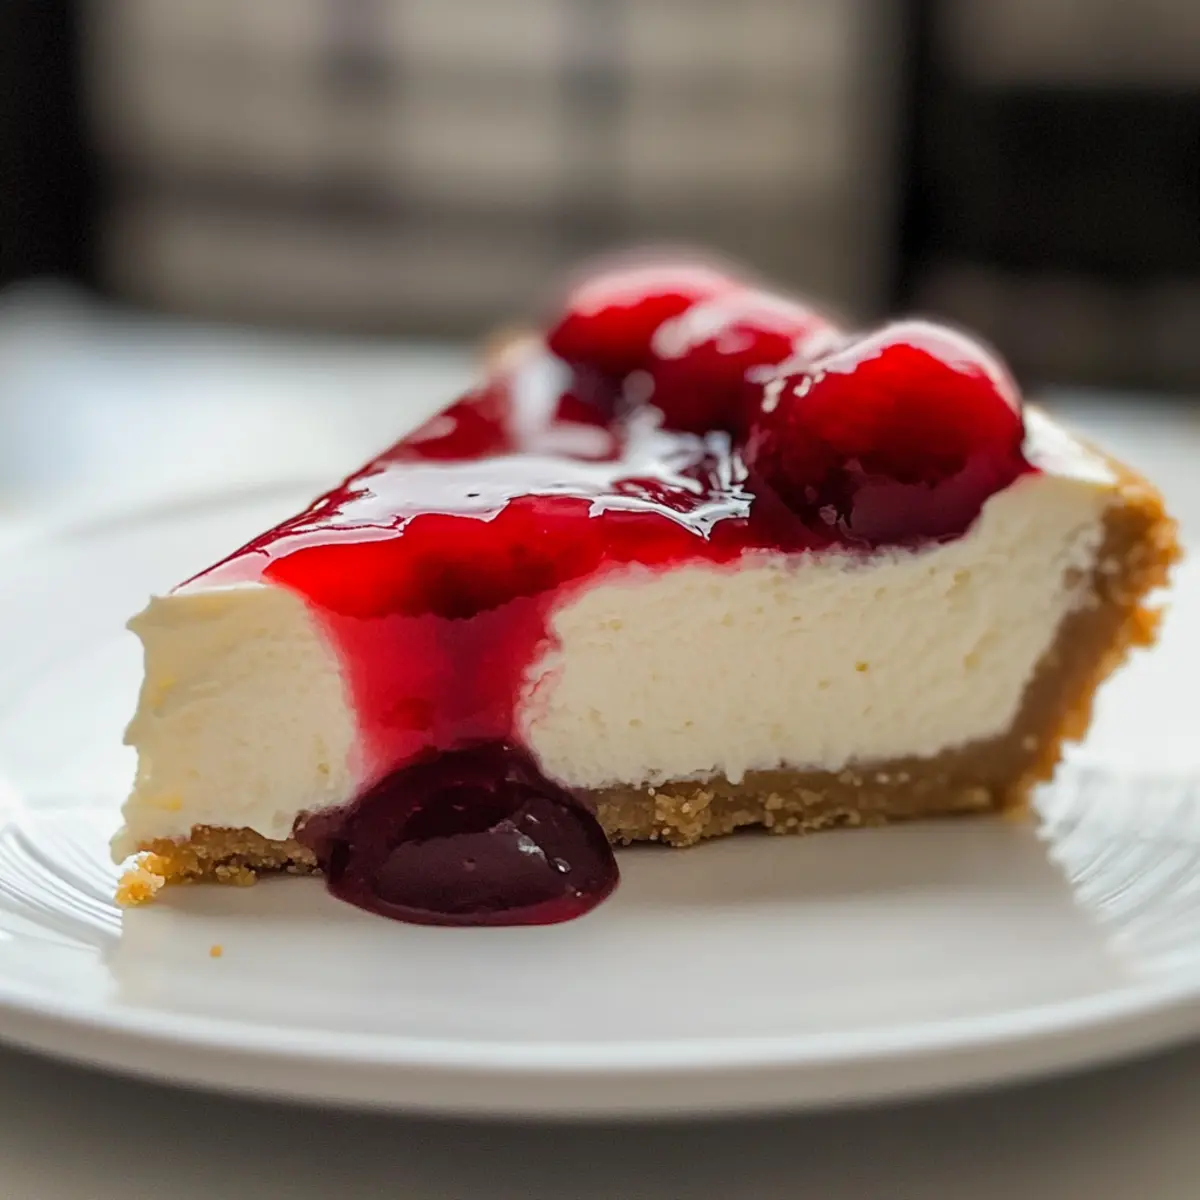
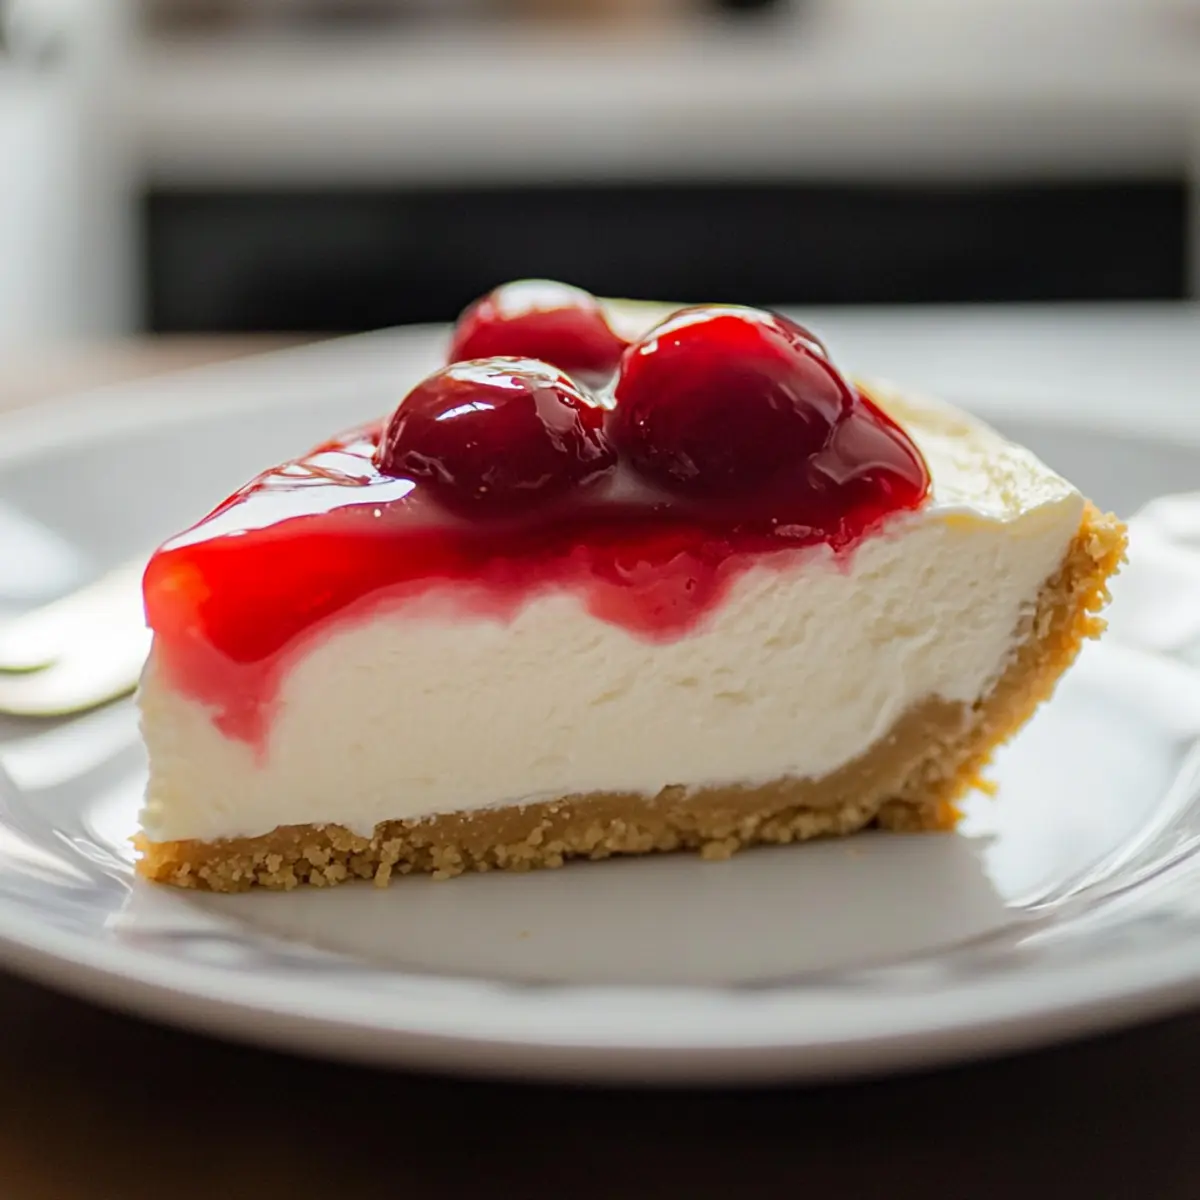
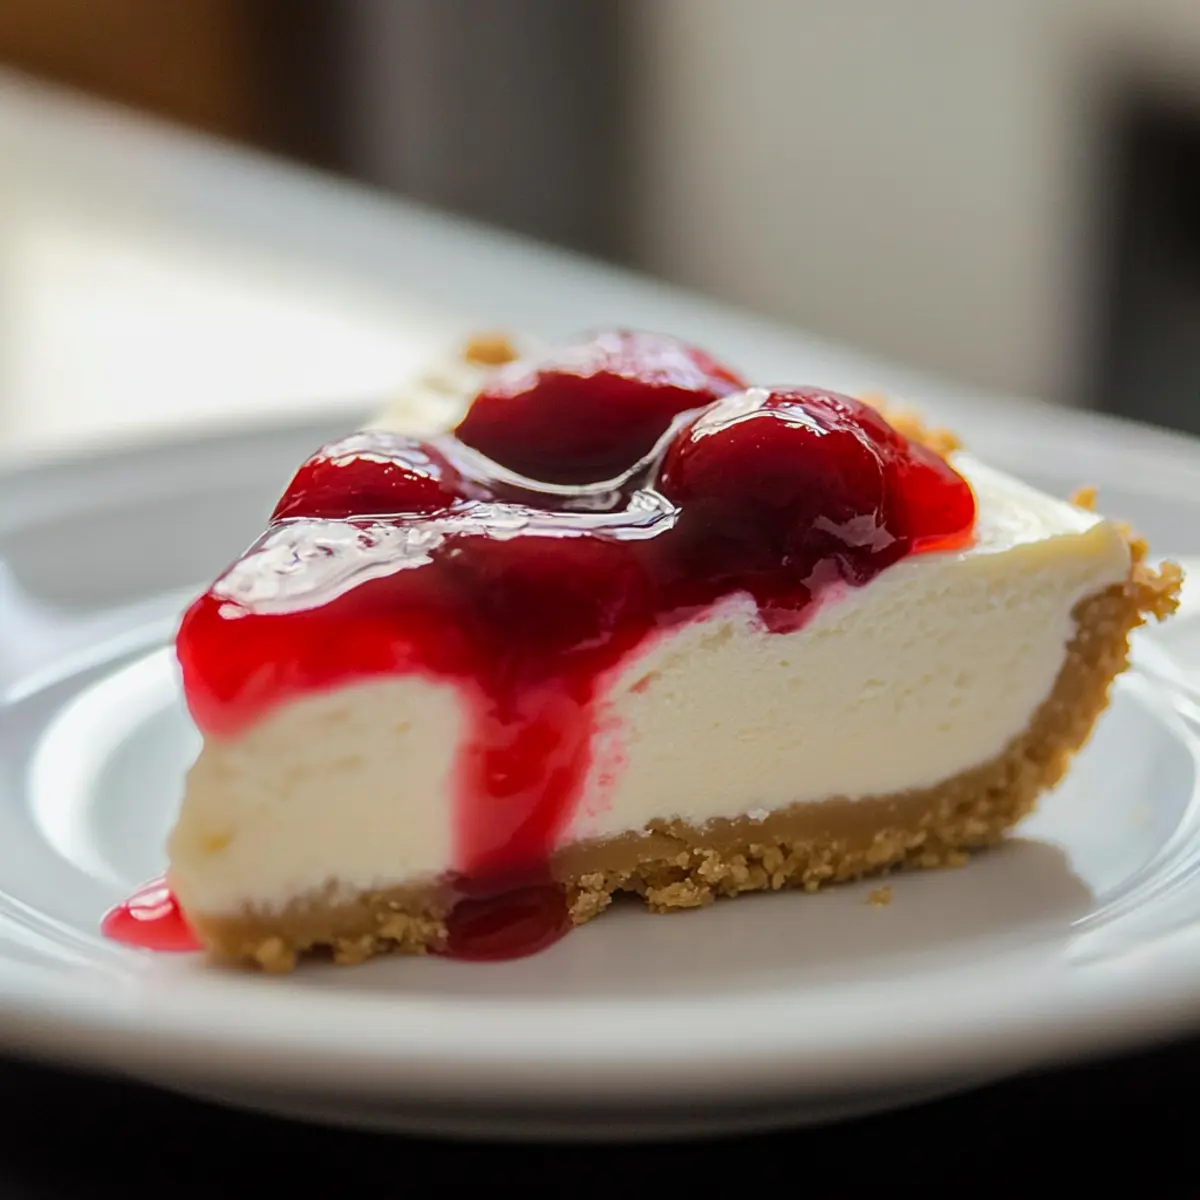
Once chilled and set, remove the cheesecake from the refrigerator. Carefully cut it into slices, using a sharp knife to achieve clean edges. To elevate your dessert, add canned pie filling or a generous dollop of whipped cream on top for a delightful finishing touch. Enjoy your irresistible Easy No-Bake Cheesecake with friends and family!
Helpful Tricks for No-Bake Cheesecake
-
Cream Cheese Softness: Ensure that your cream cheese is completely softened to room temperature. Cold cream cheese can create lumps in your filling, affecting the creamy texture.
-
Whipping Cream Technique: When whipping the heavy cream, stop as soon as stiff peaks form. Over-whipping can turn it into butter, ruining your no-bake cheesecake’s lightness.
-
Chill for Flavor: Remember to let your cheesecake chill overnight if possible. This extra time allows the flavors to meld together beautifully, enhancing the overall taste.
-
Filling Consistency: Avoid over-mixing your filling once the whipped cream is added. Gently fold it in to keep the mixture airy; over-mixing can lead to a soupy cheesecake.
-
Custom Toppings: Don’t hesitate to get creative with your toppings! Fresh fruit, chocolate sauce, or nuts can take your no-bake cheesecake to the next level and cater to your guests’ preferences.
No-Bake Cheesecake Variations
Feel free to make this Easy No-Bake Cheesecake truly yours with these delightful twists that enhance flavor and cater to your dietary preferences!
-
Gluten-Free: Use gluten-free graham cracker crumbs for the crust to keep it enjoyable for everyone, ensuring no one misses out on this creamy delight.
-
Dairy-Free: Substitute cream cheese and heavy cream with vegan cream cheese and coconut cream for a luscious, dairy-free version that everyone will love.
-
Lower Sugar: Replace granulated sugar with a zero-calorie sweetener like erythritol for a guilt-free treat that won’t compromise on sweetness.
-
Citrus Burst: Add the zest of a lemon or lime to the cream cheese filling for a zesty brightness that perfectly complements the creamy texture.
-
Chocolate Lovers: Mix in cocoa powder directly into the filling or use chocolate cookies for the crust to create a decadent chocolate no-bake cheesecake.
-
Berry Bliss: Top with a medley of fresh berries or a homemade berry sauce to introduce a refreshing fruity element that contrasts beautifully with the creamy filling.
-
Nutty Crunch: Incorporate crushed nuts into the crust or sprinkle them on top as a crunchy garnish. Almonds or pecans add texture and a delightful roasted flavor.
-
Spicy Touch: A pinch of cinnamon or nutmeg in the filling creates a warm spice profile, adding a cozy touch that balances the sweetness.
Don’t forget to explore other delightful variations such as mini lemon cheesecakes or even a rich chocolate ganache topping for an extra special finish. Each option offers a new adventure for your taste buds!
How to Store and Freeze No-Bake Cheesecake
- Fridge: Store your no-bake cheesecake covered in the refrigerator for up to 3-5 days, ensuring it stays fresh and creamy for dessert cravings.
- Freezer: For longer storage, freeze the cheesecake for up to a month. Cut it into slices, wrap each piece tightly in plastic wrap, and place them in an airtight container.
- Thawing: When you’re ready to enjoy, simply transfer the frozen cheesecake to the fridge and let it thaw overnight before serving.
- Reheating: There’s no need to reheat, as this dessert is best enjoyed chilled. Just add your favorite toppings and savor the deliciousness!
Make Ahead Options
These Easy No-Bake Cheesecakes are perfect for meal prep enthusiasts! You can prepare the crust (graham cracker crumbs mixed with melted butter) up to 24 hours in advance and keep it refrigerated to maintain its crispness. The cheesecake filling can also be made ahead; simply mix and pour it into the crust, then cover tightly with plastic wrap and refrigerate for up to 3 days. This ensures that the flavors meld beautifully, creating a richer taste. When it’s time to serve, just top with your favorite canned pie filling or whipped cream and slice! By prepping ahead, you’ll save precious time and enjoy effortlessly delicious results.
What to Serve with Easy No-Bake Cheesecake
Elevate your dessert experience with delectable side dishes and beverages that complement the creamy bliss of this delightful cheesecake.
-
Fresh Berries:
A medley of raspberries, blueberries, and strawberries adds a burst of juicy freshness that perfectly balances the cheesecake’s richness. Their natural sweetness enhances the dessert’s flavor. -
Chocolate Sauce:
Drizzling warm, velvety chocolate sauce over each slice creates an indulgent enhancement that chocolate lovers will adore. It brings a luxurious twist to each creamy bite. -
Whipped Cream:
This classic topping adds lightness and a hint of sweetness, creating a heavenly combination with the rich filling. A fluffy dollop perfectly crowns each slice before serving. -
Mint Chocolate Chip Ice Cream:
The cool, minty flavor of this ice cream contrasts beautifully with the cheesecake’s creaminess, providing an exciting textural and flavor contrast that captivates the palate. -
Coffee or Espresso:
A warm cup of coffee or espresso enhances the dessert experience and adds depth to the sweet flavors. The bitterness of the coffee beautifully balances the cheesecake’s sweetness.
Enjoy the delightful symphony of flavors and textures as you craft the perfect meal surrounding your Easy No-Bake Cheesecake!
Easy No-Bake Cheesecake Recipe FAQs
How do I know if the cream cheese is ripe and ready to use?
Absolutely! Make sure your cream cheese is softened to room temperature. It should yield slightly when pressed with a finger and be creamy without lumps. For the best results, leave it out for about 30 minutes prior to mixing.
How should I store my no-bake cheesecake?
Very! After preparing, cover your no-bake cheesecake with plastic wrap and place it in the refrigerator where it will keep fresh for 3-5 days. If you want to save it for longer, it can be frozen for up to a month. Just make sure it’s wrapped tightly to prevent freezer burn.
Can I freeze no-bake cheesecake?
Of course! To freeze, cut the cheesecake into slices and wrap each slice individually in plastic wrap. Then place them in an airtight container. This makes it easy to grab a piece whenever the craving strikes! Don’t forget to thaw them in the refrigerator overnight before serving.
What should I do if my filling is too runny?
If your cheesecake filling turns out runny, it might be due to over-mixing or not enough whipped cream. Try folding in more whipped cream gradually until you reach a thicker consistency. Alternatively, you can refrigerate the filling for about 30 minutes before spreading it onto the crust.
Are there any dietary considerations I should keep in mind?
Absolutely! If you or your guests have dietary restrictions, you can make this no-bake cheesecake gluten-free by using gluten-free graham crackers. For a dairy-free version, substitute cream cheese and heavy cream with vegan alternatives like cashew cream or coconut cream. Always check for allergies when selecting toppings too!
Irresistibly Creamy No-Bake Cheesecake You’ll Love
Ingredients
Equipment
Method
- In a mixing bowl, combine graham cracker crumbs with melted butter until the mixture resembles wet sand. Press this mixture firmly into the base of an 8 or 9-inch glass pie plate. Refrigerate for about 30 minutes to set.
- In a separate mixing bowl, beat softened cream cheese using an electric mixer on medium speed until creamy. Gradually add granulated sugar and vanilla extract, mixing until fully incorporated.
- In another bowl, whip the heavy cream until stiff peaks form, about 2-3 minutes. Gently fold the whipped cream into your cream cheese mixture, being careful not to deflate the whipped cream.
- Pour the creamy cheesecake filling into the prepared crust, smoothing the top with a spatula. Cover and refrigerate for at least 2 hours, or overnight for best flavor.
- Once chilled, remove the cheesecake from the refrigerator, cut into slices, and add canned pie filling or whipped cream on top before serving.
Leave a Reply